
Switching your web hosting provider can feel overwhelming, especially when you’re managing it through a platform like GoDaddy. However, doing so can unlock better performance, enhanced security, and potentially lower costs for your website.
If you’re considering making this transition, you’re in the right place. In this guide, you’ll discover straightforward steps to change your web host on GoDaddy without losing your data or downtime. Imagine having a faster, more reliable website that keeps your visitors engaged and your business thriving.
By following our easy-to-understand instructions, you’ll gain control over your site’s future, ensuring it runs smoothly and efficiently. Ready to take charge of your website’s destiny? Let’s dive in and make the transition seamless.
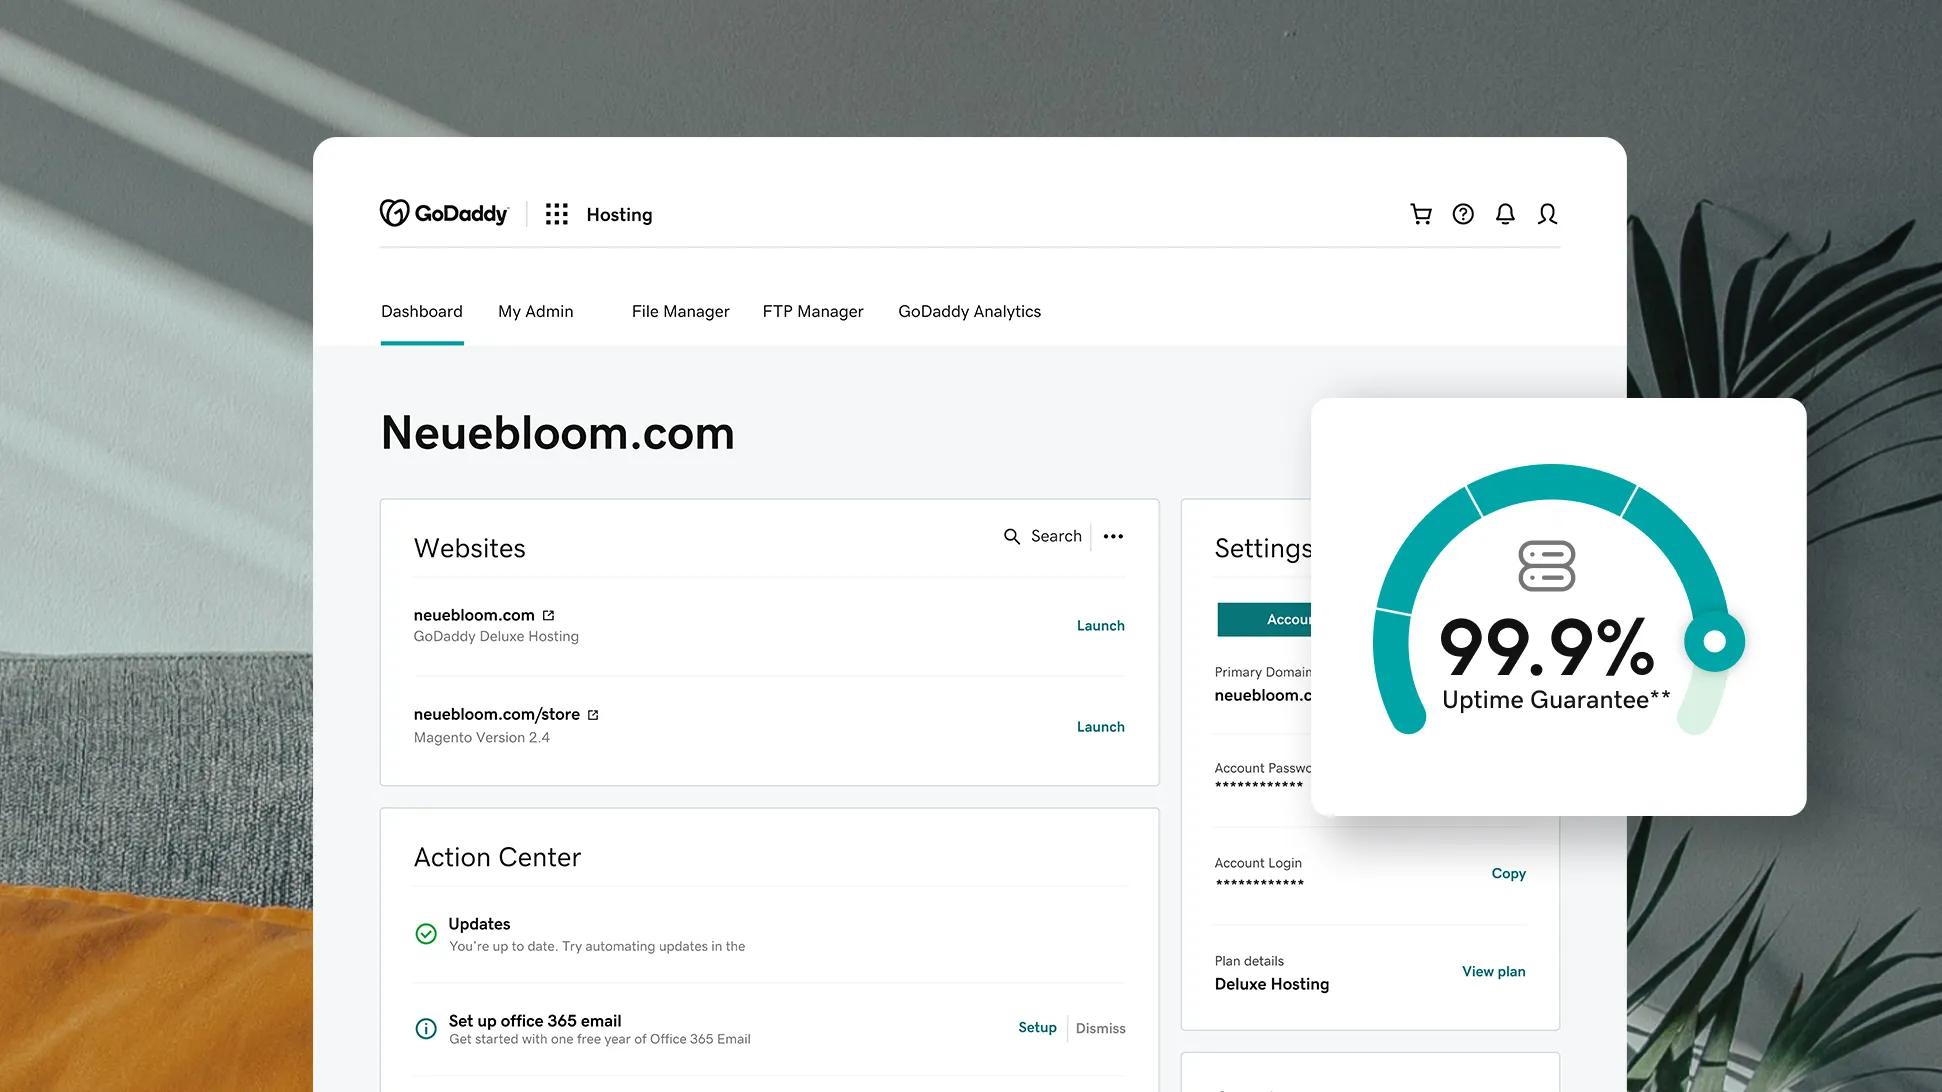
Credit: www.godaddy.com
Reasons For Changing Web Host
Websites need to be fast. A slow site can lose visitors. Sometimes, hosts don’t offer good speed. This can be a reason to change. Better support is another reason. If help is not quick, it’s a problem. Limited space is also an issue. Sites grow, and they need more space. Some hosts have limits. Costs can be high with some hosts. Cheaper plans might be available elsewhere. Security is important too. A host should keep your site safe. If they don’t, it’s time to switch.
New features are often added by other hosts. Your current host might not have them. This can make you change. Better features make managing a website easier. Uptime is crucial for any site. If your site is down, visitors can’t see it. A good host has high uptime. If your host has low uptime, you might lose users. These are all good reasons to think about changing your web host.
Pre-transfer Preparations
Backup your website data first. It’s important. Use tools provided by your host. Save all files. Secure databases. This keeps your data safe.
Verify domain ownership with Godaddy. Check your settings. Ensure your contact info is right. This step is crucial. It avoids transfer issues.
Review hosting requirements for the new host. Understand what they need. Compare with your current host. Ensure compatibility. This helps avoid surprises.
Choosing A New Web Host
Every web host offers different features. It’s important to know what you need. Storage space and bandwidth are key. Some hosts provide free SSL certificates. Others might offer email services. Decide what’s most important for you. Make a list of must-have features.
Prices vary a lot between hosts. Check both monthly and yearly plans. Some hosts offer discounts for longer terms. Look for any hidden fees. Watch for renewal rates that might go up. Free trials or money-back guarantees can be helpful.
Good support is crucial. You might need help anytime. Look for hosts with 24/7 support. Live chat and phone support are very useful. Check if they have a help center or community forum. Read reviews to see what others say about their support.
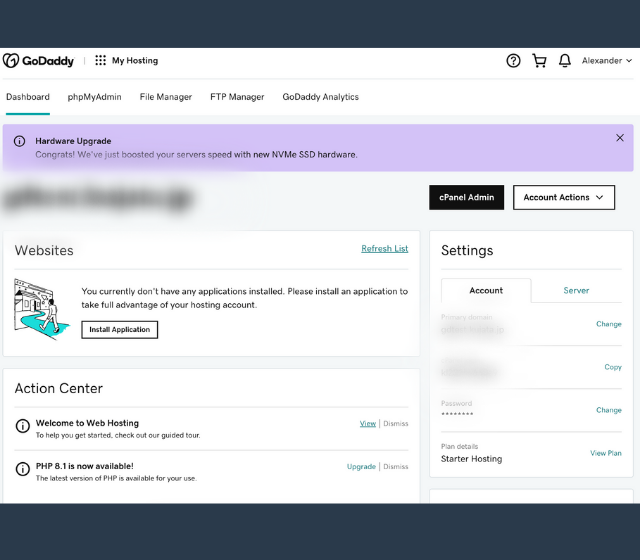
Credit: www.godaddy.com
Initiating The Transfer Process
Starting the transfer process involves accessing your GoDaddy account. Locate the domain settings and unlock it. Obtain the authorization code, essential for transferring your web host. Follow the instructions from your new hosting provider to complete the transfer.
Accessing Godaddy Account
First, you need to log into your Godaddy account. Use your username and password. Make sure they are correct. This step is important. It helps access your domain settings.
Locating Domain Management Tools
Once logged in, find the Domain Management section. It is usually in the main dashboard. Click on it. You will see a list of domains. Choose the one you want to transfer.
Starting The Transfer Request
After selecting the domain, look for the Transfer Option. It may be under settings. Click to start the transfer process. Follow the instructions given. Be sure to confirm your transfer request.
Updating Domain Settings
First, find your DNS settings in Godaddy. Click on “DNS” under your domain. Change the nameservers to your new host. This helps your domain connect. Wait for the changes to update. Sometimes it takes a few hours.
Email forwarding keeps you in touch. Go to your domain settings. Click “Email” then “Forwarding.” Add the new email address. This helps send emails to your new inbox. Check if emails come through. Test by sending an email.
Security is important. Go to security settings on Godaddy. Check SSL certificates. Make sure they are active. Update any expired certificates. Check firewall settings too. These keep your website safe. Ensure your site is protected.

Credit: www.godaddy.com
Testing The New Host Setup
Switching web hosts in GoDaddy involves updating domain settings and migrating site data. Ensure data backup before starting. Follow GoDaddy’s step-by-step guide to avoid downtime. Test the new host setup to confirm everything works smoothly.
Verifying Website Functionality
Check if the website works well on the new host. Open each page to see if it loads fast. Look at images and videos. Ensure they show correctly. Links should direct to the right page. Try filling out forms. Make sure they send data. Fix any broken parts quickly.
Checking Email Services
Emails are crucial for communication. Send test emails to yourself. Check if they arrive in your inbox. Ensure you can reply easily. Check email settings. Ensure they match your previous host. Important emails should never go missing.
Monitoring Performance
Observe the website speed. Slow websites annoy visitors. Use tools to test loading times. Check server response speed. Ensure the host is stable. Fast performance boosts user experience. A stable host keeps your website live.
Post-transfer Tasks
Switching your web host on GoDaddy involves several key tasks post-transfer. Update your DNS settings to point to the new host. Test your website thoroughly to ensure everything functions correctly.
Cancelling Old Hosting Plan
Cancel the old plan after transferring your site. This saves money. Check for any cancellation fees. Avoid surprises. Make sure all data is safely moved before cancelling.
Reviewing Billing Statements
Look at your billing statements carefully. Ensure no extra charges. Confirm the transfer fees are correct. Verify the new hosting plan costs. Keep copies of all statements for records.
Ensuring Seo Continuity
SEO is important for your site. Check your site’s search engine rankings. Make sure they stay the same after the transfer. Update any broken links quickly. Keep the site structure intact. This helps in maintaining SEO.
Troubleshooting Common Issues
Switching your web host in GoDaddy can seem complex. Follow step-by-step guidance to ensure a smooth transition. Troubleshoot common issues effortlessly, ensuring your website remains online and accessible.
Solving Dns Propagation Delays
DNS changes can take time. This delay is called DNS propagation. It might last a few hours. Sometimes, it can even take days. Patience is key here. You can check the status with online tools. These tools show if the DNS is updated. It’s important to wait. Making too many changes can cause issues.
Handling Data Loss Concerns
Always back up your data first. This step is very important. Use GoDaddy’s backup tools. They make the process simple and safe. Double-check that all files are saved. Important data should never be lost. You can also store backups on your computer. This ensures extra safety.
Addressing Email Disruptions
Email problems can happen during migration. Updating your email settings helps. Make sure the MX records are correct. These records guide your emails to the right place. Check them in your DNS settings. Testing your email after changes is wise. This ensures everything works well.
Frequently Asked Questions
How Do I Change My Website Host?
To change your website host, back up your website files. Choose a new host and migrate your data. Update DNS settings to point to your new host. Test the site to ensure it works correctly. Contact support if needed.
How Do I Transfer My Domain To Another Host On Godaddy?
Log in to your GoDaddy account. Unlock your domain. Get the authorization code. Initiate the transfer with your new host, providing the code. Confirm the transfer via email.
How To Change Primary Domain Web Hosting Godaddy?
Log in to your GoDaddy account. Access “My Products. ” Click “Manage” next to your hosting account. Select “Settings,” then “Domain. ” Choose “Change Primary Domain” and follow the instructions. Confirm changes to update your primary domain.
How Do I Change My Host Name On Godaddy?
Log in to your GoDaddy account. Navigate to “My Products” and select your domain. Click “Manage” next to “DNS”. Update the host name in the DNS settings. Save changes.
Conclusion
Changing web hosts on GoDaddy is simple with the right steps. Follow the guide, and your website will transfer smoothly. Remember to back up your data first. This prevents loss during the switch. Check new host details carefully. Ensure compatibility with your site’s needs.
Update DNS settings promptly. This ensures your site remains accessible. Test your site after the change. Confirm everything works perfectly. If issues arise, seek help from support. Moving hosts can seem daunting. But with patience, it’s manageable. Keep your site running efficiently.
Make the transition a positive experience.


