
Have you ever wanted to host a web service right from your own computer? Whether you’re a budding developer, a tech enthusiast, or someone just curious about how web services work, learning to host one locally can be both empowering and incredibly useful.
Imagine having the freedom to test and experiment with your applications in a controlled environment without the need to invest in external servers. This guide will walk you through the simple steps to set up your very own local web service.
By the end, you’ll be equipped with the knowledge to host, test, and refine your projects, all from the comfort of your home. Ready to unlock a new skill and explore the world of web hosting like never before? Let’s dive in!
Setting Up Your Development Environment
Start by selecting the best software for your needs. Consider what web service you plan to host. Many developers use XAMPP or WAMP. These tools are easy to use. They help in creating a local server. Others prefer Node.js for JavaScript-based services. Python users might choose Flask or Django. Each software has its own features. Choose one that suits your project. It should be easy to install and configure.
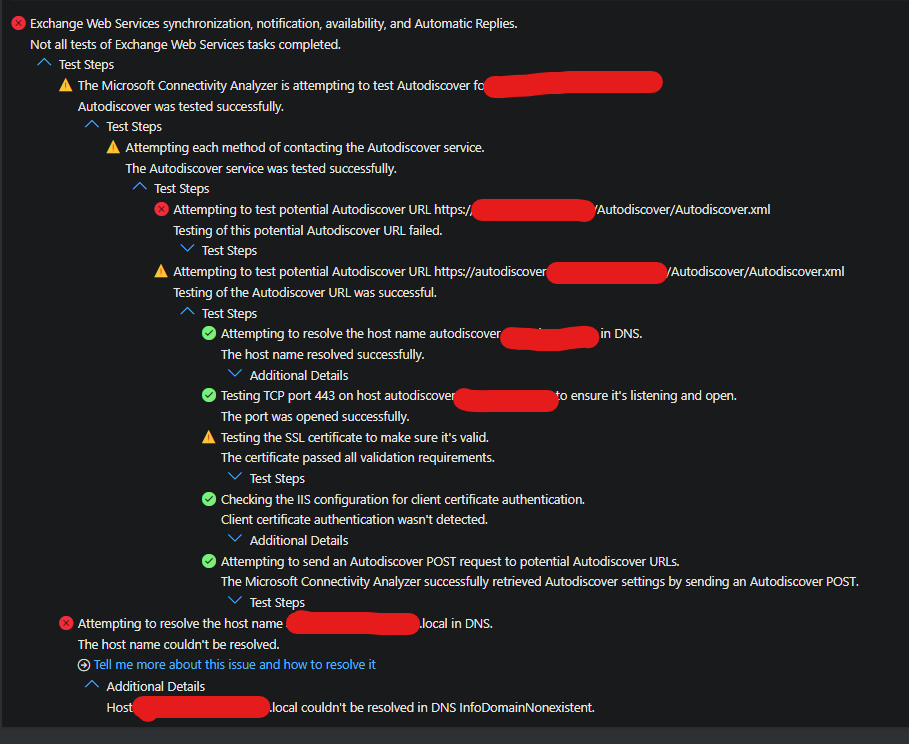
Download the software from its official website. Ensure your computer meets the system requirements. Follow the installation steps carefully. Install additional packages if needed. Some software might need plugins. These plugins enhance functionality. After installation, configure the settings. Set a root directory for your files. Test the setup by running a simple application. This confirms everything works fine.
Credit: learn.microsoft.com
Creating Your Web Service
Start by listing what your service will do. Will it store data? Share information? Make sure to know your goals. Also, think about who will use the service. Understanding users helps in making better choices. Check if you need a database. Some services need one to store data. Others might not. Your requirements guide the whole process. They help in choosing the right tools.
Choose a language you know well. Common choices are Python, JavaScript, and Java. Each has its pros and cons. Python is easy for beginners. JavaScript is good for web tasks. Java is strong for big projects. Think about your project size and team skills. Knowing what you want to achieve helps in selecting the best language. Pick one that fits your needs and goals.
Configuring Local Server
Apache and Nginx are popular web servers. Both can run on your computer. First, install one of them. You can download from their websites. Follow the steps to set up. Make sure your computer has enough space. Apache is easy for beginners. Nginx is good for more traffic. Choose what fits your needs. Both work well with PHP and MySQL.
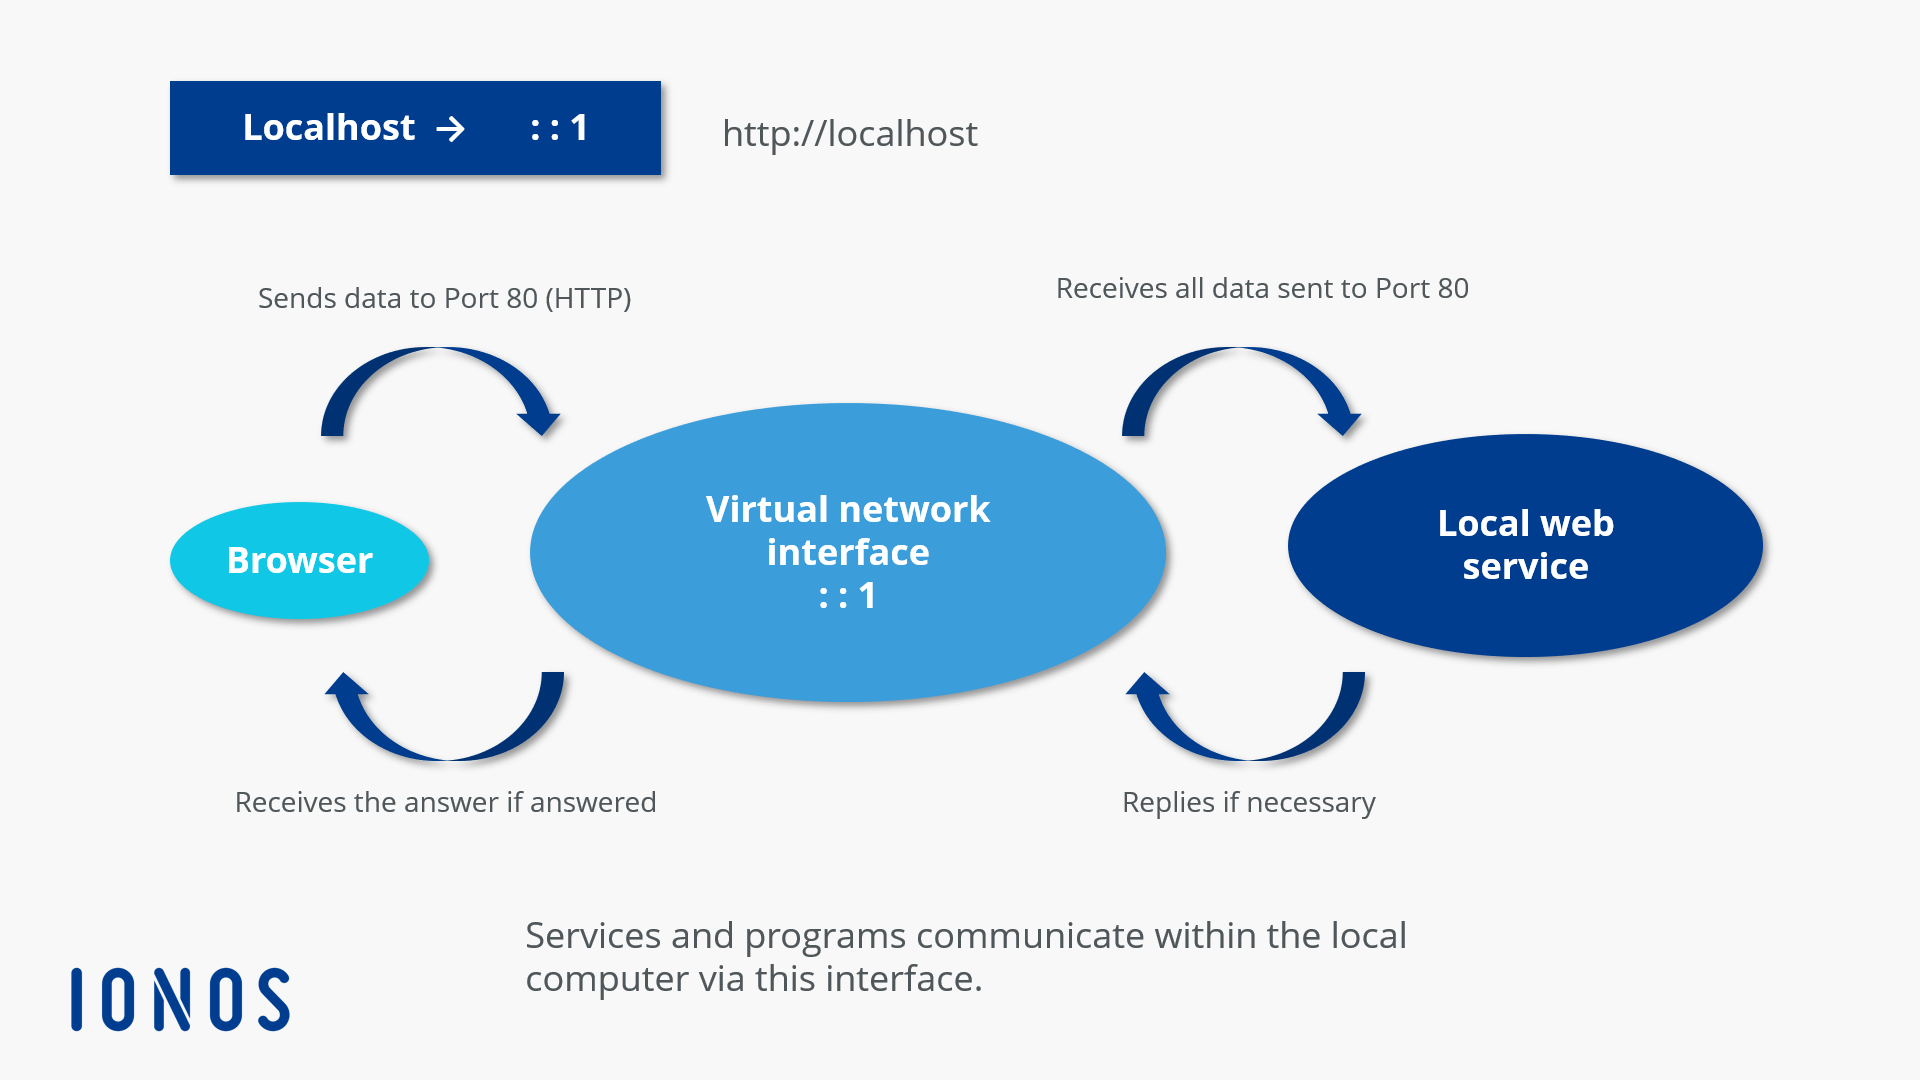
Ports help your server talk to the internet. Usually, port 80 is used for web servers. Check if port 80 is open. If not, try another port like 8080. Your server needs an IP address. 127.0.0.1 is the local IP. This IP makes it private. No one from outside can see it. This keeps your work safe.
Credit: www.ionos.com
Database Integration
Picking the right database system is important. There are two main types: SQL and NoSQL. SQL databases like MySQL and PostgreSQL use tables. NoSQL databases like MongoDB use collections. Each has its own strengths and weaknesses. SQL is great for structured data. NoSQL is flexible with data types. Think about your data needs before choosing. Research is key. This choice impacts how you manage data.
Make sure your web service can talk to the database. Use a connection string for this. It includes the database address and password. Check if the database is running. If not, your service won’t work. Use tools like PHPMyAdmin for MySQL. For MongoDB, try Robo 3T. These tools help manage your data. Always test the connection. This ensures data flows smoothly.
Testing Your Web Service
Setting up a web service locally is simple. Install necessary software and configure your server environment. Test your service using tools like Postman or cURL to ensure smooth operation.
Local Testing Tools
Local testing tools are essential for checking web services. They help find errors early. Postman is a popular choice. It allows users to send requests and get responses. Swagger is another useful tool. It helps create API documentation. These tools make testing easier. They save time and effort. Debugging becomes simpler with these tools.
Debugging Common Issues
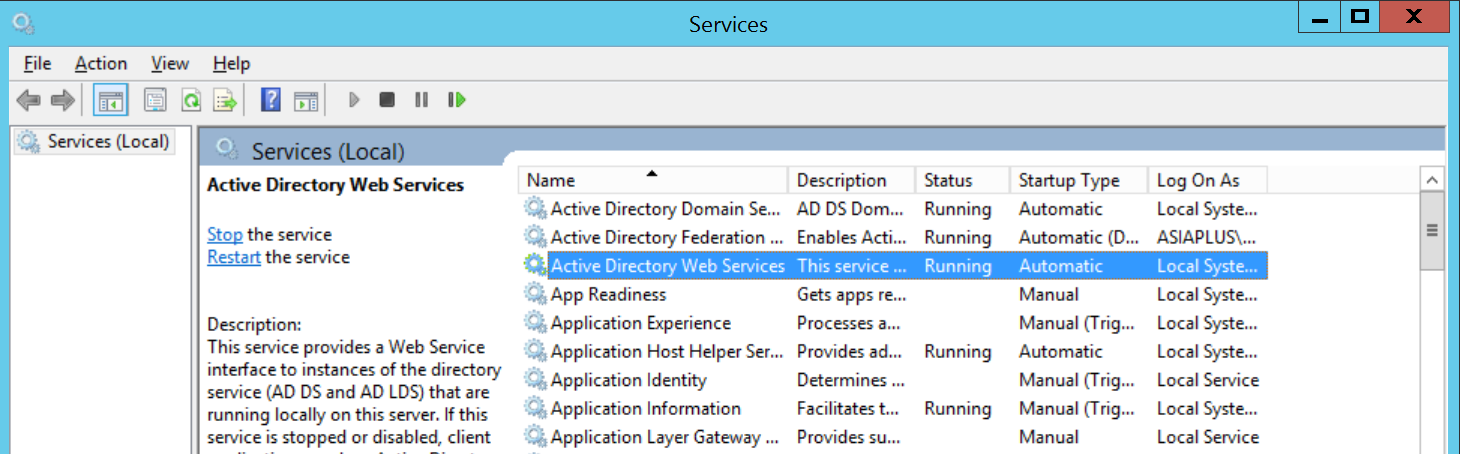
Debugging is crucial to fix web service problems. Common issues include connection errors and authentication failures. Check network settings first. Ensure correct credentials for access. Logs are helpful for identifying issues. They provide detailed error messages. Use them to trace problems. Debugging tools can assist here. They offer step-by-step guidance. Solving issues becomes less complicated. A systematic approach works best for debugging.
Credit: support.hdeone.com
Security Considerations
SSL/TLS helps keep data safe. It encrypts the data between users and servers. This stops hackers from seeing sensitive information. To set up SSL/TLS, get a certificate from a trusted authority. Many providers offer free certificates. Install the certificate on your server. This makes sure data is encrypted.
Endpoints are points where data enters or leaves a system. Protect these to keep your service safe. Use firewalls to block unwanted access. Keep all software updated to patch security holes. Strong passwords are important. They stop unauthorized access. Change passwords often. This keeps them secure.
Monitoring And Maintenance
Local web service hosting requires regular monitoring and maintenance. These steps ensure smooth operation and security. Regular updates and system checks help prevent issues and enhance performance.
Performance Tracking Tools
Good tools help watch the web service. They show speed and traffic. Some tools are free. Others need money. Google Analytics is popular. It shows user data. New Relic helps check server health. Tools give alerts for problems. Fix problems fast. Keep service running smooth.
Regular Updates And Backups
Always update software. New updates fix bugs. They add security features. Save data often. Use backups to keep data safe. Backups help recover lost info. Store them in a safe place. Check backups regularly. Updates and backups protect the service.
Frequently Asked Questions
How Do I Host A Website On My Local Server?
Install web server software like Apache, Nginx, or XAMPP on your computer. Configure server settings. Place your website files in the server’s root directory. Start the server to host your site locally. Access your website using your computer’s IP address or “localhost” in a browser.
How Do I Host A Webservice?
To host a WebService, choose a reliable web hosting provider. Set up a server environment compatible with your WebService. Deploy your WebService files and configure the server. Ensure it has proper security measures and monitoring in place. Test your WebService to verify functionality and performance.
Can I Host My Own Website Server?
Yes, you can host your own website server. Ensure you have a stable internet connection, necessary hardware, and security measures. Consider using reliable hosting software for efficient management.
How Do I Host A Website On My Own Computer?
Install web server software like Apache or Nginx on your computer. Configure server settings correctly. Assign a static IP or use dynamic DNS services. Keep your computer running continuously and ensure firewall settings allow external connections. Use a reliable internet connection to maintain accessibility.
Regularly update software for security.
Conclusion
Hosting a web service locally is quite manageable. You gain control and flexibility. Start with understanding your system requirements. Install necessary software like a web server. Configure settings carefully. Test your setup thoroughly for errors. Local hosting offers privacy benefits.
It’s perfect for development stages. Remember, practice makes perfect. Troubleshoot issues as they arise. Be patient and persistent. Soon, you’ll host services smoothly. Enjoy learning and growing your skills. With dedication, local hosting becomes easier. You’ve got this! Keep exploring and improving your local hosting abilities.


