
Migrating a website to a new host can feel like a daunting task. You might be worried about losing data, facing downtime, or dealing with unexpected glitches.
But don’t worry—this guide is here to make the process smooth and stress-free for you. Imagine your website running faster, with better support, and costing you less. Sounds great, right? By following a few simple steps, you can achieve this transformation without breaking a sweat.
So, whether you’re looking to improve your site’s performance, gain more control, or simply save some money, stick with us as we walk you through everything you need to know to migrate your website to a new host seamlessly.
Choosing The Right Host
Understand your website’s size and traffic. Large sites need more resources. Small sites need less. Consider storage, bandwidth, and security. Think about future growth. Will your site grow? Plan for that.
Look at different plans. Shared hosting is cheap. Dedicated hosting is expensive. VPS hosting is in the middle. Compare prices and features. Check support options. Choose what fits your needs.
Read reviews online. See what others say. Look for trustworthy hosts. Check their reputation. Bad reviews can be a red flag. Good reviews mean reliable service. Trust is key.
Credit: www.cloudways.com
Preparing For Migration
Always back up your website data. Use a reliable backup tool. This protects your files. Your database too. Store backups in a safe place. Always ready for unexpected events.
Check if you own your domain. Go to your domain registrar. Log in to your account. See if your name is listed. If not, correct it immediately. This step is crucial.
DNS settings are important. Get them ready before migration. Know your new host’s DNS details. Change them at your domain registrar. This step ensures a smooth switch.
Transferring Website Files
FTP is a tool for moving files between computers. It stands for File Transfer Protocol. You need an FTP client like FileZilla. Connect it to your old web host. Drag and drop files from your website. Then, connect it to your new host. Drag and drop the files again. It’s like moving files on your computer. Make sure all files are copied. This keeps your website running smoothly.
Use phpMyAdmin for database migration. Export your database from the old host. Save it as an SQL file. Go to your new host’s phpMyAdmin. Import the SQL file. Your database is now on the new host. Check for any errors. Fix them before going live. This ensures your website works fine.
Email accounts need careful handling. Create new emails on the new host first. Use the same usernames and passwords. This keeps things simple. Transfer old emails with an IMAP client. This copies emails from old to new. Check both old and new accounts. Make sure all emails are there. Now, update your DNS settings. This directs emails to the new host.
Updating Dns Settings
To change nameservers, log into your domain registrar. Look for DNS settings or nameservers. Replace the old nameservers with the new ones. Save your changes. Nameservers tell the internet where your website lives. It’s like changing an address. It’s important to do this step correctly. Wrong settings can make your site disappear.
After changing nameservers, DNS changes need time to spread. This is called propagation. It can take 24 to 48 hours. Be patient. During this time, some users may not see your site. This is normal. Check your site from different places. Use online tools to see how propagation is going.
Once the DNS changes are made, test the DNS resolution. Use tools like ping or nslookup. These tools help check if your site is reachable. Make sure everything points to the new host. This step confirms your changes worked. If there are problems, check your settings again.
Testing The New Setup
Make sure every page loads. Test buttons and forms. They must work. Check site speed. It should be fast. Users like quick sites. Ensure the layout is correct. Nothing should look off.
Click every link. Each link should go to the right page. Test images and videos. They must show and play correctly. Broken links or media frustrate users. Fix any issues quickly.
Check SSL certificates. They protect user data. Ensure firewalls are active. They stop bad access. Update all passwords. Strong passwords keep sites safe. Security is very important.

Credit: www.vodien.com
Dealing With Common Issues
Downtime can be a big problem. It might make users unhappy. Always check your server settings. This can help prevent downtime. Backup your data often. This is very important. A good backup can save time and trouble. Inform users if downtime happens. They will appreciate knowing what’s going on.
Broken links can confuse users. Use tools to find them. Fix broken links quickly. Redirect old links to new pages. This helps users find what they need. Check all links regularly. This keeps your website healthy. A tidy website is a happy website.
Email issues are frustrating. Check your email settings first. Ensure email credentials are correct. This solves many problems. Look at spam folders too. Sometimes, emails hide there. Contact your host if issues persist. They can offer more help. Keep your emails working well.
Finalizing The Migration
Finalizing the migration involves ensuring all files and databases are securely transferred to the new host. Test the website thoroughly to confirm everything works properly. Update DNS settings to point to the new server, completing the process smoothly.
Cleaning Up Old Server
Remove unused files from the old server. Delete old databases that are not needed. Check for any leftover scripts or code. Clear the cache on the old server. Make sure no sensitive data is left behind. Double-check that email accounts are transferred correctly. Verify that all links redirect properly.
Monitoring Performance
Check the new site’s loading speed. Use tools to track uptime and downtime. Monitor traffic to see any changes. Watch for error messages or broken links. Keep an eye on server load and resource usage. Ensure the site stays stable and responsive. Regularly review analytics for performance insights.
Optimizing For Speed
Use compression techniques for images. Minify CSS and JavaScript files. Enable caching to speed up access. Reduce server response time. Optimize database queries for faster results. Check hosting server location for better speed. Test site speed with online tools regularly. Ensure mobile compatibility for quicker loading.
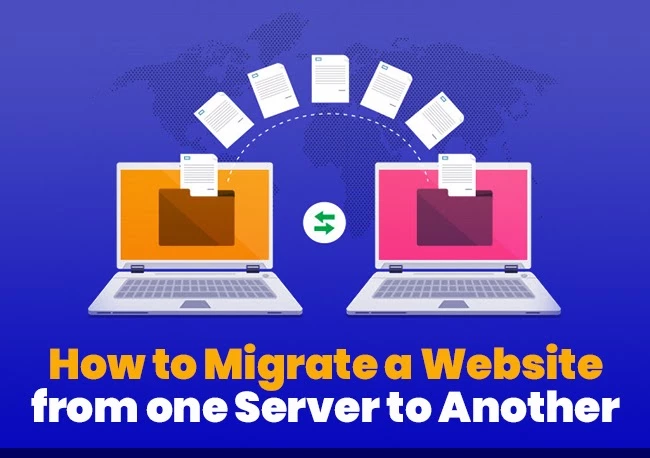
Credit: www.hostitsmart.com
Frequently Asked Questions
Can I Transfer A Website From One Host To Another?
Yes, you can transfer a website between hosts. Backup your files, export databases, then upload them to the new host. Update your DNS settings to point to the new server. Ensure all site functions work correctly after the transfer. Follow your new host’s specific instructions for a successful migration.
How Long Does It Take To Migrate A Website To A New Host?
Migrating a website to a new host usually takes 24 to 48 hours. Factors like website size, domain transfer, and server speed can affect the duration. Proper planning ensures a smooth transition with minimal downtime. Always back up your site before starting the migration process to prevent data loss.
Can You Change The Hosting Of Your Website?
Yes, you can change your website hosting by transferring files and domain settings to a new provider. Ensure compatibility and minimal downtime during migration. Consult support for assistance if needed.
How Do I Transfer A Website To A New Owner?
To transfer a website, update domain registration details to the new owner’s name. Provide them with hosting account access. Transfer website files and databases securely. Ensure all legal agreements and licenses are updated. Verify successful transfer by checking website functionality under new ownership.
Conclusion
Migrating a website can feel challenging. But breaking it into steps simplifies the process. Choose the right host. Backup your site. Transfer files carefully. Update domain settings promptly. Test everything thoroughly. These actions ensure a smooth transition. Stay organized and patient.
Learning through each step helps. Your website deserves attention during migration. It minimizes downtime and protects your content. Remember, practice makes perfect. With effort, your site transitions smoothly to its new home. Follow these tips. Enjoy a successful migration.


