
Have you ever felt the thrill of creating your own website, only to hit a wall when it comes time to share it with the world? You’re not alone.
Uploading a website to a web host can seem like a daunting task at first, but it’s much simpler than you might think. Imagine the satisfaction of seeing your work go live, accessible to anyone with an internet connection. That’s what we’re going to achieve together.
In this guide, you’ll discover the straightforward steps to upload your website to a web host, opening the door to endless possibilities. Stay with us, and you’ll soon be able to proudly say, “I did it!” Ready to dive in? Let’s get started.
Choosing The Right Web Host
There are different types of web hosting available. Shared hosting is the most common. It is cheap and easy to use. VPS hosting is more powerful. It is good for medium websites. Dedicated hosting gives you a full server. It is best for large websites.
Think about the cost of hosting. Some are expensive. Others are cheap. Look at the speed of the server. Fast servers make websites better. Check the support offered. Good support helps when there are problems. Consider the security features. These keep websites safe.
Credit: tiiny.host
Preparing Your Website Files
It’s important to keep your website files neat and tidy. Create a main folder. Inside, place different files in separate subfolders. For example, put images in an “Images” folder. Scripts can go in a “Scripts” folder. This makes it easy to find things later. Also, check your file names. Use simple names without spaces or special symbols. Clear names help you and others understand the file’s purpose.
Compressing files makes them smaller and easier to upload. Use a tool like WinZip or 7-Zip. Select your main folder. Click “Compress” or “Zip.” This creates a new file ending in “.zip”. Make sure everything is included in this file. Smaller files save time during upload. They also help your website run faster. Always check the compressed file. Make sure nothing is missing or broken.
Accessing Your Web Host Control Panel
First, visit your web host’s website. Look for the login button. Enter your username and password. Click the submit button. Now you are inside your account. Always keep your login details safe.
Find the control panel link. It is usually at the top. Click on it to open. You will see many options. Each option has a different task. Look for the file manager to upload files. The control panel is easy to use. Take time to explore each feature.
Uploading Files Via Ftp
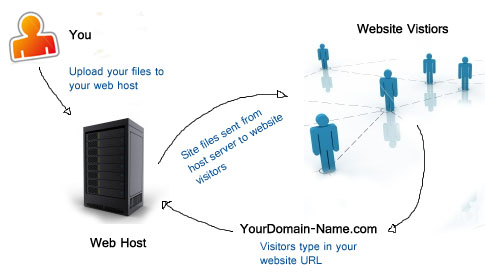
Uploading your website via FTP is straightforward. Connect to your web host with FTP software. Then, transfer files from your computer to the host server, ensuring your website is accessible online.
Setting Up Ftp Client
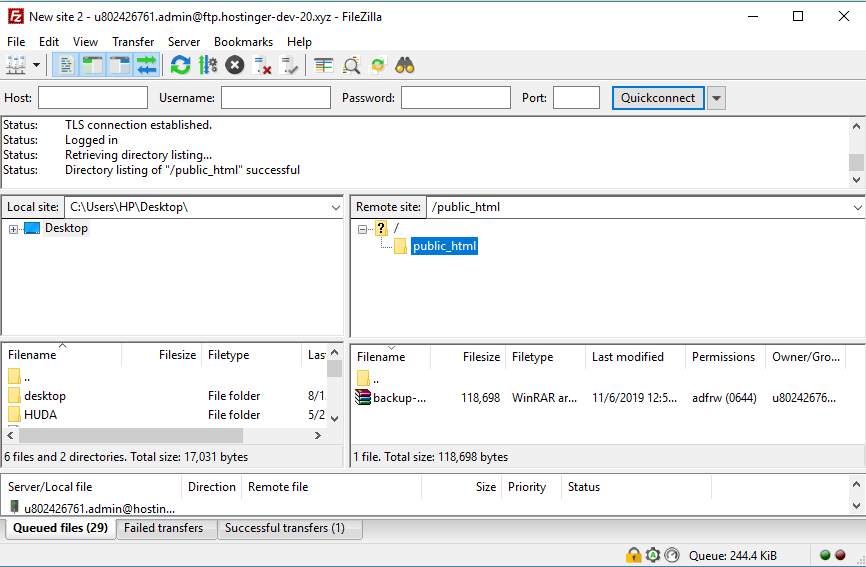
First, download an FTP client like FileZilla. Install it on your computer. Open the software. Look for the Host box. Enter your web host’s server address. Fill in the Username and Password boxes. Use your hosting account details. Click Quickconnect. This connects you to your server.
Transferring Files
Find the Local Site section. This shows files on your computer. Navigate to your website folder. Select all files. Drag them to the Remote Site section. This uploads files to your web host. Watch the Status bar. It shows progress of the upload. Wait until all files are uploaded. Your website is now live.
Using File Manager For Upload
Easily upload your website using File Manager in your web host control panel. Navigate to File Manager, select your website files, and click ‘Upload’. This straightforward method ensures your site is live quickly and efficiently.
Uploading Files Directly
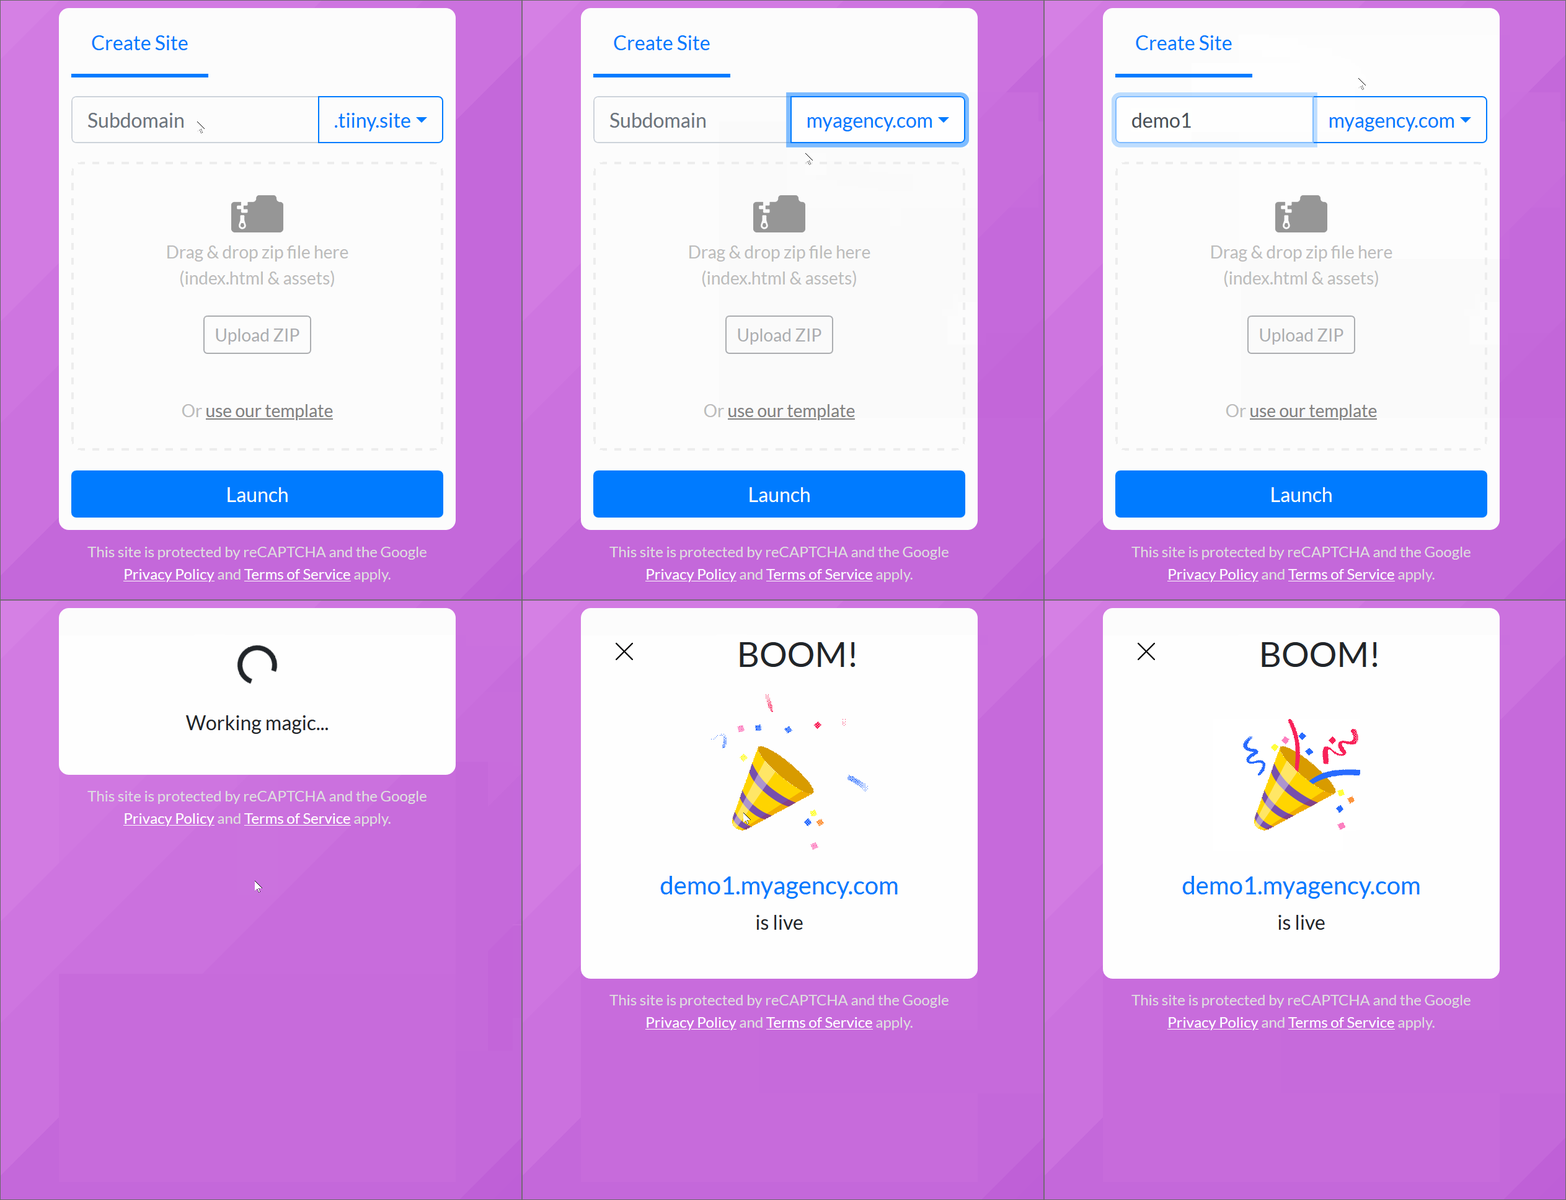
File Manager is easy for uploading. First, log in to the web host. Find the File Manager in the control panel. Open it. Click on the Upload button. Choose files from your computer. Wait for them to upload. Check files in the right folder. Done! Your website files are now online.
Managing Files Online
The File Manager helps manage files. You can move, delete, or rename them. It is like using your computer’s file system. Click on a file to see options. You can also create new folders. This keeps everything tidy. Always remember to save changes.
Credit: frontendmasters.com
Configuring Your Domain
First, log in to your domain registrar account. Find the option for DNS settings or name servers. You need to update these to point to your web host. Your host provides these details in their dashboard. Copy the name server addresses they give. Paste them into your domain registrar’s settings. Save changes. Wait for a few hours. This is for the changes to take effect.
Access the DNS management section in your domain account. Locate existing DNS records. You might need to update the A record or CNAME record. The A record should point to your host’s IP address. If using CNAME, it should point to your host’s subdomain. After changes, save your settings. It might take time for these changes to work. Be patient, and check back later.
Testing Your Website
Ensure every link works. Click each one. Does it open? Check forms. Fill them out. Does the data save? Test buttons. Do they respond? Look for broken images. Replace them quickly. Try different browsers. Does the site look right? Make sure your website is user-friendly. Can visitors navigate easily? Check page speed. Slow pages can annoy users. Test mobile compatibility. Does your site work on phones? Ensure all scripts run smoothly.
Find missing files. Upload them again. Fix coding errors. Double-check your code. Correct any typos. Check server settings. Are they configured correctly? Monitor error logs. Look for repeated issues. Check security settings. Are they up to date? Update all plugins. Keep them current. Backup your site regularly. Protect your data. Ensure contact forms send emails. Test them twice. Keep your site functional and safe.
Credit: www.hostinger.com
Maintaining Your Website
Protect your website with regular backups. Backups keep your data safe. If something goes wrong, backups help recover lost files. Use a reliable service for backups. Automated backups are best. Set a schedule that suits your needs. Weekly or daily backups work well. Store backups in a secure place. Cloud storage is a good option. Check your backups regularly. Ensure they work correctly.
Keep an eye on your website’s performance. Good performance keeps visitors happy. Slow websites lose visitors fast. Use tools to check your site’s speed. Google offers free tools for this. Fix any issues quickly. Regular checks help maintain speed. Look for broken links too. They frustrate users. Fixing them improves user experience. Monitor your server’s uptime. Downtime can hurt your site. Aim for 99% uptime or better.
Frequently Asked Questions
How Do I Upload A Website To A Host?
To upload a website to a host, use an FTP client like FileZilla. Connect using host credentials. Drag your website files to the server directory. Ensure the domain is linked to the server. Verify the upload by visiting your website’s URL.
Contact your hosting provider for support if needed.
How Do I Deploy A Website To My Host?
Upload your website files to the host via FTP or a file manager. Configure DNS settings. Ensure database connections are correct. Test your site to confirm it’s working. Follow your hosting provider’s specific guidelines for deployment.
How To Host A Website On Webhost?
Choose a reliable web hosting provider. Register your domain name and select a hosting plan. Upload website files using an FTP client or web hosting control panel. Configure DNS settings to point your domain to the hosting server. Test your website to ensure it is live and functioning correctly.
How Do I Upload Files To A Host?
Log into your hosting account. Navigate to the file manager or use FTP software. Select files to upload. Drag and drop or use the upload option. Ensure files are in the correct directory. Confirm successful upload by checking the file list or website functionality.
Conclusion
Uploading your website to a web host is straightforward. Follow each step carefully. Choose a reliable web hosting service. Ensure your files are organized. Use FTP software for easy file transfer. Double-check links and images after upload. Test your site on different devices.
Make sure everything loads correctly. Backup your website regularly. Keep your website updated and secure. Monitor performance and make necessary improvements. Remember, practice makes perfect. With time, you will become more confident. Your website will shine online. Engage with your audience effectively.
Celebrate your successful upload journey!


