
Are you looking to harness the power of the cloud to host your web service without getting lost in a maze of technical jargon? Azure can be your best ally, offering a straightforward path to bringing your web service to life.
Whether you’re a budding developer or a seasoned pro, understanding how to host a simple web service in Azure can save you time and open up new possibilities for your projects. Imagine tapping into the same infrastructure that supports some of the world’s most popular applications, all while maintaining complete control over your service.
In this guide, you’ll discover the step-by-step process to effortlessly host your web service in Azure. No need to worry about complex setups or unexpected hurdles; we’re here to simplify the journey for you. Keep reading to unlock the secrets of Azure hosting and elevate your web service to the next level.
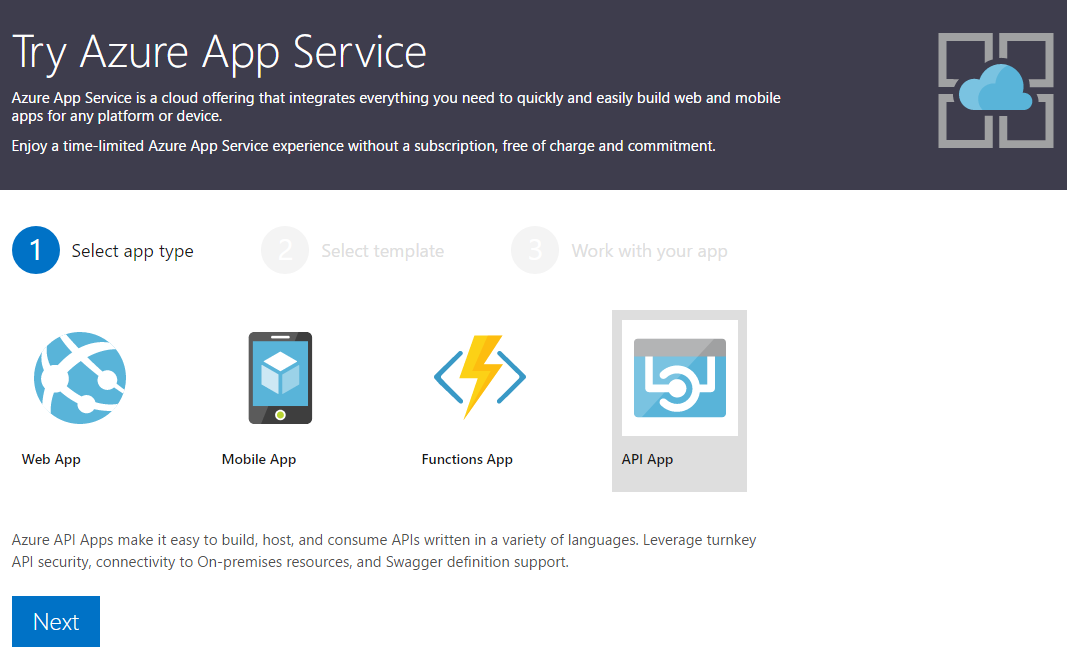
Credit: azure.github.io
Setting Up Azure Account
Creating an Azure account is easy. Start by visiting the Azure website. Click on “Start free”. Follow the instructions to sign up. You will need a valid email. An active phone number is also required. After entering details, verify your identity. This might include providing a credit card. Don’t worry, you won’t be charged immediately. Azure offers a free trial. This allows you to explore features without cost. Once verified, you can access the Azure portal. Here, you can manage resources and services.
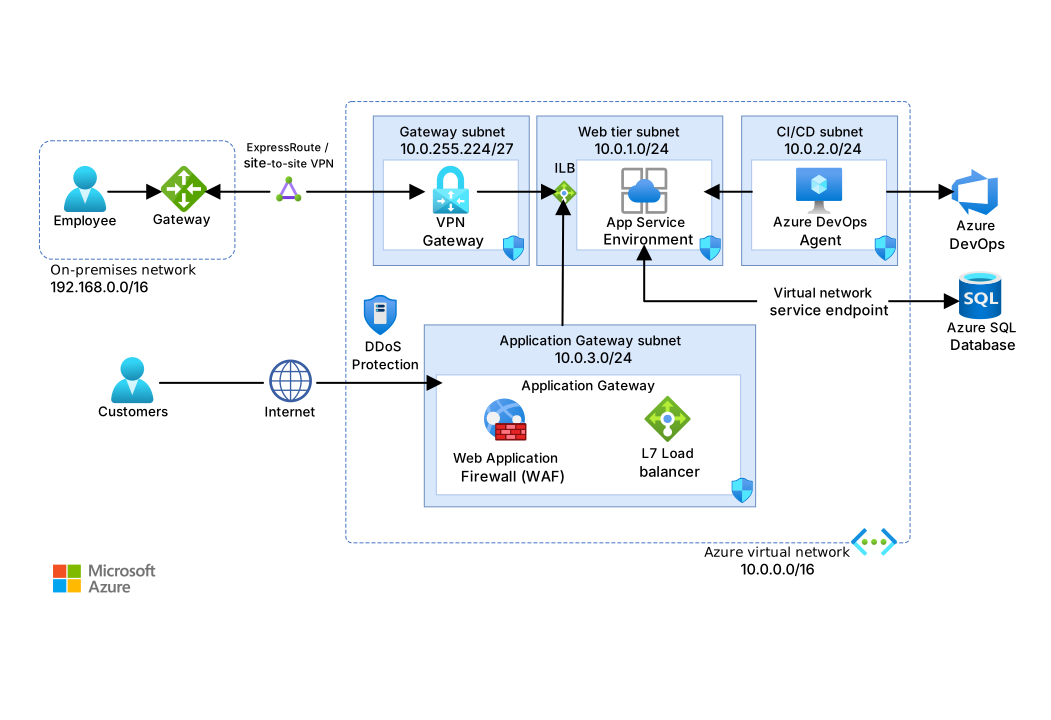
Credit: learn.microsoft.com
Choosing The Right Azure Service
Azure offers two main options for hosting web services: App Service and Virtual Machines. App Service is great for easy setups. You can launch apps fast. It handles updates and security. This is good for simple web apps.
Virtual Machines give more control. You can set up the system your way. But, it requires more work. You manage updates and security. This is better for complex apps.
Budget is key when choosing a service. App Service usually costs less. It has set pricing tiers. This helps in planning costs. Virtual Machines may cost more. You pay for what you use. Costs can rise with high usage.
Always check the latest prices on Azure. Prices can change. Choose what fits your needs and budget best.
Preparing Your Web Application
Choose a programming language for your web app. Popular choices include Python, JavaScript, and Java. Each language has its own frameworks. Python has Django and Flask. JavaScript offers Node.js. Java provides Spring. Select a framework that fits your needs. Consider the community support. Check for available documentation. Make sure it suits your project size.
Start by organizing your project files. This includes code, libraries, and dependencies. Use a tool like npm or pip for package management. Compress your files into a ZIP archive. This will be your deployment package. Ensure all necessary files are included. Test the package locally. Verify everything works as expected. A well-prepared package ensures smooth deployment.
Deploying To Azure App Service
A resource group is a container for your Azure resources. Start by logging into your Azure portal. Click on “Create a resource.” Choose “Resource Group.” Name your resource group and select your region. Click “Review + Create” and then “Create.”
An App Service helps you host web apps. First, go to your resource group. Click “Add” and search for “App Service.” Choose the right plan for your needs. Name your app service and pick a runtime stack. Click “Review + Create” and then “Create.”
There are many ways to deploy your app. Use FTP, Git, or Azure DevOps. Choose a method that suits your team. Each method has its own setup steps. Follow instructions for your chosen method. Deployment is key for your app to go live.
Configuring Your Web Service
Environment variables are key for configuration. They store important data like API keys and database URLs. Use Azure’s portal to set them up. Navigate to your app’s settings. Click on “Configuration”. Add your variables there. This keeps sensitive information safe. Make sure names are clear. Avoid using spaces in names. Use underscores instead. This helps with readability.
Custom domains give your service a unique address. Set this in the Azure portal. First, select “Custom domains”. Then, add your domain name. Verify ownership with DNS records. A custom domain looks professional. It builds trust with users. It’s easy to remember too. Make sure you have a domain ready. Follow the steps carefully. Your web service will be accessible by your unique domain.
Monitoring And Maintaining
Azure Monitor helps you check your web service. It shows important data. Like how your service is doing. If something goes wrong, it alerts you. You can also see past data. This helps to fix issues quickly.
Azure makes scaling easy. You can add more resources as needed. This keeps your service fast. Performance optimization is key. It makes sure your service runs smoothly. You can tweak settings for better results. This keeps users happy.
Securing Your Web Service
Setting up a simple web service in Azure ensures your data remains protected. Use Azure’s secure infrastructure to host your service efficiently. Follow straightforward steps to deploy and manage your web service with ease.
Implementing Ssl/tls
SSL/TLS protects your web service. It keeps data safe. Users trust sites with SSL/TLS. Encrypt your data. Make it hard to steal. Get a certificate. Use a trusted provider. Install it on your server. Check for updates often. Keep your security strong. Use strong passwords and keys. Make them hard to guess. Always use the latest version. Keep hackers away.
Access Control And Authentication
Access control limits who can see your service. Only let trusted people in. Use authentication to check users. Ask for a username and password. Make passwords strong. Change them often. Use two-step verification. Send a code to the user’s phone. Check before giving access. Log every access. Watch for strange activity. Keep users safe. Protect your service.

Credit: www.youtube.com
Troubleshooting Common Issues
Deploying a web service in Azure often faces issues like network connectivity and configuration errors. Identifying these problems early simplifies troubleshooting and ensures a smoother hosting experience. Regular monitoring of server performance helps prevent and resolve potential disruptions quickly.
Debugging Deployment Failures
Deployment failures can be frustrating. First, check the error logs. These logs often show what went wrong. Use Azure’s Monitoring Tools for this. They can help find issues quickly. Ensure all necessary files are included in the deployment package. Missing files can cause failure. Verify your network settings. Incorrect settings can block deployment. Lastly, review your permissions. Lack of proper permissions can halt the process.
Handling Downtime
Downtime affects user experience. Always keep a backup ready. A backup can restore services quickly. Set up alerts for downtime notifications. Alerts help you act fast. Use Azure’s Autoscale feature. Autoscale adjusts resources automatically. This can reduce downtime. Ensure your servers are updated regularly. Updates fix bugs and improve performance. Consider using multiple regions. Hosting in different regions improves reliability.
Frequently Asked Questions
How To Create A Web Service In Azure?
To create a web service in Azure, access Azure Portal. Click “Create a resource” and select “Web App”. Configure your app settings, choose your subscription and resource group, then deploy. Access your new service via the provided URL.
How Do I Setup An Azure Web Server?
To set up an Azure web server, log into Azure Portal. Create a new virtual machine. Select your desired configurations and operating system. Deploy the virtual machine. Install web server software like IIS or Apache. Configure security settings and DNS.
Ensure the server is running smoothly.
Is Azure A Web Hosting Service?
Yes, Azure offers web hosting services. It provides scalable solutions for websites and web apps. Azure supports various programming languages and frameworks. Its services include virtual machines, databases, and content delivery networks. Businesses can leverage Azure’s flexibility and global reach for their hosting needs.
How Do I Start Hosting A Web Service In Azure?
To host a web service in Azure, first create an Azure account. Next, navigate to Azure Portal and select “Create a resource”. Choose “Web App” to start setting up your web service. Follow the prompts to configure your app and deploy your code.
Conclusion
Hosting a web service in Azure is straightforward and effective. It offers scalability, security, and easy management. Start small and expand as needed. Azure simplifies the process with user-friendly tools. Follow the steps outlined for a smooth experience. Keep exploring Azure features to enhance your web service.
Remember, simplicity is key to maintaining efficiency. A reliable web service ensures user satisfaction. Azure’s resources help you stay competitive. Embrace the cloud for flexibility and growth. Enjoy the benefits of a simple, well-hosted web service in Azure. Happy hosting!


