
Are you ready to take your website live but feeling a bit lost with the technical steps? Connecting your GoDaddy site to a web hosting cPanel might seem overwhelming, but it doesn’t have to be.
Imagine the thrill of seeing your website up and running for the world to see. In this guide, we’ll walk you through each step, simplifying the process so you can confidently link your GoDaddy domain to your web hosting cPanel.
Whether you’re a seasoned tech enthusiast or a complete beginner, you’ll find this guide packed with easy-to-follow instructions that put you in control. Get ready to unlock the full potential of your website and watch your online presence flourish. Dive in and let’s make it happen together!
Credit: www.godaddy.com
Choosing The Right Hosting Plan
Selecting a hosting plan is crucial for your website. A good plan ensures your site runs smoothly. Consider your website’s size and monthly traffic. Small sites need less space and bandwidth. Larger sites may need more resources. Look for plans with 24/7 support. This helps if something goes wrong. Choose a plan with a strong reputation for reliability. Check reviews before buying. Some plans offer extras like free SSL certificates. These help secure your site. Remember to compare prices. A cheap plan might lack important features. Look for a balance of cost and benefits. Start small and upgrade later if needed.
Accessing Your Godaddy Account
Start by opening the Godaddy website in your browser. Click on the Sign In button at the top. Enter your username and password. Once logged in, you will see the dashboard. Look for the menu options on the left side. You can manage your domains and other services here.
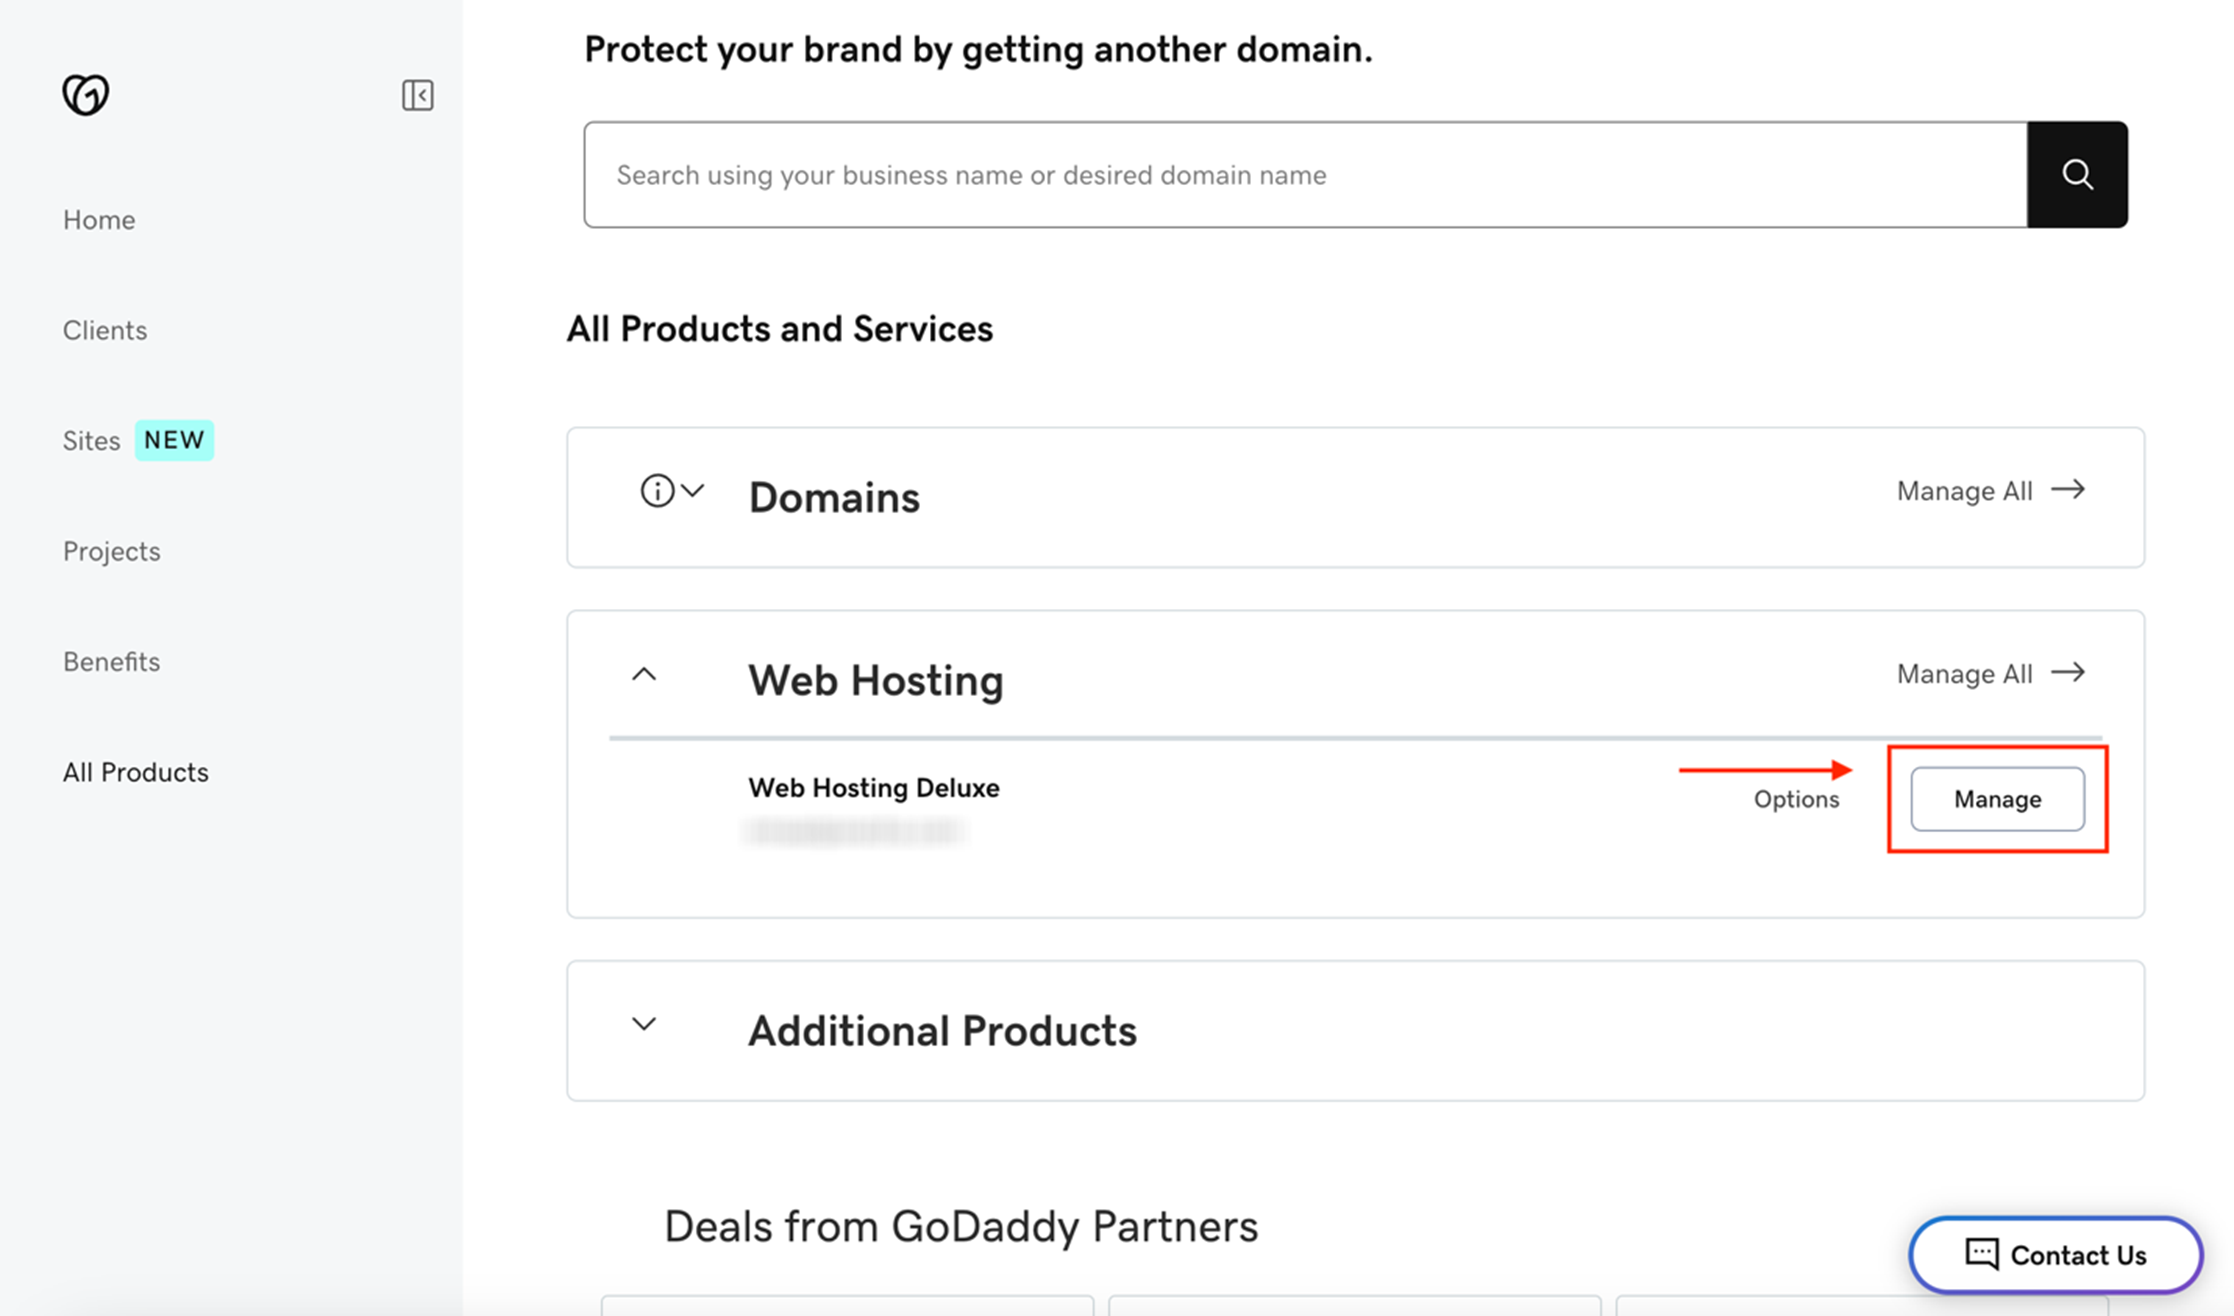
On the dashboard, find the My Products section. This section shows all your services. Click on Domains to see your list of domains. Select the domain you want to connect. Find the DNS or Manage button. This will take you to the domain settings. Here, you can change the nameservers or any DNS settings needed.
Setting Up Nameservers
First, log in to your GoDaddy account. Go to the “My Products” section. Find your domain name listed there. Click on the DNS button next to it. A page will open with your domain details. Look for the Nameservers section. Here, you can see the current nameservers. Write these nameservers down. You need them for updating.
Go to the DNS page of your domain. Find the “Nameservers” option. Click on “Change” to update them. Enter the new nameservers provided by your web hosting provider. Double-check the nameserver details. Click “Save” to update the information. Wait for the changes to take effect. This might take a few hours. Your site is now connected to your web hosting cPanel.
Configuring Dns Settings
First, log into your GoDaddy account. Navigate to the DNS Management page. You will see the DNS Zone Editor option. Click on it. This editor helps manage your domain’s DNS. It’s important for connecting to hosting.
Look for the DNS records list. Find the A record. This points your domain to an IP address. You need to update this with your hosting server’s IP. Also, check the CNAME record. It should point to your web hosting’s server name. Save changes when you’re done. Wait a few hours. This helps the changes take effect.
Connecting To Web Hosting Cpanel
Start by visiting your web hosting provider website. Use your username and password to log into the Cpanel. Locate the login area on the home page. Enter your credentials carefully. Click the login button to proceed.
Check if your domain is linked properly. Open the domain manager in your Godaddy account. Look for the domain you want to connect. Verify if the nameservers match those provided by your host. Ensure your DNS settings are correct. If wrong, adjust them accordingly.
Credit: www.godaddy.com
Uploading Website Files
Connecting your GoDaddy site to a web hosting cPanel is simple. First, log in to your GoDaddy account. Next, access your cPanel, and locate the file manager. Upload your website files to the public_html folder. This ensures your site is live and accessible online.
Using File Manager
The File Manager is inside your cPanel. It helps you upload files easily. First, open cPanel and click File Manager. Find the folder called public_html. This is where your website files go. Click Upload. Choose the files from your computer. Once uploaded, they appear in the folder. Always check if they uploaded correctly. This method is fast and simple. Great for small websites.
Uploading Via Ftp
FTP stands for File Transfer Protocol. You need an FTP client like FileZilla. First, open your FTP client. Enter your hostname, username, and password. Connect to your server. Find the public_html folder again. Drag and drop your files here. Make sure all files upload correctly. This method is good for large files. It may take longer than using File Manager. Always ensure the connection is secure.
Testing Website Functionality
Ensure the website can load on different devices. Try phones, tablets, and computers. Test the site on various browsers too. Chrome, Firefox, and Safari are popular choices. If the site loads everywhere, it’s a good sign. Slow or broken pages need fixing. They can frustrate visitors.
Sometimes, sites have errors. Error 404 is common. It means a page is missing. Double-check the page link. Fix any typos or mistakes. Another issue is slow loading. Large images or files can cause this. Compress them to speed up the site.
Credit: www.godaddy.com
Frequently Asked Questions
How Do I Connect My Godaddy Domain To Cpanel Hosting?
Log in to your GoDaddy account, access Domains, select your domain, and update DNS settings. Enter your cPanel hosting nameservers. Save changes and wait for propagation. Your domain will then connect to your cPanel hosting.
How To Connect Godaddy Domain And Hosting?
Log in to GoDaddy, navigate to “My Products”, select your domain, and click “Manage DNS”. Update the nameservers to match your hosting provider’s details. Wait for propagation, which usually takes a few hours. Your domain will now point to your hosting.
How To Access Cpanel From Godaddy?
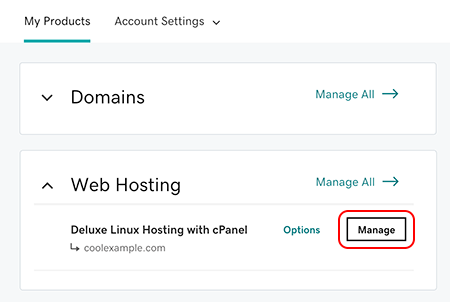
Log in to your GoDaddy account. Navigate to “My Products. ” Find your hosting plan and click “Manage. ” Select “cPanel Admin” to access cPanel.
Does Godaddy Hosting Use Cpanel?
Yes, GoDaddy hosting uses cPanel for Linux hosting plans. CPanel provides a user-friendly interface for managing websites. For Windows hosting, GoDaddy uses Plesk instead.
Conclusion
Connecting your GoDaddy site to a web hosting cPanel is simple. Follow each step carefully. Check your domain settings first. Then, access your cPanel account. Use the cPanel to manage files and databases. Ensure your DNS records are correct. This ensures smooth website performance.
A well-connected site improves user experience. Troubleshoot any issues as they arise. This helps maintain site functionality. With these steps, your site will be online quickly. Enjoy managing your website with ease. Happy hosting!


