
Ready to launch your website but unsure how to transfer your HTML files to a web hosting site? You’re in the right place.
Navigating the world of web hosting might seem daunting, but with the right guidance, it becomes a straightforward process. Imagine seeing your site live, accessible from anywhere in the world, all because you took the right steps. This guide will empower you with the knowledge to make that happen.
We’ll break down the process into simple, manageable steps, ensuring you avoid common pitfalls. Stay with us, and you’ll soon have your site up and running seamlessly. Curious about how easy it really is? Keep reading to find out how you can confidently transfer your HTML files to your chosen web hosting site.
Choosing The Right Web Hosting
Shared hosting is the most common type. Many websites use one server. It’s cheap but can be slow.
VPS hosting gives you more control. You share the server but have your own space. It’s faster than shared hosting.
Dedicated hosting means you get the whole server. It’s very fast but costs more. Good for big sites.
Cloud hosting uses many servers. If one fails, others help. It’s flexible and reliable.
- Check the cost. Can you afford it?
- Look at the speed. Fast sites are better.
- See if there’s support. Help is important.
- Think about security. Safe sites protect data.
- Know the space. Enough space is needed.

Credit: www.buylandingpagedesign.com
Preparing Your Html Files
Keep your HTML files neat and tidy. Use folders for different types of files. For example, images go in an images folder. CSS files belong in a css folder. This makes everything easy to find. Avoid a messy workspace. It saves time when you upload later.
Always test your files on your computer first. Open your HTML file in a web browser. Check if everything looks good. If something is broken, fix it now. You want things perfect before uploading. Testing saves trouble later. Make sure links work and images show.
Using Ftp For File Transfer
FTP clients help move files to a web server. First, download a trusted FTP client. FileZilla is a popular choice. Then, install it on your computer. Next, open the client and find the connection settings. Enter your FTP server address, username, and password. These details come from your web host. Make sure you connect using port 21. Once connected, you can start uploading files.
After setting up your FTP client, find your website’s root folder. It’s often named “public_html” or “www”. Drag your HTML files into this folder. The files will start uploading. Look at the status window to see progress. Once done, check your website in a browser. Make sure everything looks right. If files don’t upload, check your internet connection or FTP settings.
Utilizing A Control Panel
First, log in to your web host account. Find the link to the control panel. It might be named cPanel or Plesk. Click to open it. You will see many tools and options. Look for the File Manager. This is where you can upload files.
Open the File Manager. Navigate to your public_html folder. This is where your website files go. Click the upload button. Choose your HTML files. Wait for the upload to finish. Check that all files are in the right place. This ensures your site works well.
Setting Up Domain And Dns
You need a domain name to have a website. Choose a name for your site. Keep it simple and related to your content. Many companies sell domain names. GoDaddy and Namecheap are popular. They make it easy to buy a domain. You will pay a fee each year. After buying, the domain is yours. Now, you can build your site.
DNS settings link your domain to your site. They tell the internet where your site is. You will find these settings in your domain account. You must enter the IP address of your hosting. This connects your domain to the server. It might take some time to update. Be patient and check back later.
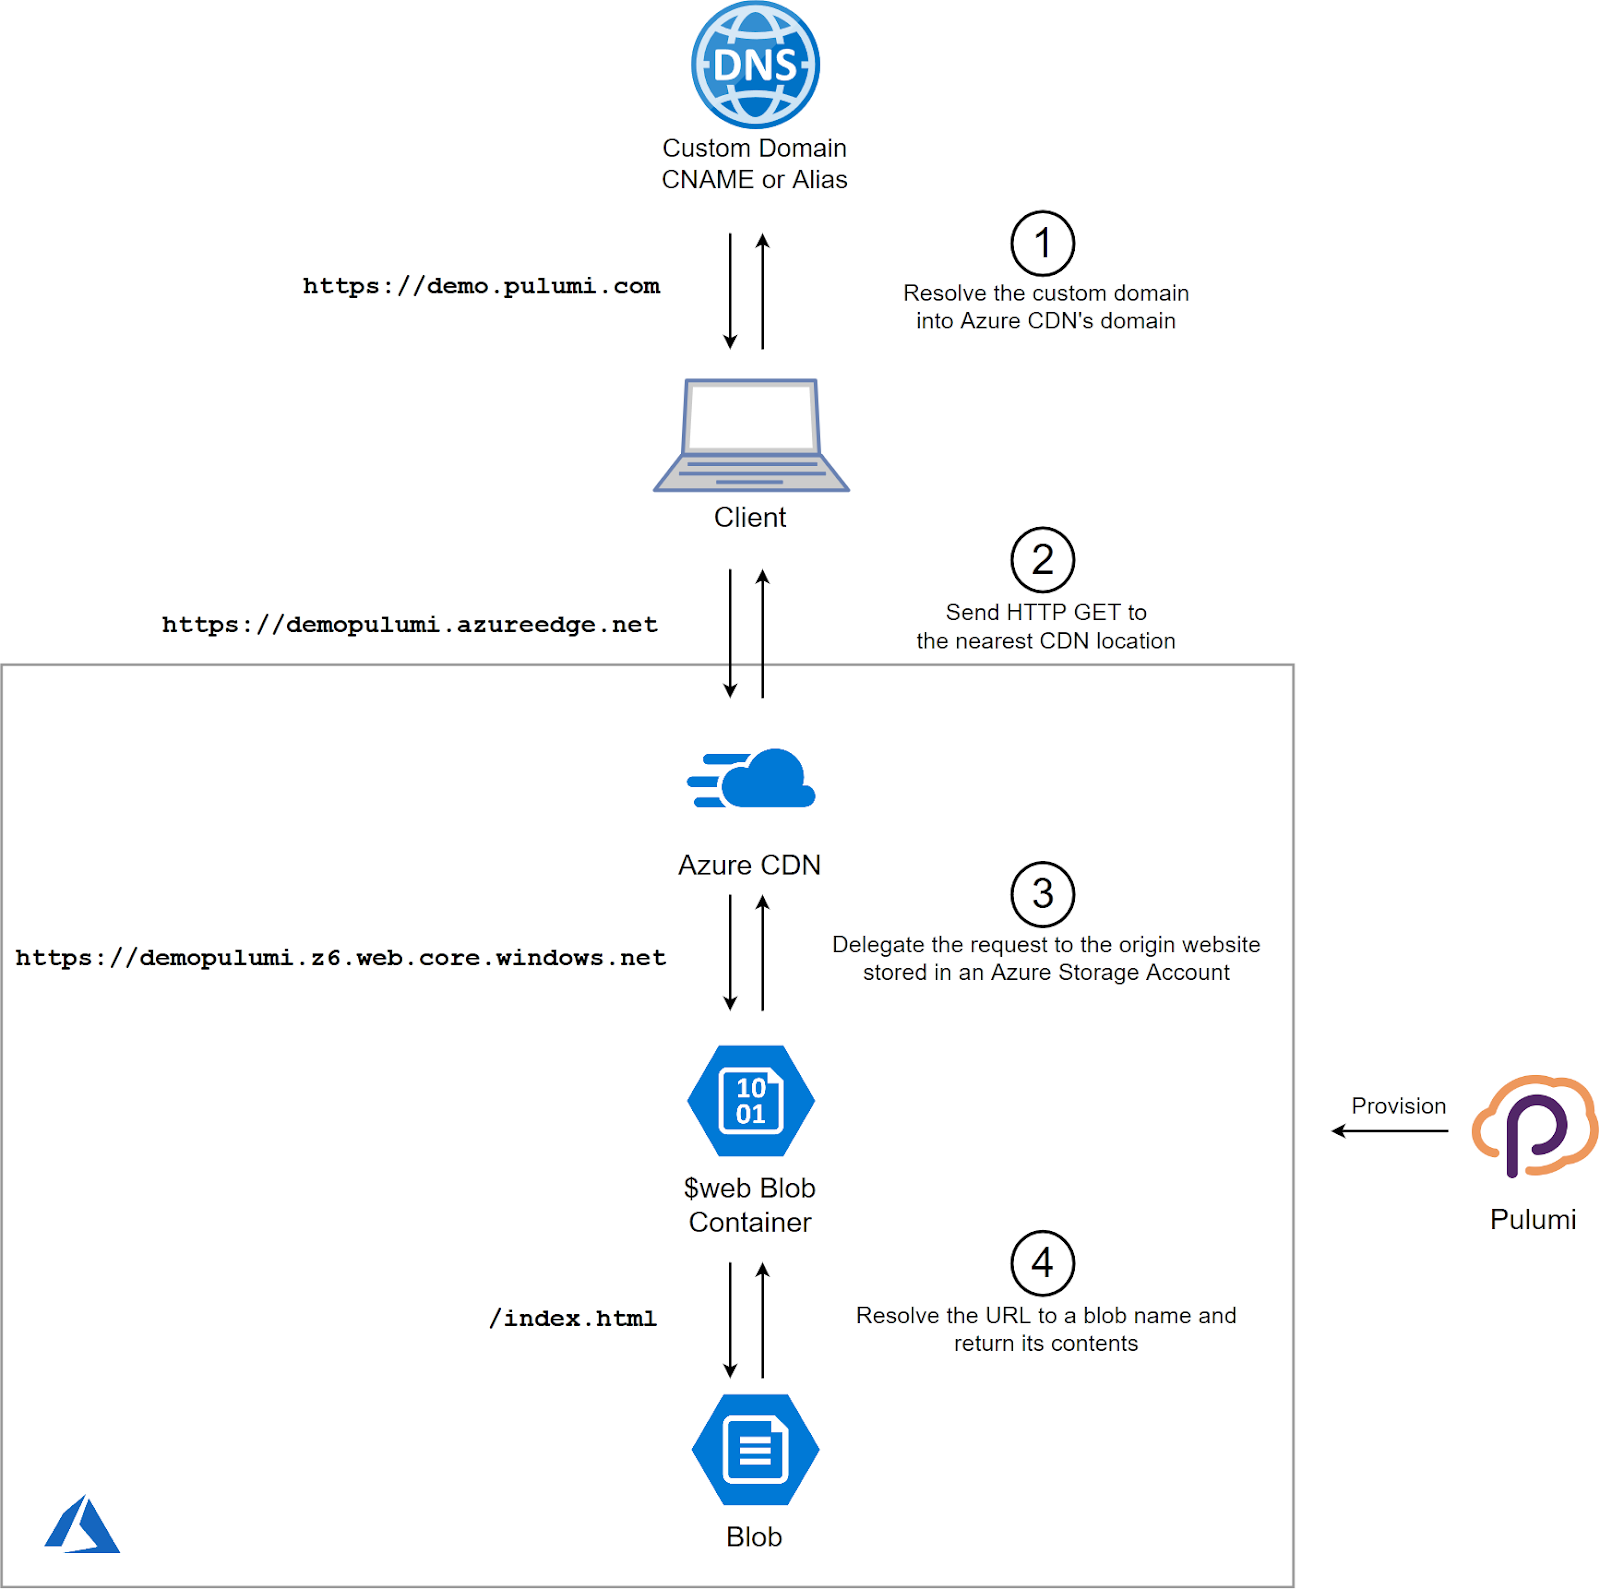
Credit: www.pulumi.com
Verifying And Testing The Website
Always check your website for errors before going live. Use a validator tool to find mistakes in your HTML code. These tools highlight issues like missing tags or wrong attributes. Fix each error carefully. This makes your site work well for everyone.
A website must look good on all devices. Test on phones, tablets, and computers. Change sizes to see if the layout adapts. Use tools to check how the site responds to different screen sizes. Fix any problems you find. This ensures all users have a great experience.
Troubleshooting Common Issues
Upload errors can be frustrating. File size limits might cause issues. Compress large files before uploading. Incorrect file paths often lead to errors. Double-check your paths. Ensure file permissions are correct. Wrong permissions can block uploads. Use an FTP client to check permissions.
DNS issues can affect website access. Incorrect DNS settings are a common problem. Verify settings in your hosting account. Propagation delays can cause temporary access issues. DNS changes can take time. Check DNS records for errors. Use online tools for DNS checks. Some ISP settings might cause problems. Contact your ISP for help if needed.

Credit: www.facebook.com
Maintaining Your Website
Transferring HTML files to a web hosting site involves uploading files to the server using FTP. Start by connecting to your server with an FTP client. Drag and drop HTML files into the public_html folder to make them accessible online.
Regular Backups
Regular backups are vital for your website’s safety. They help keep your data safe from loss. Always create backups for your files. This step ensures you can restore your website quickly. Use backup tools provided by your web host. These tools make backing up easy and fast. Store your backups in a safe place. Cloud storage is a good option. It keeps your backups secure and accessible.
Updating Content
Updating content keeps your website fresh. It attracts more visitors and improves SEO. Add new articles or blog posts. Change outdated information promptly. Use clear and simple language. This helps all readers understand your content. Regular updates show your site is active. This boosts trust with your audience. Engage your visitors with relevant and timely content. Keep them coming back for more.
Frequently Asked Questions
How Do I Upload An Html File To Hosting?
To upload an HTML file, access your hosting control panel. Use the file manager or FTP client. Navigate to the desired directory and click upload. Select your HTML file and confirm. Ensure your file path matches the website structure. Check your website for successful upload.
How To Convert Html Code Into A Website?
Open your HTML file using a text editor. Save it with a. html extension. Upload the file to a web hosting service. Ensure your host supports HTML websites. Access the site through your domain name, confirming proper display and functionality.
What Allows You To Transfer Your Html Files To A Web Server?
You can transfer HTML files to a Web server using FTP (File Transfer Protocol) software. Popular FTP clients include FileZilla and Cyberduck. These tools provide a user-friendly interface to upload and manage files on the server. Ensure your server credentials are correct for a successful transfer.
How Do I Send My Html Website To Someone?
To send your HTML website, compress the files into a ZIP folder. Attach the ZIP file to an email or upload it to a cloud storage service like Google Drive. Share the link or email with the recipient, ensuring they can download and access the website files easily.
Conclusion
Transferring HTML to a web hosting site is simple. Follow the steps carefully. Start by choosing a reliable host. Upload your HTML files using an FTP client. Check your website’s appearance after upload. Troubleshoot any errors promptly. Always keep backups of your files.
This prevents data loss. Practice will make the process easier. Soon, you’ll manage website transfers confidently. Remember, patience is key. Step by step, you’ll improve. Now, you’re ready to share your website with the world. Happy hosting!


