
Are you ready to take the leap and host your very own web page using IIS? You might think it sounds complicated, but don’t worry—you’re not alone, and we’re here to guide you through it.
Imagine being able to showcase your projects, share your thoughts, or even start a small business website from the comfort of your own server. With IIS, it’s not just possible; it’s straightforward when you know the right steps. In this guide, you’ll discover how to configure IIS to host your web page.
We’ll break down the process into simple, manageable steps, so you can have your site up and running in no time. Dive in and let us help you unlock the power of IIS hosting. Your journey to becoming a web host starts here!
Setting Up Iis
Open the Control Panel. Click on Programs. Find Turn Windows features on or off. Click it. Look for Internet Information Services. Check the box. Click OK. Wait for the installation to finish. Restart your computer if needed.
Open the Control Panel again. Go to Programs. Find Turn Windows features on or off. Click it. Expand Internet Information Services. Check the boxes for Web Management Tools and World Wide Web Services. Click OK. Wait for changes to apply. Restart the computer if asked.
Credit: knowledge.digicert.com
Creating A Website In Iis
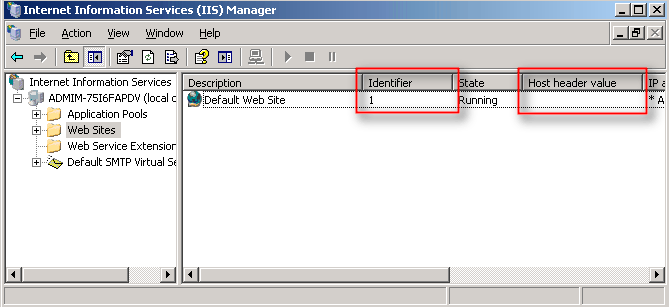
Open IIS Manager on your computer. Find the “Sites” folder. Right-click it. Choose “Add Website” from the menu. A new window will pop up. Fill in the site’s name. This name is for identification. Choose an application pool or create a new one. Now, your site has a place in IIS.
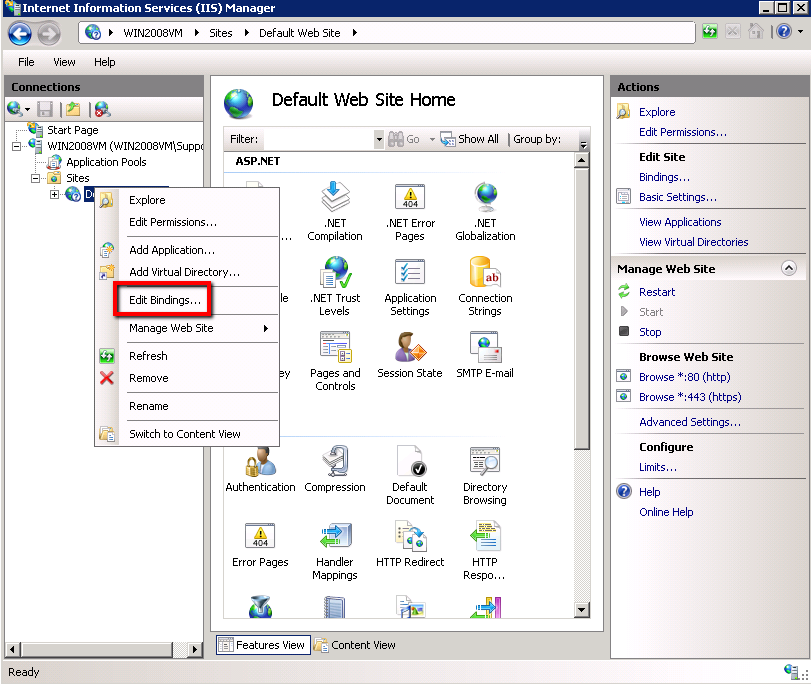
In the same window, look for “Bindings”. Click on it. A box will appear. Enter the hostname. This is your site’s address. Select the port number. Port 80 is common for web pages. Click “OK” to save. Your site now knows where to listen for requests.
Go back to the “Add Website” window. Find the “Physical path” box. Click the “…” button. A new window opens. Find your website files on your computer. Select the folder. Click “OK”. Now, IIS knows where your files are. Your site is ready to show these files.
Configuring Web Page Settings
IIS lets you set a default document for your site. This is the first page users will see. You can choose a file like index.html. Go to the IIS Manager. Click on your site. Look for Default Document. Add or remove files. Make sure your chosen file is at the top.
MIME types tell browsers how to open files. Important for serving correct content. Go to the IIS Manager. Find MIME Types. Add new types if needed. Example: .mp4 for video files. Type the extension and its type. Make sure all important files have a MIME type.
Request limits control how many requests a server handles. Important for performance and security. Go to the IIS Manager. Find Request Filtering. Set limits for file size and number of requests. Helps in keeping the server fast and safe. Adjust as needed for your site.
Setting Up Application Pools
First, open IIS Manager. Find the Application Pools section. Click Add Application Pool. Name your pool. Choose the .NET version. Select the Managed Pipeline Mode. Default is usually fine. Click OK to create the pool. Your new application pool is ready!
Select your site in IIS Manager. Click on Basic Settings in the Actions pane. Under Application Pool, choose the pool you created. Click OK to save changes. Now, your site uses the new pool. Easy setup in just a few steps!
Securing Your Web Page
SSL/TLS makes your page safe. It encrypts data between the server and user. Install a certificate on your server. This ensures secure connections. It stops hackers from stealing data. Use a trusted provider for certificates.
Authentication checks who visits your page. It makes sure only the right people can access. Use usernames and passwords. This helps keep your page safe. Choose strong passwords. Update them often for extra security.
Authorization Rules control what users can do. Decide who can see or edit content. Set rules for different users. Admins might see more than guests. Make rules clear and simple. This helps keep your page organized. It also protects sensitive data from wrong users.

Credit: learn.microsoft.com
Testing And Troubleshooting
Setting up IIS to host a web page involves simple steps. First, install IIS through Windows Features. Then, configure a new website by specifying the site’s name and physical path. Finally, test the setup by accessing the website through a browser.
Testing Site Accessibility
Check if your site is live on the web. Use a web browser to visit your website. Enter the URL and press enter. The page should load without errors. If it doesn’t, check your IIS settings. Ensure the server is running. Confirm the site bindings are correct. Double-check the firewall settings. These steps help in fixing accessibility issues.
Analyzing Iis Logs
IIS logs record every action on your server. Open the logs to find errors. Look for codes like 404 or 500. These codes show where problems are. A 404 code means a page is missing. A 500 code means a server error. Checking logs helps in understanding what went wrong. Always keep logs updated.
Common Troubleshooting Tips
- Restart the IIS server if there is an issue.
- Check your network connection.
- Ensure all services are running.
- Verify DNS settings for accuracy.
- Check for typos in configurations.
Credit: knowledge.digicert.com
Frequently Asked Questions
How To Host A Webpage In Iis?
Open IIS Manager, create a new website, set the physical path, and assign a port number. Bind the site to a domain, adjust necessary permissions, and start the website. Ensure the server is configured and running to successfully host your webpage.
How To Configure Iis Web Server?
Install IIS via Windows Features. Open IIS Manager. Add a new website under “Sites”. Configure bindings, select the application pool, and set the physical path. Adjust security settings if needed. Apply changes and restart the server to finalize configuration.
Can A Windows Server Host A Website?
Yes, a Windows server can host a website using IIS (Internet Information Services). It supports ASP. NET, PHP, and other technologies. Windows servers offer robust security features and scalability options. You can efficiently manage websites through its user-friendly interface and integration with Microsoft products.
How To Configure Url In Iis?
Open IIS Manager and select your website. Click on “Bindings” to add or edit URLs. Choose the type, enter the URL, and save changes. Ensure DNS settings match for proper resolution.
Conclusion
Configuring IIS to host a web page is straightforward. Follow each step carefully. Check settings to ensure your site runs smoothly. Don’t forget to update permissions. Review firewall settings for better security. Keep your server software up to date. Practice regular maintenance for optimal performance.
Troubleshoot errors promptly to avoid downtime. Test your site from different devices and browsers. This enhances user experience. Hosting with IIS offers control and flexibility. Enjoy your web page running smoothly on IIS. Happy hosting!


