
Switching web hosts might seem daunting, but it doesn’t have to be. Whether you’re seeking better performance, improved customer service, or more competitive pricing, the decision to change can lead to significant benefits for your website.
You might worry about downtime or losing valuable data during the transition. Fear not—by the end of this guide, you’ll have the confidence to make the switch seamlessly. Discover the steps to ensure everything transfers smoothly, keeping your site running without a hitch.
Imagine feeling in control of your digital presence, knowing you’ve made the best choice for your needs. Let’s dive in and transform your web hosting experience.

Credit: www.facebook.com
Choosing The Right New Host
Assessing hosting needs is very important. Think about your website’s size. Also, consider traffic levels. Decide on the amount of storage you need. Consider if you need special features. Security and backup options are also crucial.
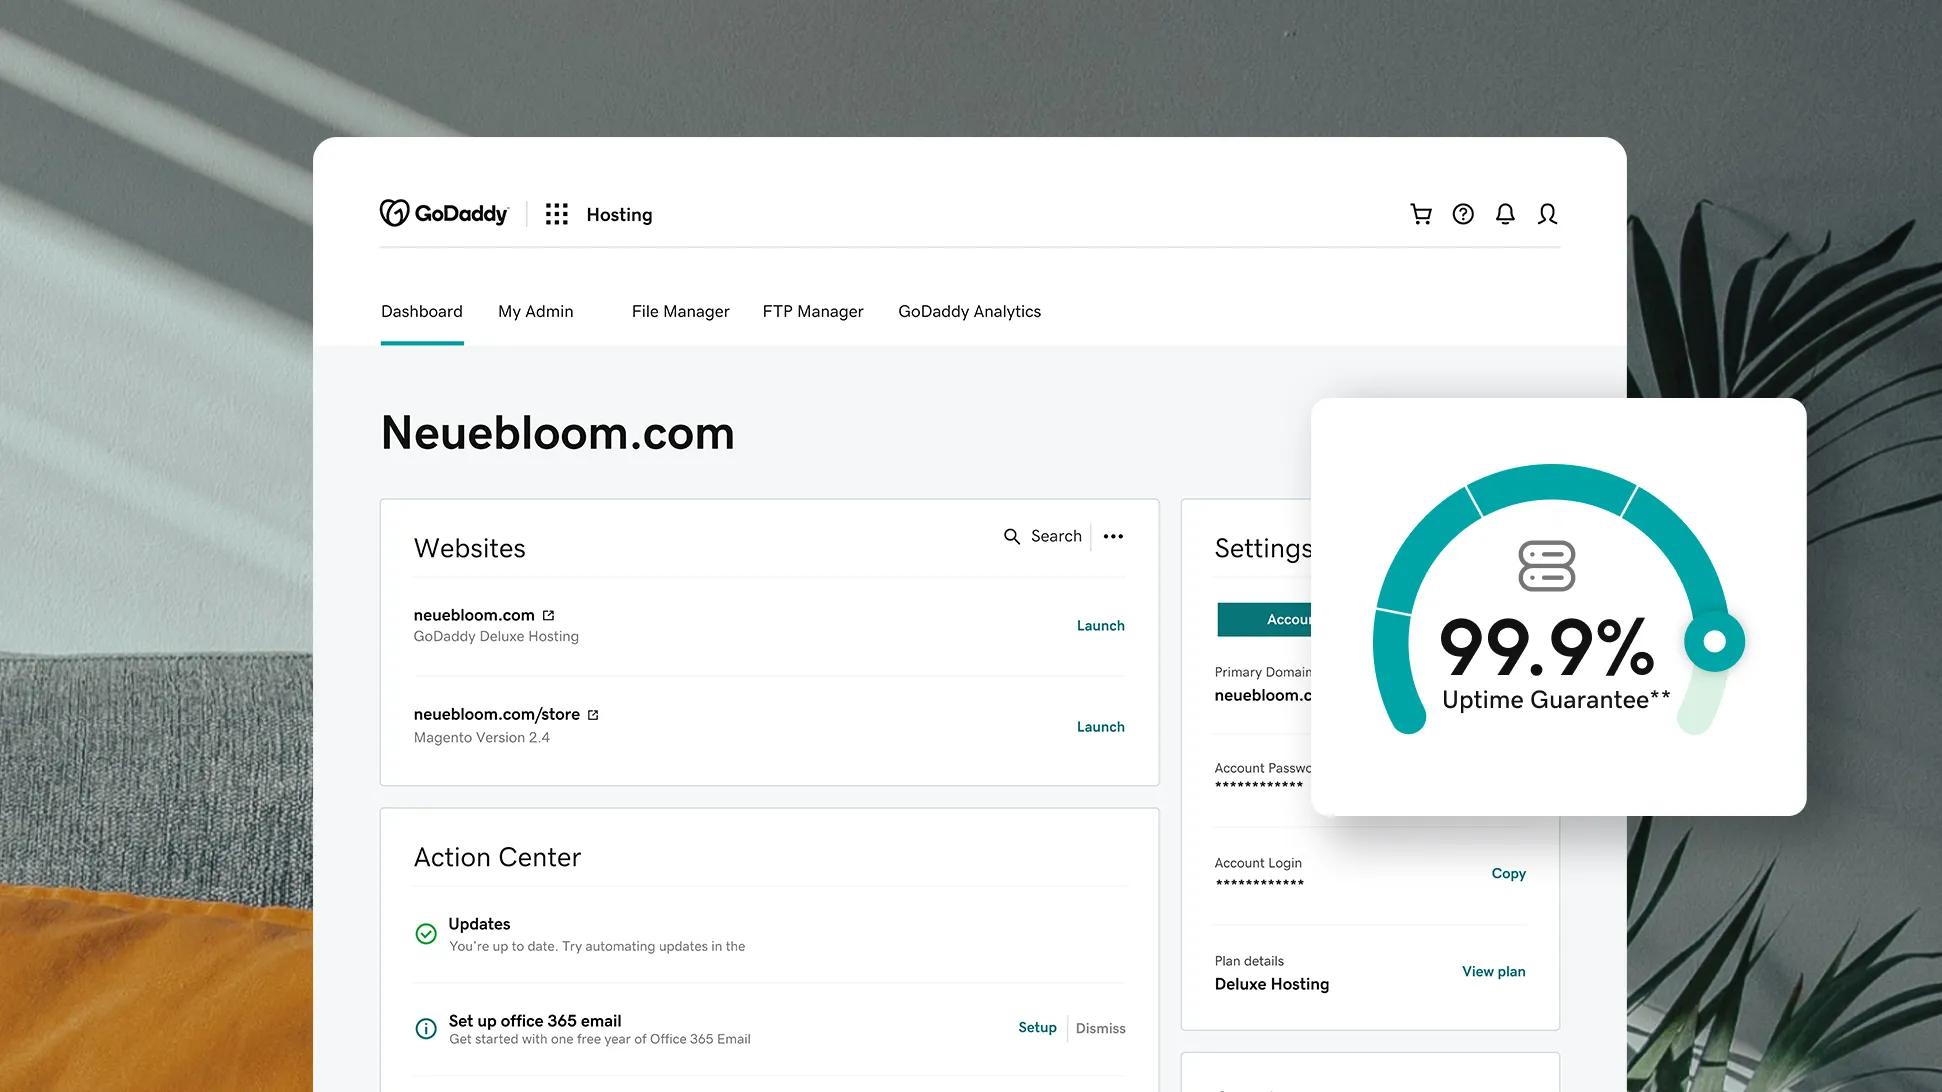
Start comparing hosting plans. Look at what each host offers. Check the pricing. See if they have good support. Find out about their uptime guarantee. Some hosts offer extra services. These could be useful for your site.
Take time reading user reviews. Real people share their experiences. They talk about good and bad things. Reviews can show if a host is reliable. They can also tell if support is helpful. Choose a host with positive feedback.
Credit: www.upwork.com
Preparing For Migration
Always create a backup of your website data. This protects against data loss. Use tools like cPanel or FTP for this task. Save a copy of your database and all files. Store them in a secure place. Double-check your backup is complete. It gives peace of mind.
A checklist helps you stay organized. List all tasks needed for migration. Include steps like updating DNS settings and checking all links. Mark tasks as you complete them. It ensures nothing is forgotten. Keep this list handy throughout the process.
Inform all stakeholders before the move. Let them know the timeline and possible downtime. Keep them updated with any changes. This helps everyone stay prepared. Good communication avoids confusion. It builds trust among your team.
Transferring Domain And Dns Settings
Unlocking Domain is the first step. This makes your domain ready for transfer. Go to your current registrar. Find the domain lock settings. Unlock it. This allows the transfer to happen smoothly.
Updating DNS Records is crucial. DNS records direct visitors to your site. Log into your new hosting account. Locate the DNS settings. Update them with the new host’s details. This ensures your site works well.
Setting Up Domain Redirection helps keep visitors. Use 301 redirects for this. It sends visitors from old to new site. This is important for keeping your traffic. Ensure everything redirects correctly.
Uploading Website Files
Transferring files is an important step in changing web hosts. Using FTP for File Transfer is a common method. FTP stands for File Transfer Protocol. It helps move files from your computer to your new host. You need an FTP client like FileZilla. Enter your new host’s details in the client. Then, connect and upload your website files. Ensure you follow the same structure as the original host.
Migrating Databases is the next step. Export your database from the old host. Use a tool like phpMyAdmin for this task. Save it to your computer. Then, import the database to the new host. Ensure the database name and user match. This keeps your site working.
Always check file permissions after uploading. Files need the right permissions to work. Use your FTP client to set these permissions. Check with your new host for correct settings. This prevents issues with accessing files.
Testing And Troubleshooting
Click on every link to see if it works. Make sure all images load. Test each form by filling it out. Check if videos and animations play. Ensure pages load quickly. Slow pages can frustrate users. Use different devices to test your site. A tablet, phone, and computer. Make sure it looks good on all.
Broken links can be fixed easily. Just update the URL. If a page does not load, check the file path. Missing images? Re-upload them to the server. Plugins might cause problems. Disable them one by one. See if the issue stops. Update all software regularly. This keeps your site safe and fast.
Send a test email to yourself. Check if it arrives. Look in the spam folder if not. Confirm the email server settings. They should match your host. Use a simple subject line. Avoid special characters. Make sure email forwarding works. Forward emails to another account. See if they reach.
Finalizing The Migration
Change your DNS settings to point to the new host. This ensures your website is reachable. Find your new host’s DNS details in their control panel. Update these in your domain registrar account. Save the changes and wait for them to take effect. This might take up to 48 hours. During this time, your site may seem unstable. Do not worry, it’s normal.
Check your website’s speed on the new host. Use online tools like Google PageSpeed Insights. Ensure all pages load correctly. Test your site on different browsers. Look for any errors or broken links. Fix these issues quickly. Keep an eye on your site’s uptime. Your new host should provide a monitoring tool for this.
Make sure your site keeps its rank on search engines. Update your sitemap if needed. Submit it to Google Search Console. Check for broken links and fix them. Use 301 redirects if any URLs have changed. This helps search engines find your site again. Stay consistent with your content and keywords.
Post-migration Tips
Switching web hosts? Ensure a smooth transition by backing up your data. Check all links and functionalities after the move. Update your DNS settings promptly for minimal downtime.
Updating Website Content
Moving a website can break links. Check and fix broken links. Update any outdated content. Ensure images load properly. Keep your site fresh and relevant. This helps users and boosts search engine rankings.
Reviewing Security Settings
Security is very important. Ensure your firewall settings are correct. Update all passwords to strong ones. Use SSL certificates for secure connections. Check permissions for all files and folders. Protect your site from unauthorized access.
Regular Backup Schedule
Backups save your data. Set a regular schedule for backups. Use automated backup tools if available. Store backups in a safe location. This ensures you can restore your site if needed. Regular backups mean peace of mind.
Credit: www.godaddy.com
Frequently Asked Questions
How Do I Move From One Web Host To Another?
Backup your website files and database. Choose a new host and set up your account. Transfer files using FTP. Update your domain’s DNS settings to point to the new host. Check everything is working before canceling the old hosting.
How Do I Shift A Website From One Server To Another?
To shift a website, backup files and databases. Transfer them to the new server using FTP. Update DNS settings to point to the new server IP. Ensure server configurations match. Test the website thoroughly to confirm functionality before finalizing the transfer.
How Long Does It Take To Change Website Hosting?
Changing website hosting usually takes 24 to 72 hours. This includes DNS propagation time. Use a reliable host for a smoother transition. Always back up your website data before making changes. Ensure all settings are correctly configured to avoid downtime.
How Do I Move My Domain To A New Host?
To move your domain to a new host, first unlock it and obtain the transfer code. Initiate the transfer process at the new host, confirm the transfer via email, and wait for completion. Update DNS settings at the new host for seamless domain functionality.
Conclusion
Switching web hosts can seem daunting. But it’s manageable with a plan. Start by choosing a reliable host. Then, back up your site. Transfer files carefully. Update domain settings. Test everything twice. Make sure links and emails work. Keep communication open with the new host.
This helps solve any issues quickly. A smooth transition ensures your site’s performance remains high. Your readers won’t notice the change. Stay organized, and the process will be straightforward. You’ll soon enjoy the benefits of a better hosting service. Happy hosting!


