
Are you thinking about expanding your online presence with a new website? If so, you’re in the right place.
Creating another website using your existing web hosting package can be a smart and cost-effective move. Whether you’re looking to start a new blog, launch a side business, or simply explore a new niche, understanding how to maximize your current resources is key.
We’ll guide you step-by-step on how to leverage your web hosting package to build another website effortlessly. Get ready to unlock the potential of your digital real estate, and discover just how easy it can be to broaden your online horizons. Stay with us as we delve into practical tips and insightful strategies that will empower you to get your new website up and running without the hassle.
Choosing The Right Web Hosting Package
Check if the hosting package has enough storage and bandwidth. This is important for your new website. Some hosting plans offer free domain names. Others provide email accounts and SSL certificates. These features help your website grow. Security features are also necessary. They protect your site from bad hackers.
Look at the costs of different hosting plans. Some are cheap but offer less features. Others are expensive but have more. It’s important to find a balance. Check if there are hidden fees. Some plans have extra costs for renewals. Read the fine print carefully.
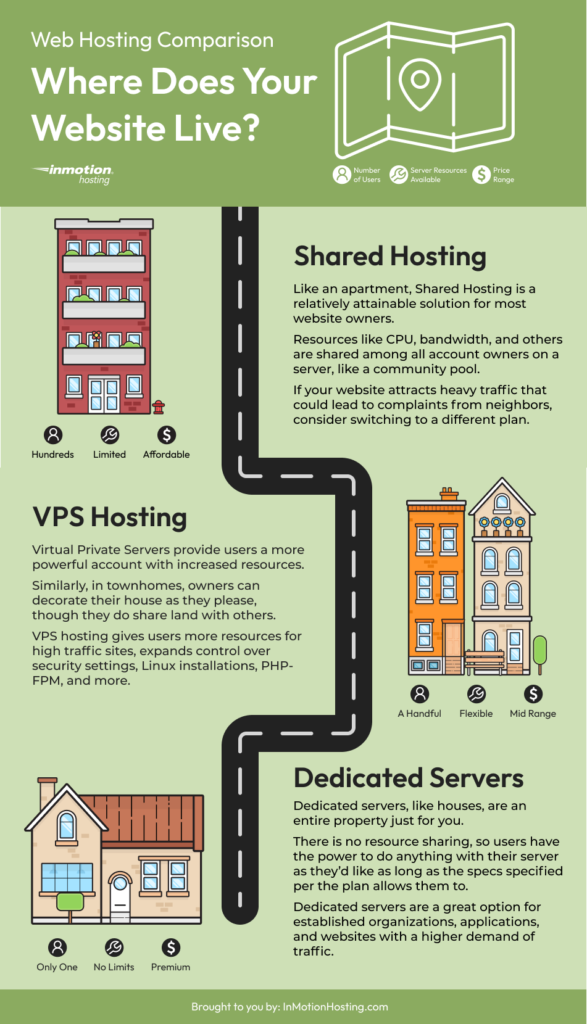
Choose a hosting plan that can grow with your website. As your site gets more visitors, you need more resources. Some plans let you upgrade easily. This helps your site stay fast and reliable. Flexible plans are the best choice for future growth.
Setting Up A New Domain
Choosing a domain name is the first step. Think of a name that’s easy and simple. Check if your chosen name is available. You can use websites for this. Once you find an available name, you need to register it. Use a domain registrar for this task. Registration will give you ownership of the domain for a year or more. Keep track of renewal dates to maintain ownership.
After registering, the domain needs to connect to your hosting. This process is called “pointing.” Go to your domain registrar’s website. Find the DNS settings section. You will need the DNS details from your hosting provider. Enter these details carefully. This step ensures your domain shows your website. Allow some time for changes to take effect. This can take a few hours.
Configuring Your Hosting Account
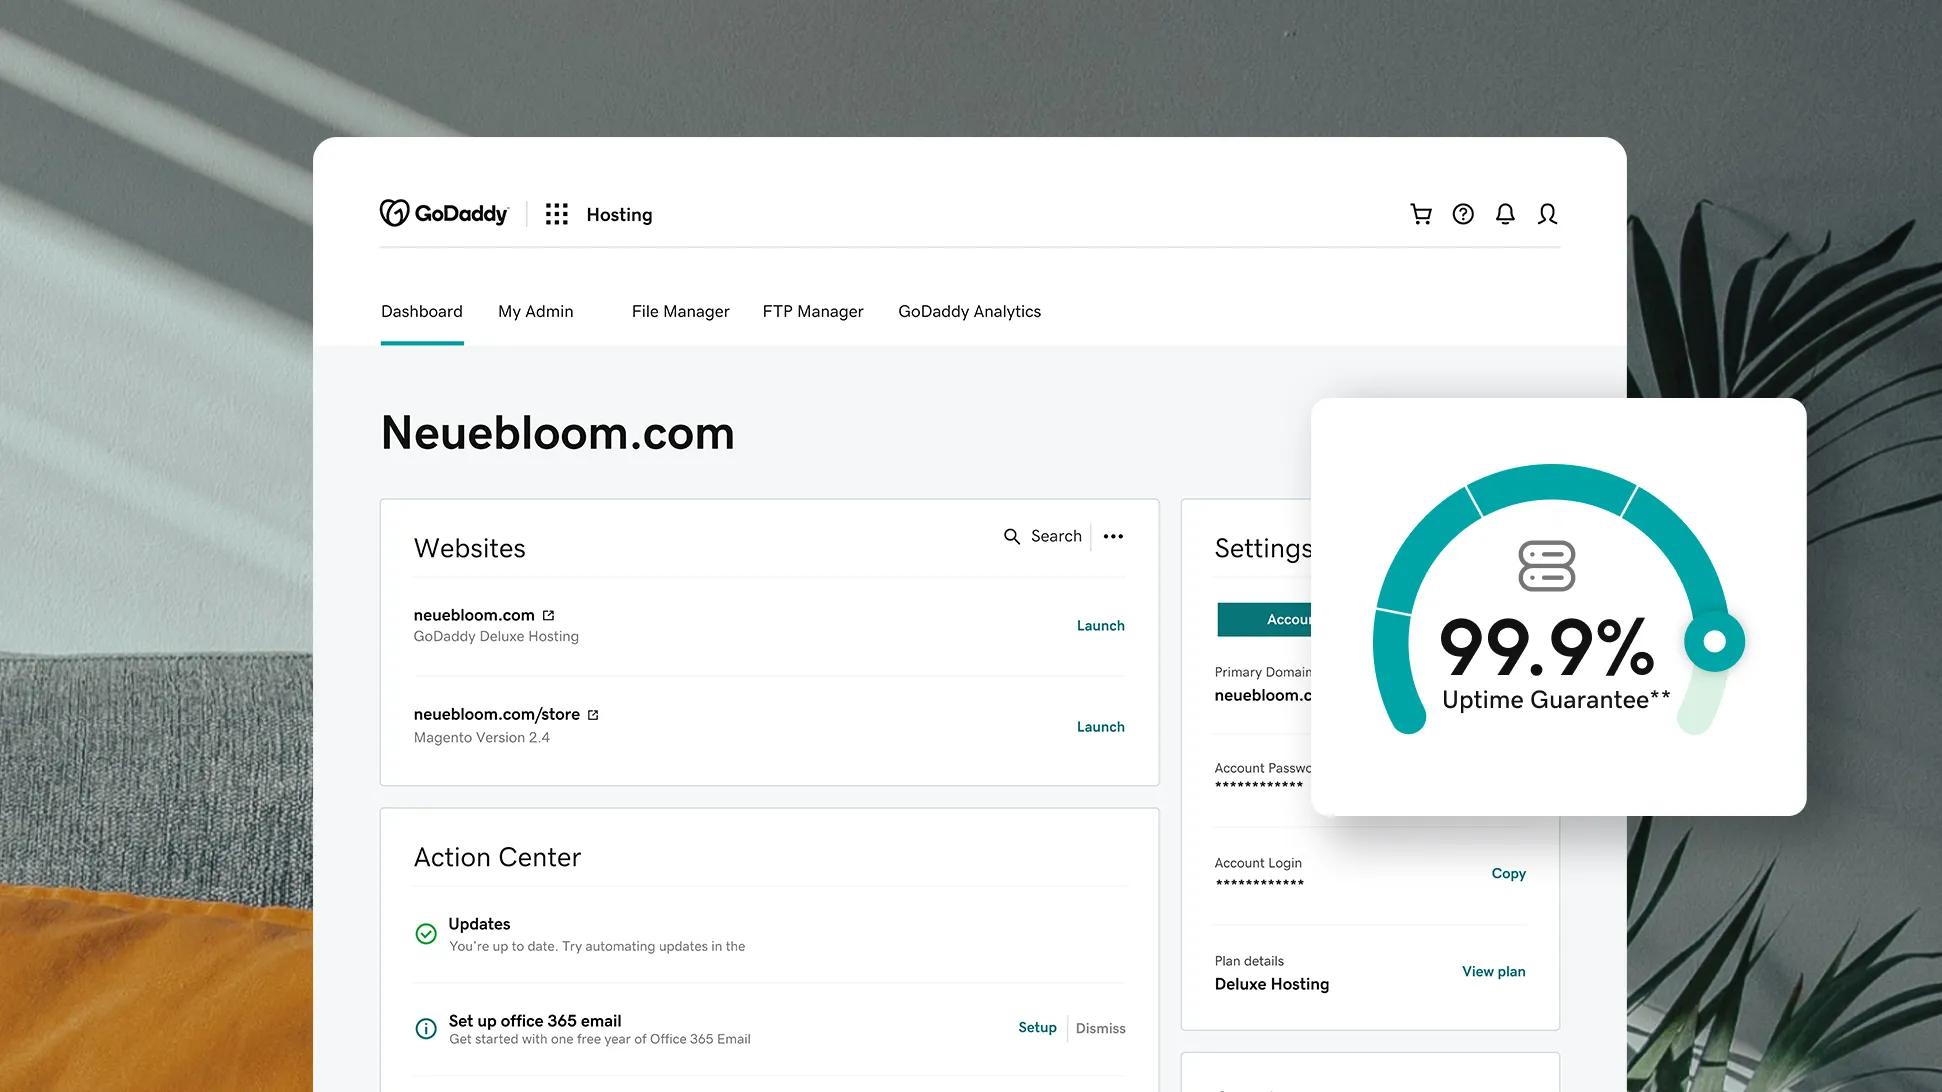
First, log in to your hosting account. Use your username and password. Find the control panel option. It might be called cPanel or Plesk. Click to open it. The control panel is your website’s home. Here, you can manage all settings. Look for the file manager. It helps organize your files. Also, check the domain management section. This helps you add new websites. Spend time exploring these tools.
Start by checking your hosting plan. Ensure it supports multiple websites. Then, open the control panel. Look for an option like “Add Domain” or “Create Site.” Follow the steps provided. Each new site needs a unique name. Ensure your site is active. Use the file manager to upload content. Organize files neatly. Test the new site on the internet. Make sure it loads quickly. Repeat these steps for more sites.
Credit: www.godaddy.com
Installing A Content Management System
A Content Management System (CMS) helps you build websites easily. Popular CMS options include WordPress, Joomla, and Drupal. WordPress is the most user-friendly for beginners. Joomla and Drupal are also good but need more technical skills. Choose a CMS that fits your needs. Each CMS has unique features and benefits. Consider the type of website you want to create. Some CMS platforms are better for blogs, others for e-commerce.
First, download the CMS files from its official website. Then, use an FTP client to upload these files to your web hosting server. Create a database for your CMS. Use your hosting control panel for this step. Next, run the CMS installer by visiting your website URL. Follow the instructions to complete the installation. Fill in the required details like site name and admin username. Set a strong password for security. Finally, log in to your new CMS dashboard. Start customizing your site. Add content and design elements you like.
Designing Your Website
Choosing the right theme is fun. It sets the look of your site. Many themes are available. Some are free, some cost money. Make sure the theme fits your website type. A blog needs a different theme than a store. Check if the theme is easy to customize. You want to change colors and fonts easily. Try a few themes to see what you like best.
Customizing makes your site unique. Change colors to match your style. Add your logo to make it stand out. Use widgets to add features. They can show news or pictures. Customize the layout to suit your needs. Try different designs. See what looks best for your visitors. Make sure it’s easy to read and navigate. Your site should be friendly and welcoming.
Credit: www.inmotionhosting.com
Adding Essential Features
Plugins and extensions make your website better. They add more features. You can install them easily. Some plugins help with SEO. Others add security or design tools. Choose plugins that fit your website’s needs. Not all plugins are safe. Always check reviews before installing. Too many plugins can slow down your site. Keep only the most important ones. Update them regularly for best performance.
Security is very important for your website. Use strong passwords for protection. Enable two-factor authentication if possible. This adds an extra layer of security. Install a reliable security plugin. It helps to block threats. Keep your software updated. Updates fix security holes. Backup your website often. Backups save your data if something goes wrong. Check your website for suspicious activity regularly.
Testing And Launching Your Website
Check every page on your website. Click each link. Make sure links work. Inspect images. They should load properly. Test on different devices. Phones and tablets matter. Use different browsers too. Chrome, Firefox, and Safari are common. Look for errors. Fix any broken parts. Check speed. Slow pages need attention. Use tools to measure speed. Improve the loading time. Make sure forms work. Test with fake data. Verify emails are sent. Check user experience. Make sure navigation is simple.
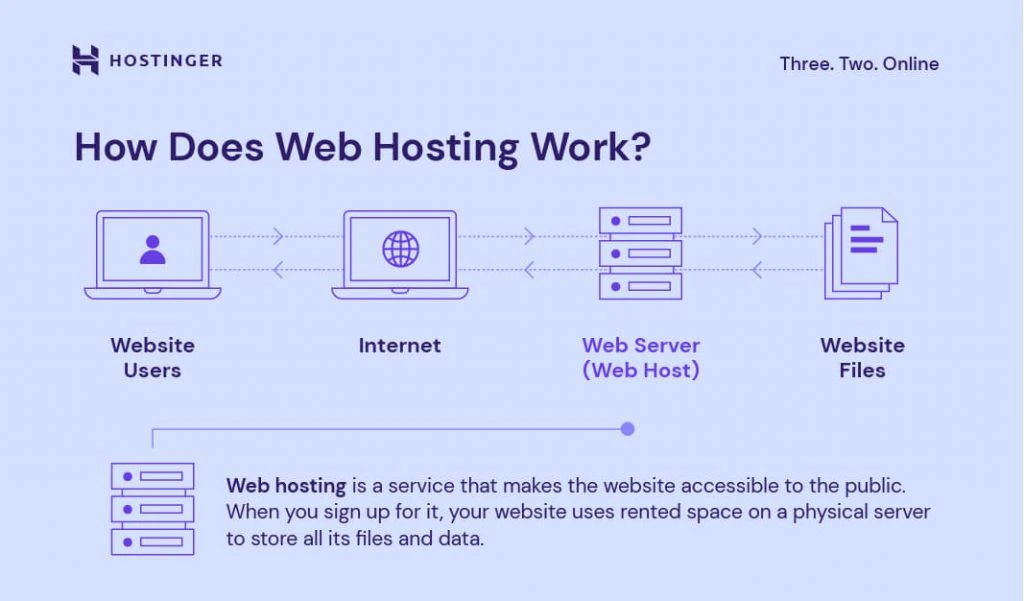
Find the right hosting provider. Choose one that fits your needs. Upload website files to the server. Use FTP or a control panel. Point your domain to the hosting server. Change DNS settings if needed. Wait for propagation. It takes some time. Check your site again. Verify it works online. Inform your audience. Use social media. Share your new website. Monitor performance regularly. Fix any new issues. Keep your website updated. Regular updates keep it secure.
Credit: www.hostinger.com
Frequently Asked Questions
Can I Have Multiple Websites On One Hosting Account?
Yes, you can host multiple websites on one hosting account, depending on your hosting plan. Check if your plan supports add-on domains. This feature allows you to manage multiple sites using a single account, saving costs and simplifying management. Always verify the specifics with your hosting provider.
How To Connect A Website With Hosting?
Log in to your hosting account. Locate the domain settings. Update DNS records with your domain registrar. Upload website files via FTP or file manager. Ensure the database connection is correctly configured.
How Do I Transfer My Web Hosting From One Company To Another?
Begin by backing up your website files and databases. Choose a new hosting provider. Update DNS records to point to the new host. Transfer files using FTP or a migration tool. Verify everything works correctly on the new server.
How Do I Add Another Website To Godaddy Hosting?
Log in to your GoDaddy account. Navigate to “My Products” and select “Web Hosting”. Click on “Manage”. Go to “Domains” and click “Add Domain”. Enter your website details and confirm. Your new website is now added to GoDaddy hosting.
Conclusion
Creating another website with your hosting package is simple. Choose a domain name that suits your new site. Install a content management system like WordPress. Customize your design to match your brand. Add essential plugins for better functionality. Optimize your website for search engines.
Keep your content fresh and engaging. Regularly update your site for security. Check your site’s performance often. Stay organized by managing your files efficiently. With these steps, you can easily expand your online presence. Enjoy your new website and reach more visitors.


