
Are you ready to give your WordPress site a fresh new look with a custom theme? Importing a WordPress custom theme can transform your website into a unique space that reflects your brand’s personality.
But the process might seem daunting if you’ve never done it before. Don’t worry! You are about to discover a step-by-step guide that will make importing a custom theme a breeze. Imagine having full control over your site’s appearance without breaking a sweat.
This article will walk you through everything you need to know, ensuring you can confidently enhance your site with a design you love. Dive in and unlock the secrets to effortlessly importing a custom theme, making your website stand out from the crowd.
Credit: www.namecheap.com
Preparing Your Files
To import a custom WordPress theme, first organize your files properly. Ensure your theme files are in a zipped folder format. This step guarantees a smooth upload and installation process within your WordPress dashboard.
Organizing Theme Files
Gather all theme files in one folder. Name the folder clearly. This helps in finding it later. Check if all files are present. Look for missing files. Missing files cause problems. Ensure all files are correct versions. Incorrect versions lead to issues. Make a backup of these files. Backups save time and trouble.
Zipping The Theme Folder
Create a zip file of the theme folder. Zipping is easy and quick. Right-click on the folder. Choose “Send to” and select “Compressed (zipped) folder”. This makes a zip file. Zip files are smaller and easy to upload. They keep everything in one place. Uploading a zip file is simple. It’s a smart way to share files. Remember, keep the zip file safe.
Credit: www.wpallimport.com
Accessing The WordPress Dashboard
Logging into the Admin Panel is the first step. Open your browser. Type your website address followed by /wp-admin. Enter your username and password. You will see the dashboard. The dashboard is where you manage your site.
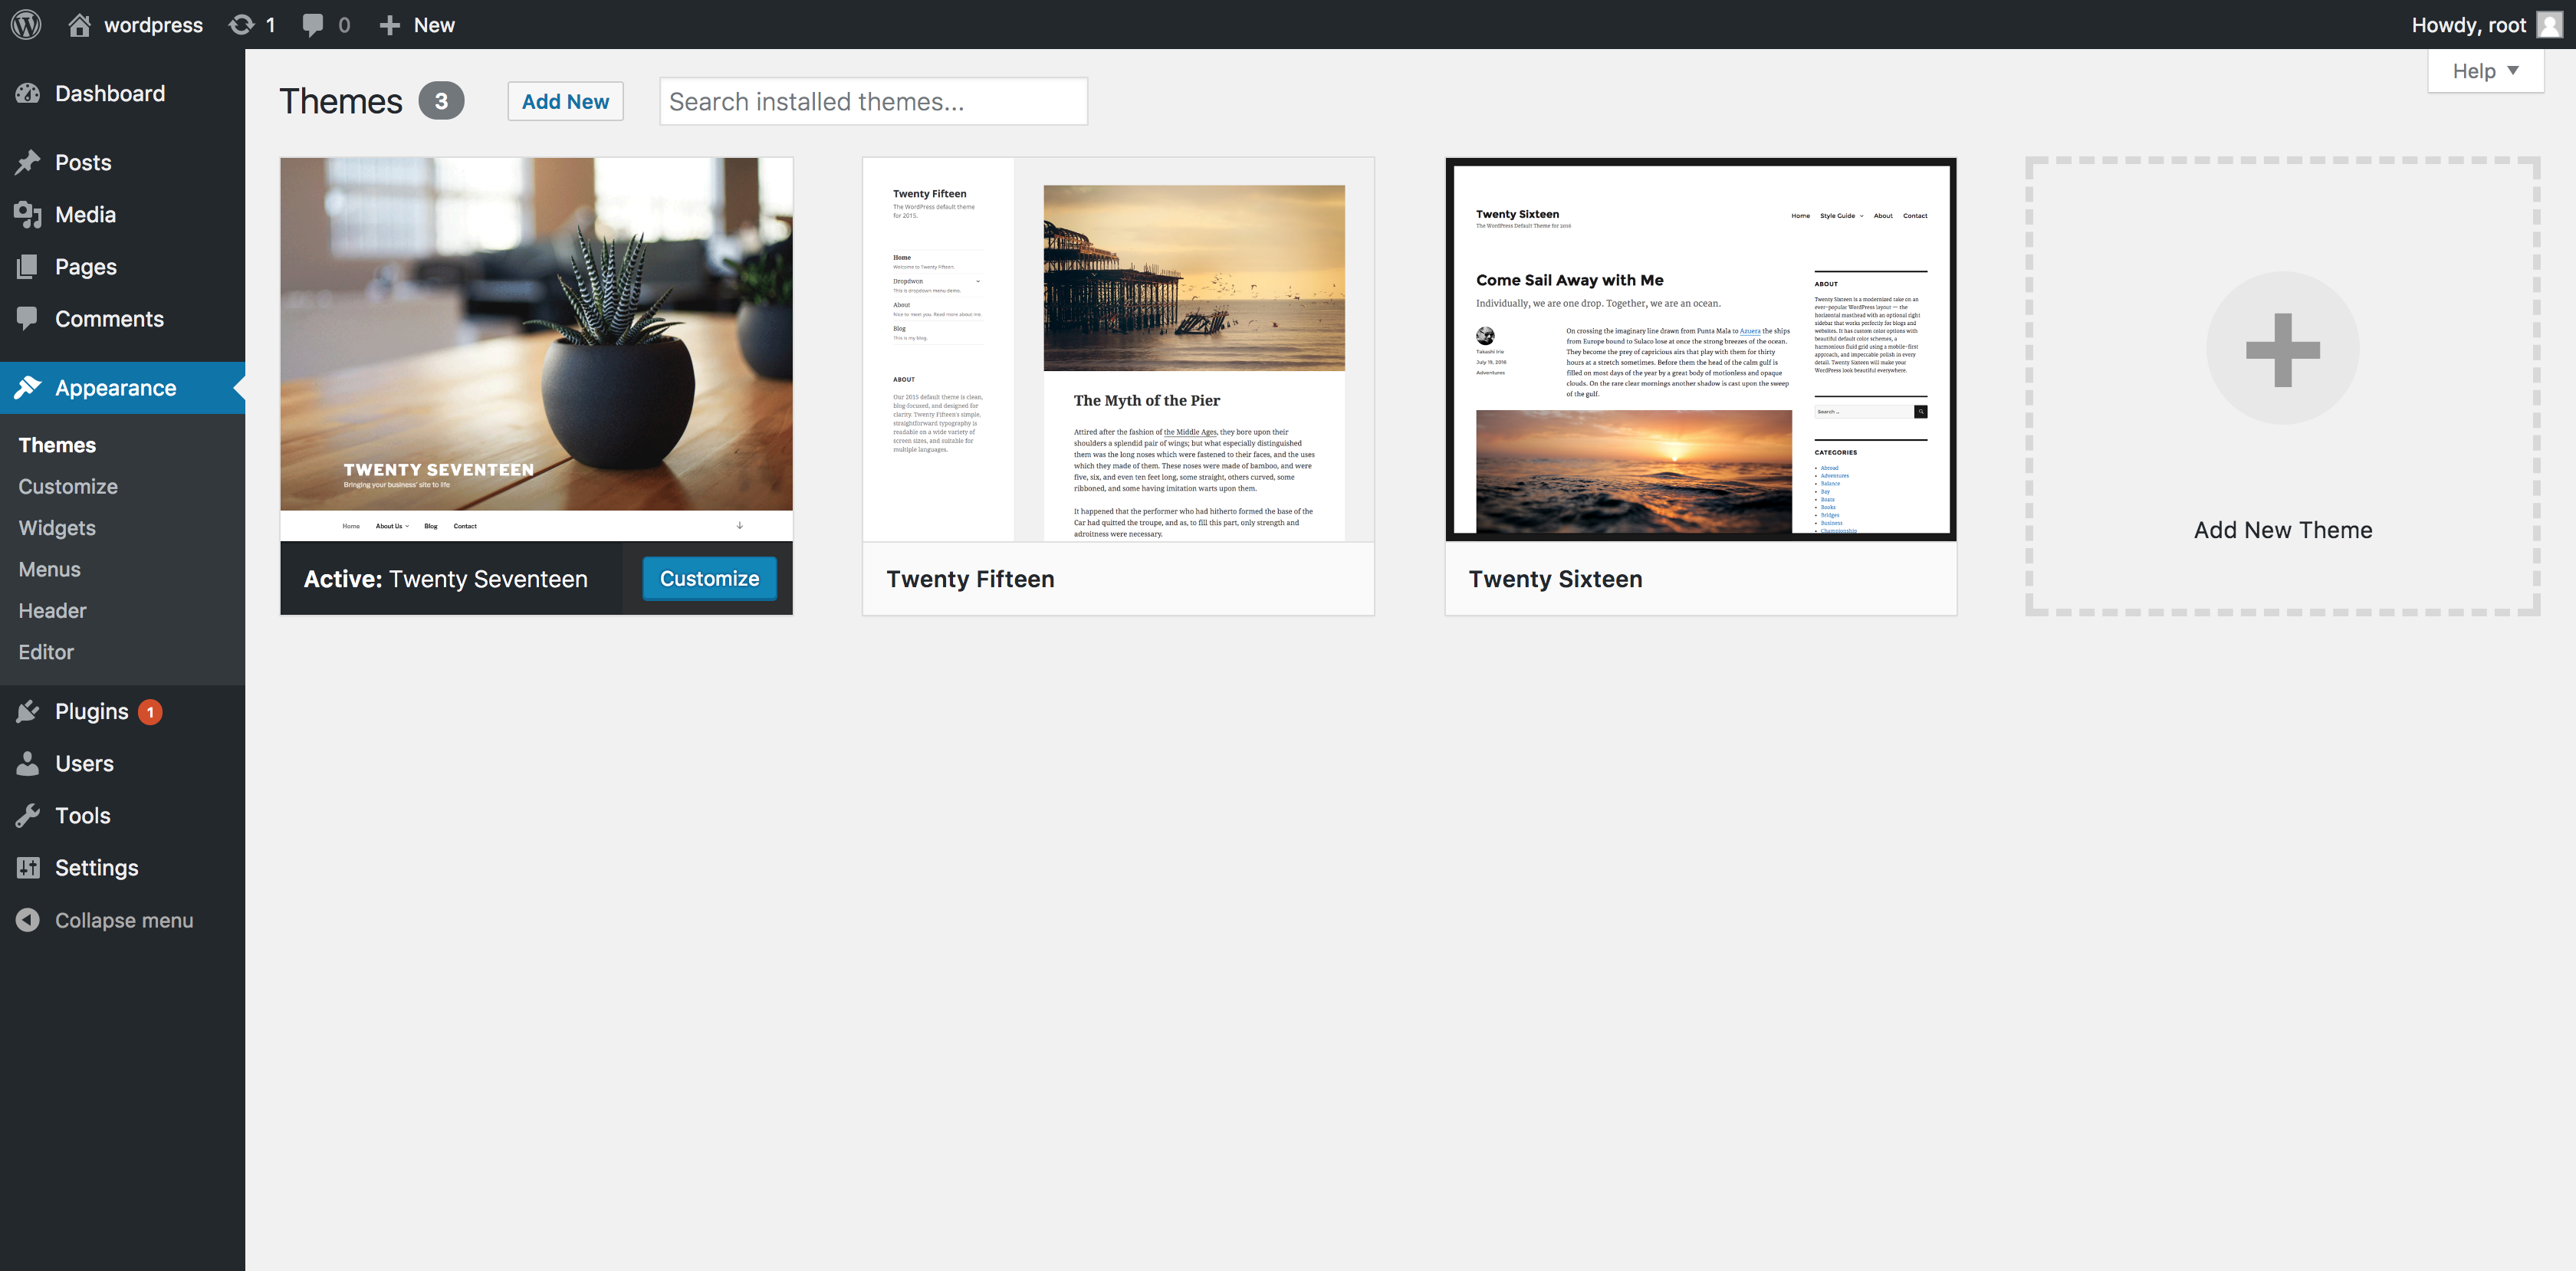
Navigating to Appearance is easy once logged in. Look on the left side. Find the menu options. Click on Appearance. This section has themes, menus, and widgets. You can change how your site looks here. It is like the control center for design. Choose themes to import custom designs. Follow instructions to upload and activate. Your site will look new and fresh.
Uploading The Custom Theme
First, go to your WordPress dashboard. Find the “Appearance” option on the sidebar. Click on it. This will open a menu.
Look for the “Themes” section. Find the “Add New” button at the top. Click it. A new page will appear with many themes.
On the new page, find the “Upload Theme” button. It is near the top. Click it. Now, you can upload your custom theme file. It should be in a ZIP format.
After clicking “Upload Theme,” a new window will open. Here, choose your theme file. Click “Install Now” to start the upload. Wait for the upload to finish.
Activating The Theme
First, download your custom theme file. Usually, it’s a ZIP file. Go to your WordPress dashboard. Find the “Appearance” menu. Click on “Themes”. At the top, there is an “Add New” button. Click it. Now, click on “Upload Theme”. Choose the theme ZIP file from your computer. Click “Install Now”.
After the installation, a success message appears. Now, click the “Activate” button. Your theme is now active. Check your site to see the changes. If something looks odd, revisit the theme settings. Adjust as needed. Always keep a backup. This ensures safety if issues arise.
Troubleshooting Common Issues
Importing a WordPress custom theme can be tricky, often leading to errors. Check file formats and permissions first. Ensure theme compatibility with your WordPress version.
Fixing Upload Errors
Uploading your custom theme might show errors. Check your theme’s file size. It should be within the allowed limit. Sometimes, server settings prevent large uploads. Adjust the maximum upload size in your WordPress settings. Verify your internet connection. A slow connection can disrupt uploads. Ensure your theme file is in the correct format. Usually, it should be a .zip file. If errors persist, contact your hosting provider. They might have specific restrictions. Try uploading from a different browser. Some browsers handle uploads better. Clear your browser cache to improve performance.
Resolving Activation Problems
Activation issues may arise after uploading a theme. Check if your theme requires specific plugins. Install and activate those plugins. Ensure your WordPress version is compatible with the theme. Older versions might not support new themes. Check for any missing files in the theme folder. Missing files can hinder activation. Re-download the theme if necessary. Verify your theme license. Some themes need a valid license key. Enter the key during activation. If problems continue, consult the theme’s support team. They can offer guidance and solutions.

Credit: www.youtube.com
Customizing The Theme
The Customizer helps you change your theme. You can update colors and fonts. See the changes live as you make them. You can save your work anytime. This tool is easy and fun to use. You can also upload a new logo. Make sure the logo is clear and neat. Try different styles and see what looks best.
Widgets and menus make your site more useful. You can add a search bar or recent posts. Place them in sidebars or footers. Menus help users find what they need. You can create a menu for your pages. Drag and drop items to arrange them. Make sure your menu is simple. Users should find links easily.
Testing The Theme
To ensure your WordPress theme works well, start by checking responsiveness. Open the theme on a phone and a tablet. Does it look good? Make sure the text is clear and easy to read. Images should adjust to fit the screen size. A responsive theme will work on all devices without issues.
Next, focus on verifying functionality. Click on buttons, links, and menus. Do they work properly? Test forms and any interactive features. Every part should function smoothly. If something doesn’t work, it needs fixing. A theme should be easy to use for everyone.
Backing Up Your Theme
Plugins make backups easy. They save time and effort. Use a plugin to keep your theme safe. Popular plugins like UpdraftPlus and BackupBuddy are helpful. Install the plugin and follow the steps. Most plugins offer automatic backups. You can set the schedule for them. It’s best to backup regularly. Regular backups protect your data. Plugins store backups in different places. Choose a safe location. Cloud storage is a good option. Remember, plugins are simple and useful.
Manual backup needs care. First, find your theme folder. It’s in the wp-content directory. Copy the theme folder to your computer. Use FTP for this. FTP is a tool for file transfer. Follow the steps carefully. This method is good for control. You decide what to copy. Manual backups need more time. They are not automatic. But they give you full control.
Frequently Asked Questions
How To Start Importing A Custom Theme?
To import a custom WordPress theme, navigate to your WordPress dashboard. Click on “Appearance” and then “Themes. ” Choose “Add New” and then click “Upload Theme. ” Select your theme’s ZIP file and click “Install Now. ” Once installed, activate the theme to apply it to your website.
Can I Import Themes Using Ftp?
Yes, you can import themes using FTP. Connect to your server via an FTP client. Navigate to the “wp-content/themes” directory. Upload your unzipped theme folder here. Once uploaded, go to your WordPress dashboard. Under “Appearance,” find and activate your new theme.
What Files Are Needed For Theme Import?
For a WordPress theme import, you need a ZIP file containing the theme’s files. This typically includes PHP, CSS, JavaScript, and image files. Ensure the ZIP file is complete before uploading. Missing files can cause errors or incomplete theme installation on your site.
How To Troubleshoot Theme Import Errors?
If you encounter theme import errors, check the theme’s ZIP file size. Ensure it’s below WordPress’s upload limit. Also, verify your PHP settings, like max_execution_time and memory_limit. If issues persist, consult the theme’s documentation or contact the theme developer for support.
Conclusion
Importing a WordPress custom theme can seem daunting at first. Yet, with the right steps, it’s straightforward. Start by selecting a reliable theme. Make sure it suits your website’s needs. Download your theme files and save them securely. Next, upload these files to your WordPress dashboard.
Follow the setup instructions provided by the theme developer. Activate your theme and preview the changes. Ensure everything functions as expected. Double-check for any missing elements or errors. Finally, customize the theme to reflect your brand. Enjoy your new, personalized WordPress site!


