
Ever visited a website and felt amazed by the unique font that perfectly matched its vibe? The power of typography in web design is undeniable.
If you’re looking to give your WordPress site a distinctive touch, installing a custom font can make all the difference. Imagine your website standing out, catching the eyes of your visitors, and keeping them engaged with just the right typeface.
In this guide, you will discover the simple steps to install a custom font into your WordPress theme. Whether you’re aiming to enhance readability or express your brand’s personality, customizing your fonts is a game-changer. Don’t worry if you’re not a tech wizard; we’ll break it down into easy-to-follow steps that anyone can tackle. Ready to transform your site into something memorable? Let’s dive in and unleash the potential of your WordPress theme.
Choosing The Right Font
Fonts change how your website looks. Pick a font that matches your style. Think about your brand. The font must feel right for your readers.
Some fonts are fancy, others are simple. Choose what fits your brand. Make sure the font is easy to read.
Font style matters. It can be bold or light. It should fit your website’s design. Think of your audience and what they like. Is your brand fun or serious?
Font licensing is important. Some fonts are free, others cost money. Check if you can use the font on your site. Always read the license terms.
Some licenses let you use fonts for free. Others have limits. Make sure to use the font correctly.
Downloading The Font Files
Choose a trusted site for your font download. Popular options include Google Fonts and Font Squirrel. These sites offer safe and high-quality fonts. Always ensure the site is well-known. This keeps your computer safe from viruses.
Fonts come in many types. For web use, download WOFF or WOFF2 formats. These types load fast on websites. Choose TTF or OTF if needed. Always check the font’s license. Some fonts are free only for personal use.
Uploading The Font To WordPress
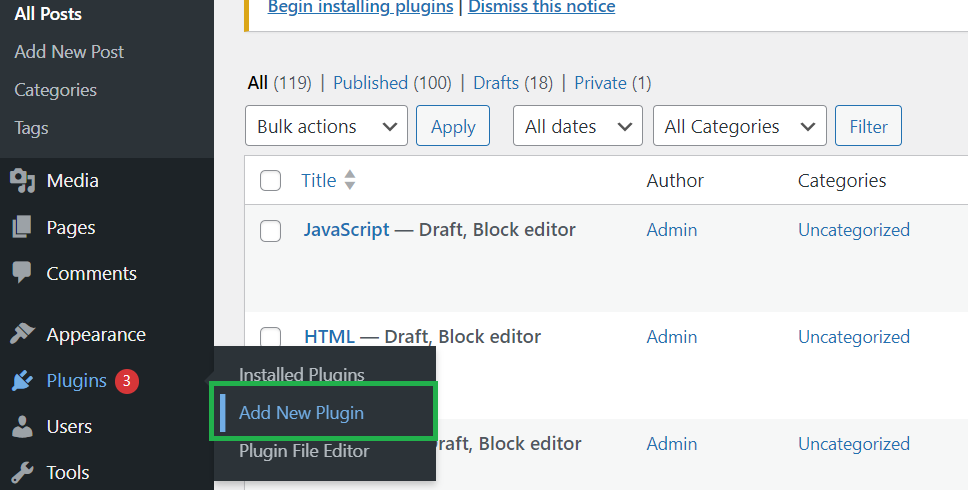
Start by logging into the WordPress Dashboard. Find the menu on the left side. Click on “Plugins”. Search for a file manager plugin. Choose a plugin that suits your needs. Install and activate it. This allows easy access to your theme files.
Open the file manager plugin. Look for the “wp-content” folder. Click to expand it. Find the “themes” folder. Choose your active theme. Open the “fonts” folder. If there’s no folder, create one named “fonts”. Upload your custom font files here. Use formats like .ttf, .woff, or .woff2. This stores your fonts in the right place.

Credit: www.youtube.com
Adding Font To Theme’s Css
Integrating custom fonts into a WordPress theme’s CSS enhances your website’s visual appeal. Start by downloading your desired font and uploading it to your theme’s directory. Then, update the CSS file to include the font’s URL, ensuring consistent styling across your site.
Locate The Theme’s Css File
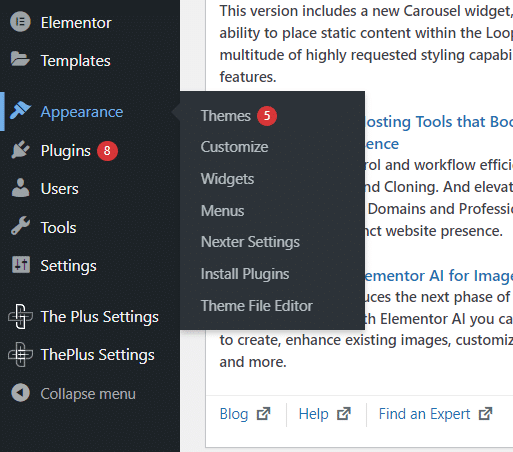
First, find the CSS file of your theme. It is usually named style.css. Use the WordPress dashboard to access it. Go to Appearance, then click on Theme Editor. You will see a list of files. Look for the style.css. This file controls the look of your site.
Write Custom Css For Font
Add the custom font to your site’s CSS. Use the @font-face rule. This rule tells the browser about your font. First, name your font. Then, give the path to your font file. Make sure the path is correct. Here is an example:
@font-face {

  font-family: 'MyCustomFont';

  src: url('path/to/font.woff2') format('woff2');

}
After adding the font, use it in your CSS. Choose the HTML tags or classes you want to style. Use the font-family property to apply your font.
Enqueuing Fonts In Functions.php
Open the functions.php file in your theme folder. This file is like the brain of your theme. It tells your theme what to do. You need to add a few lines of code here. First, you must register the font. Then, you will enqueue it. This tells WordPress to use the font. Use the wp_enqueue_style function. This is how you do it:
function custom_theme_fonts() {
    wp_enqueue_style('custom-font', 'https://fonts.googleapis.com/css?family=YourFontName');
}
add_action('wp_enqueue_scripts', 'custom_theme_fonts');
Replace YourFontName with the font you want. Make sure the URL is correct. This method is simple and easy. Now your website can use your new font.
Credit: nexterwp.com
Testing And Troubleshooting
Easily install custom fonts in your WordPress theme by uploading font files through the theme’s settings. Adjust CSS to ensure the new font displays correctly on your site. Troubleshoot any issues by checking browser compatibility and clearing cache for immediate updates.
Check For Font Rendering Issues
Fonts might not look good on all browsers. Use Browser Developer Tools to check this. Open the tools and inspect the font. Look at how it appears on your website. Change the font size and style to see if it stays clear. Make sure the font loads fast. Slow loading can make pages look bad. Test on different browsers. Chrome, Firefox, and Safari can show fonts differently. Check mobile devices too. Phones and tablets might show fonts differently than computers. Keep an eye on these details. It helps keep your site looking good.
Optimizing Font Performance
Installing a custom font enhances your WordPress theme’s visual appeal. First, download your chosen font and convert it to web-friendly formats like WOFF or WOFF2. Next, upload these files to your theme’s folder and update your CSS file to use the new font.
Minimize Font File Sizes
Choose lightweight fonts for your site. Smaller files load faster. Compress font files to reduce size. Use tools to optimize font files. Always select the necessary styles and weights. Avoid using too many styles.
Implement Font Loading Strategies
Use font-display property for better loading. It helps in controlling how fonts appear. Make use of swap or fallback values. These values improve font loading speed. Consider lazy loading for fonts. This can delay loading of less important fonts. Use preload to fetch fonts early. This helps in faster rendering. Avoid blocking main thread with font loading.
Credit: www.geeksforgeeks.org
Backup And Document Changes
Installing a custom font in a WordPress theme involves backing up files and noting document changes. Start by selecting your desired font and downloading it. Then, access your theme’s CSS file and add the font’s code, ensuring you save a backup of the original file for safety.
Create A Backup Of Customizations
Always make a backup of your work. This is important. Save your settings and changes. Use a plugin or manual method to backup. It helps restore if things go wrong. Keep your backup safe and accessible. Store it on your computer or cloud.
Maintain Documentation For Future
Write down every change you make. Documentation helps you remember. Create a simple text file. Note the date and change details. This is useful for future updates. It saves time and avoids confusion. Well-documented changes keep your site stable.
Frequently Asked Questions
How Do I Upload Fonts To WordPress?
To upload fonts, access your WordPress dashboard. Navigate to Appearance > Theme Editor. Find the style. css file, then upload your custom font files to your server. Use CSS to define your fonts by specifying the font-family and src attributes.
Save changes and ensure your theme reflects the new fonts.
Can I Use Google Fonts In WordPress?
Yes, you can use Google Fonts in WordPress. Visit Google Fonts, choose your desired font, and copy the provided link. Paste this link into your theme’s header. php file. Use CSS to define font-family attributes. Alternatively, use a plugin like Easy Google Fonts for a simpler integration process.
Do Custom Fonts Affect Website Speed?
Custom fonts can impact website speed. Larger files may slow down page loading. To minimize impact, optimize your font files. Use only necessary font weights and styles. Consider hosting fonts locally for faster load times. Always test your site’s speed after implementing custom fonts to ensure optimal performance.
Can I Add Fonts Without Coding Skills?
Yes, you can add fonts without coding skills. Use plugins like Use Any Font or Easy Google Fonts. These plugins simplify the process, allowing you to upload and apply custom fonts easily. Follow plugin instructions and apply desired fonts to specific elements using the plugin’s interface.
Conclusion
Installing a custom font is simple with these steps. It enhances your WordPress theme’s look. Users enjoy a unique visual experience. Follow the guidelines carefully for best results. Double-check the font files before uploading. Ensure compatibility with your theme. Troubleshoot if issues arise.
Custom fonts can make your website stand out. They add a personal touch to your design. Experiment with different fonts to find the best fit. Your website’s readability and appeal will improve. Enjoy the new look of your WordPress site!


