
You’ve decided to give your WordPress site a fresh look, and you’re excited about the possibilities. But, there’s just one thing standing in your way: installing that perfect theme manually.
Does the thought of it make you hesitate? Don’t worry—you’re not alone. Many people find the idea of manually installing a WordPress theme daunting, but it doesn’t have to be. Imagine having complete control over your site’s appearance, knowing exactly how to tailor it to fit your unique style and needs.
This guide will walk you through each step, making the process simple and manageable. By the end, you’ll not only have a stunning new theme but also the confidence to tweak and customize your site anytime you want. So, ready to empower yourself with some new skills? Let’s dive in and transform your site together!

Credit: www.domains.co.za
Preparing For Installation
Start by gathering necessary files and login details. Ensure your theme file is in. zip format. Navigate to your WordPress dashboard and select the ‘Themes’ option under ‘Appearance’.
Choosing The Right Theme
Picking a theme is very important. Themes change how your site looks. Think about your site’s style and purpose. Some themes fit blogs. Others suit business sites. Check if the theme has good reviews. Reviews tell if people like the theme. Look at the theme’s features. Features help your site work better. Make sure the theme is updated often. Updates keep your site safe and fast.
Downloading Theme Files
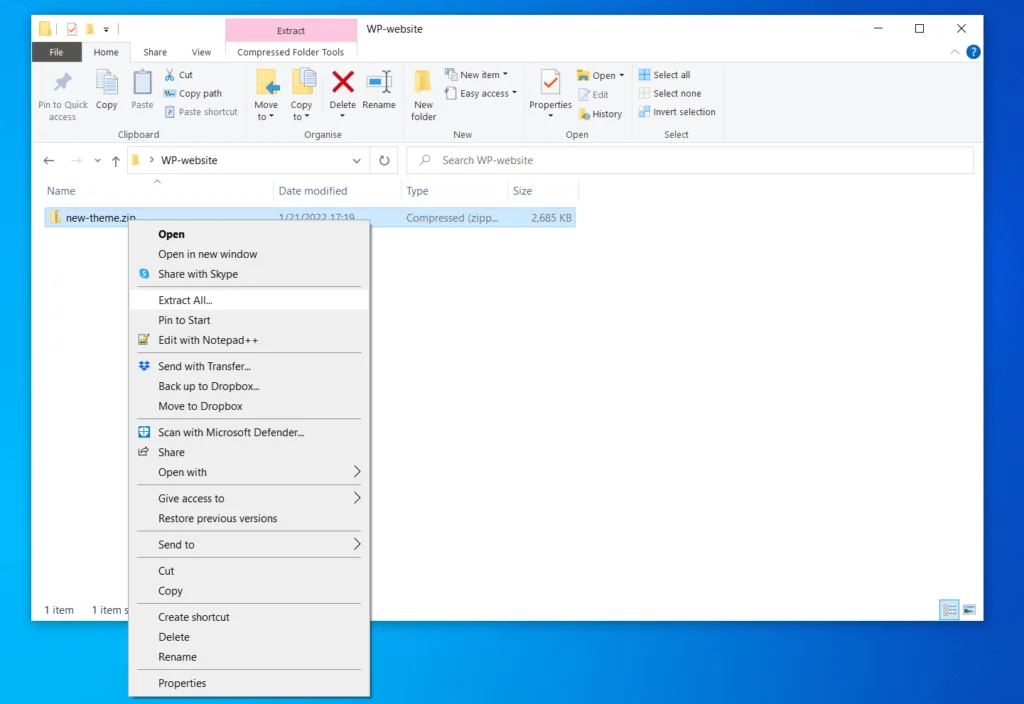
First, visit the theme website. Look for the download button. Click to download the theme file. The file will be in ZIP format. Save the file to your computer. Remember the file location. You will need it later. Check if the file downloaded correctly. Sometimes files can be broken. If broken, download the file again.
Accessing WordPress Dashboard
First, open your web browser and go to the WordPress login page. Enter your username and password. Click on the Login button. Now you are in the WordPress dashboard. This is the place where you can manage your site.
Look at the left menu. Find the Appearance tab. Click on it. You will see a list of options. Choose Themes. This section lets you change the look of your website. Here you can add new themes or manage existing ones.
Uploading The Theme
Log into your WordPress admin. Click on Appearance in the sidebar. Choose Themes from the menu. At the top, click Add New. You will see an Upload Theme button. Click it. Choose the theme file from your computer. Ensure the file is in .zip format. Click Install Now. Wait for the upload to finish. Once done, click Activate. Your theme is now ready for use.
Sometimes errors happen. Check if the theme file is a .zip. If not, compress it first. Ensure the file is not too large. If it’s huge, your server might block it. Try uploading at off-peak times. Contact your hosting provider if the problem persists. They can increase upload limits. Try re-downloading the theme. Sometimes downloads get corrupted. Make sure your WordPress is up to date. Older versions may not support new themes.
Activating The Theme
Locating Installed Themes is easy in WordPress. Go to your dashboard. Find the “Appearance” tab. Click on “Themes.” This shows all installed themes. The theme you added is here. Look for the theme name. It should be easy to spot. This is where you start.
Activating and Previewing the theme is simple. Click on the theme thumbnail. You will see two options. “Activate” and “Live Preview.” Use “Live Preview” to see changes first. This helps you check the look. If you like it, click “Activate.” Your site will now use this theme. Enjoy your new design!
Customizing The Theme
Installing a WordPress theme manually involves downloading the theme file from a reliable source. After downloading, access the WordPress dashboard, navigate to ‘Appearance’, then ‘Themes’, and upload the theme file. Once uploaded, activate it to customize your site’s look.
Using The WordPress Customizer
Open the WordPress Customizer in your dashboard. You can see options to change colors, fonts, and layout. Select the part you want to change. Make your changes and see them live. This helps in making the theme look unique. Always click Save after making changes. This ensures that your work is not lost.
Adding Widgets And Menus
Widgets add extra features to your site. Go to the widget section in your dashboard. Drag and drop widgets where you want them. Add a search bar or recent posts widget. Menus help users navigate your site. Create a menu in the Menu section. Add pages, posts, or links to it. Always arrange them in a good order. This makes navigation easy for visitors.

Credit: www.youtube.com
Troubleshooting Common Issues
Themes might not work with all plugins. This can cause display issues. Check the theme’s page for details. Look for a list of compatible plugins. Always read user reviews. They can help you find common problems. Update your theme and plugins regularly. This helps reduce bugs. If problems continue, ask for help. Many forums offer support.
Sometimes changes don’t work. Restoring default settings can fix this. Go to the theme settings panel. Look for a button that says “Reset” or “Restore”. Click it. This will bring back the original look. Be careful. This will erase your custom changes. Always save your work first. Backup settings if you can. This keeps your data safe.
Credit: www.scalahosting.com
Frequently Asked Questions
How Do I Manually Upload A WordPress Theme?
To manually upload a WordPress theme, first download the theme’s ZIP file. Then, go to your WordPress admin dashboard, navigate to Appearance > Themes, and click “Add New. ” Select “Upload Theme,” choose your downloaded ZIP file, and click “Install Now.
” After installation, activate the theme to use it.
What Are The Steps To Install A Theme Via Ftp?
To install via FTP, first download the theme ZIP and extract it. Use an FTP client like FileZilla to connect to your server. Navigate to wp-content/themes directory, then upload the extracted theme folder. After upload, go to WordPress admin dashboard, Appearance > Themes, and activate the theme.
Can I Install A Theme Without Using The WordPress Dashboard?
Yes, you can install a theme via FTP. Download and extract the theme ZIP file. Use an FTP client to upload the extracted theme folder to wp-content/themes directory. Once uploaded, go to your WordPress admin dashboard, navigate to Appearance > Themes, and activate the theme.
Is It Safe To Manually Install WordPress Themes?
Manually installing WordPress themes is safe if you download themes from trusted sources. Ensure the theme is compatible with your WordPress version. Always backup your site before installation to prevent data loss. This method offers more control over the installation process compared to automatic methods.
Conclusion
Installing a WordPress theme manually is simple. Just follow these steps. First, download your chosen theme. Second, access your WordPress dashboard. Third, navigate to Appearance, then Themes. Click on “Add New. ” After that, choose “Upload Theme” and upload your file.
Once uploaded, click “Install Now. ” Finally, activate your theme. That’s it! You can now customize your website. Enjoy exploring new designs and features. Remember, practice makes perfect. Try different themes. Each brings a unique style. Experiment to find what suits your needs.
Happy blogging!


