
Are you looking to bring your WordPress design to life in Dreamweaver? Imagine seamlessly blending the robust features of WordPress with the flexible design environment of Dreamweaver.
This powerful combo can elevate your website to new heights. Whether you’re a seasoned developer or just starting out, importing a WordPress theme into Dreamweaver can seem challenging. But don’t worry! We’ve got you covered with a simple, step-by-step guide.
By the end of this article, you’ll be ready to transform your WordPress themes like a pro. Dive in to discover how you can effortlessly merge creativity with functionality, and take your web development skills to the next level.
Credit: www.elegantthemes.com
Preparing Your Workspace
First, open Dreamweaver on your computer. Check for updates. Updates keep the software running smoothly. Dreamweaver is a tool for web design. Many people use it to make websites. Now, create a new site. Use the “Site” menu. Choose “New Site” from the list. Give your site a name. Choose a folder for your files. This folder will hold your WordPress theme.
Find a WordPress theme you like. Themes change how your site looks. Search for free themes online. Many websites offer them. Download the theme to your computer. Save it in a safe place. Unzip the downloaded file. You will see many files inside. These files make the theme work.
Installing WordPress Locally
Local server software helps run WordPress on your computer. Popular options include XAMPP, MAMP, and WAMP. Each has easy steps for installation. Download the software and install it. Open the software and start the server. Ensure both Apache and MySQL services are running. These services are key for WordPress to work.
Once the server is active, open your browser. Type “localhost” in the address bar. This brings up the local server dashboard. From here, you can manage your WordPress site easily.
A local database stores your WordPress data. Open your server software. Find and click the phpMyAdmin option. This opens the database management page. Look for the “Databases” tab. Click it to create a new database. Name the database something simple. Use only letters and numbers. Click “Create” to finish.
Remember the database name for later use. The database is ready. Now WordPress can store posts, pages, and more.
Importing The Theme
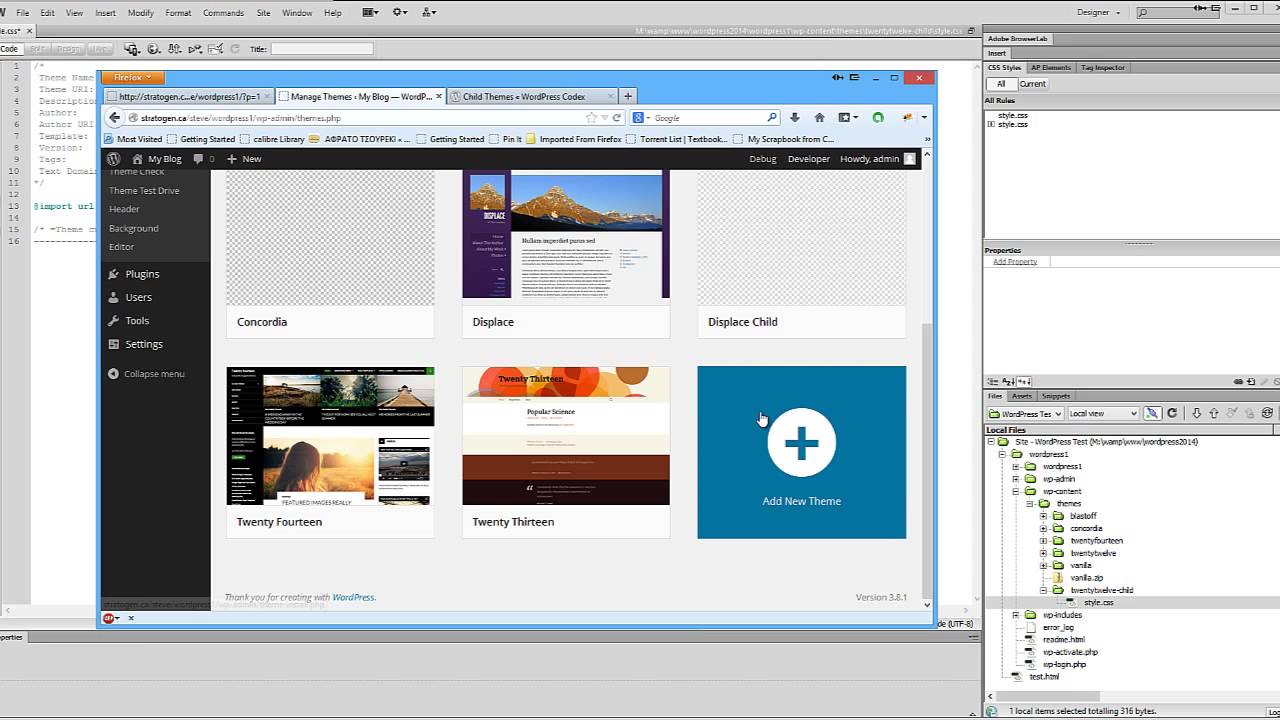
Download your chosen WordPress theme. Find the .zip file on your computer. Right-click the file and select Extract All. Choose a folder for the files. Click Extract to unpack the theme files. Check the folder for files like style.css and index.php.
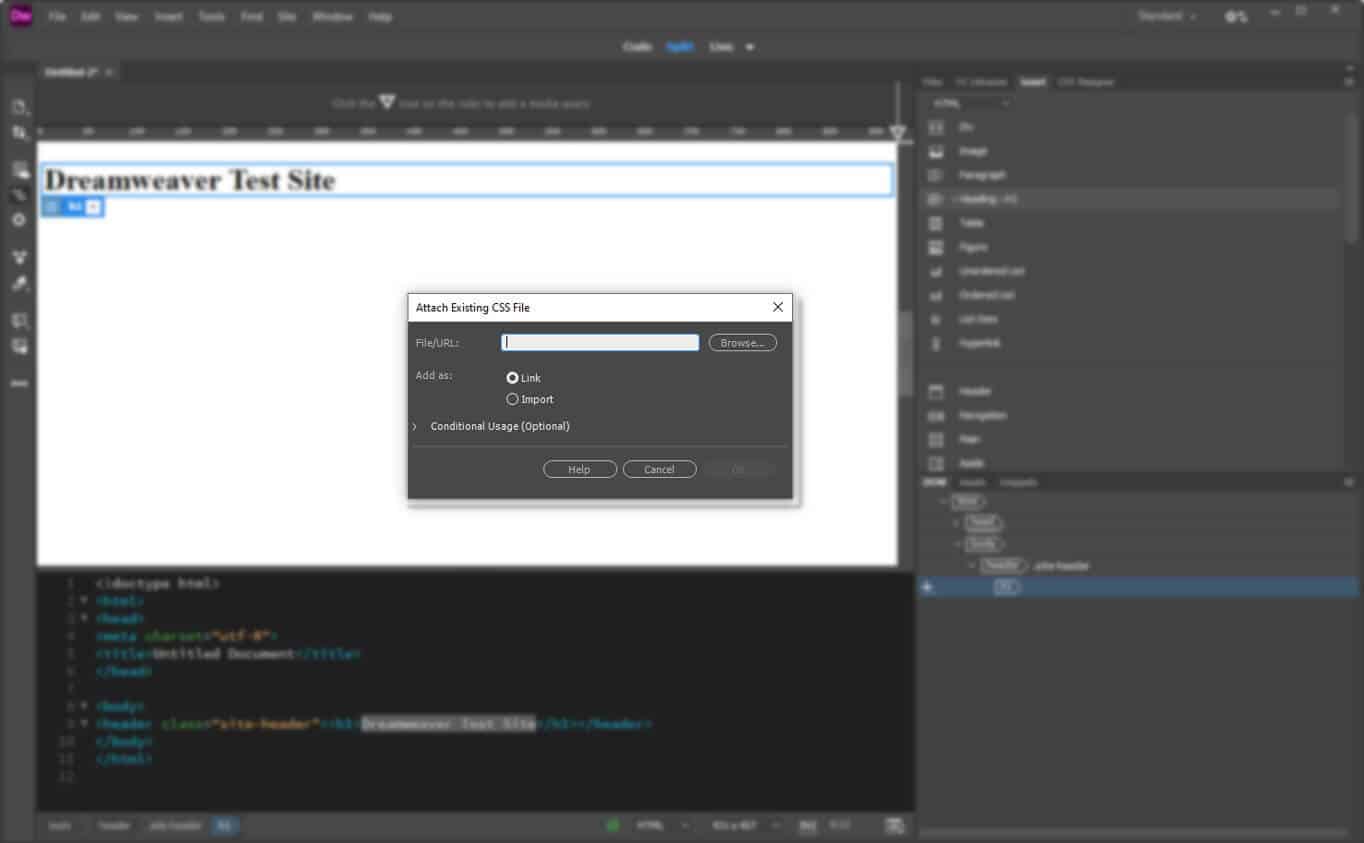
Open Dreamweaver on your computer. Go to the Site menu and select New Site. Name your site and choose the folder with theme files. Click Save. Your theme is now in Dreamweaver. You can see and edit the theme files.
Credit: websitesetup.org
Configuring Dreamweaver For WordPress
Setting up Dreamweaver for WordPress starts with site settings. Open Dreamweaver and click on Site in the menu. Choose New Site. Name your site. Choose the local folder where your WordPress files are stored. This helps Dreamweaver know where to find your files. Save your changes.
File synchronization is important for keeping things updated. Go to the Files panel. Click the Synchronize button. Choose the Local and Remote options. This makes sure your files are the same on your computer and server. Check for any changes. Synchronize again if needed. This keeps your site fresh and ready.
Customizing The Theme
Dreamweaver is a great tool for editing HTML and CSS files. Open the theme files in Dreamweaver. Look at the code to find the parts you want to change. You can see the code on one side and the design on the other. This helps you make changes easily. Use the Code View to edit HTML. Use the Design View to see changes. Change text, colors, and layout. Save your work often. This keeps your changes safe.
Dreamweaver has many tools to help you. Use the CSS Designer to change styles. This tool helps you see all the CSS rules. You can add new rules or change old ones. The Live View shows how your site looks in a browser. Use this to check your work. The Properties Panel lets you change text and images quickly. Use these tools to make your theme look great.
Testing And Troubleshooting
Learn how to import a WordPress theme into Dreamweaver with these simple steps. First, download your chosen theme. Next, extract the files and open Dreamweaver. Finally, connect to your server and upload the theme files. Troubleshoot any issues by checking file paths and server permissions.
Checking Functionality
First, open the theme in Dreamweaver. Check if all images show. Test links. Click each one. Ensure they work. Look at the layout. Does it match the preview? Test different devices. Use a phone and a tablet. Make sure the theme is responsive.
Check for broken parts. Look at buttons. Are they clickable? Does the theme load fast? Speed is important. Slow themes frustrate users.
Resolving Common Issues
Some themes may not import well. Check the code for errors. Update Dreamweaver to the latest version. Sometimes, an update fixes bugs. Look at WordPress settings. Make sure they are correct.
Sometimes, plugins cause problems. Disable them one by one. Check if the theme works. If it does, the plugin may be the problem. Re-enable the plugin and repeat.
When all else fails, seek help. Go to forums. Ask other users. They can offer advice. Many have faced similar problems.
Credit: www.youtube.com
Frequently Asked Questions
How Can I Start Using WordPress Themes In Dreamweaver?
To use WordPress themes in Dreamweaver, first download your chosen theme. Then, unzip the theme folder. Open Dreamweaver and go to “Manage Sites. ” Select “New Site” and link to the theme folder. This setup enables you to edit WordPress themes directly in Dreamweaver.
Can I Customize WordPress Themes In Dreamweaver?
Yes, Dreamweaver allows customization of WordPress themes. You can edit HTML, CSS, and JavaScript files. Use Dreamweaver’s live preview to see changes instantly. This feature makes theme customization easier and more efficient. Always ensure your changes don’t affect theme functionality negatively.
What Are The Steps To Import A Theme?
First, download and unzip the theme. Open Dreamweaver, go to “Manage Sites,” and select “New Site. ” Link to the theme folder. This process imports the theme into Dreamweaver, allowing for further customization and editing.
Is Dreamweaver Compatible With WordPress Themes?
Dreamweaver is compatible with WordPress themes. It supports HTML, CSS, and PHP editing. This compatibility allows for seamless integration and theme customization. Dreamweaver’s features enhance the theme editing experience, making it easier for users to work with WordPress themes.
Conclusion
Importing a WordPress theme into Dreamweaver is straightforward. Follow the steps carefully. Start by selecting a theme that fits your needs. Download and save it on your computer. Open Dreamweaver and create a new site. Import the WordPress theme files.
Test and preview your theme in Dreamweaver. Make any necessary adjustments. This process helps you customize your website easily. Practice makes it easier over time. Keep exploring and learning. Your skills will improve with experience. Now, you can confidently manage WordPress themes in Dreamweaver.
Happy designing!


