
Are you ready to give your WordPress site a fresh, dynamic look with a new Thrive Theme? Installing and activating a new theme can feel like a daunting task, especially if you’re not a tech wizard.
But don’t worry; you’re not alone in this. With just a few simple steps, you can transform your website’s appearance and functionality, making it more appealing to your audience and more effective in achieving your goals. Imagine the excitement of your visitors when they land on a site that not only looks stunning but is also easy to navigate.
A well-chosen theme can be the difference between a visitor who stays and explores, and one who clicks away. Your website is a reflection of you and your brand, and with the right theme, you can communicate your message more powerfully. By the end of this guide, you’ll know exactly how to install and activate your new Thrive Theme, eliminating any confusion or hesitation. Let’s turn what might seem like a technical chore into a rewarding experience that boosts your site’s performance and appeal. Ready to dive in? Let’s get started!
Credit: thrivethemes.com
Choosing The Right Thrive Theme
Picking a Thrive Theme requires knowing your site’s purpose. Focus on your goals. Do you want to sell products? Or share ideas? Understand your audience. What do they like? What do they need? Write down your thoughts. Make a list of features you want. Prioritize them. Themes offer different styles and functions. Some are good for blogs. Others for shops. Choose wisely.
Thrive Themes offer many choices. Look at the design first. Is it simple? Does it match your brand? Check the features. Are they easy to use? Consider the support. Is it helpful? Read reviews. See what others say. Compare prices. Some themes are free. Others cost money. Choose a theme that fits your budget. Ensure it is responsive. It should work on phones and computers. Test its speed. Slow themes can hurt your site. Pick a theme that loads fast.
Preparing For Installation
Backing up your website is important. It keeps your data safe. Accidents can happen. Data loss is common. Use a trusted backup plugin. Save your files and database. Store the backup in a safe place. You can use cloud storage too. This keeps your site safe.
Ensure your website meets all requirements. Check your WordPress version. It should be up-to-date. Ensure you have the right PHP version. Check your server’s memory limit. It should be sufficient. Use a compatible browser. This ensures smooth installation. These checks make the process easy.
Downloading The Theme
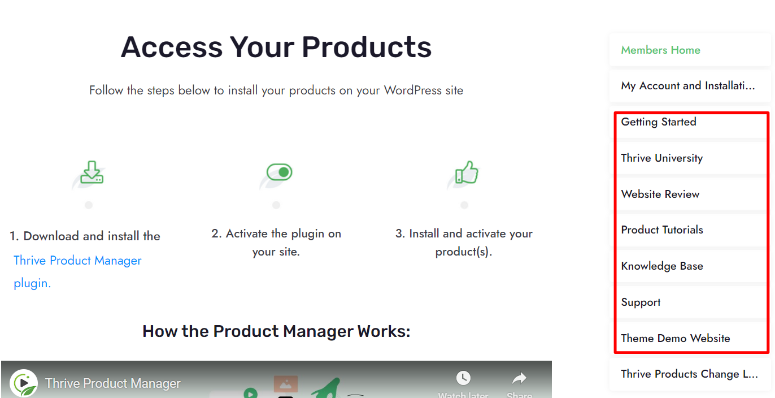
Visit the Thrive Membership Area using your web browser. Log in with your username and password. After logging in, look for the “Products” section. This is where the theme files are located. Click on the “Themes” tab to see available themes. Choose the theme you want.
Locate the theme you wish to download. Click on the “Download” button next to it. This will start the download process. Save the theme file to your computer. Ensure you remember the file location. You will need it later for installation. Having a dedicated folder for themes helps. This keeps your files organized.
Credit: www.isitwp.com
Installing The Theme
First, log into your WordPress dashboard. Go to the Appearance tab and click on Themes. You will see an Add New button. Click it. Then click on Upload Theme. Choose the theme file from your computer. It must be a .zip file. Click Install Now. Wait for it to upload. Finally, click Activate to use the theme.
Download and install an FTP client. FileZilla is a good choice. Open FileZilla and connect to your server. You will need your FTP login details. Find the wp-content/themes folder. Upload the unzipped theme folder here. Once uploaded, go back to your WordPress dashboard. Go to Appearance and then Themes. You will see your new theme. Click Activate to make it live.
Activating The Theme
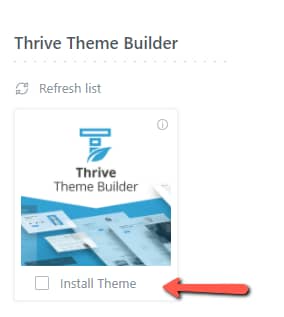
First, visit the WordPress dashboard. Find the Appearance section. Click on Themes. Now, choose your Thrive Theme. Click Activate. Your theme is now live!
Go back to the WordPress dashboard. Select the Customize option. Adjust the site title and tagline. Change colors and fonts. You can add a logo. Save changes often. Keep your site looking good.
Credit: thrivethemes.com
Troubleshooting Common Issues
Sometimes, a theme won’t install right. Ensure your WordPress version is updated. Outdated versions can cause issues. Check your internet connection. A bad connection can stop downloads. If there is an error message, read it. It can tell you what went wrong. You can also try using a different browser. Some browsers work better with WordPress. Lastly, contact support if the problem continues. They can help fix it.
Activation issues can be tricky. First, check if your license key is right. Mistakes can happen when typing. Visit the theme provider’s website. They might have tips for common issues. Make sure your theme files are not corrupted. Re-download if needed. Deactivate other plugins that might cause trouble. Some plugins don’t work well with themes. Restart your WordPress site. A fresh start can solve many problems.
Enhancing Your Theme
Installing and activating a new WordPress Thrive Theme is simple. First, download your theme file. Then, navigate to your WordPress dashboard. Click on “Appearance,” then “Themes,” and select “Add New. ” Upload your theme file and click “Activate” to start using it.
Enjoy your enhanced website look.
Adding Plugins For Functionality
Plugins make your website better. They add new features and tools. Some plugins help with SEO. Others help with security. It’s important to choose the right ones. First, go to the plugin store. Find what you need. Install it with one click. Make sure to activate it. Now your site has more power. Your visitors will enjoy the new features.
Optimizing For Speed And Performance
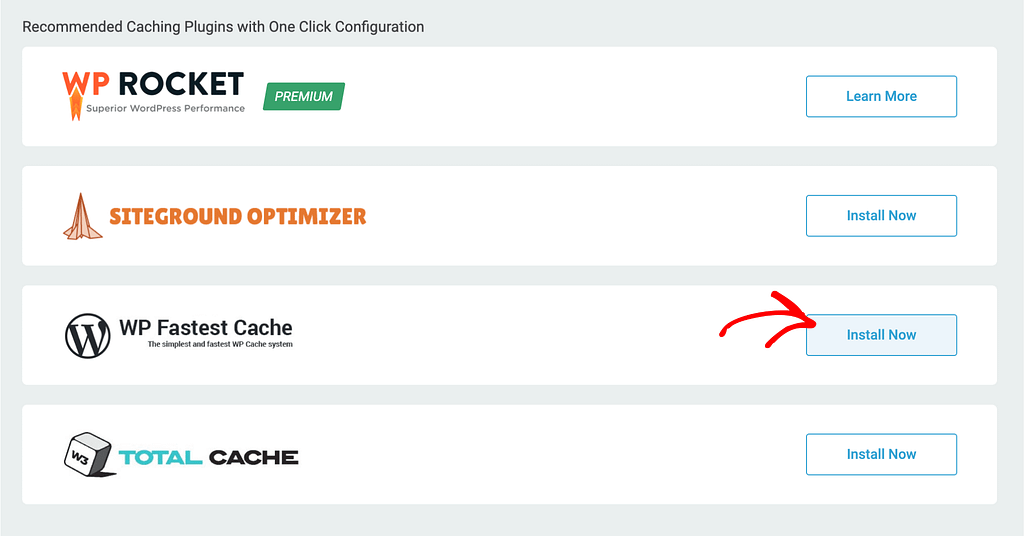
A fast website is important. Slow sites lose visitors. You can make your site faster. Use a cache plugin. It saves your pages for quick access. Minimize your images. Smaller images load faster. Also, check your hosting. A good host makes a big difference. Keep your site light and fast. Your visitors will thank you.
Maintaining Your WordPress Theme
Easily install and activate a new Thrive theme on WordPress by accessing your dashboard. Navigate to “Appearance” and select “Themes. ” Upload the theme file and click “Activate” to finish the process.
Regular Updates
Keeping your WordPress theme updated is crucial. Updates fix bugs and improve features. They also enhance security. Check for updates often. Install updates promptly to keep your site safe. Most themes offer automatic updates. Enable this feature if available. Regular updates ensure your site runs smoothly.
Security Best Practices
Security is vital for your WordPress site. Use strong passwords for all accounts. Avoid using common or easy-to-guess words. Update passwords regularly to protect your site. Install security plugins to guard against threats. Monitor your site for suspicious activity. Regular backups are essential. They help restore your site if hacked. Secure your WordPress theme to protect your content.
Frequently Asked Questions
How Do I Install A Thrive Theme In WordPress?
To install a Thrive Theme, go to your WordPress dashboard. Navigate to “Appearance” and select “Themes. ” Click on “Add New” and “Upload Theme. ” Choose your Thrive Theme zip file, click “Install Now,” and activate the theme.
Can I Activate A Thrive Theme Manually?
Yes, you can activate a Thrive Theme manually. After installation, go to “Appearance” in your WordPress dashboard. Click on “Themes,” locate your installed Thrive Theme, and click “Activate” to make it live.
What Are The Prerequisites For Installing Thrive Themes?
Ensure your WordPress version is updated to the latest version. Check your hosting environment supports the theme’s requirements. Typically, Thrive Themes require PHP 7. 0+ and MySQL 5. 6+ for optimal performance.
How Do I Update A Thrive Theme?
To update, navigate to your WordPress dashboard. Go to “Appearance,” then “Themes. ” Check for update notifications. Click “Update” when available. Ensure you back up your site before updating to prevent data loss.
Conclusion
You’ve learned how to install and activate a WordPress Thrive Theme. It’s simple and quick. Follow the steps, and you’ll have a fresh site look. Remember to customize it to fit your brand. Explore the options available in the theme.
Make your website visually appealing and user-friendly. Themes can impact your site’s performance. Choose wisely and ensure it’s responsive. Regular updates keep your site secure and running smoothly. Enjoy your new WordPress theme and watch your site thrive. Keep learning and experimenting for the best results.
Happy website building!


