
Are you frustrated by the dreaded upload size limit while working with your WordPress theme on Digital Ocean? You’re not alone.
Many website owners face this challenge, and it can feel like a brick wall standing between you and your site’s potential. Imagine the freedom of effortlessly uploading all the content you need without hitting that pesky roadblock. In this guide, we’re going to show you exactly how to increase your upload size, making sure your WordPress site runs smoothly and efficiently.
Get ready to unlock the true potential of your website, enhance its capabilities, and give your audience the seamless experience they deserve. Stick around, because by the end of this article, you’ll have the tools you need to transform your WordPress experience on Digital Ocean.
Credit: siipo.la
Digital Ocean Basics
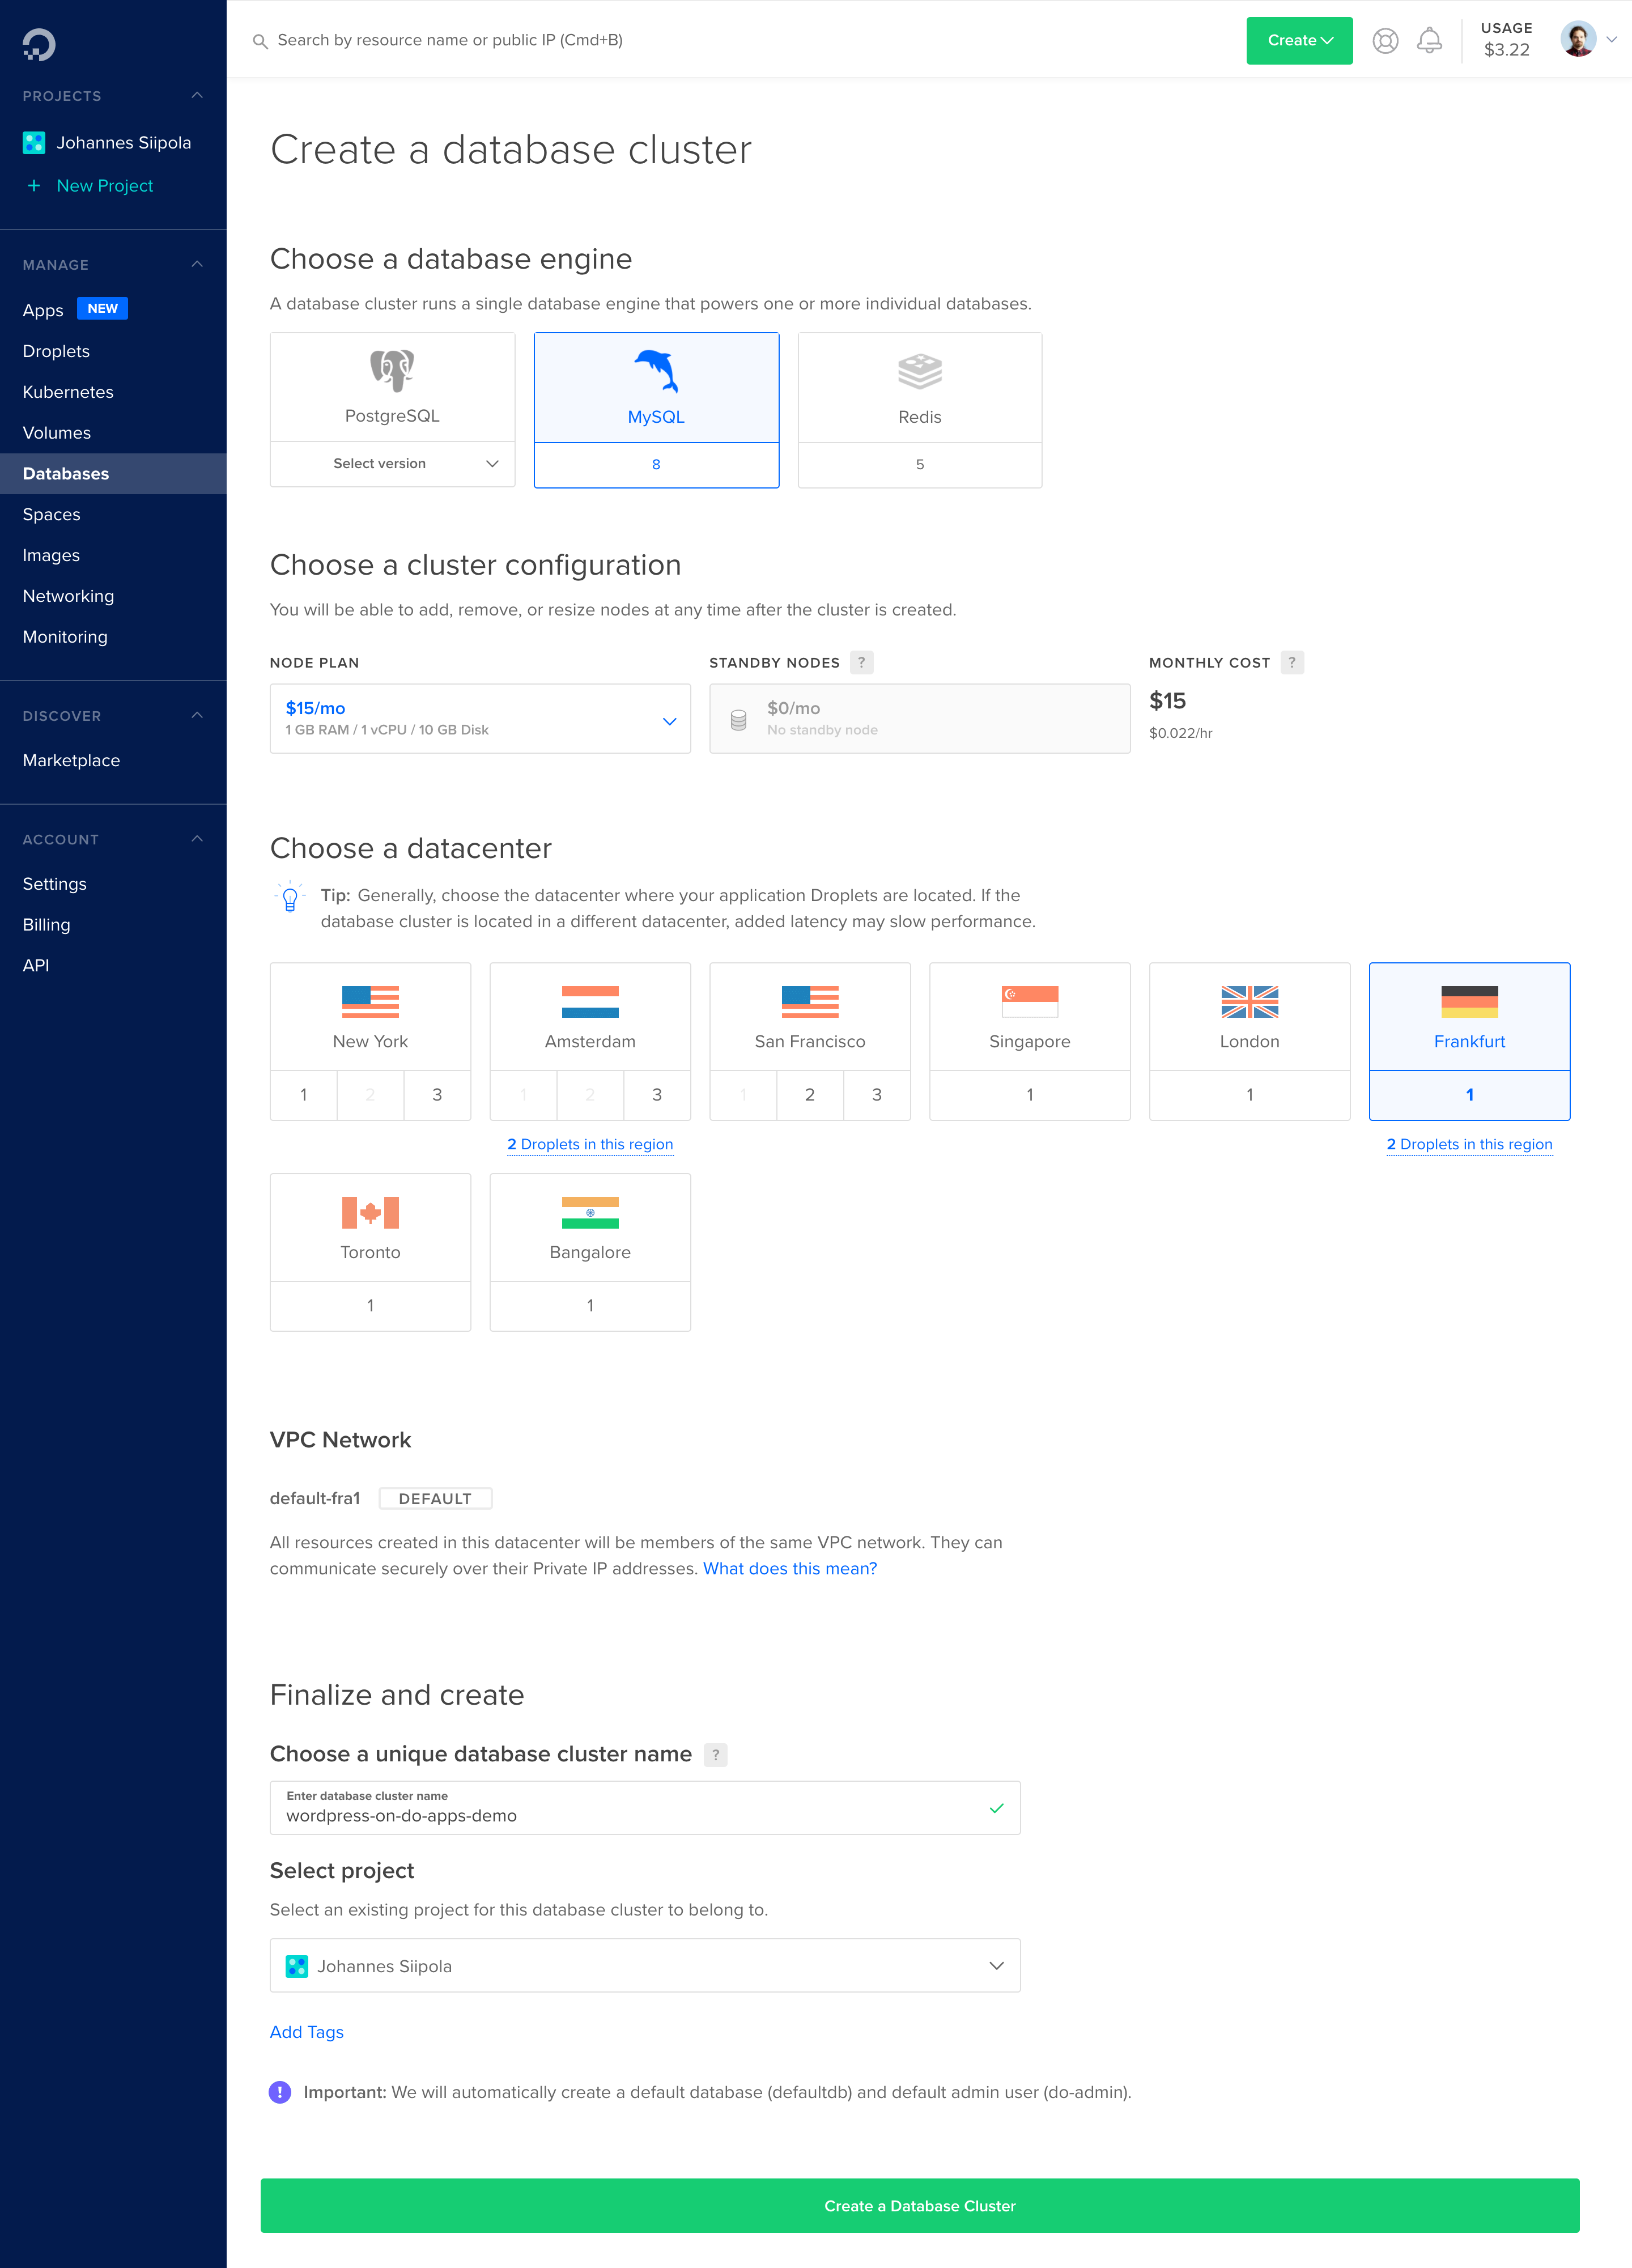
A Droplet is like a virtual computer. You need it to run WordPress. Start by choosing a plan on Digital Ocean. Decide how much RAM and storage you need. Then, select an operating system. Ubuntu is a popular choice. Make sure to add your SSH key. This keeps your Droplet safe. After setup, your Droplet is ready. It’s like setting up a new computer.
Accessing the console is easy. First, log into your Digital Ocean account. Find the Droplet you created. Click on it. Look for the console button. It’s usually at the top. Click it to open the console. This is where you manage your Droplet. You can enter commands here. It’s like a control center for your Droplet.
WordPress Configuration
Begin by logging into your Digital Ocean account. Navigate to the droplet section. Click on your WordPress droplet. Use the console to access your server. Once inside, you will see many files. Your WordPress files are in a folder named ‘public_html’. Navigate carefully. Look for familiar names like wp-content and wp-includes.
The wp-config.php file is crucial. It controls many things in WordPress. Find this file in your WordPress directory. Use a text editor to open it. Be careful while editing. A small mistake can break your site. Consider making a backup first. This step ensures you can restore your site. Use commands to edit, like nano or vi. Save your changes once done. Now, you have accessed and edited the file successfully.
Modifying Php Settings
To make changes, locate the php.ini file on your server. This file controls many PHP settings. Find the lines that say upload_max_filesize and post_max_size. Increase these values to allow bigger uploads. Save the file and restart the server. Now, larger files can be uploaded.
Open the WordPress configuration file. Sometimes, the .htaccess file needs changes too. Add lines like php_value upload_max_filesize 64M or php_value post_max_size 64M. This sets new limits for uploads. Check if changes work by uploading a big file. If it works, then all is set.
Credit: atlasgondal.com
Nginx Or Apache Adjustments
Nginx uses a file named nginx.conf for settings. Find this file in the server. Open the file with a text editor. Look for the line that says client_max_body_size. This line controls file upload size. Change the number to a bigger size. Save the file after changes. Restart Nginx to apply changes. It’s easy to do. Upload size is now increased.
Apache uses a file called .htaccess. This file is in the root folder. Open the file with a text editor. Add two lines: php_value upload_max_filesize and php_value post_max_size. Both lines need a number after them. This number is the new size limit. Save the changes. Restart Apache to make changes work. Now, bigger files can be uploaded.
Testing Upload Size Changes
Uploading big files can be tricky. First, check the file size. It must not exceed the set limit. Use tools like FTP for larger files. FTP makes it easier to manage uploads. Always verify the file type before uploading. Some types may not be allowed. If you face issues, check your internet connection. Slow connections can cause upload failures. Remember to save your work often. This prevents data loss during uploads.
Issues can arise during uploads. Check the error messages for clues. They often point to the problem. Ensure your server settings are correct. Incorrect settings can block uploads. Clear your browser cache if problems persist. Sometimes, old cache causes conflicts. Update your plugins regularly. Outdated plugins may interfere with uploads. Consult online forums for advice. They provide solutions from other users. Test uploads after making changes. Confirm the issue is fixed.
Security Considerations
Enhancing security is crucial while increasing upload size for WordPress themes on Digital Ocean. Implementing strong file permissions and firewall rules helps protect against vulnerabilities. Regularly updating plugins and themes further secures your site from potential threats.
Protecting Your Server
Keep your server safe. Use strong passwords. Change them often. Enable a firewall. Block unwanted traffic. Regularly update software. This stops security holes. Limit access to sensitive files. Only trusted users can view them. Install antivirus software. It scans for threats. Regular backups are important. They save your data. Encryption is a good idea. It hides your information. Monitor server logs. Look for strange activity. Quick action prevents damage.
Monitoring Upload Activity
Watch what gets uploaded. Check file types. Avoid risky files like .exe or .bat. Set file size limits. Large files can harm the server. Use plugins to track uploads. They alert you to problems. Review upload logs. Look for unusual patterns. Regular checks are key. They keep things safe. Educate users on safe uploads. Awareness reduces risk.

Credit: www.wpexplorer.com
Frequently Asked Questions
How Can I Increase Upload Size In WordPress?
To increase upload size in WordPress on Digital Ocean, edit the php. ini file. Locate the `upload_max_filesize` and `post_max_size` directives. Increase their values to your desired upload size. Restart your server to apply changes. This allows larger file uploads in your WordPress theme.
What Is The Default Upload Size In WordPress?
The default upload size in WordPress is typically 2MB. This limit can vary based on server settings. You can verify this under the Media Library or by uploading a file. Adjusting server configurations can increase this limit for larger file uploads.
Why Is Upload Size Limited In WordPress?
WordPress upload size is limited to prevent server overload. This ensures that server resources are efficiently managed. Limiting uploads helps maintain website performance and security. It prevents users from uploading excessively large files that could strain server capacity.
How Do I Check Current Upload Size In WordPress?
You can check the current upload size via the WordPress Media Library. Attempt to upload a file and observe any error message. Alternatively, view the limit in the php. ini file. This file contains configurations that dictate the upload size limit.
Conclusion
Boosting your upload size in WordPress on Digital Ocean is simple. Follow the steps outlined in this guide. Ensure your files upload smoothly without interruptions. Troubleshooting common issues can save time. Always back up your files before making changes. This keeps your data safe.
Remember, tweaking settings can improve performance. Check your configuration if problems persist. Regular updates help maintain site health. Now, enjoy a seamless WordPress experience.


