
Have you ever found yourself staring at your WordPress theme, wondering how to insert images seamlessly? You’re not alone.
Images are a powerful way to make your website more engaging and visually appealing. But sometimes, figuring out the right way to incorporate them into your WordPress theme can feel overwhelming. Imagine if you could effortlessly enhance your site’s look and feel with just a few clicks.
In this guide, you’ll discover simple and effective methods to insert images into your WordPress theme, transforming your website into a vibrant, captivating space. Whether you’re a beginner or a seasoned webmaster, these tips will help you attract and retain more visitors. Let’s dive in and unlock the full potential of your WordPress theme by mastering the art of image insertion.

Credit: gutenbergtimes.com
Image Formats And Compatibility
Choosing the right image format is important. JPEG, PNG, and GIF are common. JPEGs are good for photos. They have smaller file sizes. PNGs work well for graphics with text. They support transparency. GIFs are great for animations. Each format has its use. Think about what you need.
Compatibility matters too. Most formats work in WordPress. Some themes may limit options. Always check your theme. This ensures your images display properly. Upload quality matters. High-quality images look better. Keep file sizes low. This helps page load times. Users will appreciate fast loading pages.
Uploading Images To Media Library
First, open the WordPress dashboard. Find the Media menu on the left. Click on it. Next, look for the Add New button. Press it. A new page will appear. Here, you can upload images. Choose images from your computer. Drag them into the box. Or click the Select Files button. Pick files from your folders. Wait for them to upload. Now, the images are in your media library. You can use them in posts or pages.
Remember, images must be in the right format. JPEG, PNG, or GIF works best. Large files may slow your site. Resize images before uploading. Use tools like Photoshop or online editors. Smaller images are better for speed.
Adding Images To Posts And Pages
Images make your posts look nice and clear. First, click on the Add Media button. It is above the text area. Choose an image from your computer. Click Upload. Wait for it to load. Select the image you uploaded. Click Insert into Post. Now, your image is in the post.
You can change the size. Make it bigger or smaller. Drag the corners. Align the image to left, right, or center. Click the image. Choose the option from the menu. Use Alt Text for better search results. Type a few words about the image. This helps people find your post.
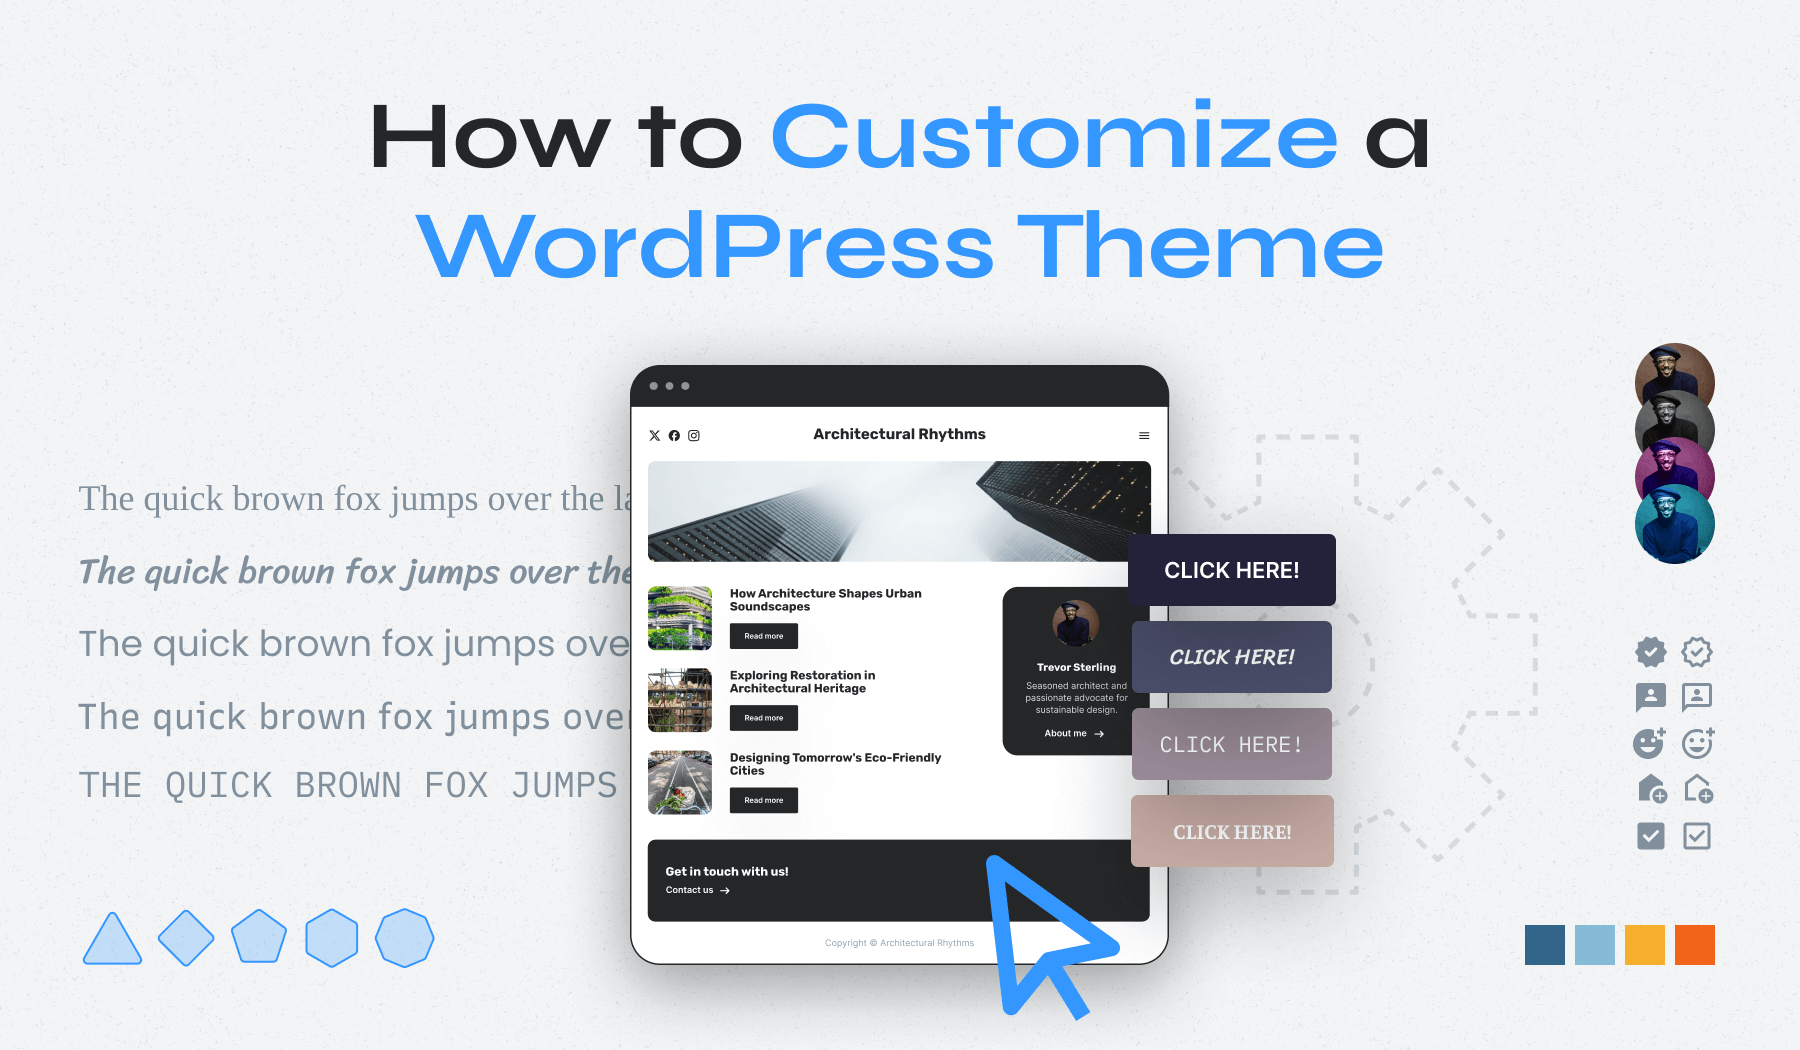
Credit: www.wpzoom.com
Using Featured Images
Featured images make your WordPress posts look good. They act as the main image for your post. Many themes use them on the homepage. You can find the featured image option on the post edit screen. Click on “Set featured image.” It will open the media library. Pick an image from there. Or upload a new one. Good images attract more readers. They make your blog stand out. Ensure the image is clear and relevant. It should match your post content. This way, readers will know what to expect. The right image can tell a story. It gives a hint about the post.
Customizing Image Appearance
Enhancing your WordPress theme with images can significantly boost its visual appeal. Add images by accessing the theme’s editor, uploading your desired picture, and adjusting its settings for optimal fit. This simple process makes your site more engaging and visually pleasing.
Image Alignment
Images can align left, right, or center. Choose based on your design. Aligning images helps organize content. Left alignment is neat for text flow. Right alignment is stylish and modern. Center alignment grabs attention. Use alignment wisely to improve readability.
Image Captions
Captions describe images. They help readers understand content. Short captions are best. They should be clear and direct. Use captions to add context. Captions can tell a story. They make images more engaging.
Alt Text Importance
Alt text is vital for accessibility. It describes images for visually impaired users. It helps search engines understand images. Use simple words for alt text. Avoid jargon and complex phrases. Alt text improves SEO. It makes your site user-friendly.
Integrating Images In Theme Design
Adding a header image makes your website look nice. It can be your brand logo or a pretty photo. Use the WordPress customizer to add it. Go to the Appearance menu. Click on Header. Upload your image and save changes. Now, your site has a new look.
Background images make pages fun. Choose a picture that fits your theme. Go to the Appearance menu. Click on Background. Upload your image. Adjust the settings if needed. Save the changes to see your new background. Your site will now look more alive.
Image widgets add pictures to the sidebar. Go to the Appearance menu. Click on Widgets. Drag the Image Widget to your sidebar area. Upload your picture. Add a title if you want. Click Save to finish. The image will now show up on your site.
Optimizing Images For Performance
Compressing images is crucial. It reduces file size. Smaller files load faster. Use tools like TinyPNG or JPEGmini. They work well. Compressed images save bandwidth. They also speed up your site. Visitors appreciate quick loading pages.
Lazy loading delays image loading. Only visible images load at first. Scrolling triggers more images to load. It improves site speed. Users see content faster. This technique is useful for long pages. It keeps the site responsive.
Responsive images adapt to different screens. They adjust size based on device. Use “srcset” attribute in HTML. It provides multiple image options. Browsers choose the best one. This ensures images look good everywhere. Mobile, tablet, or desktop.
Troubleshooting Common Image Issues
Broken images happen when the image link is incorrect. Always check the image URL. Make sure it points to the right file. Sometimes, images break due to file name changes. Keep names the same to avoid this. Clear your browser cache to see changes. This helps display the correct image.
Image upload errors can occur due to file size limits. Compress images to reduce size. Use plugins for compression if needed. Check file types. WordPress supports JPEG, PNG, and GIF. Other formats might not upload. Ensure your internet connection is stable. A weak connection can cause upload issues.
Image size problems affect page speed and layout. Large images slow down your site. Resize images before uploading. Use WordPress tools to adjust size. This helps fit images into your theme. Maintain aspect ratio to avoid distortion. Consistent sizes keep your site looking neat.
Credit: tonjoostudio.com
Frequently Asked Questions
How Do I Add Images To A WordPress Theme?
To add images, access your WordPress dashboard. Navigate to Appearance > Theme Editor. Locate the appropriate theme file (like style.css). Use HTML `` tags or CSS background properties to insert images. Ensure the image URLs are correct. Save changes and refresh your site to see the updates.
Can I Use Media Library Images In Themes?
Yes, you can. WordPress’s media library stores uploaded images. To use them, go to Media > Library. Copy the image URL. Then, insert it into your theme files using HTML or CSS. This method keeps image management centralized and straightforward.
What Size Should Images Be For Themes?
Images should be optimized for web use. Common sizes include 1200×800 pixels for featured images. Ensure images are compressed to reduce load times. Check your theme’s documentation for specific size recommendations. This ensures optimal display and performance across devices.
How Do I Ensure Images Are Responsive?
Use CSS to make images responsive. Add `max-width: 100%; height: auto;` to your image styles. This ensures images adjust to varying screen sizes. Test on different devices to confirm responsiveness. Responsive images enhance user experience and improve SEO.
Conclusion
Adding images to your WordPress theme enhances your site’s appeal. Simple steps make it easy. First, select the right image. Then, use the WordPress media library. Ensure images are optimized for fast loading. Proper image placement improves user experience. Remember to check your theme’s compatibility.
Regularly update your images to keep content fresh. Practice these steps to improve your site’s visual impact. Visitors will enjoy a more engaging experience. Your site will stand out. Now you know how to insert images in WordPress. Try it today.
See the difference it makes.


