
Ever tried to give your WordPress site a unique look but felt overwhelmed by the options available? You’re not alone.
Creating a custom theme can seem like a daunting task, but it doesn’t have to be. Imagine having a website that perfectly reflects your brand or personal style, catching the eye of every visitor. This isn’t just a dream—it’s entirely possible.
When you develop your own WordPress theme, you gain control over every detail, from layout to color scheme. The best part? You don’t need to be a coding wizard to get started. This guide will break down the process into simple steps, showing you how to transform your vision into reality. By the end of this article, you’ll be equipped with the knowledge to create a theme that not only looks great but also enhances user experience. Ready to stand out from the crowd? Let’s dive in.
Credit: www.wpzoom.com
Choosing The Right Tools
Creating a WordPress theme starts with the right tools. Use a text editor for writing code. Popular choices include Visual Studio Code and Sublime Text. These editors offer useful features. Syntax highlighting and code completion help a lot. You need a web browser to test your theme. Choose one that you like best.
A local environment is important for theme development. Install software like XAMPP or MAMP. These tools create a server on your computer. This server lets you test your theme easily. Download and install WordPress on this local server. Now, you are ready to build and test your theme.
Credit: blog.templatetoaster.com
Understanding WordPress Structure
WordPress has many core files. These files make the site run. The most important file is wp-config.php. This file holds settings. Another key file is index.php. This file loads the site. There are many folders too. The wp-content folder stores themes and plugins. The wp-includes folder has code files. These files help WordPress work. Each file and folder has its own job.
The theme hierarchy is like a map. It tells WordPress which file to use. If you visit a page, it looks for a page template. If it can’t find one, it uses index.php. The hierarchy helps WordPress choose the right file. It keeps the site organized. Every theme follows this map. Themes can have many files. Each file has a purpose. This makes themes flexible.
Design Planning
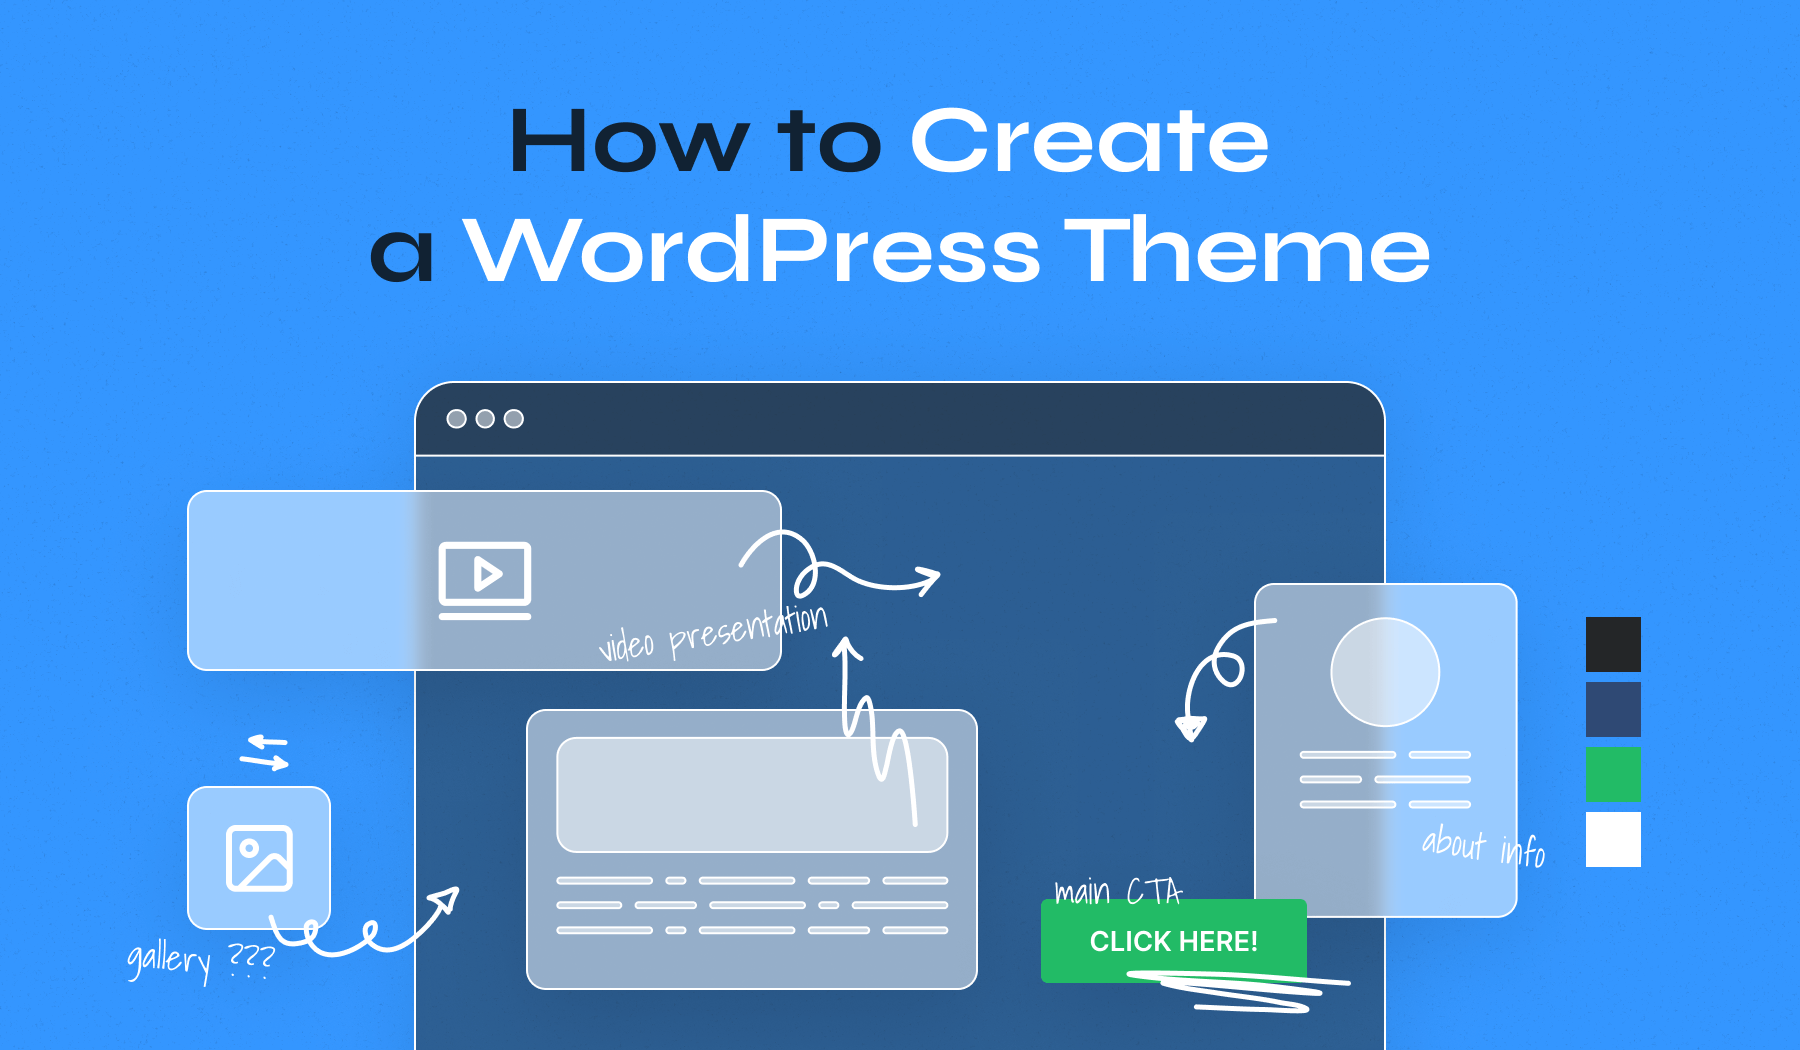
Wireframes are like blueprints for your design. They help plan the structure of your webpage. Start with simple shapes. Use rectangles for blocks of text. Use circles or squares for images. Sketch your ideas on paper first. Then use a digital tool like Adobe XD. This helps you visualize the layout. Keep it neat and organized. Your wireframe should be easy to understand. It guides the design process.
Colors make your site attractive. Choose colors that match your theme’s purpose. Bright colors feel happy and energetic. Soft colors feel calm and peaceful. Use a color wheel to find complementary colors. These colors look good together. Limit your palette to three or four colors. Too many colors can be confusing. Test your colors on different devices. Make sure they look consistent everywhere.
Creating A Custom Theme
Crafting a WordPress theme involves designing the layout, color scheme, and typography. Start by understanding the basics of HTML, CSS, and PHP. Use these tools to build a theme that reflects your brand and engages users.
Setting Up A Theme Folder
First, create a new folder in the WordPress themes directory. Name it something unique. This folder will store all your theme files. Inside your theme folder, you need two files. These are style.css and index.php. These files are essential for your theme to work.
Developing Style.css And Index.php
The style.css file controls the look of your theme. In this file, add a special comment at the top. This comment gives details about your theme. For example, its name and author. The index.php file is the main template file. It tells WordPress how to display your site. Together, these files create the basic structure of your theme.
Building Template Files
Creating template files is a crucial step in developing a WordPress theme. These files determine how your site’s pages and posts appear. By organizing templates, you ensure a consistent and professional look across your website.
Creating Header And Footer
The header file is named header.php. It shows the top part of a webpage. You can add a site logo and menu here. The footer file is named footer.php. It shows the bottom part of a webpage. You can add contact info and copyright details here. Both files are important for every page.
Designing Sidebar And Widgets
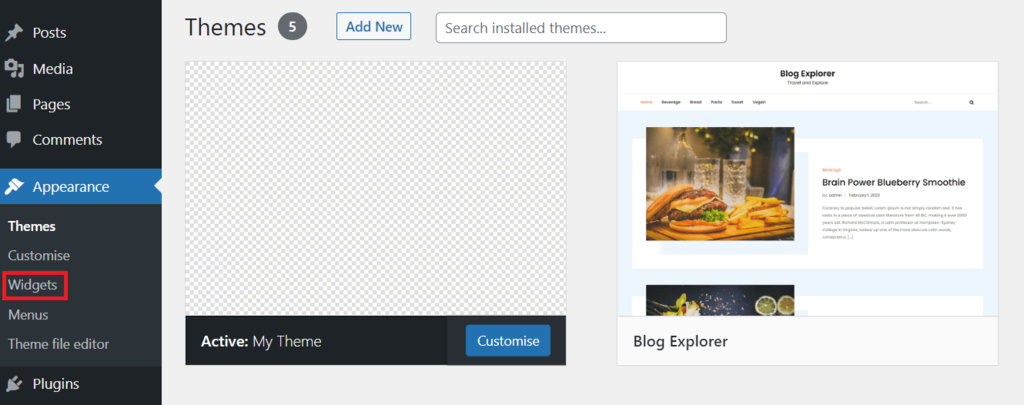
The sidebar is like a helper. It sits beside the main content. Widgets are tools you add to the sidebar. You can place a search bar or recent posts widget there. The sidebar file is sidebar.php. It helps users find things fast. Widgets make the sidebar more useful.
Integrating WordPress Functions
The WordPress Loop is key for showing posts. It checks if there are posts to display. If yes, it shows each post one by one. The Loop uses simple PHP code. This helps to get posts from the database. Use while and if statements. The Loop makes the blog dynamic.
Posts can be styled using CSS. Add HTML tags for structure. Each post has a title and content. The Loop can also show post dates and authors. Customize the Loop for your needs.
Custom menus help in better navigation. They allow users to find pages easily. Use the WordPress menu editor. It’s found in the dashboard under “Appearance”. Add pages, posts, and categories to the menu. You can also add custom links.
Arrange menu items by dragging them. Use sub-menus for better organization. Add a menu to a location by using the “Manage Locations” tab. This makes the website user-friendly. A good menu helps users find information quickly.
Enhancing With Css And Javascript
Customizing a WordPress theme with CSS and JavaScript adds unique style and functionality. CSS allows for personalized design tweaks, while JavaScript enhances interactive features. These tools together create a dynamic and visually appealing website experience.
Styling With Css
CSS makes your website look great. It changes colors, fonts, and sizes. With CSS, you can make your buttons blue and your text big. You can also add borders and shadows. CSS helps in making a site look clean and bright. It is like dressing up your website. You can also make a layout with CSS. Use it to make columns and rows. Everyone loves a neat and tidy site.
Adding Interactivity With Javascript
JavaScript makes web pages interactive. It adds life to a website. You can create pop-ups and slideshows. It helps in making forms more fun. With JavaScript, you can show or hide information. You can also update data without reloading a page. This makes a site dynamic and engaging. JavaScript can also animate pictures and text. It makes the user experience more enjoyable.
Credit: www.hostinger.com
Testing And Debugging
Ensuring browser compatibility is very important. Different browsers show websites differently. Test the theme on Chrome, Firefox, and Safari. Also check on Internet Explorer. Make sure your theme looks good on all. Use tools like BrowserStack for testing.
Sometimes errors happen. Fixing common errors is part of the job. Look for broken links. Check for missing images. Make sure all buttons work. Use the WordPress debugger to find code problems. Check if plugins cause issues. Always keep a backup. This helps if something goes wrong.
Optimizing For Performance
Minifying code makes your theme load faster. It removes extra spaces and comments. CSS and JavaScript files become smaller. This helps web pages load quickly. Faster websites keep users happy. Use tools like UglifyJS for JavaScript. Try CSSNano for CSS files. These tools are easy to use. They make your code clean and short.
Images should be small and optimized. Use formats like JPEG and PNG. Lazy loading helps. It loads images only when needed. Caching is important too. It saves data for later use. This makes your site open fast. Keep plugins updated. Old plugins slow down sites. Lightweight themes are better. Choose themes with simple designs.
Preparing For Launch
Creating a WordPress theme involves design, coding, and testing. Choose a unique style and layout. Customize with plugins and widgets. Test for responsiveness and speed. Ensure compatibility with browsers and devices.
Conducting Final Review
Check your theme for any errors. Look at the design. Make sure it is neat. Test each feature. Confirm it works well. Review the loading time. It should be quick. Check the theme on different browsers. Ensure it looks good everywhere. Test it on phones and tablets. The theme must be mobile-friendly. Check the SEO settings. Make sure they are correct. Look at the security features. Ensure they are strong. Review your backup systems. They should work properly. Make sure all plugins are updated. They should be compatible.
Deploying On A Live Server
Choose a good hosting provider. Upload the theme files. Use an FTP client. Set up the database. Connect it to the theme. Install WordPress. Activate your theme. Test the site. Check all pages. Ensure they load fast. Look at the website on different devices. Confirm it looks nice. Check the server settings. They must be correct. Activate security plugins. They protect the site. Back up the site. This saves your work.
Frequently Asked Questions
What Tools Are Needed For Theme Development?
To develop a WordPress theme, you’ll need a code editor like Visual Studio Code, a local server environment like XAMPP or MAMP, and a web browser for testing. Familiarity with PHP, HTML, CSS, and JavaScript is essential for efficient development and customization of your theme.
How Do I Start Developing A Theme?
Start by setting up a local development environment. Create a new theme folder in WordPress’s ‘wp-content/themes’ directory. Develop template files like ‘index. php’ and ‘style. css’. Use WordPress functions and hooks to customize your theme. Testing and iteration are crucial for creating a functional and attractive theme.
Can I Use Frameworks For Theme Development?
Yes, frameworks like Bootstrap or Foundation can enhance your theme’s responsiveness and design. They provide pre-built components and grid systems, making it easier to create a mobile-friendly and visually appealing theme. Integrating frameworks can save time and improve user experience.
How Do I Ensure My Theme Is Responsive?
To ensure responsiveness, use CSS media queries and flexible grid systems. Test your theme on various devices and screen sizes. Prioritize mobile-first design principles to enhance usability on smartphones and tablets. Responsive themes improve user experience and are favored by search engines.
Conclusion
Creating your own WordPress theme is a rewarding journey. Start with planning. Understand your goals and audience. Learn the basics of PHP, CSS, and HTML. Use resources wisely. Explore online tutorials and communities. Practice coding regularly. Test your theme on different devices.
Ensure it’s responsive. Check for compatibility with plugins. Keep your design simple and clean. Regularly update and maintain your theme. Gather feedback and improve. Patience is key. Celebrate small victories. Enjoy the process and creativity involved. Building a theme enhances your skills and confidence.
Your finished theme reflects your dedication and growth.


