
Are you looking to make your WordPress site stand out with a personal touch? Customizing the Avada WordPress theme might just be the answer you need.
Imagine transforming your website into a unique digital space that truly reflects your brand and vision. With Avada’s flexible design options, you can do just that without needing to be a tech wizard. You might be wondering if customizing a theme is too complicated or time-consuming.
The good news is that you can easily tailor Avada to suit your needs, even if you’re new to WordPress. This guide will walk you through the process, showing you how to tweak colors, layouts, and more, so your website not only looks professional but also captures your unique style. Keep reading, and discover how to turn the Avada theme into your own masterpiece, effortlessly drawing in visitors and keeping them engaged.
Installation And Setup
Go to the Avada Theme website. Click on the download button. Save the file on your computer. This file is in a .zip format. You need this file for the next step.
Log in to your WordPress dashboard. Go to the Appearance section. Click on Themes. Find the Upload Theme button. Click it. Choose the Avada .zip file. Click Install Now. Wait for the upload to finish.
After installation, find the Avada theme. Click on Activate. This will make Avada your active theme. Your site now uses Avada’s features. Explore and enjoy the new look.
Importing Demo Content
Avada offers many demo options. Each demo has unique features. Choose a demo that fits your site needs. Consider the layout and style. Some demos focus on business. Others highlight portfolios. Picking the right demo is crucial.
Importing a demo is simple. First, navigate to the Avada dashboard. Next, select the demo you want. Click the import button. Wait for the process to complete. This may take a few minutes. Ensure your internet connection is stable.
Once imported, you can customize the demo. Change colors and fonts easily. Use the Avada builder for layout adjustments. Customize menu options. Adjust header and footer settings. Tailor the demo to match your brand. Make the site unique.
Using The Fusion Builder
First, go to your WordPress dashboard. Find the page or post you want to edit. Click on the “Edit” button. Now, you will see the Fusion Builder option at the top. Click on it. This opens the Fusion Builder editor. Now, you can add or change content with ease.
Fusion Builder helps you make your own page layout. Start by adding a container. Then, add columns inside the container. You can drag and drop items into the columns. This makes it simple to create a unique look for your site. Add images, text, and buttons as needed.
Fusion Builder has many pre-built elements. These help you design pages faster. Look for items like sliders, icons, and forms. Drag them into your layout. Adjust their settings to fit your needs. This saves time and effort while designing your site.
Credit: themeforest.net
Theme Options Panel
The Avada Theme Options Panel is easy to find. It lives in the WordPress admin area. Click on Avada and then Theme Options. You will see many options here. These options let you change how your website looks.
In Global Settings, you can change many things. Colors, fonts, and layouts can be adjusted. This affects the whole site. Choose colors that match your brand. Set fonts that are easy to read. You make your website look good by doing this.
Headers and footers are important. They appear on every page. Go to the Header and Footer sections. Here, you can add logos and menus. You can also change their styles. Make sure they are easy to navigate.
Styling And Design
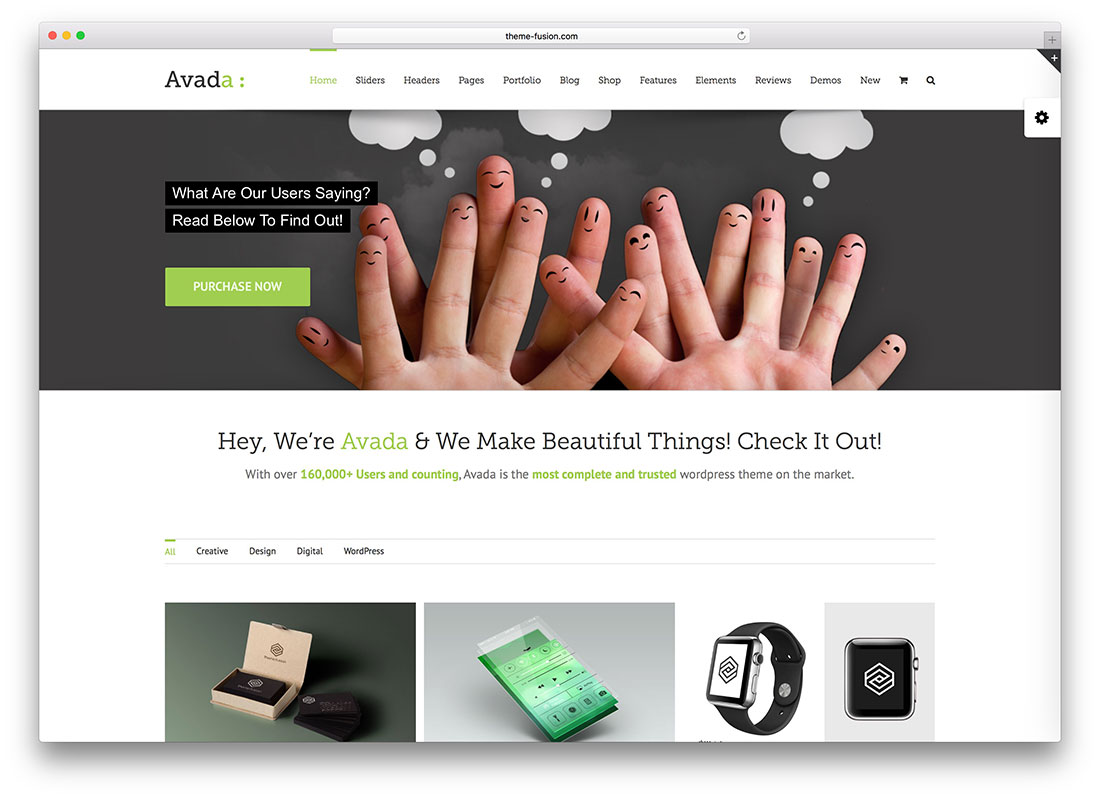
Avada makes it easy to change colors. Use the Theme Options panel. Pick your favorite color. Apply it to headers, text, and backgrounds. Fonts can also be changed. Choose from Google Fonts. Adjust size and style. Make your text unique and readable.
Backgrounds add personality to your site. Use images for backgrounds. Upload your own or choose from the library. Solid colors work too. They keep things simple. Patterns can add interest. Change them easily in the Backgrounds section.
Custom CSS allows for more control. Add special styles to your site. Use it to tweak margins and padding. Change font size or color. The Custom CSS tab lets you paste your code. It updates your theme instantly.
Credit: colorlib.com
Responsive Design Settings
Mobile and Tablet Views are important for all websites today. Avada theme makes it easy. Go to the theme options. Find the responsive settings. Adjust these settings for different screens. You can change the layout. You can also hide or show elements. This helps your site look good on all devices.
Adjusting Element Sizes is key for a clean look. Use the visual builder. Change the font size or image size. Make them fit small screens. This keeps your site easy to read on phones. You can also adjust the padding. This will help make spaces even.
Testing Responsiveness is a must. After changes, check how your site looks. Use your phone or tablet. See if everything fits. You can also use online tools. These tools show your site on different screens. Always test before making your site live.
Integrating Plugins
Avada WordPress theme customization becomes simple by integrating plugins. Plugins add extra features without touching the core code. This approach maintains the theme’s integrity while enhancing its functionality.
Recommended Plugins
Plugins help enhance your website. Use SEO plugins to improve search visibility. Security plugins protect your site from threats. Choose backup plugins to save your data. Consider a cache plugin for faster loading. These make your site run better.
Installing Additional Plugins
Go to your WordPress dashboard. Click on Plugins. Then, click Add New. Search for the plugin you need. Click Install Now. Once installed, click Activate. Your plugin is now ready to use. Always check for updates.
Managing Plugin Conflicts
Sometimes plugins don’t work well together. This is called a conflict. Deactivate all plugins first. Reactivate them one by one. Find which one causes the problem. Try a different plugin if needed. Keep your plugins updated. This helps reduce issues.
Credit: www.csshero.org
Custom Widgets And Sidebars
Widgets add special features to a website. Use Avada’s tools to make them unique. Choose what you want the widget to do. Add text, images, or links. Drag and drop to place the widget where you want. Save changes and see the widget on your site. This makes your website look special.
Sidebars hold widgets and other tools. Customize them to fit your design. Change width, color, and position. Add or remove widgets easily. Use different sidebars for different pages. This keeps your website organized. Change the sidebar settings in Avada options. It’s simple and quick.
Place widgets in the perfect spot. Choose between the sidebar, footer, or header. Each spot has its own style. Test different placements for the best look. Widgets should be easy to find. Make sure they are not too crowded. This helps users find what they need quickly.
Troubleshooting Common Issues
Installation errors can be frustrating. Ensure your WordPress is up-to-date. Check your server requirements. Avada needs PHP 7.2 or higher. Verify your file permissions. Correct permissions can prevent errors. Use an FTP client to adjust them. Double-check your theme upload. Ensure the correct file is uploaded. Follow these steps to fix common issues.
Design discrepancies can affect your site’s look. Check your custom CSS. Incorrect CSS can ruin designs. Clear your cache regularly. Cached data can cause display issues. Verify plugin compatibility. Some plugins conflict with Avada. Disable conflicting plugins to fix design problems. Review your media settings. Adjust image sizes to fit the theme.
Support can help solve tricky problems. Visit Avada’s support page. Look for the help center. Access their forums for common solutions. Submit a ticket for direct help. Provide detailed information. Support staff needs it to assist properly. Use documentation for guidance. It has many answers to frequent issues.
Best Practices
Customizing the Avada WordPress theme enhances website design and functionality. Utilize intuitive theme options to adjust layouts, colors, and fonts. Tailor your site to suit your brand’s unique identity, ensuring a seamless user experience.
Optimizing Performance
Avada can be heavy on resources. Ensure fast loading speeds. Use cache plugins. Minimize image sizes. Optimize scripts and styles. Disable unused modules. Choose a reliable hosting service. Check site speed regularly. Adjust settings for speed.
Ensuring Security
Security is crucial for your site. Install a security plugin. Regularly update passwords. Make backups frequently. Use two-factor authentication. Limit login attempts. Remove unused themes and plugins. Keep your WordPress version updated. Ensure secure connections.
Regular Updates
Updates keep your site safe and fast. Check for theme updates. Update plugins regularly. Always backup before updating. Read update notes. Test updates on a staging site. Ensure compatibility with existing settings. Review site performance post-update.
Frequently Asked Questions
How To Change Avada Theme Colors?
To change colors in Avada, navigate to Avada > Options. Select Colors. Customize primary, secondary, or accent colors. Save changes. Colors will update site-wide. You can also adjust colors for specific elements using the Fusion Builder. This offers flexibility to match your branding.
Can I Customize Avada Header Layout?
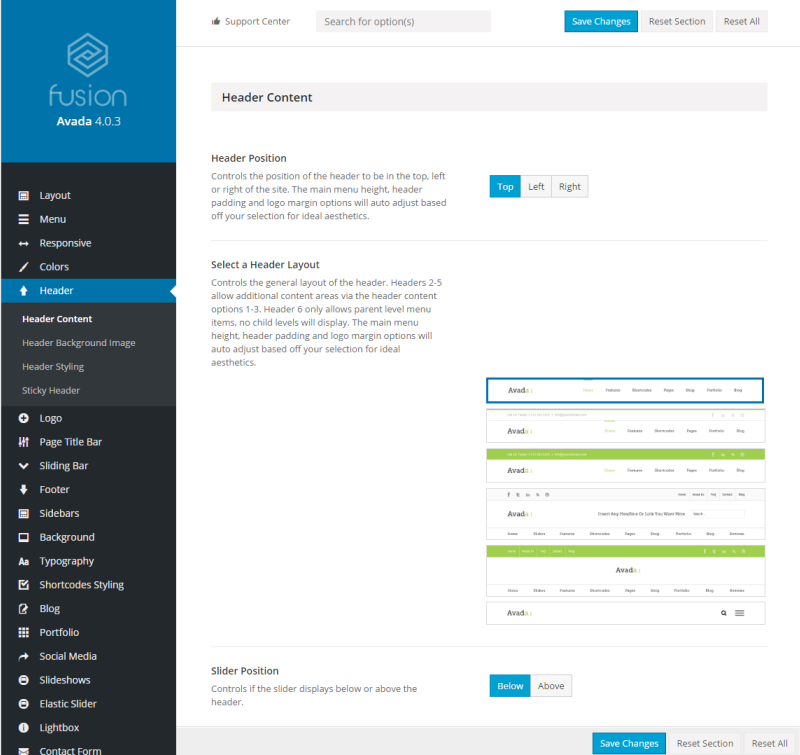
Yes, Avada allows header customization. Go to Avada > Options. Select Header. Choose from various layouts. Customize elements like logo, menu, and social icons. You can also use the Header Builder for advanced configurations. This enhances your site’s navigation and appearance.
How Do I Adjust Avada Typography Settings?
To adjust typography, visit Avada > Options. Click Typography. Change fonts, sizes, and styles for headings, body text, and more. Avada integrates with Google Fonts. This offers extensive choices. Adjusting typography improves readability and visual appeal.
Is Avada Compatible With Woocommerce?
Yes, Avada is fully WooCommerce compatible. It supports advanced e-commerce features. Customize product pages, checkout, and shop layouts. Use Fusion Builder for unique designs. Avada optimizes WooCommerce integration for user-friendly shopping experiences.
Conclusion
Customizing the Avada WordPress theme is simple and rewarding. You can make your website look unique. Explore different design options. Use the theme’s tools to adjust colors and fonts. Modify layouts to fit your needs. Practice and experimentation are key.
Familiarize yourself with the settings. Make changes gradually to avoid mistakes. Don’t rush the process. Check your updates regularly. Ensure a smooth user experience. With patience, your site will reflect your vision. Enjoy creating a site that stands out. Your creativity can shine through every customization.


