
Are you looking to refresh your WordPress site with new images? Updating pictures can give your website a fresh look and captivate your visitors.
If you’re using the Twenty Seventeen theme, you’re in the right place. This theme offers a sleek, modern design, but changing images might seem a bit tricky at first. Don’t worry, though—we’ve got you covered. In this guide, you’ll discover simple, step-by-step instructions to effortlessly change pictures on your site.
Unlock the potential of visual storytelling and make your website stand out. Ready to transform your site’s appearance with just a few clicks? Let’s dive in!
Accessing The WordPress Dashboard
First, open your web browser. Type your website’s URL followed by /wp-admin. This takes you to the login page. Enter your username and password. Click on the login button. Now, you are in the dashboard. This is the control center of your site. You can make changes here.
Look at the left side of the screen. There is a menu. Find the Appearance option. Click on it. A new menu will appear. Choose Customize. Now, you can see the customizer.

Credit: wpmudev.com
Navigating To Appearance Settings
Start by finding the Appearance option in your dashboard. Click on it. You will see the Customize button. Click it to open new settings. This area lets you change many things. Look for the Header Media section. It is important for changing pictures.
Here, you can upload new images. Click on the Add New Image button. Choose your picture from your computer. You can also remove old images. Use the Remove button for this. After changes, always click Publish. This saves your work.
Customizing The Header Image
Start by going to your WordPress dashboard. Find the Appearance menu. Click on Customize. This opens the theme customizer. Now, locate the Header Image section. Click on it. You will see options to change your header image.
Click the Add New Image button. Choose an image from your computer. Wait for it to upload. After uploading, you will see a preview. Make sure the image looks good. If not, try another one.
After uploading, find the Crop tool. Use it to adjust the image position. Move the crop box to fit the best part of the image. Next, check the Image Size options. Pick the size that suits your site. Finally, click Save & Publish. Your header image is now updated!
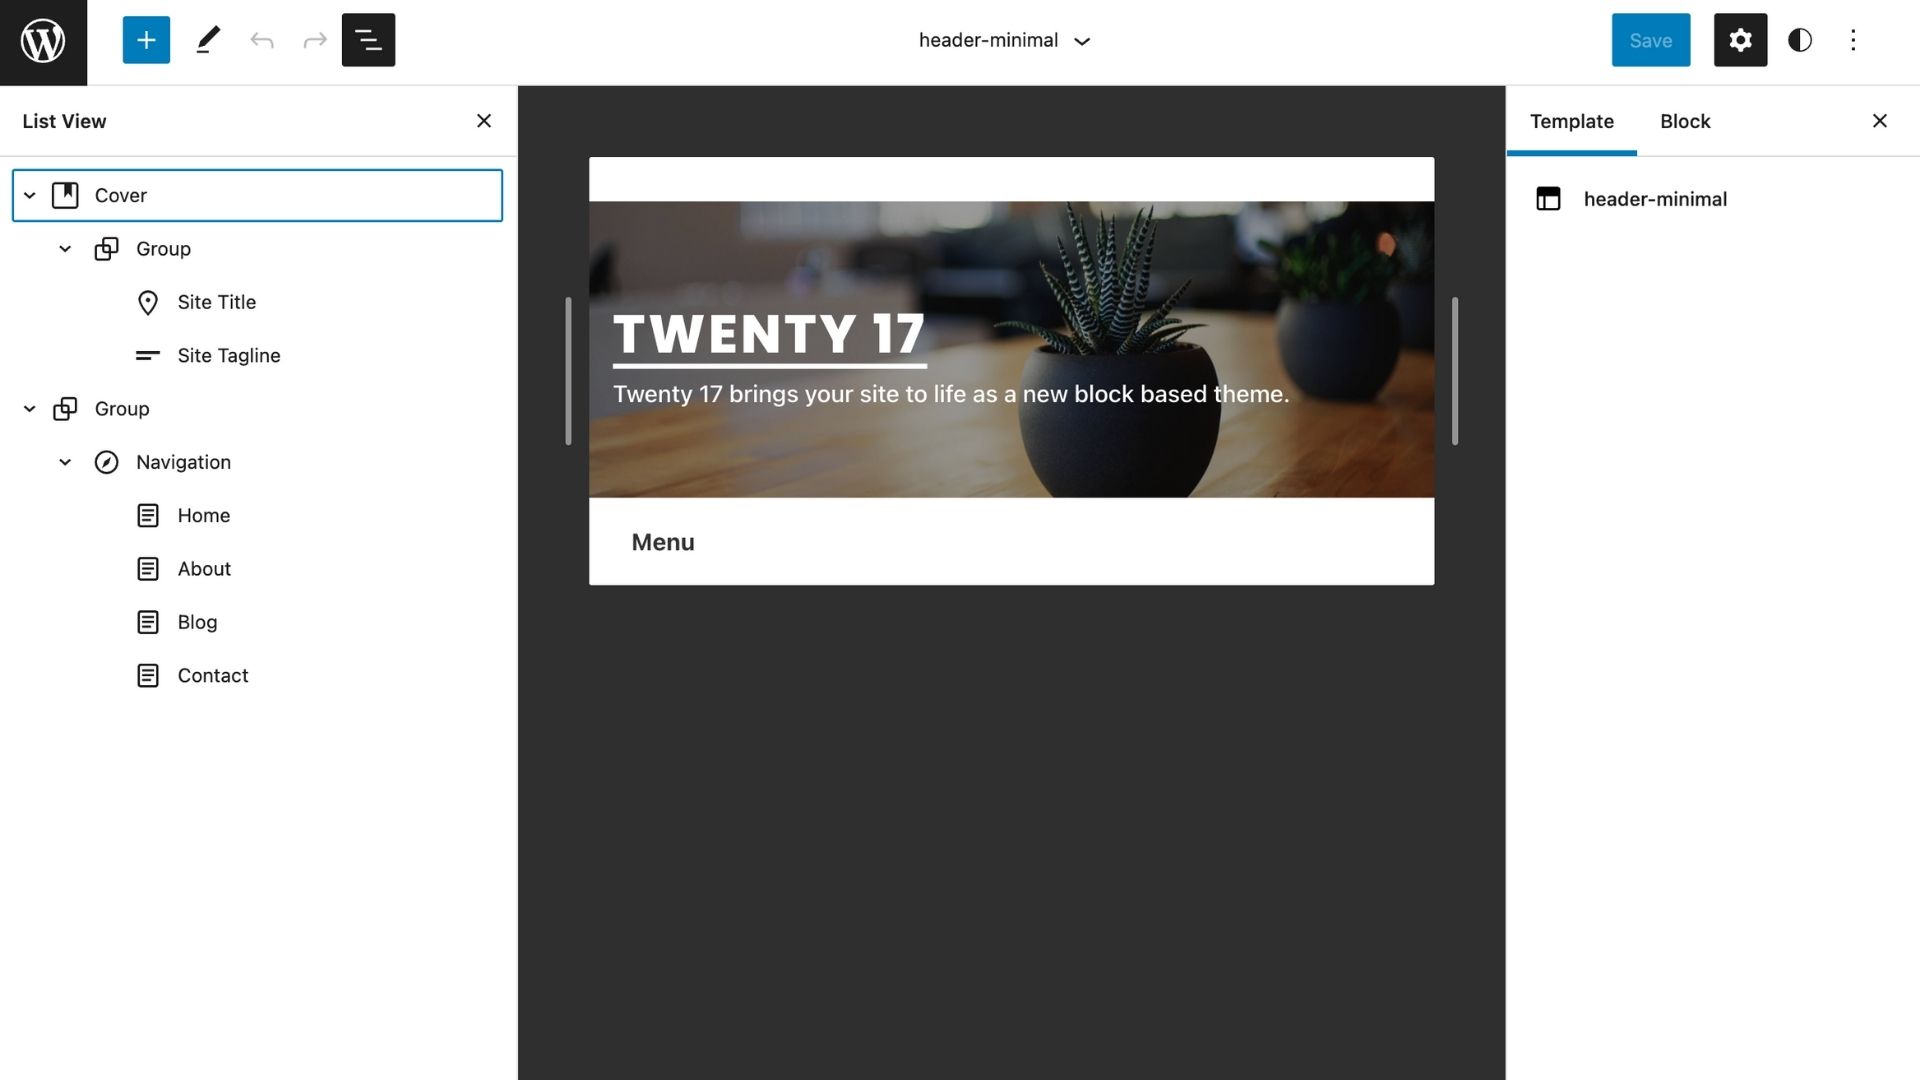
Credit: derekhanson.blog
Changing The Background Image
Easily change the background image on the WordPress Twenty Seventeen theme through the Customizer. Navigate to “Appearance” then “Customize. ” Select “Background Image” to upload your desired picture for a fresh look.
Choosing The Background Image Tab
Find the WordPress dashboard. Click on Appearance, then Customize. Look for the Background Image tab. Click it to open. You will see options. Easy to use.
Uploading And Setting A Background Image
Click Add New Image to upload. Choose an image from your computer. Select the one you like. Click Choose Image. This sets your new background. You can change it anytime.
Adjust the image settings if needed. You can try different positions. Find what looks best. Remember to save changes. Your new background is ready. Enjoy your new look!
Updating Featured Images For Posts
Changing pictures on WordPress’s Twenty Seventeen theme is simple. Begin by accessing your WordPress dashboard. Select the post to edit, then click “Featured Image” to upload a new picture. Save changes to update the post’s visual appeal instantly.
Locating The Featured Image Section
Find the Featured Image section in your WordPress editor. This section is usually on the right side. Look for a panel named “Featured Image.” Click on it to expand. You will see options to add or change images. This is where you manage post images.
Uploading And Setting A Featured Image
Click on “Set Featured Image.” Choose an image from your library or upload a new one. Make sure the image fits your post. It should be clear and attractive. After selecting, click “Set Featured Image” again. Your image will now appear in the post preview.
Modifying Images In Page Content
Find the page or post you want. Click on Edit. Look for the Add Media button. Click it to insert an image. Choose the picture from the library. You can upload a new one too.
After selecting, click Insert. The image appears in your content. Use alignment options. Left, right, or center. Choose what looks best. Align images for better visual appeal. Make your content engaging and clear. Picture size matters too. Adjust if needed.
Utilizing The Media Library
First, go to your WordPress dashboard. Click on the Media option. This will take you to the Media Library. Here, you can see all your uploaded pictures. It’s like a big folder for images.
Select any image you want to change. Click on it to open the details. You can edit or replace the picture. Just click on the Edit button. It allows you to change the file or update the picture. Remember to save changes after editing.

Credit: learn.wordpress.org
Best Practices For Image Optimization
Choosing the Right Image Format is important. JPEG is good for photos. PNG is better for graphics. Use GIF for animations. Each format has its own use. Pick the right one for your needs. This makes images look better and load faster.
Reducing Image File Size helps pages load quicker. Large files slow down websites. Use tools to compress images. This keeps the quality but reduces size. TinyPNG and ImageOptim are good tools. Smaller files mean faster load times.
Frequently Asked Questions
How Can I Change Header Images On Twenty Seventeen?
To change header images, go to your WordPress dashboard. Navigate to Appearance > Customize > Header Media. Here, you can upload new images or select from the existing ones. Ensure the image dimensions fit the theme’s requirements to maintain visual appeal across different devices.
Can I Use Custom Images For Twenty Seventeen?
Yes, you can use custom images. Go to Appearance > Customize > Header Media in your dashboard. Upload your desired image from your computer. Ensure it matches the recommended dimensions for optimal display. This allows you to personalize your site while keeping a professional look.
Are There Recommended Image Dimensions For Twenty Seventeen?
Yes, the recommended dimensions for header images are 2000×1200 pixels. This ensures your images look sharp and fit well across various devices. Check your image dimensions before uploading to maintain quality. Proper sizing helps in delivering a professional and visually appealing website.
How Do I Change Background Images In Twenty Seventeen?
To change background images, navigate to Appearance > Customize > Background Image. Here, you can upload your desired image. Choose one that complements your site’s aesthetic. Ensure the image is high-quality and matches your theme’s overall design for a cohesive look.
Conclusion
Changing pictures on the Twenty Seventeen theme is simple. Start by logging into your WordPress dashboard. Navigate to Appearance, then Customize. Select Header Media to change header images. For background images, go to Background Image settings. Click and upload new pictures from your device.
Adjust and save settings to see changes. Remember, images can enhance your site’s look. Use high-quality pictures for a professional appearance. Regular updates keep your website fresh. Explore other customization options for more improvements. Enjoy a visually appealing site! Happy blogging and designing!


