
Are you looking to elevate your WordPress site with a modern, visually appealing design? A masonry grid view might be just what you need.
It’s not only stylish but also incredibly functional, allowing you to display content in a dynamic, Pinterest-like format. Imagine your images, posts, and products neatly organized, grabbing your visitors’ attention the moment they land on your page. You might think creating such a layout requires complex coding skills or expensive themes, but that’s not the case.
With the right guidance and tools, you can craft a stunning masonry grid view yourself, tailored to your unique style and content. Ready to transform your WordPress site into a visual masterpiece? Let’s dive in and discover how you can achieve this effortlessly.
Choosing The Right Tools
First, check if your WordPress version is up-to-date. An updated version is important for security. Make sure your PHP version is at least 7.4. This helps your theme run fast. Your MySQL or MariaDB should be current too. The database stores all your site data. Don’t forget a good hosting provider. It keeps your site online and safe.
Start with a basic theme. It helps you understand how themes work. Use a text editor like Visual Studio Code. It makes coding easy and fun. Learn some HTML, CSS, and JavaScript. These are the building blocks for themes. Try using Bootstrap or jQuery. They simplify your coding process. Use images and colors wisely. It makes your theme look pretty.
Credit: colorlib.com
Setting Up The Development Environment
Start by installing a local server on your computer. Tools like XAMPP or MAMP are easy to use. They create a space to test your WordPress theme. Download the server software. Follow the steps to set it up. You need a database for WordPress. Create one in the server panel. Now you are ready to install WordPress. Copy WordPress files to the server folder. Open the WordPress setup page. Enter database details. Finish the setup by clicking the install button.
Pick a code editor to write your theme. Visual Studio Code is popular and free. It helps you write neat code. Install the editor on your computer. Open the editor and start a new project. Use the editor to build your theme files. It checks your code for mistakes. This keeps your theme working well. Save your files often. This protects your hard work. Now you are set to create your theme.
Creating A Basic Theme Structure
First, make a new folder for your theme. Name it clearly. This folder is the home for your theme files. Place it in the themes directory of WordPress. Inside this folder, you need some important files. These files help the theme to work.
Every theme needs a style.css file. This file contains styles for your theme. It also has information about your theme, like the name and author. Another important file is index.php. This file is the main template for displaying content. You also need a functions.php file. It adds special features to your theme. Lastly, don’t forget the screenshot.png. This file shows a picture of your theme.
Designing The Masonry Grid Layout
CSS Grid is a powerful tool. It helps make complex layouts easy. It uses rows and columns to organize content. You can set the size of each item. This helps create a unique look. The grid adapts to different screen sizes. This is important for mobile users. With CSS Grid, you can create beautiful layouts. Even beginners can use it with ease.
Flexbox is another great tool. It helps in arranging items in a line. Use it for horizontal or vertical layouts. Flexbox is flexible. It adjusts items based on space available. This means items can grow or shrink. Flexbox is easy to learn and use. It makes your layout responsive. This ensures a good user experience on all devices.
Integrating Masonry Javascript Library
Crafting a Masonry grid view in a WordPress theme enhances the visual appeal of your site. The Masonry JavaScript library helps create a dynamic layout, organizing content in an eye-catching way. This integration improves user experience by presenting information neatly without overwhelming visitors.
Installing Masonry
The Masonry library helps to create a grid view. Begin by downloading the library. Add it to your WordPress theme. Use the wp_enqueue_script function. This function loads the library. Ensure the library is in the right folder. Check if the file path is correct. This avoids any errors.
Configuring Masonry Settings
Masonry has many settings. You can change the column width. It makes the grid look neat. Adjust the gutter space between items. This affects how items are spaced. Set the item selector. This tells Masonry which items to arrange. You can also set the animation speed. This controls how fast items move. Explore these settings to customize your grid. Every setting helps make the grid unique.
Credit: webkit.org
Customizing The Grid Appearance
Use CSS to make your grid look unique. Start by setting the grid’s width and height. Add margins to create space between items. Use background colors to make it stand out. Adjust the font size and color for better readability. Try using different border styles like solid or dotted.
Experiment with box shadows for a 3D effect. You can make the grid items hover for a cool look. CSS can make your grid both fun and functional. Explore using animations to make your grid dynamic. With CSS, the possibilities are endless.
Make your grid work on all devices. Use media queries to adjust the grid on smaller screens. Set the grid to auto-adjust the number of columns. This makes it look good on phones and tablets. Use percentages instead of fixed widths. This helps the grid resize easily.
Ensure images and text fit well on any screen. Test the grid on different devices. This guarantees that it stays user-friendly. Responsive design makes your grid accessible to everyone. It’s important for a smooth user experience.
Adding Dynamic Content
WordPress uses the Loop to display dynamic content. It fetches posts from the database. The Loop makes your site dynamic and engaging. Each post gets displayed one by one. You can customize how posts show up. For instance, show titles, dates, and excerpts. Use PHP code to define the Loop. This adds flexibility to your theme. You can also show posts from specific categories.
Using WordPress Loop
The Loop helps to display posts on your site. It repeats for each post. The Loop is essential for any WordPress theme. It makes content dynamic and fresh. You can customize it with PHP code. This shows content in many ways. For example, display only the post title. Or show the post content with images.
Custom Post Types
Custom Post Types let you create unique content. They make your site stand out. For example, create a portfolio post type. Or make a testimonial post type. Custom Post Types are easy to add. Use plugins or code to add them. They allow for more creativity in content. Your theme can look more professional.
Enhancing With Plugins
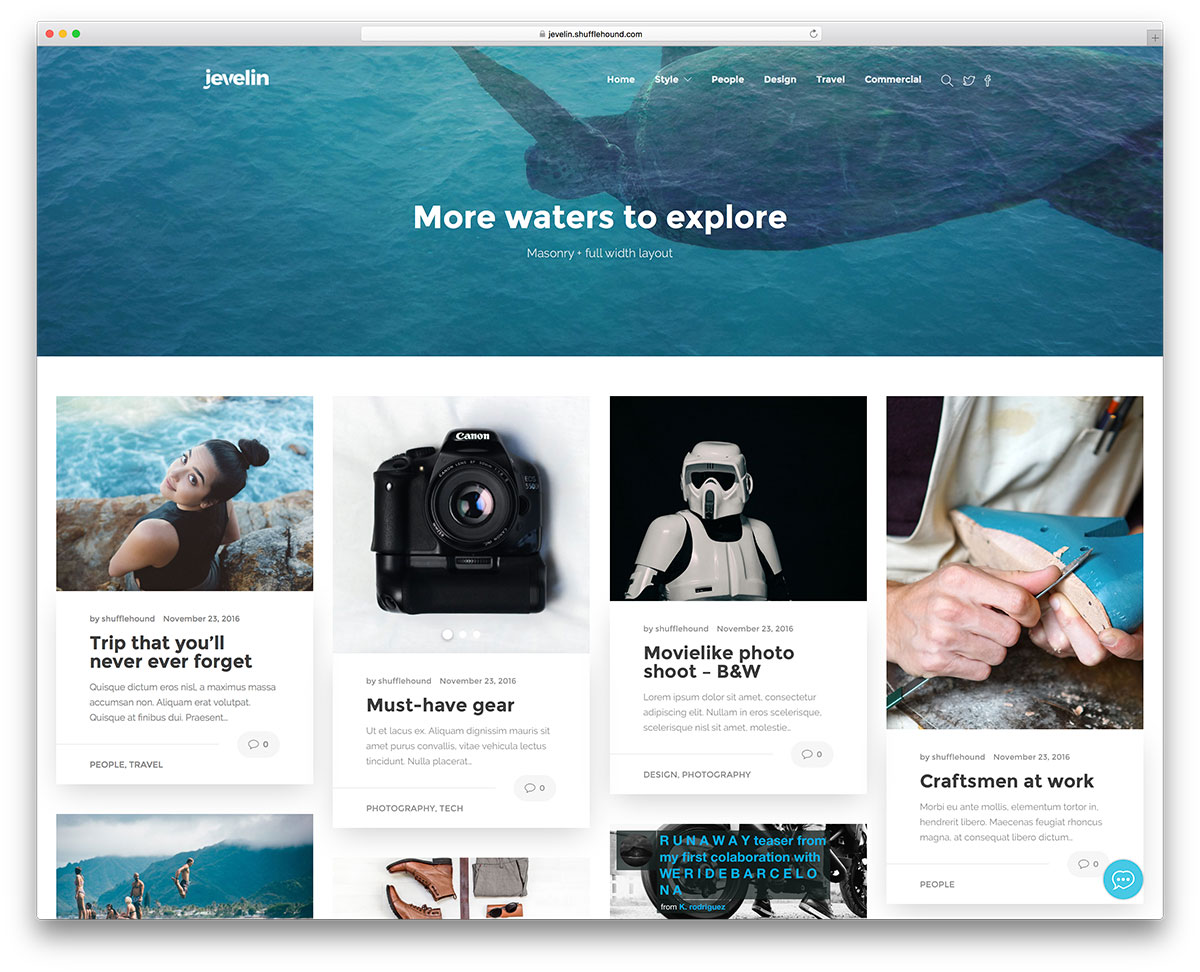
Recommended Plugins for masonry grids can make your site look beautiful. Essential Grid is a top choice. It offers various layouts and designs. Masonry Layout plugin is another option. It helps arrange images and posts neatly. Both plugins are easy to use. They save time and effort. Users get stunning grid layouts with little work.
Plugin Integration Tips are crucial for a smooth experience. Always check plugin updates. Ensure compatibility with your theme. Regular updates prevent bugs. Use settings to customize grids. Adjust colors, sizes, and styles. Experiment with different layouts. Find what fits your site best. Backup your site before adding plugins. It ensures data safety.
Testing And Debugging
Websites can look different on each browser. It’s important to test your masonry grid on popular browsers. Chrome, Firefox, and Safari are some examples. Each browser may have its own quirks. Some may not show your grid correctly. Use tools like BrowserStack or CrossBrowserTesting. They help you see how your site looks on each browser.
Sometimes, images overlap or the grid breaks. This can make your site look messy. Check your CSS for errors. Make sure all elements have the right size. Use percentages instead of fixed sizes. This helps with different screen sizes. JavaScript errors can also cause problems. Use the browser’s console to find and fix these errors.
Credit: colorlib.com
Launching The Theme
Creating a masonry grid view WordPress theme involves organizing content in a visually appealing, brick-like layout. This design enhances user experience by displaying posts and images neatly, improving navigation. Crafting such a theme requires basic understanding of CSS and HTML to customize the grid’s appearance effectively.
Preparing For Deployment
Get ready for your theme’s big day. First, check all files. Make sure nothing is missing. Then, test the theme. Ensure it works on different devices. Next, double-check the code. Clean and tidy code is important. It makes your theme run smoothly. Fix any bugs you find. This helps your users enjoy your theme.
Create a backup. This saves your hard work. It’s useful if something goes wrong. Prepare a README file. Explain how to use your theme. This helps others understand your work. Add screenshots. Show how your theme looks. This attracts more users. Finally, review your theme’s settings. Ensure they are easy to understand. This makes using your theme simple for everyone.
Submitting To WordPress Repository
Start by creating an account. Then, follow WordPress guidelines. Check your theme meets all rules. Upload your theme files. Ensure they are complete and correct. Fill out the submission form. Provide clear, concise information. Include your contact details. This helps WordPress reach you. Wait for approval. This can take some time. Be patient during this process.
After approval, your theme is live. Users can download it. Keep track of user feedback. It helps improve your theme. Update your theme regularly. Add new features and fix bugs. This keeps your theme fresh and useful. Thank users for their support. Encourage them to leave reviews. This boosts your theme’s popularity.
Frequently Asked Questions
What Is A Masonry Grid In WordPress?
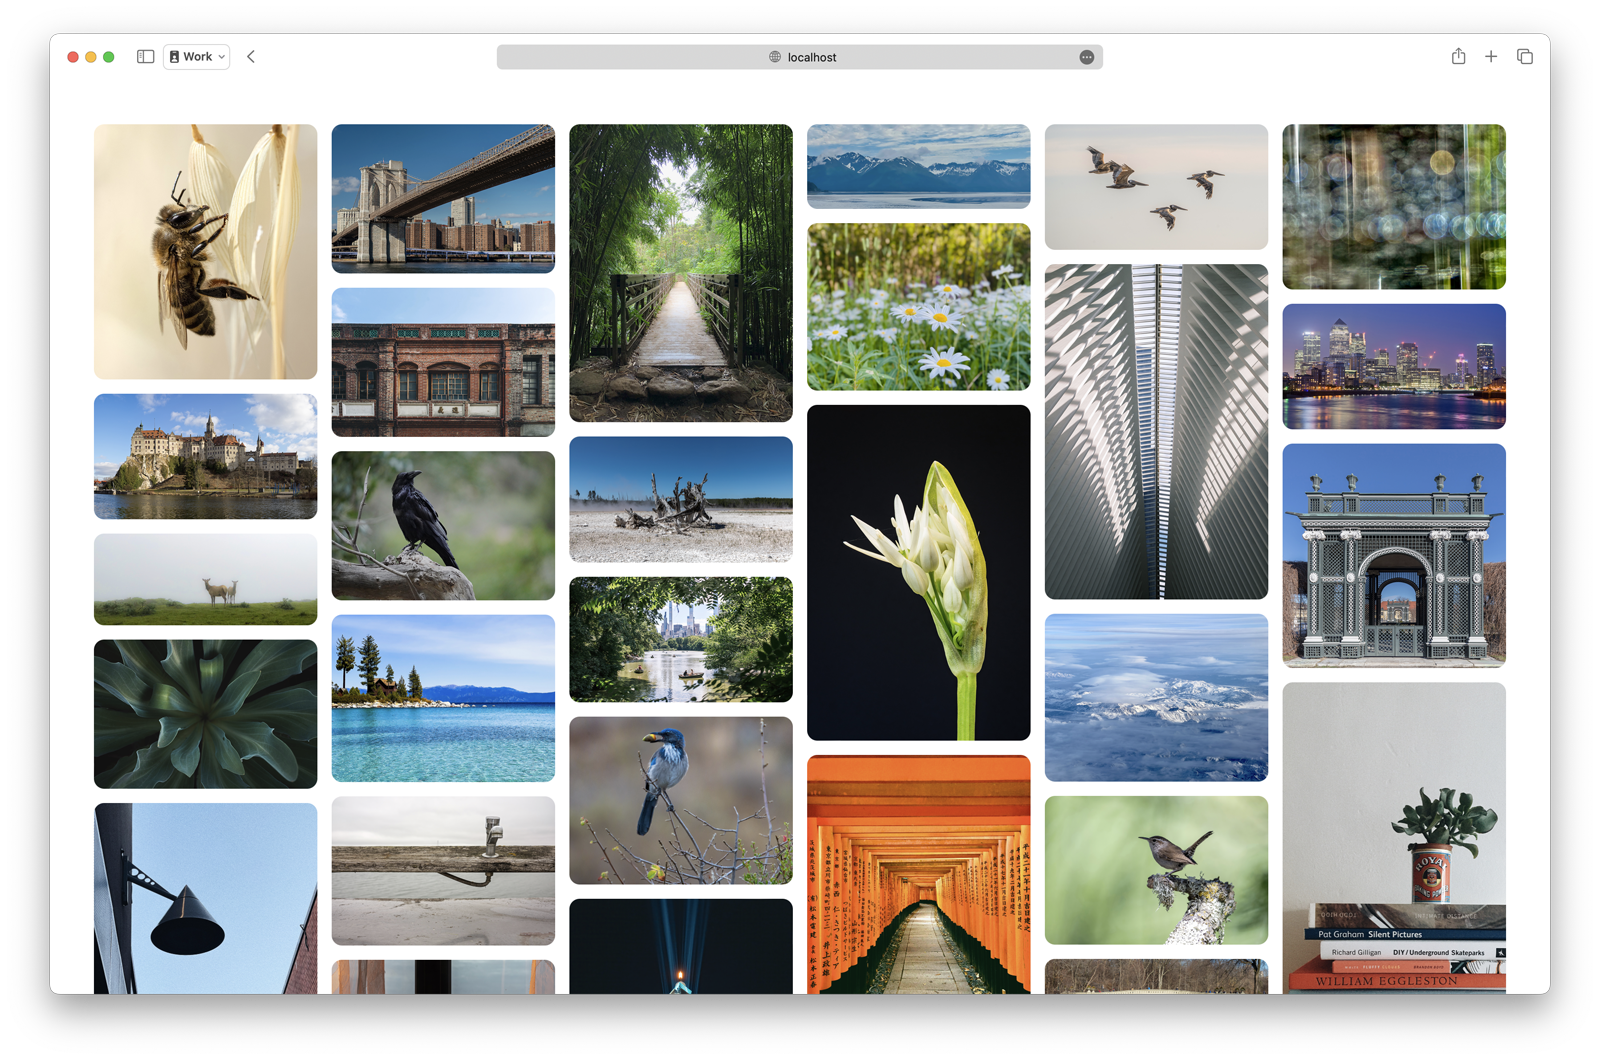
A masonry grid in WordPress displays posts or images in a staggered, brick-like layout. It arranges content in an aesthetically pleasing manner, often used for portfolios or galleries. This layout automatically adjusts to fit varying content sizes, creating a dynamic, visually appealing experience for users.
How Do I Enable Masonry Layout?
To enable a masonry layout, you can use a WordPress theme or plugin that supports this feature. Install and activate the plugin, then configure the settings. Many popular themes come with built-in masonry options, making it easy to apply the layout to your website.
Which Plugins Support Masonry Grid?
Several WordPress plugins support masonry grids, including Jetpack, Essential Grid, and WPBakery Page Builder. These plugins offer customization options and are user-friendly. Choose a plugin based on your specific needs and compatibility with your theme. Always ensure the plugin is updated and has good reviews.
Can I Customize Masonry Grid Styles?
Yes, you can customize masonry grid styles using CSS or theme options. Many themes and plugins offer built-in customization features. You can adjust spacing, columns, and other design elements. For advanced customization, use custom CSS to match your website’s branding and design preferences.
Conclusion
Creating a Masonry Grid View WordPress theme is a rewarding task. It combines creativity with functionality. Users enjoy unique layouts that stand out. This design enhances visual appeal and user engagement. Follow the steps outlined for a seamless process. Test your design for responsiveness and speed.
Keep your audience in mind. Provide them with a simple, effective experience. A well-designed theme boosts site interaction. It also improves overall user satisfaction. Stay updated with WordPress changes. Adapt your theme accordingly. Happy designing!


