
Are you tired of seeing the same header image on every page of your WordPress site? Want to give each page its own unique flair?
Changing the header image on individual pages can transform your website from mundane to memorable, capturing your visitors’ attention right from the start. You don’t need to be a tech wizard to make this happen. In this guide, you’ll discover the simple steps to customize your WordPress theme header image for each page.
Get ready to elevate your website’s aesthetic and keep your audience engaged. Stay with us as we walk you through the process and unleash your website’s full potential.
Choose The Right Image
Image size and dimensions are very important. A large image can slow down the site. A small image may look blurry. Find a balance. Aim for clear and fast-loading images. Usually, a size of 1920×1080 pixels works well. This size fits most screens. Ensure your image is not too heavy. 1MB or less is ideal.
Pick the right image file format. JPEG is great for photos. PNG works for graphics with text. WebP is also a good choice. It gives small file sizes with good quality.
Keep the image consistent with the theme. It should match colors and style. This keeps your site looking neat. Always preview the image on the site. Make sure it looks right before saving changes.
Access WordPress Dashboard
Log in to your account using your username and password. Start by entering your website’s URL followed by “/wp-admin”. This takes you to the login page. Enter your details carefully to access the dashboard.
Navigate to Appearance Section. Once logged in, look for the sidebar on the left. Find the “Appearance” tab. Click on it to see options like Themes, Customize, and Header. Choose “Header” if you want to change the header image. This section lets you select different images for different pages. Pick the right image for your page. Save changes once done.
Edit The Page
First, log into your WordPress dashboard. Look at the side menu. Find the Pages option. Click on it. This will show a list of all your pages. Each page is listed here. You can see their titles and authors. This menu is easy to use. It helps you find any page quickly.
Scroll through the list of pages. Look for the page you want to edit. Click on the page title. This will open the editing screen. Here, you can change the header image. Make sure you choose the right page. This way, you won’t change the wrong page by mistake. Once you open the page, you can start editing. The editing screen is simple and user-friendly. It guides you through the process.
Use Custom Header Plugin
First, go to your WordPress dashboard. Click on the Plugins section. Search for a custom header plugin. Many options are available. Choose one with good reviews. Click install and wait a bit. After installation, click the activate button. This step is important to use the plugin.
Find the new plugin in your dashboard. Click to open its settings. Look for the header image settings. You can change images for each page. Upload a new image or select one from your library. Make sure to save changes. Check the page to see the new image. If it does not work, try refreshing the page. Some plugins need extra steps. Read the plugin’s guide if needed.
Upload New Header Image
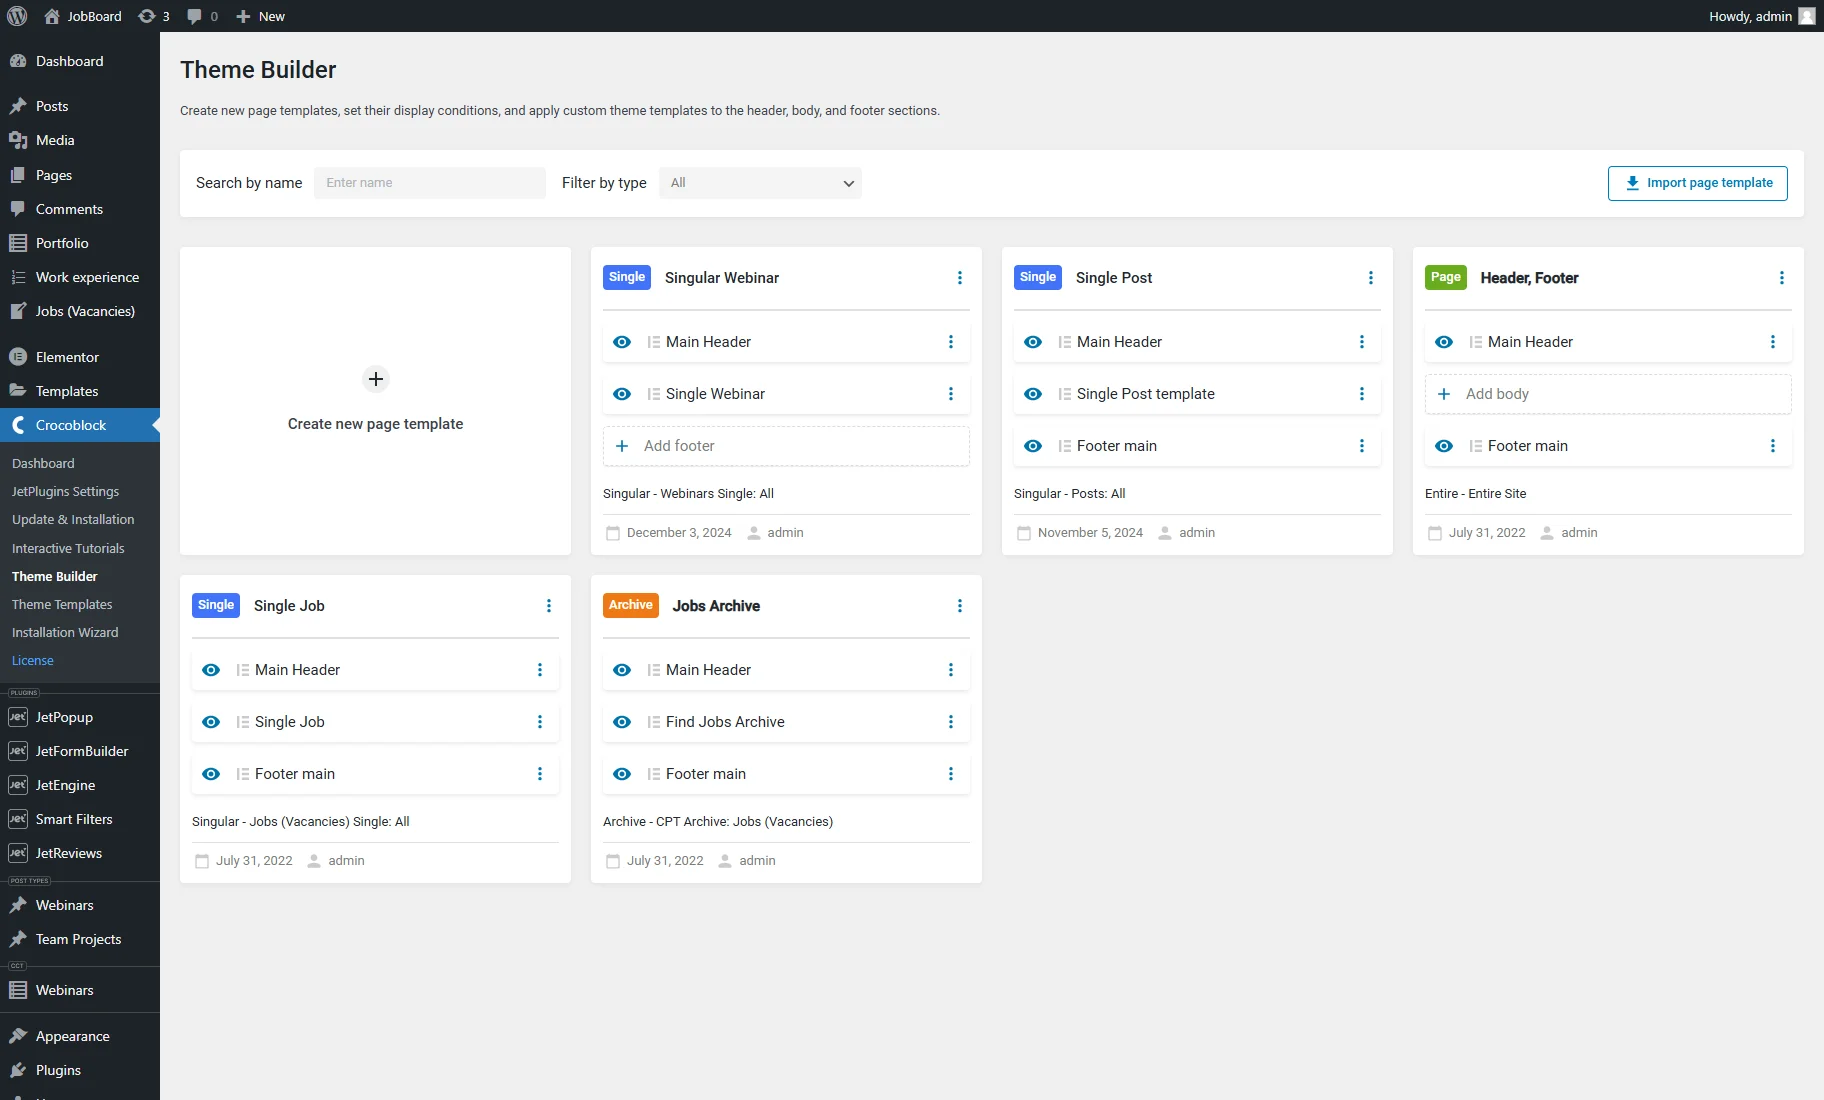
Select Image Upload Option: Go to the WordPress dashboard. Click on “Pages” in the menu. Select the page you want to change. Look for the “Header” section. Find the “Upload Image” button. Click it to open the upload options.
Choose and Upload Image: Click “Choose File”. Find the image on your computer. Select the image you want. Make sure it’s the right size. Click “Open” to upload. Wait for the upload to finish. See the preview of your new header. Check if everything looks good. Click “Save Changes” to apply.
Credit: crocoblock.com
Apply Image To Specific Page
Choose the page you want to change. Go to the WordPress dashboard and click on “Pages.” Find your page and click “Edit.” On the right side, look for “Featured Image.” Click on it to upload your new image. You can also choose from the media library.
Make sure your image is high quality. It should fit the theme style. This keeps your website looking professional. After selecting the image, click “Update” to save changes. Now, your chosen image will show on that page only.
Remember to preview changes before publishing. It helps you see how the page looks. Use this option to make sure the image fits well. Your page is now ready with a new header image. Visitors will see the unique image on that specific page.
Adjust Image Settings
Positioning your header image is easy. First, go to the page editor. Find the image section. Select the image you want. You can move it left or right. You can center it too. These choices help make your page look nice. Alignment is important. It helps balance the page. Keep the image in the right spot. This makes the page look neat.
Images can be too big or too small. Scaling helps fix this. Find the scaling option in the editor. You can make the image smaller. You can also make it bigger. But keep it clear. Blurry images look bad. Choose the size that fits the page. This makes your page look better.

Credit: gutenbergtimes.com
Save And Publish Changes
Click on the save button to keep changes. Check the new header image. Make sure it looks right. You might need to adjust the image size. Don’t forget to publish the changes. This makes the new header visible.
Review Final Look
Look at the page to see how it looks now. Double-check for any mistakes. Ask someone else to look too. Sometimes we miss things. Make sure everything looks just as you want.
Save Modifications
Hit the save button again after changes. This keeps all your work safe. Check that all changes are there. If not, try saving again. Make sure your changes are not lost.
Troubleshoot Common Issues
Changing the header image for individual pages in WordPress can be tricky. Navigate to the page editor, select the header image option, and upload your desired image. Adjust settings to ensure the image displays correctly on your page.
Image Not Displaying
Image not showing? Check the file type. It should be in JPEG or PNG format. Sometimes large file sizes can cause trouble. Try using a smaller image. Ensure the image is uploaded to the right location. A broken link can cause the display issue. Refresh the page after making changes. This helps in loading the new image. Also, clear the cache. Sometimes old data causes problems.
Reverting To Default Header
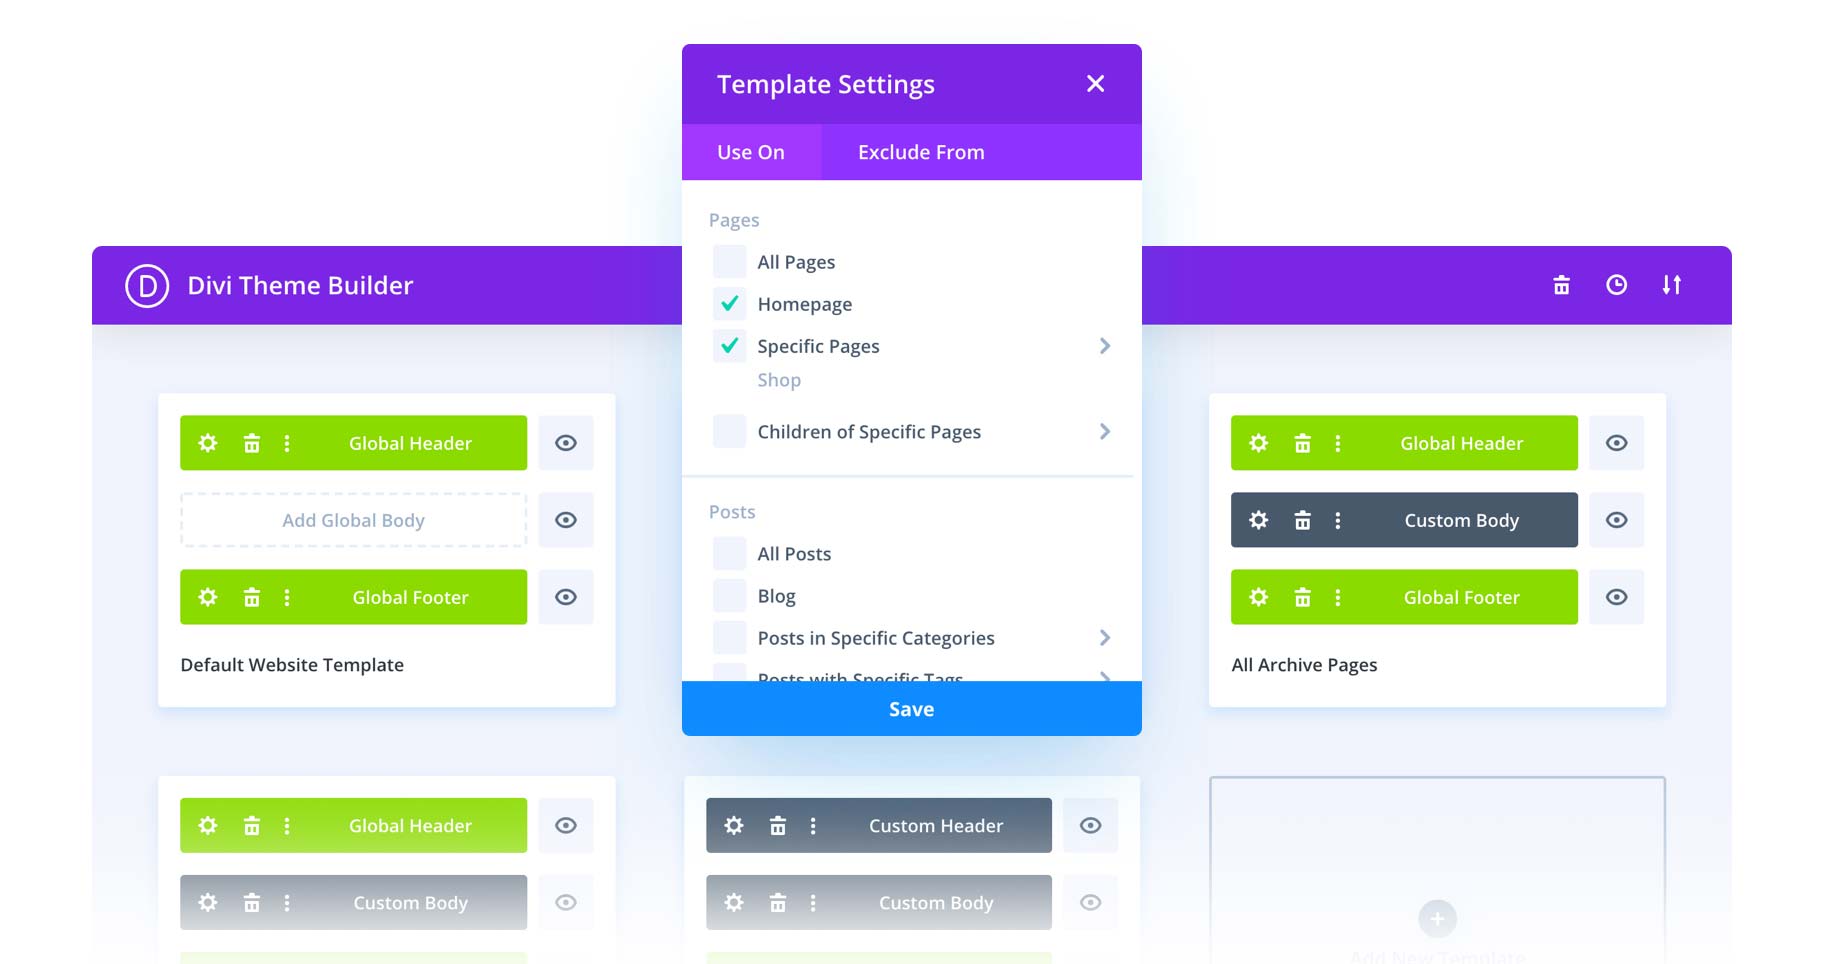
Header reverts back? Check theme settings. Sometimes, settings reset after updates. Save changes every time. This helps in keeping your settings. Also, check for plugin conflicts. Some plugins reset the header. Try disabling them one by one. This may help find the issue. Always create a backup before making changes. This helps to restore settings if needed.
Credit: www.elegantthemes.com
Frequently Asked Questions
How Do I Customize WordPress Header Images?
To customize header images for individual pages, use WordPress Customizer or a theme-specific option. Navigate to Appearance > Customize, then select Header Image. Some themes allow per-page customization via page settings or custom fields. Always check theme documentation for specific instructions tailored to your theme.
Can I Set A Different Header Image For Each Page?
Yes, you can set unique header images for each page using custom fields or plugins like “Unique Headers. ” Install the plugin, then navigate to the page editor. You’ll find options to upload a specific header image for that page, enhancing your site’s personalization.
Why Change The Header Image On Individual Pages?
Changing header images on individual pages enhances user engagement and improves brand consistency. Tailoring images to specific content can provide a more immersive experience for visitors. It also helps in highlighting important pages or sections, making your website more visually appealing and informative.
Which Plugins Help In Customizing Header Images?
Plugins like “Unique Headers” and “WP Display Header” allow individual page header customization. They offer easy-to-use interfaces for uploading and managing header images directly from the page editor. These tools are ideal for non-developers seeking simple customization solutions without altering theme code.
Conclusion
Changing the header image on individual WordPress pages is simple. Follow the steps outlined to customize your site easily. A unique header image enhances the look of your page. It also helps in attracting more visitors. Remember, consistency in design keeps your site professional.
Always preview changes before finalizing them. This ensures everything looks perfect. Take time to explore different images. Find what best represents your content. You don’t need advanced skills to make these changes. With a little practice, you can create a visually appealing website.
Make your WordPress site stand out today.


