
Ever wondered how to change your WordPress theme name? Whether you’re a seasoned web developer or just starting out, altering your theme’s name can feel like a mystery.
But imagine the satisfaction of seeing your custom name reflecting your unique brand identity every time you log in. This change isn’t just cosmetic; it boosts your credibility and makes your website truly yours. In this guide, you’ll discover simple, step-by-step instructions to change your theme name without breaking your site.
We’ll cut through the tech jargon and give you the confidence to make this change smoothly. You’re just a few steps away from making your WordPress site feel more personal and professional. Dive in to learn how!
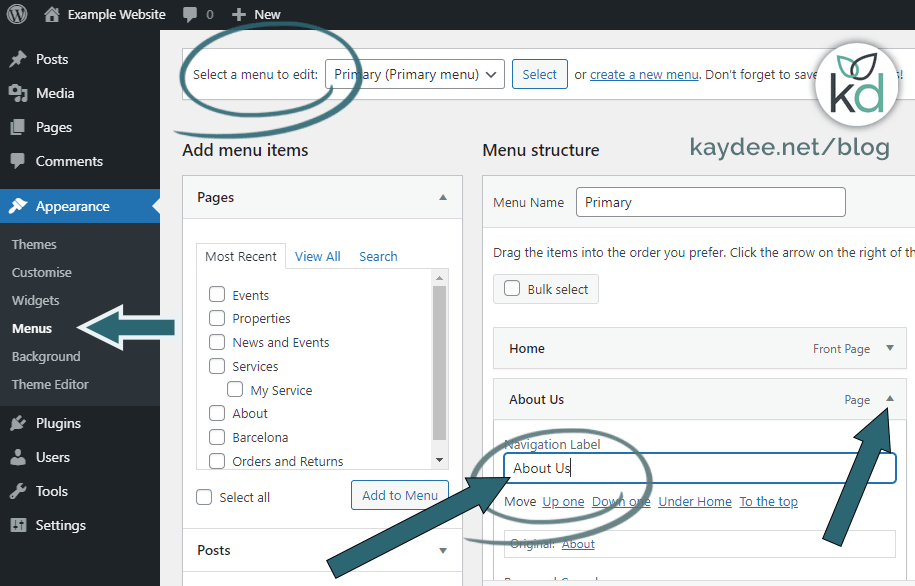
Credit: kaydee.net
Backup Your Site
Always start with a backup. Your site is precious. You don’t want to lose anything. Use a plugin to make it easy. There are many free options. Choose one that is popular. Follow the steps carefully. Save your backup file safely. It should be on your computer. You can also use cloud storage. This keeps your data safe. Check the backup file. Make sure it works. Sometimes files can be corrupt. It is better to be safe than sorry. If something goes wrong, you can restore it. Having a backup gives you peace of mind.
Credit: 10web.io
Access Theme Files
FTP is a tool to access files on your website. First, download and install an FTP client like FileZilla. Open the client and connect to your server using your website details. Navigate to the wp-content/themes folder. Here, find your theme folder. Inside, locate the style.css file. Open it and find the line that says Theme Name. Change the name to whatever you like. Save the file and close it. Your theme name is now changed.
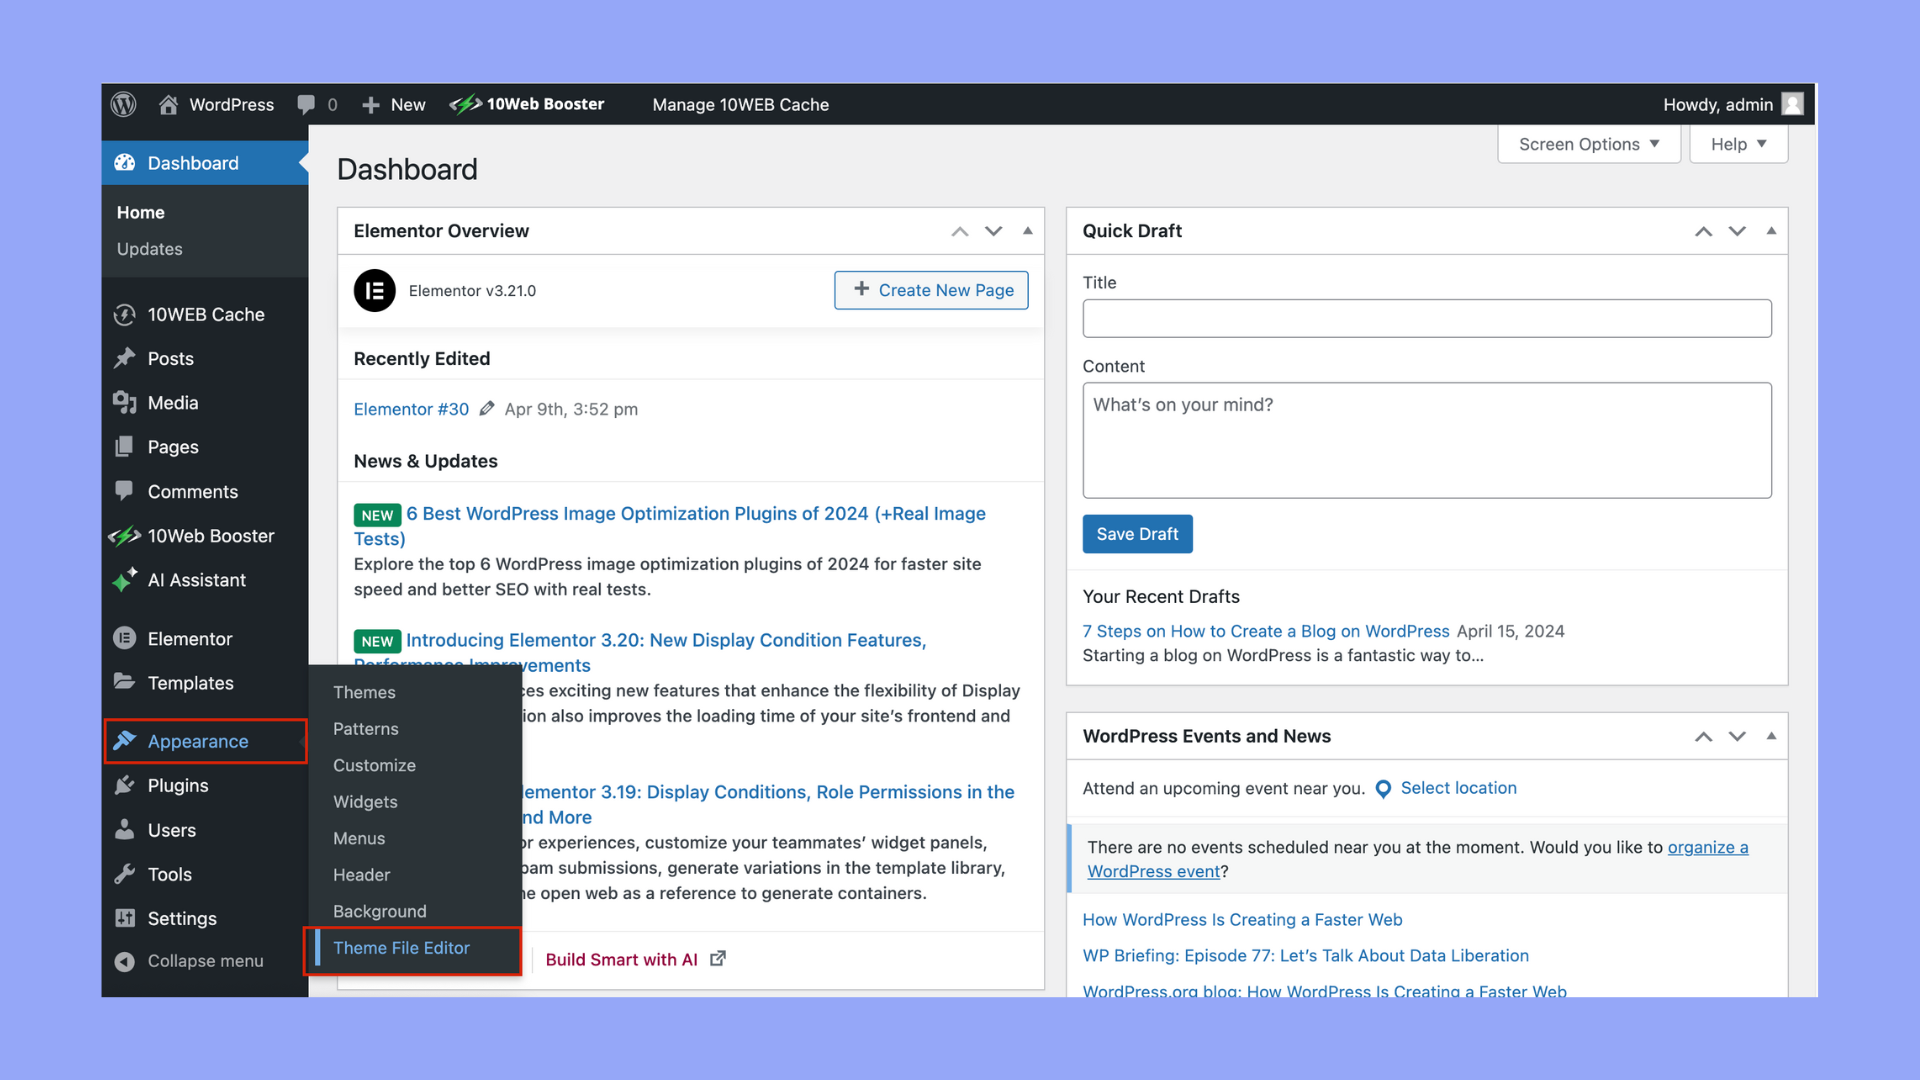
WordPress dashboard is another way. Log in to your WordPress account. Click on Appearance and then Editor. Find the style.css file in your theme folder. Click to open it. Look for the Theme Name line. Change the name to your new choice. Click Update File to save changes. Your new theme name is now set.
Locate Theme Folder
First, open your WordPress dashboard. Look for the Appearance section. Click on Themes. Here, you will see your active theme. Take note of its name. This is important for finding the right folder.
Next, use an FTP client or the File Manager in your hosting account. Navigate to the wp-content/themes folder. Inside, you will find folders with names matching your themes. Locate the folder that matches your theme name. This is your theme’s folder.
Remember, changing theme names can cause issues. So, make sure to back up your site first. Always proceed with caution and double-check your steps.
Edit Style.css File
Editing the style. css file allows you to change your WordPress theme name easily. Locate the “Theme Name” field at the top of the file and replace it with your desired name. Save the changes to update your theme’s identity instantly.
Locate Theme Name
First, go to your WordPress dashboard. Find the Appearance section. Click on Theme Editor. This is where you find the style.css file. It is important to locate this file. It holds the theme’s name and other details. Always make a backup before editing. This ensures safety if something goes wrong. Look for the line that says Theme Name. This is what you need to change.
Modify Theme Name
You can change the theme name easily. Find the line with Theme Name. Replace the current name with your desired name. Be careful while typing. A small mistake can cause issues. After editing, click on Update File. The new theme name is now saved. Check your site to make sure it works fine. This simple change gives your site a new identity.
Update Functions.php
Changing your WordPress theme name is simple. Open your theme folder. Find the functions.php file. This file helps manage your theme’s features. You can edit this file using a text editor. Look for the line that mentions the theme name. It might say ‘Theme Name’. Replace it with the new name you want. Save the changes. Refresh your WordPress site. Your theme now shows the new name. Always be careful when editing files. Mistakes can cause errors on your site. Make a backup before starting.

Credit: www.youtube.com
Check Theme Compatibility
Checking theme compatibility is very important. You must ensure your new theme works with your plugins. Some themes may cause plugins to break or not work. Visit the WordPress theme site. Look for any compatibility issues. Read reviews from other users. Reviews can tell you a lot about a theme’s performance. You should also check the theme’s update history. Themes that update often are usually reliable. If the theme is not updated, it might not work well. Also, see if the theme supports your WordPress version. Using an outdated theme can cause problems. Always back up your site before changing themes.
Clear Cache
Browser caches store website data to make loading faster. Sometimes, this cache can show old website versions. To fix this, clear the browser cache. Start by opening your browser settings. Find the option to clear browsing data. Select cached images and files. Finally, click clear data. This helps see the new theme changes.
WordPress cache keeps old website files. It helps pages load quickly. Yet, it may show old themes. Use a cache plugin to clear it. Go to the plugin settings. Click on clear cache or purge cache. This lets your new theme show properly. Ensure you do this after changing a theme.
Verify Theme Change
Check if the new theme is working well. Navigate through your site. Look for broken links or missing images. Ensure all pages load properly. Examine the layout and design. It should fit your brand. Pay attention to text readability and font size. Everything should be easy to read. Test your site on different devices. Make sure it looks good on phones and tablets. Check the speed of your site. It should load quickly. Use tools to measure speed. Speed is important for users. Test all features of the theme. Ensure they work without errors. This includes menus, widgets, and plugins. Finally, ask friends to review your site. Their feedback can be very helpful.
Frequently Asked Questions
How Can I Rename My WordPress Theme?
To rename your WordPress theme, access the theme’s directory via FTP or your hosting panel. Locate the theme folder, rename it, and update the theme’s name in the style. css file. Ensure the new name reflects in the WordPress dashboard.
This will change the theme name without affecting functionality.
Does Changing Theme Name Affect Seo?
Changing the theme name does not directly impact SEO. However, ensure all theme files are correctly renamed to avoid errors. Also, verify that any hardcoded URLs or paths are updated. This ensures seamless performance and prevents potential SEO issues due to broken links or missing files.
What Precautions To Take Before Renaming A Theme?
Before renaming a theme, backup your WordPress site completely. Ensure there are no hardcoded paths in theme files. Use a staging site to test changes. Double-check for errors after renaming. This ensures a smooth transition and helps prevent any potential disruptions or site downtime.
Can I Rename A Theme Without Coding Skills?
Yes, you can rename a theme without coding skills. Use a file manager tool in your hosting panel or an FTP client. Simply rename the theme folder and update the style. css file. Ensure you have a backup and verify changes in the WordPress dashboard to confirm the rename.
Conclusion
Changing your WordPress theme name can be simple. Follow the steps provided earlier. Backup your site before making changes. A unique theme name improves site branding. It also helps organize your themes effectively. Regular updates ensure compatibility and security. Feel free to explore other customization options.
You can enhance your site’s appearance and functionality. Keep learning and experimenting with WordPress features. Enjoy creating a site that reflects your vision. Your site is your space on the web. Make it memorable and distinct with a personalized theme name.


