
Are you ready to bring your online vision to life? Linking your domain with a reliable web hosting service is the crucial first step.
Imagine your website as a vibrant storefront in the bustling digital marketplace, eagerly waiting for visitors. But without the right web hosting, that storefront remains invisible. In this guide, you’ll discover how to seamlessly apply 1&1 web hosting to your domain, making your site accessible to the world.
By the end of this article, you’ll feel confident and empowered to take that next step, unlocking the full potential of your online presence. So, let’s dive in and turn your digital dream into a reality!
Credit: www.whatsthehost.com
Choosing The Right Hosting Plan
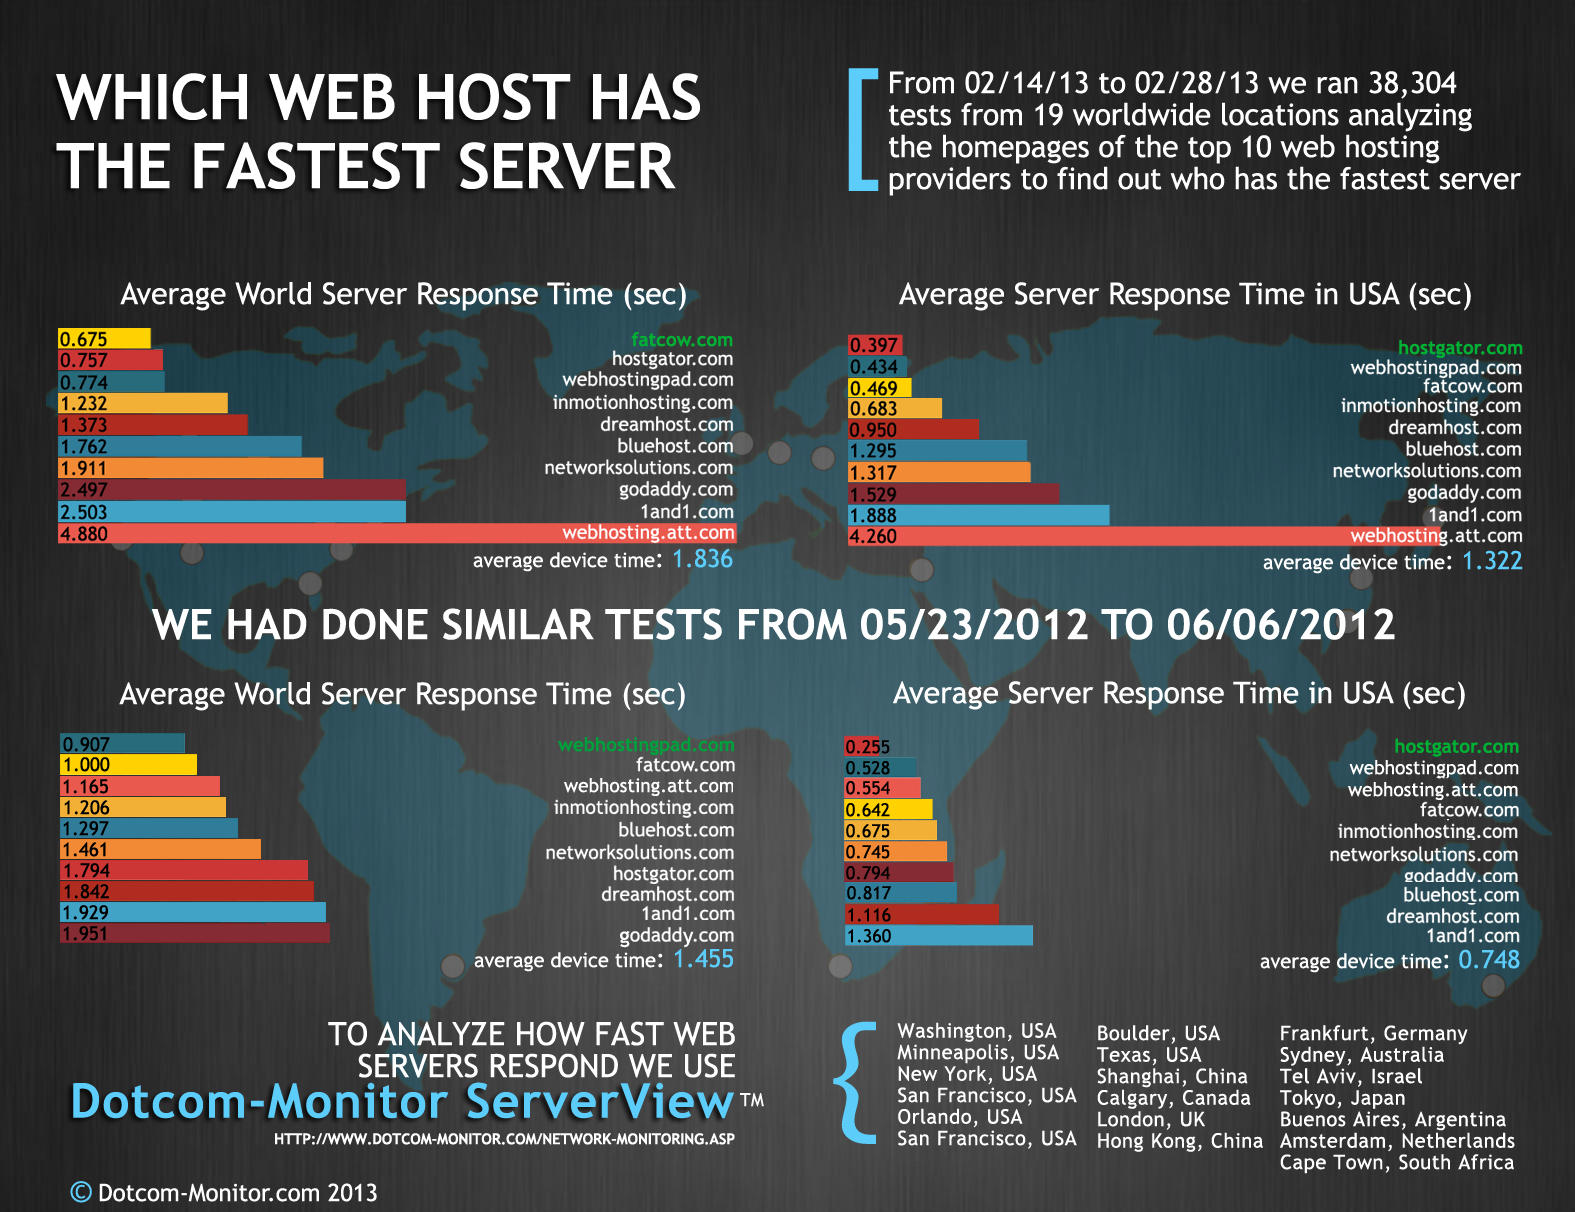
Shared hosting means sharing space with others. It’s usually cheaper. Great for beginners. Dedicated hosting gives you your own server. It’s more expensive. Better for big websites. Shared hosting might be slower. Dedicated hosting is often faster. Think about your needs before choosing.
Bandwidth is how much data your site uses. More visitors need more bandwidth. Small sites need less bandwidth. Big sites need more. Check your traffic regularly. Choose a plan that fits your bandwidth needs. Too little bandwidth can slow your site. Enough bandwidth keeps it fast.
Storage holds your site’s files. Small sites need less storage. Big sites need more. Images and videos use more storage. Text uses less. Check how much storage you need. Upgrade if needed. Enough storage keeps your site working well. Choose a plan with the right storage.
Registering Your Domain With 1&1
Picking a domain name is exciting. It represents your site. Make sure it is simple and easy to remember. Use words that people know. Avoid long or hard words. Include keywords if possible. This helps with search engines. Do not use numbers or hyphens. They can be confusing. A short name is best.
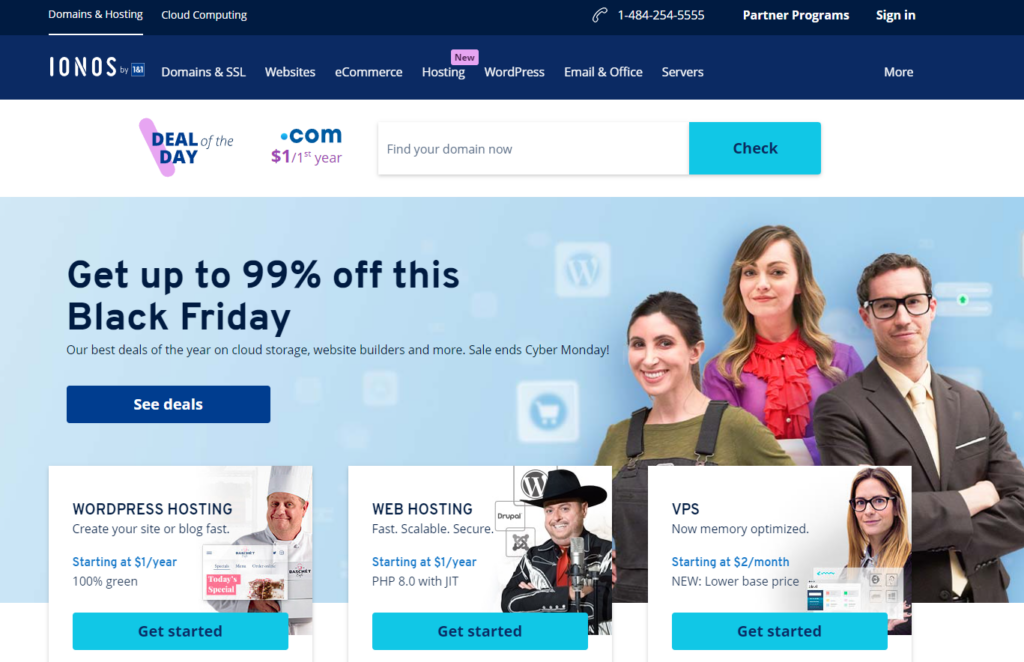
Visit the 1&1 website. Enter your chosen name. Click on the search button. The site checks if it’s free. You will see a list of options. If taken, try other names. Add a word or change it slightly. Keep checking until you find one that is free.
Once you find a free name, register it. Click on the register button. Follow the steps on the screen. Fill in your details. Double-check all information. Pay for the domain. You will get a confirmation email. Keep it safe.
Connecting Your Domain To Hosting
Find the domain settings in your control panel. Look for the domain management section. This is where all domain details are kept. Make sure you have the right access. You need to change some settings here. It is important to do it right.
Locate the DNS records option in your domain settings. You will see names like A records and CNAME records. These connect your domain to your web hosting. Update these records with the correct details. Double-check each change before saving. Wrong details can cause problems.
After updating, test the connection. Open a web browser. Type your domain name in the address bar. Check if your website appears. If not, revisit the DNS settings. Sometimes, changes take time to work. Be patient but check often.
Setting Up Your Website
First, pick a Content Management System (CMS) like WordPress. It’s easy to use and free. Log in to your web hosting account. Go to the control panel. Find the CMS installer. Click to start the installation. Follow the simple steps. Enter your domain name. Then, set up your login details. Wait for the system to finish. Now, your CMS is ready!
Choose a template for your site. Go to the template library. Look for a design you like. Make sure it fits your site’s theme. Click on the template to preview it. Happy with your choice? Click “Install” or “Activate”. The template will appear on your site. See how it looks. You can change it anytime.
It’s time to make your site unique. Go to the customization panel. Change colors and fonts. Add your logo. Adjust the layout. Want to add images or videos? Insert them easily. Check your work often. Make sure everything looks good. Like your changes? Save them. Now your website looks great!
Managing Your Hosting Account
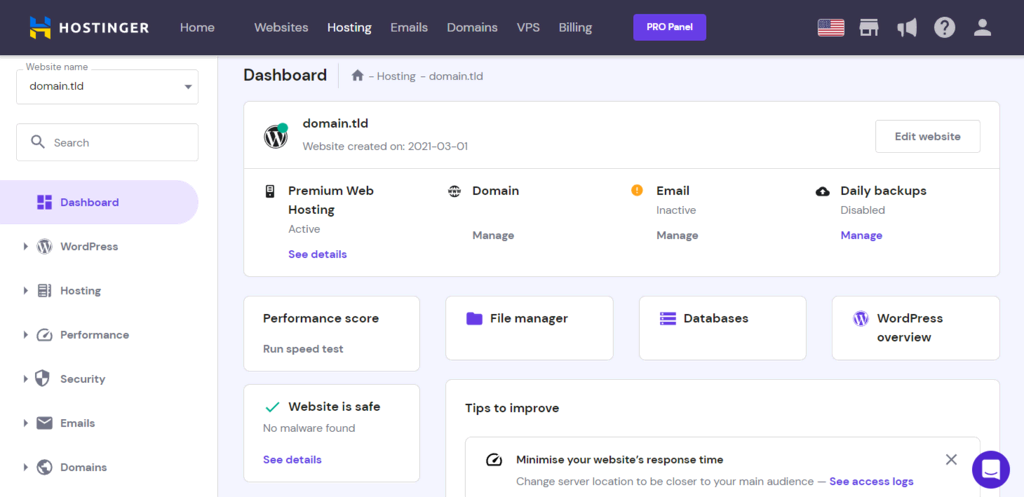
The control panel is the heart of your hosting account. Find important features easily. Look for the dashboard. It shows your site’s status. Use menus to access settings. Manage your domain. Change configurations. Check security settings to keep your site safe. Explore tools for backups and updates. Control panel is user-friendly. It helps you make changes quickly.
Email accounts are essential for communication. Create new accounts in the email section. Choose your desired email address. Set passwords for each account. Access your emails through webmail. Configure email settings. Use filters to sort messages. Email helps you stay connected.
Site performance matters. Use analytics tools to track visitors. Monitor page load times. Check for errors. View traffic stats to understand user behavior. Use performance reports. Optimize content for faster loading. Keep your site running smoothly. Regular checks help maintain speed.
Credit: www.ultimatewb.com
Troubleshooting Common Issues
Applying web hosting to your domain with 1&1 often presents common challenges. Troubleshooting involves checking DNS settings and ensuring server configurations are correct. Verify domain registration and server connectivity to streamline the hosting process effectively.
Handling Domain Propagation Delays
Sometimes, your domain might not show up right away. This is called a domain propagation delay. It takes time for changes to spread everywhere. Usually, it takes up to 48 hours. Check your DNS settings to make sure everything is correct. Patience is key. If still not visible, contact your provider. They can help check for issues.
Resolving Hosting Errors
Hosting errors can be frustrating. First, check your server settings. Make sure everything is set up right. Look for any error messages. These messages tell you what’s wrong. Often, a simple restart fixes the issue. If errors persist, review your configuration files. They hold important settings. A small mistake can cause big problems.
Seeking Technical Support
Tech support can be very helpful. They know a lot about hosting issues. Before reaching out, gather all your information. Details like error codes help them understand your problem. Describe the issue clearly. This saves time and helps them fix it faster. Be polite and patient. Support teams work hard to assist you.
Credit: www.dotcom-monitor.com
Frequently Asked Questions
How Do I Connect My Domain To My Web Host?
Update your domain’s DNS settings to point to your web host’s nameservers. Access your domain registrar’s control panel, locate DNS settings, and replace existing nameservers with those provided by your web host. Save changes. Your domain will connect to your web host within 24-48 hours.
How To Connect Domain To Hosting Namecheap?
Log in to your Namecheap account. Access the “Domain List” tab. Click “Manage” next to your domain. Under the “Nameservers” section, select “Custom DNS. ” Enter your hosting nameservers provided by your hosting provider. Save changes to connect your domain to hosting.
How Do I Connect My Website To My Domain In Ionos?
Log into your IONOS account and go to “Domains & SSL. ” Select your domain and click “Connect” to link it to your website. Follow the prompts to complete the setup. Ensure DNS settings are configured correctly for seamless integration.
How Do I Point My Domain To Another Hosting Provider?
Update your domain’s DNS settings to point to your new hosting provider’s nameservers. Log into your domain registrar, locate DNS management, and replace current nameservers with the new ones provided by your host. Changes may take up to 48 hours to propagate globally.
Conclusion
You now know how to apply web hosting to your domain. The process is simpler than it seems. Start by choosing a reliable hosting provider. Follow the setup steps carefully. Link your domain to the hosting service. Make sure everything is correctly configured.
Your website will be ready for visitors soon. Check all settings and features. Troubleshoot any issues promptly. Enjoy the benefits of a well-hosted domain. Your online presence is now stronger. Keep learning and exploring web hosting options. Your journey in web hosting continues.


