
Are you ready to give your WordPress site a fresh new look? Adding a theme manually might sound a bit daunting, but it’s easier than you think!
Imagine the thrill of transforming your website into something that truly reflects your style and vision. By learning how to manually add a theme to WordPress, you gain control over your site’s aesthetic, ensuring it stands out in the crowded digital landscape.
You’ll feel empowered as you see your website evolve right before your eyes. Stay with me, and I’ll guide you through each step, making the process not only simple but also incredibly rewarding. Let’s dive in and unlock your website’s full potential together!

Credit: www.youtube.com
Preparing For Theme Installation
Choosing a new theme can be fun. Always start by selecting a theme that fits your style and needs. Consider the design, features, and compatibility with your plugins. Check if the theme is responsive for mobile devices. Read reviews and look at ratings from other users. This helps in deciding if the theme is reliable. Themes from trusted sources are usually safer. Remember, the right theme enhances your website’s look and feel.
Before making changes, it’s important to protect your current website. Backing up your website ensures your data is safe. Use a reliable plugin to save a copy of your website. Store this backup on your computer or in the cloud. This helps you recover your site if something goes wrong. Regular backups keep your data safe and secure.
Accessing WordPress Files
File Manager in cPanel helps find WordPress files. Log into your cPanel account. Click on File Manager. Navigate to the public_html folder. This is where WordPress lives. Open the wp-content folder. Find the themes folder. Upload your new theme here. Click Upload at the top. Choose your theme file. Once uploaded, extract it. Right-click and choose Extract. Your theme will be ready to use.
An FTP Client allows access to WordPress files. Download an FTP program like FileZilla. Open the program. Enter your FTP details. Host, username, and password. Connect to your server. Go to the public_html folder. Find the wp-content folder. Open the themes folder. Upload your theme files here. Wait for the upload to finish. Your theme is now added.
Uploading The Theme
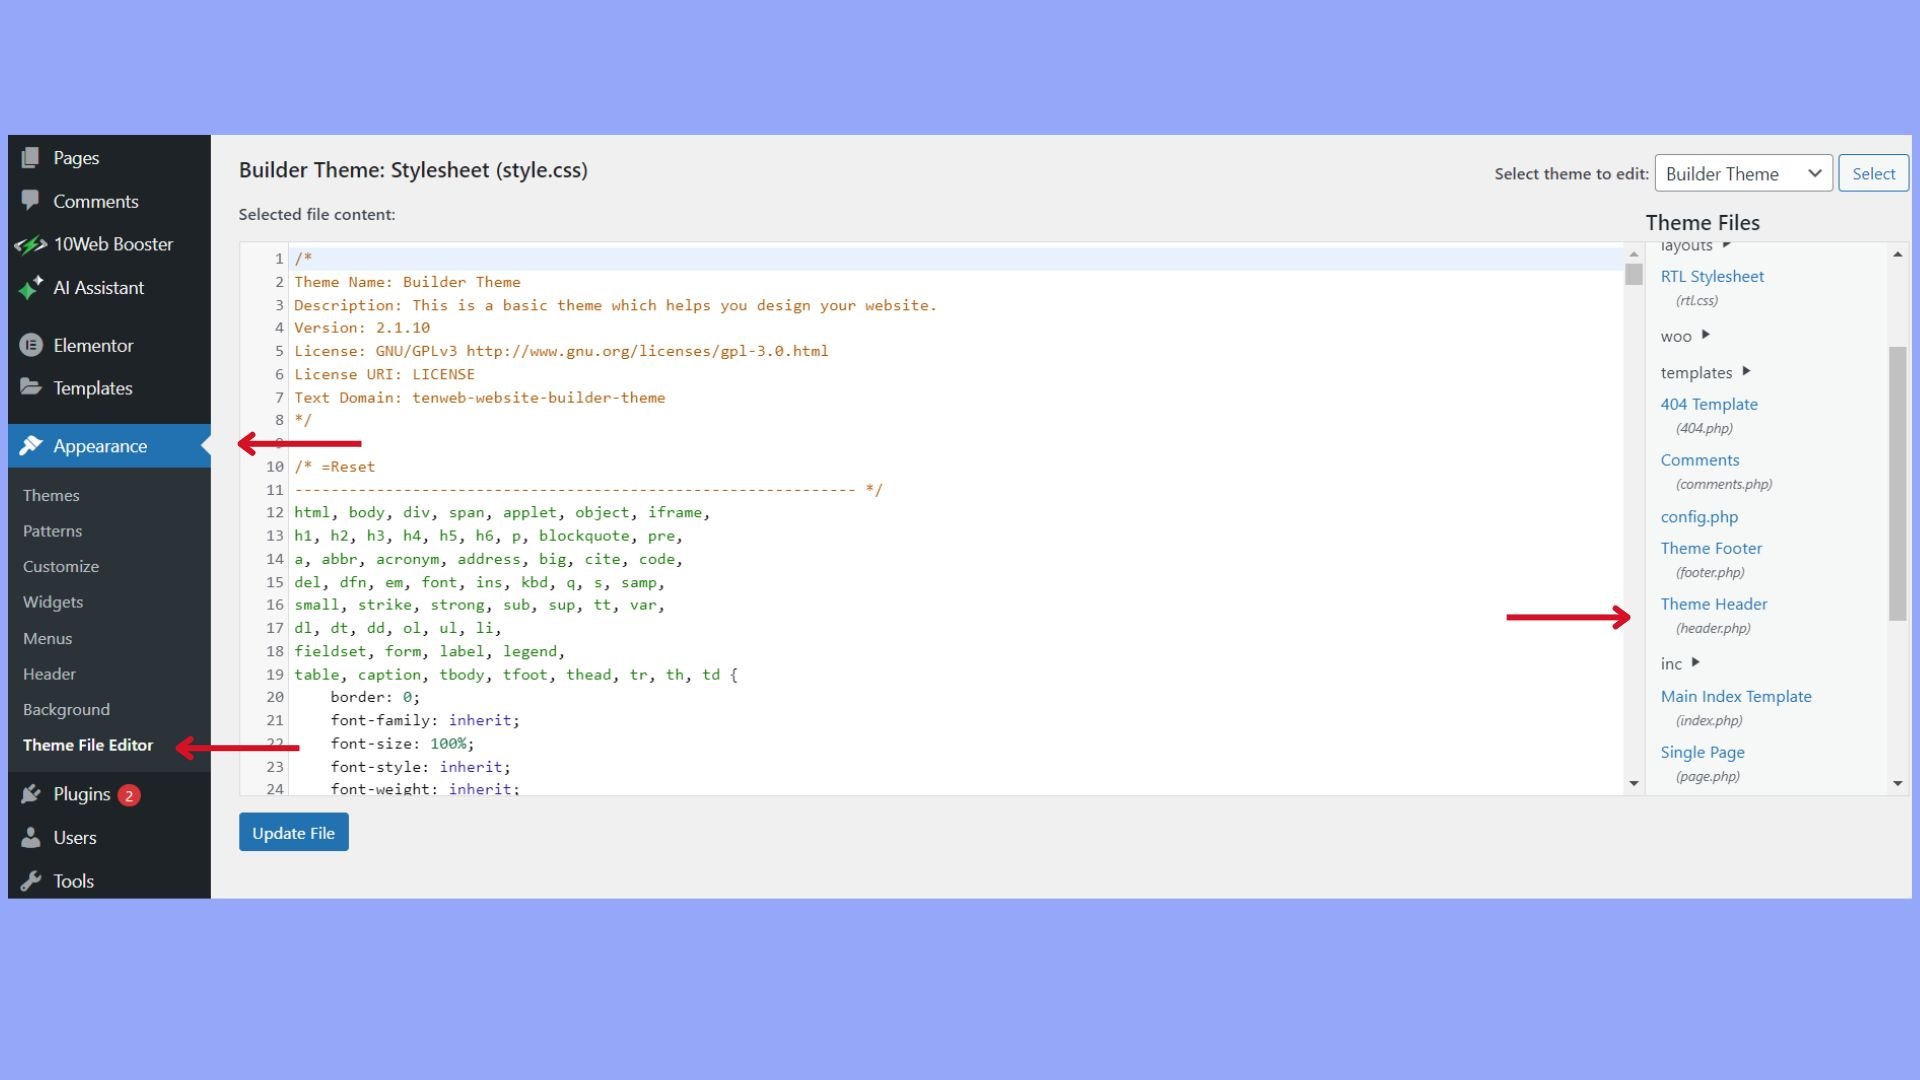
First, log in to your WordPress admin. Navigate to the Appearance section. Click on Themes. This is where you manage themes. To add a new theme, you need the theme directory. Go to your WordPress files. Find the wp-content folder. Inside, you will see the themes folder. This is where all your themes live. You can upload your new theme here.
You need to transfer files to your site. Use a tool like FTP for this. Connect to your server using FTP. Find the themes folder you located earlier. Upload your theme files here. Make sure all files are in the right place. After uploading, go back to the admin area. Activate your new theme. Check your site to see the new look.
Credit: 10web.io
Activating The New Theme
Start by opening your WordPress dashboard. Find the Appearance tab on the left menu. Click on it to open the options. You will see the Themes section. This is where you manage your themes.
Look at the top of the page. You should see an Add New button. Click it to add a new theme. You can choose from many free themes here. Pick one you like. Remember, each theme gives your site a different look.
After selecting a theme, click on Install. Wait for the theme to install. Once it’s done, you will see an Activate button. Click it to enable the theme on your site.
Your site now has a new design. Check it by visiting your site. If you don’t like the theme, you can change it anytime. Just go back to the Themes section and pick another one.
Customizing The Theme
Adjusting Appearance Options is easy. Go to the dashboard. Click on ‘Appearance’. Choose ‘Themes’. Pick a theme you like. Click ‘Customize’. You can change colors and fonts. Move things around. Make it look how you want. Save your changes. Now the site looks nice.
Configuring Theme Settings is important. First, find the settings. They are in the ‘Appearance’ menu. Click ‘Theme Options’. Here, change the settings. Set the site title. Pick a layout style. Change the header. Adjust the footer. Save each change. Your theme is ready.
Troubleshooting Common Issues
Adding a theme manually to WordPress can solve many issues. Start by downloading your desired theme from a reliable source. Upload the theme through the WordPress dashboard, then activate it to change your site’s appearance.
Resolving Upload Errors
Upload errors are common when adding a theme to WordPress manually. Ensure your theme file is in the .zip format. Use the WordPress dashboard to upload it. If you see an error, check the file size. It should not exceed the upload limit of your server. Increase the limit if needed. You can do this in the php.ini file. Ask your hosting provider for help if needed. Another solution is using FTP. Upload the theme folder directly to the wp-content/themes directory. This can bypass upload errors.
Fixing Activation Problems
Activation problems can stop your theme from working. First, check if the theme is compatible with your WordPress version. Update WordPress if needed. Themes made for older versions might not work. If the issue persists, check for plugin conflicts. Deactivate all plugins and try activating the theme again. If successful, activate plugins one by one to find the conflicting one. Remember to back up your site before making changes. This ensures you can restore it if anything goes wrong.

Credit: www.domains.co.za
Frequently Asked Questions
How To Manually Install A WordPress Theme?
To manually install a WordPress theme, download the theme’s ZIP file. Log into your WordPress dashboard, navigate to Appearance > Themes, and click ‘Add New. ‘ Select ‘Upload Theme,’ choose the downloaded ZIP file, and click ‘Install Now. ‘ After installation, activate the theme to start using it.
Can You Upload Themes Via Ftp?
Yes, you can upload themes via FTP. Connect to your website using an FTP client, navigate to wp-content/themes, and upload the unzipped theme folder. Once uploaded, activate the theme from your WordPress dashboard under Appearance > Themes.
What File Format Should Themes Be In?
WordPress themes should be in ZIP file format for easy uploading. Ensure the theme file is compressed correctly before uploading. This format allows WordPress to recognize and install the theme without issues.
How To Activate A New Theme In WordPress?
To activate a new theme, go to Appearance > Themes in your dashboard. Locate the newly installed theme and click ‘Activate. ‘ The theme will be set as your site’s active theme, changing its design and functionality.
Conclusion
Adding a theme manually to WordPress is straightforward. Follow the steps carefully. Download the theme from a trusted source. Use an FTP client to upload files. Ensure themes are in the correct folder. Activate the new theme from your dashboard.
Check your site’s appearance and functionality. Troubleshoot any issues promptly. Customize settings to fit your needs. Manual installation offers control and flexibility. Enjoy exploring new design possibilities. Always keep backups before changes. Your site’s look can transform with themes. Feel confident in managing your WordPress themes manually.


