
Are you ready to give your WordPress site a fresh new look? Changing your WordPress theme demo on a live site can seem like a daunting task.
You might worry about losing content, disrupting your site’s functionality, or even crashing your entire website. But don’t worry; you’re not alone in this. Many website owners like you face these concerns. Imagine having the power to switch your website’s appearance seamlessly, without any hitches.
This guide is here to show you exactly how to do that. You’ll learn the step-by-step process to change your WordPress theme demo efficiently, ensuring your content remains intact and your site continues running smoothly. By the end of this article, you’ll feel confident in making your WordPress site look exactly the way you want it. Ready to transform your website? Let’s dive in!
Credit: www.elegantthemes.com
Preparation Steps
Start by backing up your site. Ensure all data is secure. Next, install the new theme and activate it. Check all features work properly, adjusting settings as needed. Verify compatibility with plugins to avoid disruptions. Finally, review the site’s appearance on different devices for consistency.
Backup Current Theme
Always create a backup of your current theme. It keeps your site safe. Use plugins like UpdraftPlus or BackWPup. They make backups easy. Store the backup in a secure place. Like a cloud service or external drive. If something goes wrong, your site stays safe. Restoring from a backup is quick and simple.
Set Up A Staging Site
Staging sites let you test changes safely. They are like practice sites. You can try new things without risk. Plugins like WP Staging help create them. Make sure all features work fine on the staging site. It prevents errors on the live site. Once happy, move changes to the live site. It keeps your audience happy too.
Choose A New Theme
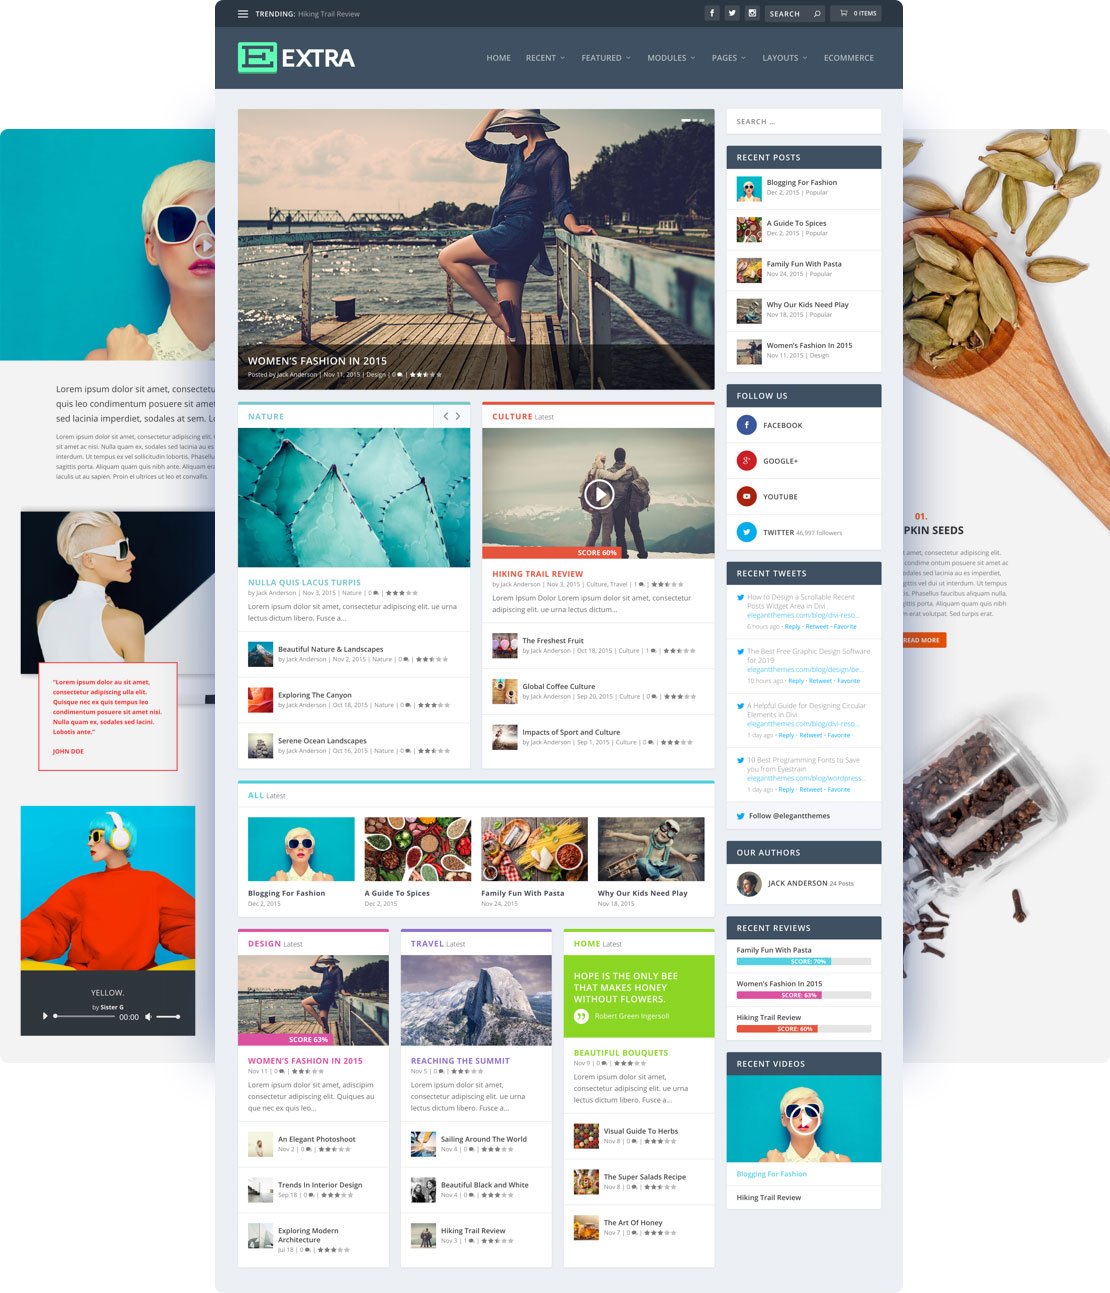
Choosing a new theme is exciting. Find one that fits your style. Check if it is compatible with plugins. Read reviews to ensure quality. Preview it to see how it looks. Ensure it is responsive for mobile devices. A good theme enhances user experience. It can make your site look amazing.

Credit: themeforest.net
Installing The New Theme
Visit your WordPress dashboard. Look for the Appearance tab. Click on it. You will see Theme Options. Choose the theme you like. Make sure it’s compatible. Check its ratings and reviews. Decide if you want the demo content. This can help set up your site faster.
Download the theme file. Save it on your computer. Go back to the dashboard. Click on Upload Theme. Select the file you saved. Wait for the upload to finish. Once done, click Activate. Your site will now show the new theme. Check if everything looks okay. Make adjustments if needed. Explore other settings for more options.
Customizing The Theme
The header and footer are important. They show on each page. Change them to fit your style. Add a logo. Or maybe a new menu. Try different designs. See what looks best. Make sure everything is easy to read. Keep it simple.
Layout helps the page look neat. Choose where to put things. Like the sidebar. Or the main content. Sometimes, less is more. You want visitors to find things fast. Play with the settings. See what feels right. Try to balance everything.
Words need to be clear. Choose a good font. One that is easy to read. Colors can change a mood. Pick colors that match your brand. Not too bright. Not too dull. Check contrast between text and background. Make sure everything is visible.
Importing Demo Content
Many WordPress themes come with a demo importer tool. This tool helps you get the demo content. Open your WordPress dashboard. Find the theme options. Look for a button or link that says “Import Demo” or “Demo Importer”. Click it. Follow the instructions. It’s usually very simple. Your site will look like the theme’s demo. Make sure your site has enough space. This ensures everything imports correctly.
Sometimes you need to import content by hand. First, download the demo files. These files are usually in XML format. Go to your WordPress dashboard. Click on “Tools”. Then, click “Import”. Choose the WordPress option. Upload the XML file. Follow the prompts to finish. Your site will now have the demo content. Check to see if everything is correct. Fix any errors you might find.
Testing The New Theme
A theme must look good on all devices. Responsive design means the site adjusts to different screens. Test on a phone, tablet, and computer. Make sure menus and images fit well. Visitors should not zoom or scroll sideways. Test page load times too. Fast loading is important for users.
Plugins add features to your site. Some themes may break plugins. Check each plugin to see if it works. Test important ones first. Contact forms and shopping carts must work. If a plugin fails, find help online. Update the plugin or theme if needed. Always backup your site before testing.
Site speed matters a lot. Slow sites can lose visitors. Use tools like Google PageSpeed Insights. Check scores for desktop and mobile. High scores mean good performance. Fix issues like large images or too many scripts. Small changes can make a big difference. Keep your site fast and smooth.
Finalizing The Theme Change
Switching your WordPress theme demo on a live site can be simple. Start by backing up your current site. Afterward, install and activate the new theme demo. Customize settings to fit your needs, ensuring a seamless transition.
Review For Any Issues
After changing your theme, check your site for errors. Look at each page on your site. Ensure all images are visible. Verify that links go to the correct pages. Test forms to confirm they work. Check your site’s speed. A slow site may need adjustments. Use tools to find any broken links. Fix these links to improve user experience. Make sure your site looks good on phones. Some themes may not be mobile-friendly. Adjust settings if needed. Keep your site safe by updating plugins. This will help prevent security issues.
Switch From Staging To Live Site
Have you fixed all the issues? It is time to make your site live. First, back up your current live site. This is a safety step. Now, copy your site from staging to live. Use a plugin if needed. Check the live site again. Make sure everything looks right. Ask friends to visit your site. They can help spot problems you missed. Keep checking your site often. This helps keep it running smoothly.
Credit: kinsta.com
Frequently Asked Questions
How To Preview WordPress Theme Before Changing?
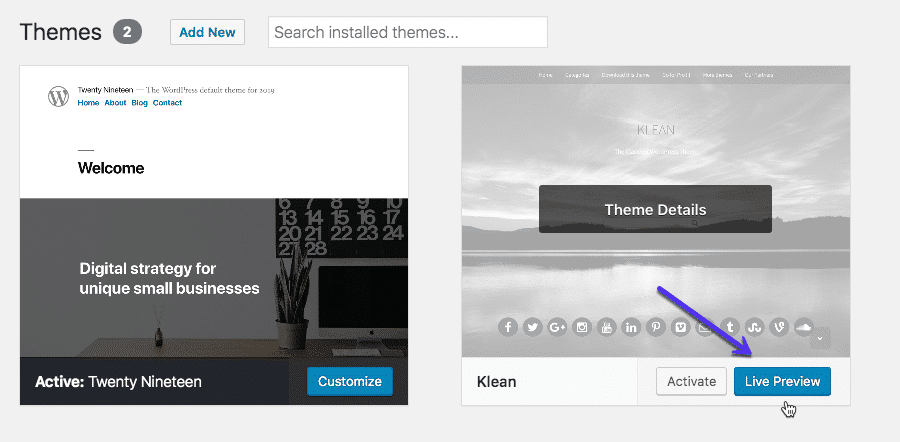
You can preview a WordPress theme by activating the live demo option in the theme settings. This lets you see how the theme looks on your site without making permanent changes. Ensure your current theme settings are backed up before previewing a new theme.
Can Changing Theme Affect Site Performance?
Yes, changing your WordPress theme can impact site performance. Different themes have varied code efficiency and resource requirements. Always choose a lightweight, well-coded theme to maintain or improve your site’s speed and performance. Test your site speed before and after changing the theme.
Is It Safe To Change WordPress Theme?
Changing your WordPress theme is generally safe, but it’s important to backup your site first. This ensures that you can restore any lost data or settings. Use a staging site to test the new theme without affecting your live site.
Will Theme Change Affect Seo?
Changing a theme can affect SEO due to different coding structures and layout changes. To minimize impact, choose a theme optimized for SEO. Ensure proper heading structures and meta tags remain intact during the transition.
Conclusion
Changing your WordPress theme demo is simple with these steps. Always back up your site first. This protects your content and settings. Choose a theme that fits your style and needs. Preview it to avoid surprises. Remember, each theme has unique features.
Explore these to enhance your site. Follow the setup guide carefully. This ensures smooth transitions. Keep your site updated for best results. Regular checks help maintain performance. Enjoy the process and watch your site transform beautifully. Happy blogging!


