
Are you looking to give your WordPress website a fresh, new look by changing the pictures on your theme? You’re in the right place!
Visuals play a crucial role in capturing your audience’s attention and keeping them engaged. A well-chosen image can speak volumes and elevate your website’s appeal instantly. Whether you’re a seasoned WordPress user or just getting started, learning how to update your theme’s pictures is an essential skill.
Imagine transforming your site’s aesthetic with just a few clicks, making it more vibrant and aligned with your brand. Intrigued? Let’s dive in and discover how you can easily change pictures on your WordPress theme, enhancing your site’s visual impact and making it truly stand out.
Credit: wpengine.com
Choosing The Right Images
High-quality images make your site look nice. Blurry pictures are bad. Always pick clear pictures. They should be crisp and sharp. This makes your website better.
Image size is important too. Big pictures load slow. This can make people leave your site. Use small images to make it faster. But, make sure they still look good.
Keep images relevant to your content. This helps users understand better. If you write about cats, show cat pictures. This makes sense to people. They feel happy when pictures match the words.
Uploading Images To Media Library
Accessing the Media Library in WordPress is easy. First, log into your dashboard. Look for Media on the left menu. Click on it. This opens the Media Library. Here, you can see all pictures. It’s like a photo album.
Uploading New Images is simple. Click the Add New button. It’s at the top. Choose an image from your computer. Click Upload. You can add many images at once. Check your image size. Large files may take time. Once uploaded, images appear in the library.
Replacing Theme Images
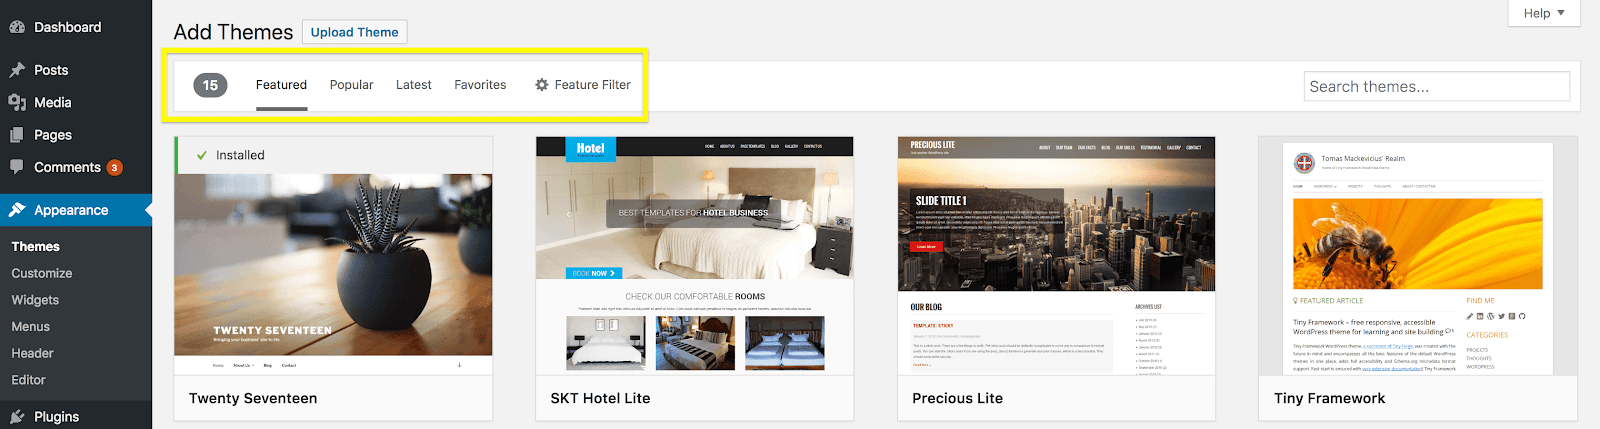
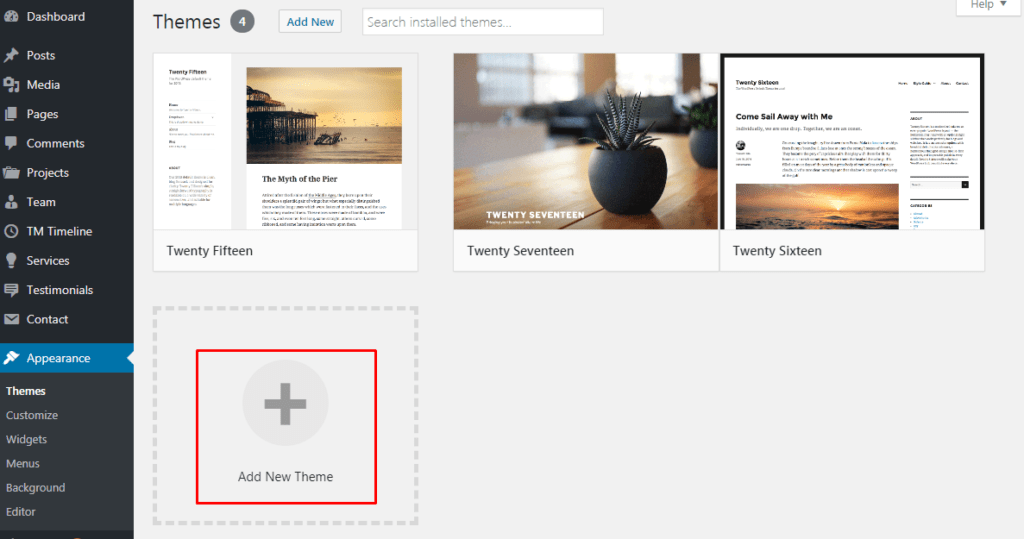
First, go to the WordPress dashboard. Find the Appearance tab and click on it. Then, select Customize. Look for sections like Header or Background. These sections usually have images. You can see the current images here. Write down the image locations. This helps in replacing them later.
Choose new images that fit your theme. Make sure they are high quality. Go to sites like Pexels or Unsplash for free images. Save these images on your computer. Now, go back to the WordPress dashboard. Click on Media and then Add New. Upload your new images here.
Credit: jetpack.com
Using WordPress Customizer
First, log in to your WordPress dashboard. Find the Appearance tab on the left. Click on it. Then choose Customize. This opens the WordPress Customizer. It helps you make changes. You can see changes in real time.
In the Customizer, look for Header Image. Click on it. You can upload a new image. Or choose from your library. Make sure to save your changes. This updates the header image on your site.
Find the Background Image option in the Customizer. Click to change it. Upload a new image or choose an existing one. Adjust the settings if needed. Remember to click Save when done. Your new background will show on your website.
Editing Pages And Posts
To add a picture, click the add media button. Choose an image from your library. Click insert into post. The picture will appear in your post. You can move it around. Drag it to the best spot. Make it bigger or smaller if needed.
Featured images show on top of posts. They are important. To change them, open your post. Look for the featured image box on the side. Click it to choose a new picture. Pick one that fits your post. Hit update to save the change. Now, your post has a fresh look.
Utilizing Page Builders
Many people use page builders on WordPress. They make designing easy. Popular page builders are Elementor and Beaver Builder. These tools help change pictures fast. They offer a drag-and-drop interface. This is simple for beginners.
Popular Page Builders
Choosing the right tool is important. Each builder has unique features. Elementor is known for flexibility. Beaver Builder is user-friendly. Both let users change images quickly. They also offer many templates. This saves time and effort.
Changing Images With Page Builders
First, open the page in the builder. Next, click on the image. Look for the “replace image” option. Choose your new picture from the library. Make sure to save changes. Now, your website looks fresh. It’s easy with page builders.
Optimizing Image Performance
Images make websites look nice. But they can slow down pages. Compressing images helps them load faster. Use tools like TinyPNG or JPEG Optimizer. These tools reduce the image size. Smaller images load quickly. Faster load times keep visitors happy. No one likes waiting for slow pages.
Fast websites are better for users. Large images can slow them down. Use compressed images to speed them up. Also, choose the right image format. JPEGs are good for photos. PNGs work well for graphics. Both load faster than large files. Websites run smoothly with fast images.
Troubleshooting Common Issues
Changing pictures on a WordPress theme can be simple. Start by accessing your WordPress dashboard. Navigate to ‘Appearance,’ then ‘Customize. ‘ Select ‘Header’ or ‘Background’ images. Upload your new picture. Save changes to update your theme. Troubleshooting involves checking file formats and sizes if issues arise.
Image Not Displaying
Images may not show if the file path is wrong. Check the path in the media library. Ensure it is correct. Also, check if the image format is supported. WordPress prefers formats like JPG, PNG, and GIF. The wrong format may cause issues. Sometimes, cache plugins can hide images. Try clearing the cache. Refresh the page to see changes.
Incorrect Image Size
Images may appear wrong if the size settings are incorrect. Check the theme’s image size settings. Adjust them if needed. Use the WordPress image editor to resize. Large images can slow down the site. Small images may look blurry. Choose a size that fits well. Consider the aspect ratio. Keep it consistent for better appearance. This helps in making the site look neat.
Credit: www.templatemonster.com
Frequently Asked Questions
How Do I Change Theme Images In WordPress?
To change theme images in WordPress, go to your dashboard. Navigate to Appearance > Customize. Select the section where the image is located. Upload a new image or select one from the media library. Save your changes to update the theme with the new image.
Can I Customize Header Images In WordPress?
Yes, you can customize header images by going to Appearance > Customize > Header Image. Choose a new image from your media library or upload a new one. Adjust the size and position if needed. Save your changes to apply the new header image.
How To Update WordPress Theme Background?
To update the background, go to Appearance > Customize > Background Image. Select or upload a new image. You can also choose background color and patterns. Preview your changes and click ‘Save’ to update the theme background.
Where To Find WordPress Theme Image Settings?
WordPress theme image settings are usually found under Appearance > Customize. Here, you can find options for header, background, and featured images. Each theme may have different settings, so explore the customization options provided by your theme.
Conclusion
Changing pictures on your WordPress theme can be simple and rewarding. Follow each step carefully. Customize your site with fresh images. Make it unique and personal. Regular updates keep your site engaging. Practice makes perfect. Experiment with different styles. Find what works for you.
Enhance your website’s look and feel easily. Engage your visitors with appealing visuals. Keep your content current and vibrant. A well-chosen image speaks volumes. Remember, your website reflects you. Keep it updated and visually appealing. Enjoy the creative process. Happy customizing!


