
Are you looking to give your WordPress site a fresh, personalized touch? Adding an image to your theme is a simple yet powerful way to enhance your website’s appearance and engage your visitors.
Whether you want to showcase your brand’s logo, a captivating header, or an eye-catching background, this guide will walk you through the process effortlessly. Imagine the satisfaction of seeing your site come alive with vibrant visuals that reflect your unique style and message.
Ready to transform your site and make a memorable impression? Let’s dive into the step-by-step guide that will make adding images to your WordPress theme as easy as a few clicks.
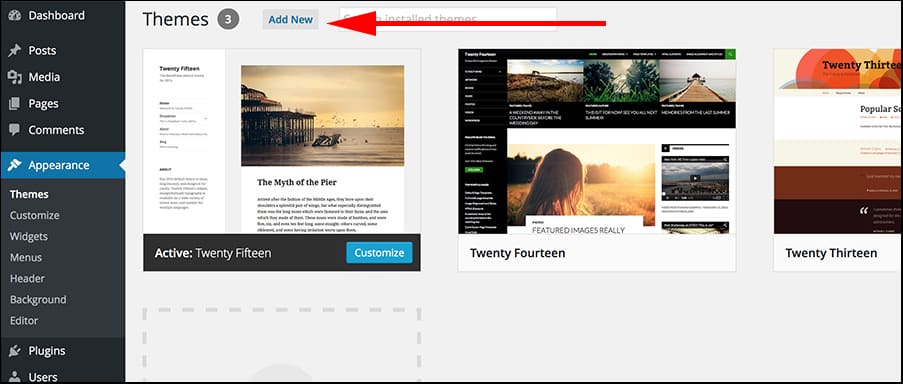
Credit: www.greengeeks.com
Choosing The Right Image
Choose images with the right resolution for your theme. High resolution makes images look clear. But large images can slow your site. The best size is between 800×600 and 1200×900 pixels. This size is good for most themes. It keeps your site fast and images clear.
Images come in different file formats. JPEG and PNG are popular. JPEG is good for photos. It makes files small. PNG is better for graphics. It keeps details sharp. Choose the right format for your image needs.
High-quality images make your site look professional. You can find them online. Use free image sites like Unsplash or Pixabay. Be sure to check licenses. Some images need credit. Always use images that match your content.
Preparing The Image For Upload
Choose the best part of the image. Cut away extra bits. Make sure the image is a good size. Too big images slow down websites. Use tools like Paint or Photoshop for easy edits. Avoid blurry images.
Images should be clear but not large. Large files take time to load. Compress the image to save space. Tools like TinyPNG can help. Smaller files make sites faster. Fast sites are better for visitors.
Good names help find images easily. Use simple words for names. Include keywords in the name. Names like “sunset-beach.jpg” are useful. Avoid names like “IMG0001.jpg”. Clear names make images easy to manage.
Accessing The WordPress Dashboard
First, open your web browser. Type your website link in the address bar. You will see your website homepage. Add /wp-admin at the end of the URL. Press enter. The WordPress login page will appear. Enter your username and password. Click the login button. Now, you are inside your WordPress dashboard.
Look at the menu on the left. Find the Appearance option. Hover over it. A list will appear. Click on Theme Editor. A new page will load. You are now in the Theme Editor. Here, you can make changes. Find the file where you want to add the image. Be careful when editing files here.

Credit: wpmarmite.com
Uploading The Image To The Media Library
Adding images to your WordPress theme is easy. First, navigate to the Media Library. Find this option in your WordPress dashboard. Next, click on the Add New button. A window will appear. Now, drag and drop your image here. Or, use the Select Files button. This lets you browse your computer. Choose your image and upload it. The image will now appear in the library.
Using The Media Library Interface
The Media Library interface is user-friendly. You can see all uploaded images here. Click on an image to view details. Edit options are available too. You can add a title, caption, and description. Adjust the image size if needed. This helps in organizing your images.
Organizing Images In Folders
WordPress does not support image folders by default. But, you can use plugins. These plugins help create folders. This makes organizing images easier. Choose a plugin from the WordPress repository. Install and activate it. Now, create folders and move images into them. This keeps your media library tidy and organized.
Adding Image To Theme Files
Inserting an image into a WordPress theme involves editing theme files. Access the WordPress dashboard, navigate to Appearance, and select Theme Editor. Open the relevant file, such as header. php or footer. php, and add the image tag with the correct file path.
Save changes to see the image on your site.
Identifying The Correct Theme File
First, find the correct theme file for your image. Go to the WordPress admin area. Click on Appearance. Then, choose Theme Editor. Look for files like header.php or footer.php. These files are common places to add images.
Editing Theme Code
Open the file you chose. Find the place where you want the image. Use the tag. Write the image URL inside the tag. Save changes to see the image. Be careful with the code. Wrong changes can break your site.
Using Child Themes For Modifications
Create a child theme before editing. This keeps your changes safe. Updates won’t affect your edits. Copy the theme file to the child theme. Make changes in the child theme file. Use child themes for safe modifications.
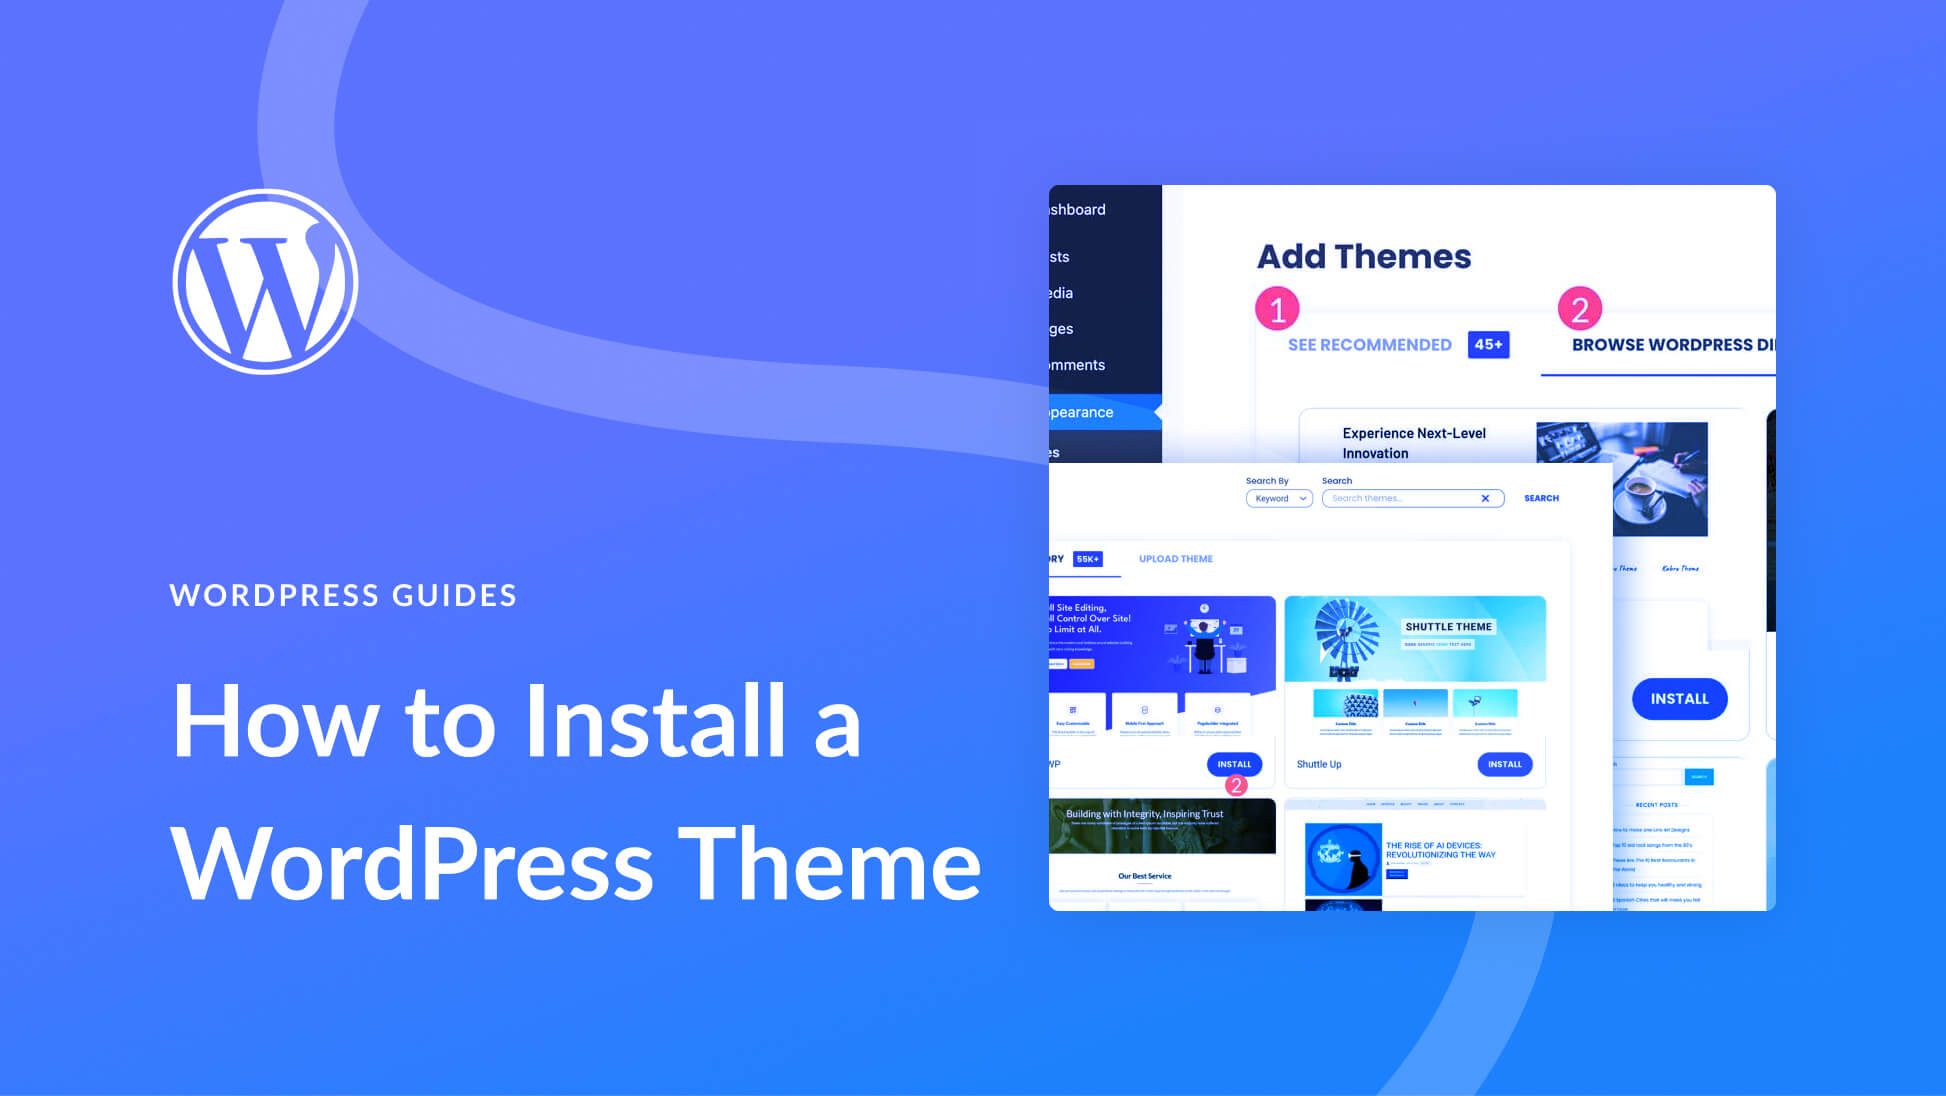
Credit: www.elegantthemes.com
Incorporating Images Via WordPress Customizer
Adding an image to a theme in WordPress is simple. Use the WordPress Customizer to upload your image. Navigate to “Appearance,” select “Customize,” and then choose “Header Image” or “Background Image” to upload. Adjust settings to fit your theme’s design.
Locating Customizer Options
Open your WordPress dashboard. Click on Appearance. Choose Customize. This opens the WordPress Customizer. On the left, find options for your theme. Look for sections like Header Image or Background Image. These sections let you add images. Some themes have more options.
Setting The Image In Header Or Background
In the Customizer, click on Header Image or Background Image. You can upload a new image or choose one from the media library. To upload, click Add New Image. Select your image and click Choose Image. Adjust the image size if needed. Click Save & Publish to apply changes. Your image now shows on your site.
Utilizing Plugins For Image Integration
Plugins simplify image integration in WordPress themes. Choose a reliable plugin and upload your image effortlessly. Customize placement and appearance without altering theme code. Enhance visual appeal while maintaining site performance.
Selecting The Right Plugin
Choosing a plugin can be simple. Look for good reviews and high ratings. Consider the features you need. Check if it’s compatible with your theme. It’s important to select a plugin that is easy to use and lightweight. Read the description carefully before downloading.
Installing And Activating Plugins
Find your plugin in the WordPress dashboard. Click “Add New” and search for it. Install the plugin by clicking “Install Now”. After installation, click “Activate” to use it. This makes the plugin available on your site.
Configuring Plugin Settings
Go to the settings page of the plugin. Adjust settings to fit your needs. Most plugins have easy options. You might change the image size or location. Save changes when finished. This ensures your images appear correctly.
Troubleshooting Common Issues
Adding an image to a WordPress theme often presents challenges. Ensure the theme supports custom images first. Next, use the WordPress media library to upload images and embed them correctly in the theme’s settings or template files.
Image Not Displaying
Sometimes, images just won’t show up. Check the image URL. Ensure it’s correct. Confirm the image file exists on the server. Verify the file format is supported. Common formats are JPEG and PNG. Double-check your media library. Make sure the image is there. Clear browser cache. This often solves display issues.
Resolving Css Conflicts
CSS can hide images. Inspect the image element. Look for display:none or visibility:hidden. These styles can hide images. Remove them if found. Check other CSS rules. Ensure they don’t conflict. Sometimes, CSS from plugins causes issues. Disable plugins to test. If images appear, find which plugin is causing trouble.
Improving Load Times
Large images slow websites. Use compressed images. They load faster. Tools like TinyPNG help compress images. Resize images before uploading. Don’t use high resolution if not needed. Lazy loading can improve speed. Images load as users scroll. This technique reduces initial load time.
Testing And Reviewing Changes
Adding an image to a WordPress theme involves navigating the theme editor. Simply locate the desired section in the theme files and insert your image using the correct HTML or PHP code. Testing ensures the image displays correctly across devices.
Adjust image size and position for the best visual appeal.
Checking Image Appearance
Make sure the image looks good on the site. It should be clear and not blurry. Also, check if it fits the space well. The image should not be too big or too small. A clear image makes the site look better.
Ensuring Responsiveness
Images should look good on all devices. Check the image on a phone and a computer. The image should adjust to fit the screen. This is called being responsive. A responsive image makes users happy.
Gathering Feedback
Ask friends to look at the site. Get their thoughts on the image. They might see things you missed. Their feedback can help make the site better. Always listen to what others say.
Maintaining Image Quality Over Time
Images can change quality over time. WordPress may update its settings. Image settings may affect image quality. Regular updates help maintain image quality. Plugins or themes may affect how images look. Check them often to ensure good quality. Sometimes, updating WordPress can change image settings. Keep an eye on updates. Always preview images after updates. This ensures they look right.
Regular Updates And Checks
Updates ensure your WordPress site runs well. They also protect your images. Check for updates every month. Always update themes and plugins. This keeps them working well. Sometimes, updates fix image issues. Checks help find any problems early. Fixing them fast keeps images sharp. Use a checklist for updates and checks. This makes sure you don’t miss anything.
Backing Up Media Files
Backing up is very important. It saves your images. If something goes wrong, backups help. They bring back your images. Use a plugin to backup files. Do this every month. Store backups in a safe place. Cloud storage is a good option. Always check your backup files. Make sure they work. This keeps your images safe and sound.
Frequently Asked Questions
How Do I Upload An Image To WordPress?
To upload an image in WordPress, go to your dashboard. Click on ‘Media’ and select ‘Add New’. Choose the image file from your computer and upload it. After uploading, you can insert it into your theme or post by using the media library.
Can I Change Images In WordPress Themes?
Yes, you can change images in WordPress themes. Access your WordPress dashboard, go to ‘Appearance’, and click on ‘Customize’. Navigate to the section where images are stored and replace them. This allows you to personalize your theme’s appearance.
How Do I Optimize Images In WordPress?
Optimize images in WordPress by using plugins like Smush or EWWW Image Optimizer. These plugins compress images without losing quality. Additionally, ensure images are appropriately sized before uploading. Optimizing images helps improve website load speed and overall performance.
What Image Formats Are Supported In WordPress?
WordPress supports various image formats, including JPEG, PNG, GIF, and WebP. These formats are widely used for web images. JPEG is ideal for photographs, PNG for graphics with transparency, and GIF for animations. WebP offers advanced compression for faster load times.
Conclusion
Adding images to WordPress themes enhances visual appeal. It’s simple and effective. With a few clicks, your website looks more engaging. Images capture attention. They make information easier to digest. Don’t forget to optimize images for faster loading. Large files can slow websites down.
Keep them small but clear. Your site visitors will appreciate it. Regular updates keep your content fresh. Experiment with different images. Find what suits your theme best. Images tell stories. They connect with users. Make your website stand out. Start adding images today and see the difference it makes!


