
Looking to expand your online store with ease? You’re in the right place.
Adding a product to your WordPress theme doesn’t have to be a daunting task. Whether you’re a seasoned pro or a beginner, understanding this process is key to maximizing your sales potential. Imagine effortlessly uploading new products and watching your business grow.
This guide will reveal the simple steps to seamlessly integrate products into your WordPress site. By the end of this post, you’ll feel empowered to manage your online inventory like a pro. Ready to turn your website into a sales powerhouse? Let’s dive in and simplify your path to success.
Choosing The Right Theme
Selecting the ideal WordPress theme simplifies adding products. Choose a theme with intuitive features and seamless integration. Enhance user experience by opting for themes optimized for e-commerce.
Evaluating Theme Features
Picking the right theme is very important. A good theme has great features. User-friendly design is crucial. It should be easy to navigate. Themes must be responsive on all devices. Check if the theme updates regularly. This keeps it safe and current. Does the theme have good support? This helps solve issues quickly. Look for themes with customization options. This allows you to change colors and fonts.
Compatibility With Woocommerce
WooCommerce is a popular plugin for online stores. Your theme must work well with it. Test the theme with WooCommerce. Ensure all features work smoothly. Look for themes that mention WooCommerce compatibility. This means they are made for online shops. Compatibility ensures fewer bugs. Your customers will have a better experience.

Credit: themeforest.net
Setting Up Woocommerce
First, access your WordPress dashboard. Find the Plugins section. Click on Add New. Search for WooCommerce. Click Install. Wait a few seconds. Once installed, click Activate. Now WooCommerce is ready to use. Easy, right?
Visit the WooCommerce settings page. Here, you set your store details. Fill out your address. Choose your currency. Pick your selling locations. Important choices. Set your shipping zones. Decide on taxes. Pick payment options. Common choices are PayPal and Stripe. Simple setup makes life easy.
Creating A New Product
Start by logging into your WordPress dashboard. Locate the menu on the left. Click on Products. This takes you to the product section. Here, you can see all current products. To add a new one, click on Add New. A new page will open. This is where you start creating your product.
Enter the product name in the title field. Below, add a short description. This helps visitors know what the product is about. Scroll down to set the product price. Add images by clicking the Add Media button. Choose images that show the product well. On the right, set the category. This helps organize products. When done, click Publish. Your new product is now live.
Uploading Product Images
Ensure images are clear and bright. Use high-quality images but keep the file size low. This helps pages load faster. Adjust images using tools like Photoshop. Smaller files make your site run better. Choose the right format, like JPEG or PNG. JPEG is good for photos. PNG is best for logos and icons. Always check image size before uploading. Aim for under 1MB.
The featured image is the main picture. It shows on the product page. Pick a photo that shows the product well. Make it eye-catching and bright. Use simple backgrounds to focus on the product. Rename the image file with keywords. This helps search engines find it. Click “Set featured image” in WordPress. Then upload your chosen image.
Setting Product Categories And Tags
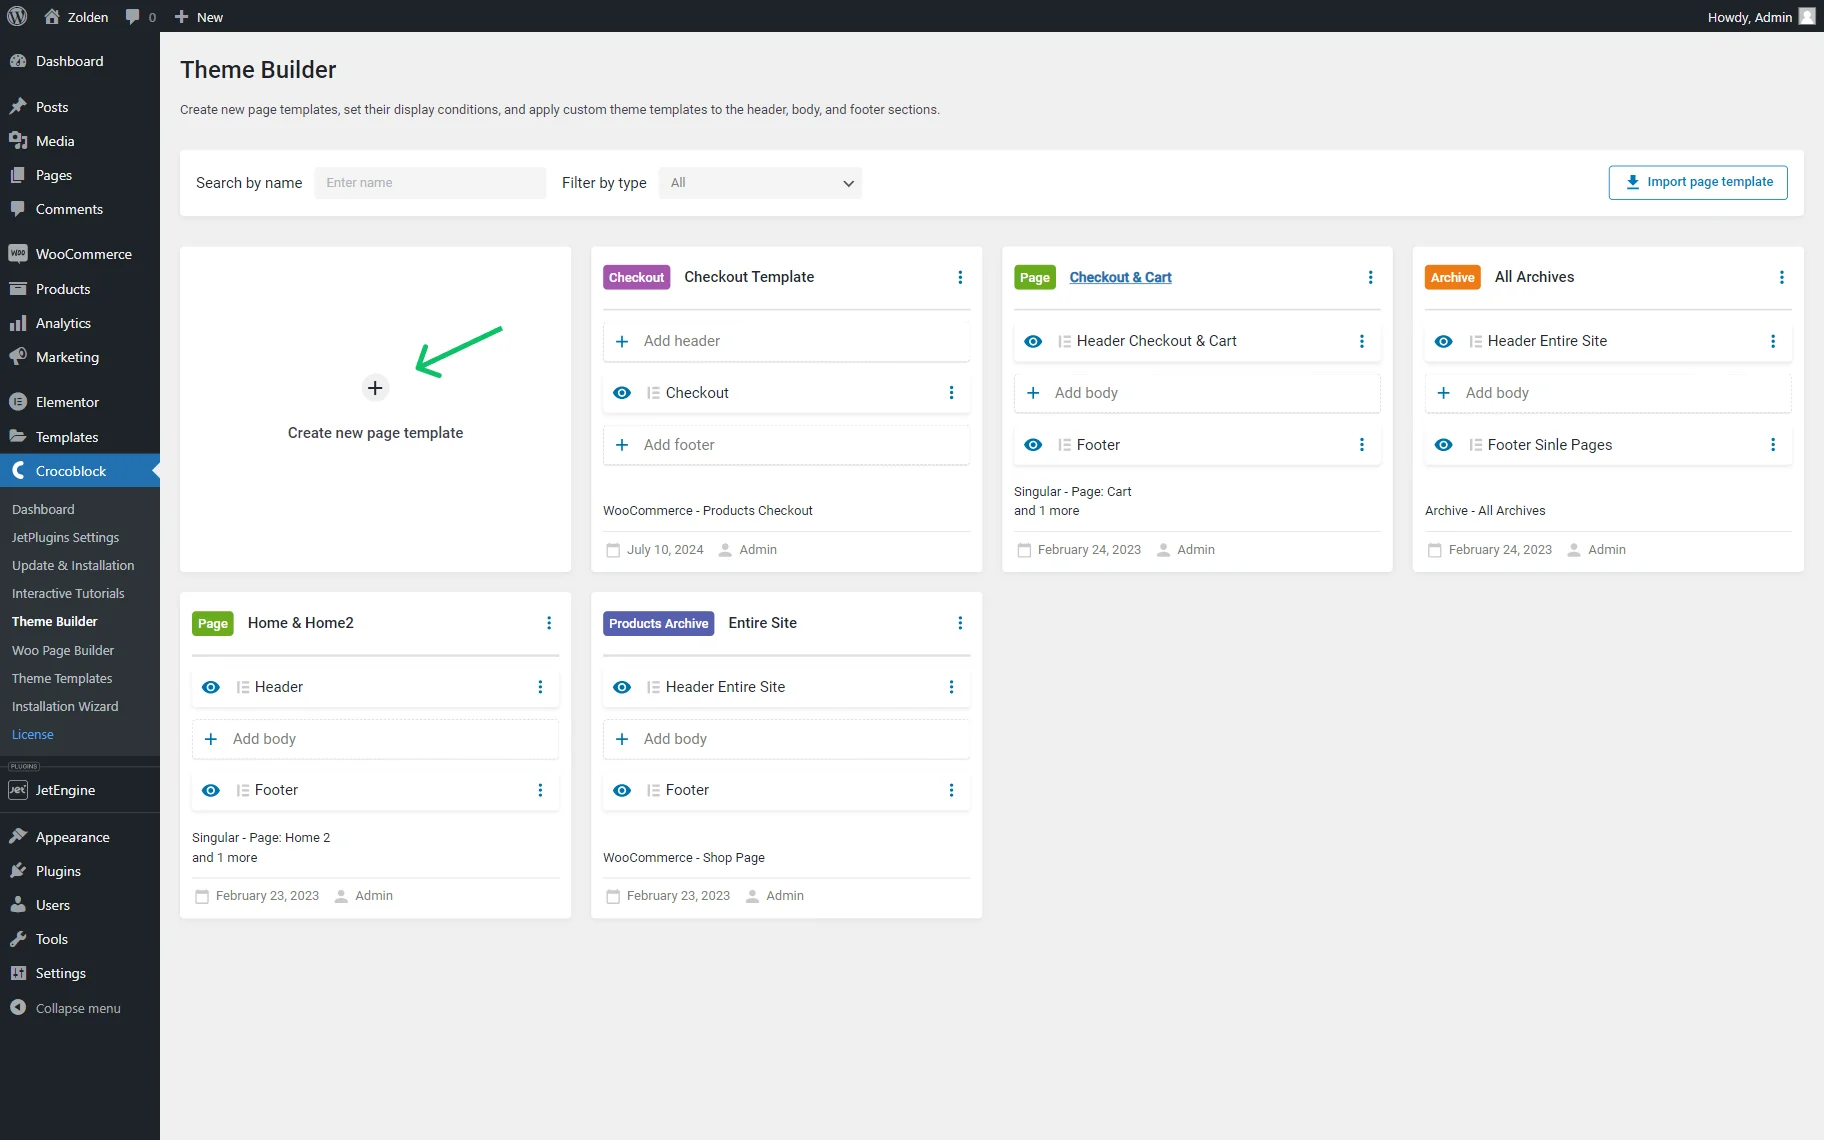
Adding product categories and tags in WordPress themes helps organize your online store. Group similar products using categories. Use tags for specific features or details. This makes it easier for customers to find what they need.
Organizing Products By Category
Grouping products by category helps users find items easily. For example, you might have categories like “Shoes” or “Books.” Each product fits into one or more categories. This makes browsing simple and smooth. WordPress themes support multiple categories. So, choose wisely. Keep categories clear and specific. Avoid too many categories. It can confuse buyers. Stick to main product types. This helps in better site navigation.
Using Tags For Better Searchability
Tags are like labels for products. They help in searching specific items. Use tags to highlight product features. For instance, use “Red” for color or “Leather” for material. Tags are different from categories. They are more detailed. Add multiple tags to a product. It boosts search results. Users find items faster with tags. Tags improve the shopping experience. Ensure they are relevant. Avoid unnecessary tags. It clutters the search.
Credit: crocoblock.com
Managing Product Inventory
Easily add a product on WordPress themes by navigating to the dashboard, selecting ‘Products,’ and clicking ‘Add New. ‘ Fill out product details, including name, price, and description. Upload high-quality images to showcase your product effectively. Save your changes to make the product live on your site.
Setting Stock Status
First, log in to your WordPress dashboard. Go to the Products section. Click on the product you want to edit. You will see the Inventory tab. Click on it. Here, you can set the stock status. Choose between In Stock or Out of Stock. It helps buyers know if they can buy the product. Always keep this updated.
Managing Stock Levels
In the same Inventory tab, find the Stock Quantity field. Enter the number of items available. This updates the stock levels. The store will show if the product is low or high in stock. It’s important for managing your inventory. Check this regularly. It helps in keeping the product available for buyers.
Pricing And Discounts
Setting prices is easy. First, choose a regular price for your product. This is the main price customers see. Next, add a sale price. The sale price is lower than the regular price. It attracts more buyers. Use the sale price to offer special deals. Make sure the sale period is clear. It’s important for customers to know when the sale ends. This helps in making quick decisions. Keep prices updated to stay competitive.
Coupons are another great tool. They give extra discounts to buyers. Create a coupon code for your store. Share this code with your customers. They can use it during checkout. It reduces the total price. Coupons make shopping fun and exciting. Always set a limit for coupon use. This keeps your business healthy. Remember to advertise your coupons well. Let everyone know about the special offers.
Previewing And Publishing
Explore the seamless process of previewing and publishing products on WordPress themes. Easily add product images, descriptions, and prices. Ensure your product listings appear attractive and professional before going live for maximum impact.
Previewing Product Page
Before making your product page live, it’s good to preview it. Click on the Preview button to see how it looks. Make sure all the details are correct. Check the product images and description. Ensure the price and other information are right. This step helps to catch any mistakes early. It also lets you see the page through the eyes of your customer. Taking a moment for this can prevent future issues. It’s a simple but important task.
Publishing The Product
Once everything looks good, it’s time to publish. Find the Publish button and click it. This makes your product page visible to everyone. Now, people can see and buy your product. Always double-check details before publishing. This helps in avoiding errors. Remember, a well-published product attracts more customers. So, take care with this final step.
Troubleshooting Common Issues
Sometimes images don’t show on your site. This can be frustrating. Check the image file type. JPG or PNG are best. Ensure the image URL is correct. A wrong URL means no image. Look at the file size. Large files load slowly. Resize images to fit better. This helps them load faster. Always update your browser. Old browsers can cause display issues.
Prices might show wrong sometimes. First, check the currency settings. Make sure they are correct. Look at the product’s price field. Did you enter the right number? Check for extra spaces. Sometimes, spaces cause errors. Update the product page to see changes. Always clear your cache. This helps show the latest price.
Credit: colorlib.com
Frequently Asked Questions
How To Add Products On WordPress Themes?
To add products on WordPress themes, navigate to your dashboard. Use a plugin like WooCommerce for product management. Add product details like title, description, and price. Customize product settings as needed. Ensure your theme supports WooCommerce for optimal display. Publish your product once ready.
Can I Customize Product Pages In WordPress?
Yes, you can customize product pages in WordPress. Use page builders or custom CSS for design adjustments. Many themes offer built-in customization options. WooCommerce provides flexibility for modifying product layouts. Ensure changes align with your overall website design. Check theme documentation for specific customization options.
Is Woocommerce Necessary For Adding Products?
WooCommerce is recommended for adding products to WordPress themes. It provides comprehensive product management features. Alternative plugins exist, but WooCommerce is widely supported. It offers various extensions for additional functionality. Ensure your theme is WooCommerce-compatible for seamless integration. Its popularity makes it a reliable choice for e-commerce.
How Do I Ensure Mobile-friendly Product Pages?
Ensure mobile-friendly product pages by using responsive WordPress themes. Test your site on various devices for compatibility. Optimize images and use concise product descriptions. Implement mobile-specific settings in WooCommerce if available. Prioritize user experience and fast loading times. Regularly update your theme for improved mobile performance.
Conclusion
Adding a product to WordPress themes is simple and effective. Follow the steps outlined to ensure success. First, choose a theme that suits your business needs. Next, install necessary plugins for smooth functionality. Upload clear images and detailed descriptions for your products.
Set prices and stock levels accurately. Always preview your product pages before going live. Check for errors and fix them promptly. Engage with users through comments and feedback. Keep your site updated for the best performance. With practice, managing products will become easier.
Start today and watch your online store grow.


