
Are you finding it a bit tricky to navigate the Edda theme on WordPress? If you’ve been scratching your head over how to add another menu, you’re not alone.
Many WordPress users want to customize their site to better suit their needs and enhance user experience, and a second menu can do just that. Imagine guiding your visitors smoothly through your website, making it easy for them to find what they’re looking for.
By the end of this guide, you’ll be equipped with the know-how to add another menu to your Edda theme, transforming your site into a more organized and user-friendly space. Dive in, and let’s simplify this process together.
Credit: www.abrightclearweb.com
Edda Theme Features
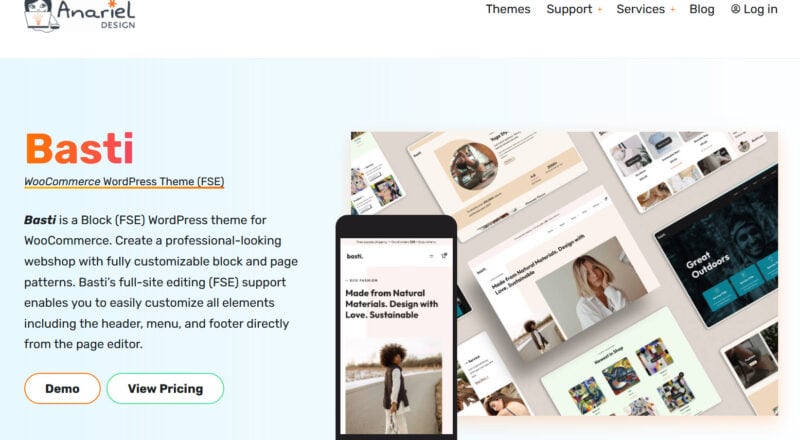
The Edda theme allows easy customization. Users can change colors and fonts. You can adjust layouts too. It offers many design choices. Make your site look unique. Choose from different themes.
Creating menus is simple. The theme supports multiple menus. Add new menus easily. Organize your content well. Users can navigate quickly. The menu builder is user-friendly. Drag and drop items effortlessly.
Setting Up A New Menu
Easily add another menu in the Edda Theme on WordPress by navigating to the Appearance section. Select ‘Menus’, then ‘Create a New Menu’. Name the menu and choose where it should appear. Save your changes to complete the setup.
Accessing WordPress Dashboard
Start by logging into your WordPress account. After logging in, go to the WordPress dashboard. The dashboard is your control center. You will find many options here. Look for the Appearance tab. Click on it to open more options.
Navigating To Menu Section
Under the Appearance tab, find the Menus option. Click on Menus to open the menu section. This is where you can create a new menu. Look for a button that says Create a New Menu. Click on it to start building your menu. Add items like pages, posts, or links. Don’t forget to save your menu. Saving ensures your changes are kept.
Creating A New Menu
Start by going to your WordPress dashboard. Find the Appearance section and click on Menus. Here, you can create a new menu. Give your menu a name. This will help you remember its purpose. Then, click on the Create Menu button.
You can add different items to your menu. Choose from pages, posts, or custom links. For custom links, enter the URL and the link text. It’s easy! You can also add categories to group similar posts. Select the categories and click Add to Menu. This helps keep your site organized.
Assigning The Menu To Edda Theme
Primary menus appear at the top of your website. They help users find important pages quickly. Secondary menus offer more links. These might include contact or about pages. Both menus guide users through your site. Choose which pages appear in each menu. This helps organize content and improve navigation. Make sure important pages are easy to find. This keeps visitors happy.
Primary Vs Secondary Menus
Decide which pages are primary or secondary. Primary menus lead to main sections. Secondary menus contain extra pages. Think about user experience. Make sure visitors can find information easily. Add links that are most useful to users. Keep the menus simple. This helps users understand your site better. Too many links can be confusing.
Widget Area Menus
Widget areas are special sections. They can hold menus too. Widgets are often in sidebars or footers. Use them to show extra links. This can include recent posts or categories. Widgets can improve site navigation. They make it easy to find related content. Keep widget menus short. Focus on important links.
Styling The New Menu
The theme customizer is a simple tool. It helps you style your menu. Go to the WordPress dashboard. Find the Appearance tab. Click on Customize. Locate the Menus section. Select your new menu. Choose colors and fonts. Preview changes live. Save when happy with the look.
Custom CSS can change menu style. Go to your WordPress dashboard. Click on Appearance. Choose Customize. Find the Additional CSS tab. Add your CSS code here. Make the menu unique. Use simple CSS commands. Change background color. Adjust font size. Style your menu as you wish. Always save changes.
Credit: dj-extensions.com
Troubleshooting Menu Issues
Adding a new menu can cause some problems. Sometimes, the menu does not show. Or it shows in the wrong place. Check if the menu location is set correctly. Make sure you selected the right menu location in the theme settings. If the menu is still not showing, it might be hidden by CSS. Look in the theme’s CSS file to find any hidden menu code. Fix the code to make the menu visible.
Display errors can make the menu look odd. Maybe the items overlap. Or the menu items are not clickable. Sometimes, the problem is with the theme’s CSS. Check for any CSS errors. Use the browser’s inspect tool to find display issues. If the menu items are not clickable, check the z-index. Set the z-index to a higher number than other elements. This makes the menu clickable again.
Best Practices For Menu Design
Menus help users find what they need. A simple menu makes browsing easy. Use clear labels for each menu item. Avoid long words. Short words are best. Arrange items in a logical order. Most clicked items should be first. This saves users time.
Many people use phones to browse. Menus must work on all devices. A responsive menu fits small screens. It should be easy to tap links. Make sure text is big enough. Test your menu on different devices. This ensures everyone can use it.
Credit: www.notion.com
Frequently Asked Questions
How To Add A Menu In Edda Theme?
To add a menu in the Edda Theme, navigate to your WordPress dashboard. Go to Appearance > Menus. Click “Create a new menu,” name it, and add your desired pages. Save the menu and assign it to a location.
Can I Customize The Edda Theme Menu?
Yes, you can customize the Edda Theme menu. Use the WordPress Customizer by going to Appearance > Customize. Select “Menus” to adjust order, add items, and change menu settings. This allows for a tailored navigation experience.
Where To Find Menu Settings In Edda Theme?
Find menu settings in the WordPress dashboard under Appearance > Menus. Here, you can create, edit, and manage menu locations. The Edda Theme provides intuitive options to adjust your site’s navigation structure efficiently.
Is It Possible To Add Multiple Menus?
Yes, you can add multiple menus in the Edda Theme. Go to Appearance > Menus to create and manage different menus. Assign them to various locations like header, footer, or sidebar to enhance site navigation.
Conclusion
Adding another menu in the Edda theme is straightforward. Follow the steps carefully, and your new menu will be live. Easy and quick process enhances your site’s usability. Visitors appreciate clear navigation. Use this feature to improve their experience. Customize the menu to fit your brand.
Tailor content to match your audience’s needs. Simple tweaks can make a big difference. Keep exploring WordPress for more features. Continuously improve your website. Your site can grow along with your skills. Happy designing! Keep learning and experimenting with new ideas.


