
Are you looking to enhance the visual appeal of your WordPress site? Adding images to your WordPress theme can transform your website from dull to dynamic in just a few clicks.
Whether you’re a seasoned blogger or a small business owner, images can captivate your audience and keep them engaged. But how exactly do you do it? If you’ve ever found yourself puzzled or frustrated by this task, you’re not alone.
This guide is here to make the process simple and straightforward for you. Imagine the impact of vibrant images seamlessly integrated into your site, making your content more relatable and your brand more memorable. Ready to learn how? Let’s dive in and explore how you can easily add images to your WordPress theme, boosting your site’s appeal and user experience.
Credit: docs.presscustomizr.com
Choosing The Right Image
Images come in different formats. The most common are JPEG, PNG, and GIF. Each has its use. JPEG is great for photos with many colors. PNG works well for images with transparent backgrounds. GIFs can show moving images. Choosing the right format is important. It affects how the image looks on your site.
Images should have a good resolution. High resolution means clear and sharp images. But, large files can make your site slow. It’s best to find a balance. Use tools to reduce size without losing quality. This keeps your site fast. Fast sites are good for visitors.
Always check licenses before using images. Some images need permission. Others are free to use. Look for images with a Creative Commons license. They are safe to use. Always give credit if needed. This keeps your site legal. Legal sites are safe and trusted.
Preparing Images For Upload
Images should be small in size. This helps pages load fast. Use tools to compress images without losing quality. A good choice is JPEG for photos. PNG is better for graphics. Avoid large file formats like TIFF. They slow down sites.
Naming Conventions matter for organization. Use clear and descriptive names. Avoid special characters in file names. Stick to letters, numbers, and hyphens. For example, use “sunset-beach.jpg” instead of “IMG_1234.jpg”. This helps search engines understand the image content.
Uploading Images To WordPress
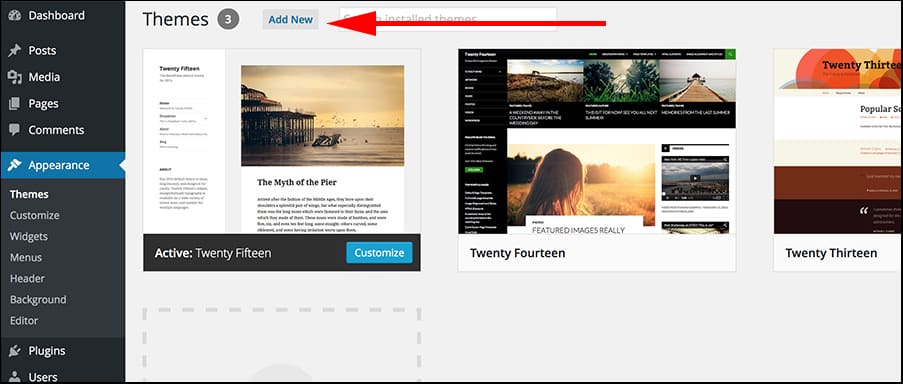
Adding images with the Media Library is easy. Go to the dashboard. Click on Media, then Add New. Choose the image file you want. Click Select Files to upload. Images will appear in your library. You can add them to posts or pages. Use the Add Media button. This helps to place images anywhere.
Images can be uploaded via FTP too. First, connect to your server. Use an FTP client like FileZilla. Navigate to your theme’s folder. Go to wp-content, then themes. Upload images to the desired folder. Refresh your WordPress dashboard. Images will be available for use. This method is good for bulk uploads.
Credit: www.greengeeks.com
Adding Images To Pages And Posts
The Gutenberg Editor makes adding images easy. Select the image block from the menu. Click upload to add your picture. You can also drag and drop your image. Use the resize tool to change image size. Add a caption if needed. Gutenberg helps align images. Choose left, center, or right. This makes your page look neat.
The Classic Editor is different. Click the Add Media button. Select an image from the media library. Or upload a new one. Add alt text for better SEO. Use the alignment options to adjust the image. You can link the image to a URL. This is good for navigation. Always check the preview before posting.
Incorporating Images Into Themes
Themes have files that control the look. To add images, edit these files. Use an FTP client to access them. Find the directory for images. Upload your new images there. Use the right file format for better results. PNG and JPEG are popular choices. Make sure the file size is small. Large files slow down the website. Check the code in the theme files. Add the image code where needed. Place the alt text for better SEO. This helps search engines understand the image. Save your changes. Refresh your site to see the new look.
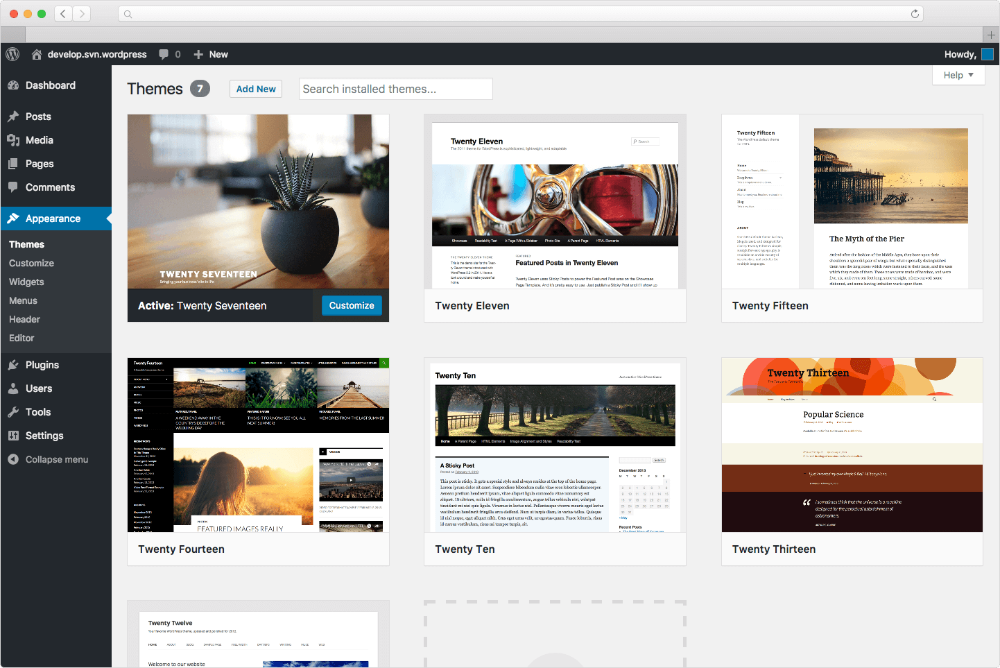
WordPress has a Customizer tool. It helps add images easily. Go to your dashboard. Find the Appearance tab. Click on Customizer. Choose the section for images. Upload your images through this tool. Make sure your images fit the theme style. Use the preview option to see changes. Adjust the size if needed. Save and publish your changes. Your site now has new images. Customizer is a user-friendly option. No need to edit complex files.

Credit: wpmarmite.com
Responsive Image Techniques
Integrating responsive images into a WordPress theme enhances user experience across devices. Utilize HTML attributes like `srcset` and `sizes` to adjust images for different screen resolutions. Implementing responsive design ensures images load efficiently, maintaining visual appeal while optimizing site performance.
Using Srcset For Different Devices
Srcset helps your website look good on all screens. It lets you choose different image sizes for different devices. This way, each device gets the best image size. Using srcset, your site loads faster. Users will be happy with speed. Images look clear and sharp. Mobile users will see small images. Large screens get bigger images. Srcset improves user experience. It’s a simple way to make your site better. Just add srcset to image tags. It’s easy to do!
Css Strategies For Responsiveness
CSS makes images fit all screens. Use max-width to keep images inside their box. Images won’t overflow. They stay neat and tidy. Add height to keep shape. This way, images don’t stretch. Use media queries to change styles for different screens. It’s smart and easy. Your site looks great everywhere. Users will enjoy browsing. They see images as they should be. CSS helps keep your site looking good. It’s important for web design.
Enhancing Seo With Images
Alt text helps search engines understand images. It is important for SEO. Always describe the image clearly. Use simple words. Avoid stuffing keywords. Keep it short. Alt text should match the image content. Blind users rely on alt text. Make sure it is helpful.
Titles and captions help users and search engines. Use descriptive titles for images. Make them clear and concise. Captions give context to images. They appear below the image. Users read captions more than other text. Keep them relevant. Avoid long sentences. Use simple words to explain the image. This enhances user experience and helps SEO.
Common Issues And Troubleshooting
Sometimes, images do not show up. This happens when links are broken. Check if the image link is correct. Ensure the file path is right. Also, confirm the image file is in your media library. Right paths make images appear.
Slow images make sites load slowly. Use smaller file sizes to help. Compress images before uploading. Tools can help with this. They make images smaller. Your site will load faster. Faster sites are better for users.
Plugins For Advanced Image Management
Gallery plugins help organize photos. They create beautiful displays. These plugins are perfect for photographers. They allow easy sorting and labeling. Users can view images in slideshows or grids. Some plugins offer lightbox effects. Others include image filters. These features enhance the viewing experience. They make photos pop. Popular gallery plugins include Envira Gallery and NextGEN Gallery. Both are easy to use. They have many customization options. Choose a plugin that fits your needs. Check for compatibility with your theme. Test the plugin before publishing your site.
Optimization tools keep images small. This helps sites load fast. Plugins like WP Smush and EWWW Image Optimizer are popular choices. They compress images without losing quality. Compressed images save storage space. They also improve page speed. Faster pages keep visitors happy. These tools work automatically. They optimize images as you upload them. Some plugins offer bulk optimization. This is useful for existing image libraries. Using optimization tools ensures your site runs smoothly. Quick loading pages are important for SEO.
Frequently Asked Questions
How Do I Upload Images To WordPress Themes?
To upload images to a WordPress theme, go to your WordPress dashboard. Click on ‘Media’, then ‘Add New’. Drag and drop or select images from your computer. Once uploaded, you can insert them into posts, pages, or directly into theme files using the WordPress editor.
Can I Add Images Without Plugins?
Yes, you can add images without plugins. Use the WordPress media uploader in the dashboard. Navigate to ‘Media’, select ‘Add New’, and upload your images. You can then insert them into posts or pages using the editor, ensuring seamless integration without needing additional plugins.
What Image Formats Are Supported In WordPress?
WordPress supports several image formats including JPEG, PNG, GIF, and ICO. These formats are widely used for web images. They ensure compatibility and efficient display across different browsers and devices. Choose the format that best suits your needs for quality and performance.
How To Optimize Images For WordPress Themes?
To optimize images, compress them using tools like TinyPNG or ImageOptim. This reduces file size without losing quality. Use appropriate dimensions to fit your theme layout. Optimized images improve load times and enhance user experience, benefiting SEO and site performance.
Conclusion
Adding images to your WordPress theme can enhance its appeal. Images make your site more engaging. They help convey your message effectively. Follow the steps shared in this guide to include images easily. It’s simple, even for beginners. Remember to use high-quality images.
Keep file sizes small for faster loading. This maintains your site’s speed. Practice regularly. Experiment with different image placements. Observe what works best for your audience. With practice, your site will look professional. Enjoy the process of making your WordPress site visually appealing!


