
Are you looking to customize your WordPress theme but feeling overwhelmed by the technicalities? Adding sections to your WordPress theme can feel like a daunting task, especially if you’re not a coding expert.
However, what if I told you that it’s easier than you think? Imagine transforming your website into a dynamic, engaging space that captivates your audience and keeps them coming back for more. By learning how to add sections to your WordPress theme, you open the door to endless design possibilities and a more personalized website experience.
This guide will walk you through the process in simple, clear steps, empowering you to take control of your site’s appearance without the usual stress. Ready to unlock the potential of your WordPress theme? Let’s dive in and discover how you can enhance your site effortlessly.
Choosing The Right Theme
A good theme must fit your needs. Always check if the theme is compatible with your WordPress version. Read user reviews for insights. Ensure it supports popular plugins you use. Compatibility helps your site work well.
Look at the theme’s update history. Regular updates mean the theme is maintained. This keeps your site secure and bug-free. Check if the theme works with your site’s design. A good match makes your site look great.
Choose a theme that is easy to change. It should let you add new sections easily. Check if it has a drag-and-drop builder. This helps in making quick edits. Customizable themes give you more control over your site’s look.
Explore the theme’s demo. It shows what you can do with it. Look for layout options and color choices. These options help you make your site unique. Pick a theme that suits your style.
Understanding WordPress Theme Structure
WordPress themes have many files. Each file has a purpose. Styles.css gives the theme its look. This file is very important. Index.php is the main file. It shows content to users. Functions.php adds new features. It can make themes more useful.
Header.php is at the top of every page. It shows the logo and menu. Footer.php is at the bottom. It shows copyright info and links. Sidebar.php shows extra content. It can have ads or widgets. Each file is like a puzzle piece. Together, they make a complete theme.
Using WordPress Customizer
To access the WordPress Customizer, click on Appearance in the dashboard. Then, select Customize. This opens the customizer panel. You can now see your site on the right. On the left, there are many options. Each option lets you change parts of your site.
The Customizer has many options. You can change the site title and tagline. You can also change the site logo. There is an option for colors. Change the background color if you want. There are options for menus too. You can add or remove menus. You can also change the widgets. Each option helps make your site unique.
Credit: www.greengeeks.com
Creating Custom Sections
Start by creating a child theme from your main theme. A child theme helps you make changes without affecting the original theme. First, create a new folder in the themes directory. Name it something related to your project. Next, add a style.css file inside the folder. This file will hold your styles. Then, create a functions.php file. This file allows you to add new functions to your theme. By using a child theme, your customizations stay safe when updating the main theme.
New section templates help organize content. To add one, create a new PHP file in your child theme folder. Name it something like section-template.php. This file is where you write the code for your section. Use HTML and CSS to design it. After designing, include the template in your theme. Open the functions.php file and add a line to register the new template. Now, you can use it in your WordPress pages.
Incorporating Widgets And Plugins
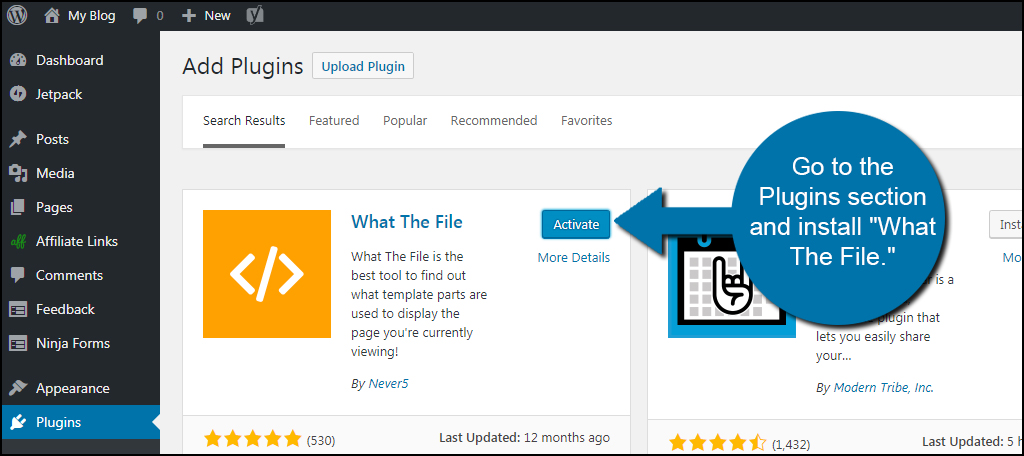
Choose plugins that match your needs. Some plugins add special features. Others fix problems on your site. Check reviews before downloading. Good reviews mean the plugin works well. Bad reviews are a warning. Always check if the plugin updates often. Updated plugins are safer. They work better with new WordPress versions.
Widgets help display extra content on your site. They show things like text, images, and links. Add widgets to different areas. Areas like the sidebar or footer. Widgets make your site more useful. They offer more choices to visitors. Choose widgets that fit your theme style. Match colors and layout for a clean look. Widgets help improve user experience and site navigation.
Utilizing Page Builders
Page builders make WordPress design easy. They offer drag-and-drop features. This means you can move elements around without coding. Many options exist, each with unique tools.
Popular Page Builder Options
Elementor is popular. It has a user-friendly interface. Divi is another choice. It offers many design templates. Beaver Builder is simple for beginners. WPBakery allows more customization. Each builder supports different themes. Choose based on your needs.
Building Sections With Drag-and-drop
Start by selecting a section template. You can add text, images, or videos. Drag them into place. Adjust sizes and colors. It’s like building with blocks. Save your work often. This keeps your design safe. Changes are easy to make. Just drag and drop again.
Editing Theme Code Safely
Integrating new sections into WordPress themes requires careful code editing. By accessing the theme editor, you can safely add custom sections while avoiding errors. Regularly back up your files and use child themes for protection.
Using Code Editors
Code editors help change WordPress themes safely. They show code clearly. Visual Studio Code and Sublime Text are popular choices. These editors have helpful features. They highlight code and find errors. This makes editing easier.
Best Practices For Modifying Code
Always backup your theme files. This saves your work. Use a child theme. It keeps changes safe when themes update. Test changes on a staging site first. This avoids breaking your live site. Lastly, keep code simple. Simple code is easier to fix.

Credit: qodeinteractive.com
Testing And Troubleshooting
Previewing changes is crucial before going live. Always check how your theme looks. Use the WordPress Customizer for this. It shows real-time changes. Make sure everything fits well. Colors, fonts, and sections must match. Test on different devices. Phones, tablets, and desktops. This ensures a good user experience.
Finding errors is part of the process. Look for common mistakes. Sometimes sections do not appear. Other times, they look wrong. Plugins might cause issues. Disable them one by one. See if this fixes the problem. Check the theme documentation. It often has solutions. Backup your theme regularly. This helps avoid loss of work.
Publishing Your Changes
Before you publish, check the final layout. Ensure all sections look good. This step is important. Use the preview option. Make sure images fit well. Text should be readable. Adjust colors if needed. Confirm links work correctly. Fix any broken links. Review the mobile view. Test on different devices. Check responsiveness. Make sure everything loads fast.
Reviewing The Final Layout
Go through each section carefully. Check for errors. Make sure spacing is consistent. Look at the overall design. Ensure it matches your theme. Verify alignment of elements. Adjust margins if required. Double-check font sizes. Ensure text is clear. Review the header and footer. Confirm they are properly formatted.
Going Live With Updates
After review, it’s time to go live. Save all changes. Click the publish button. Watch for any issues. Check your site immediately. Ensure everything displays well. Monitor site performance. Look at visitor feedback. Make adjustments if necessary. Keep an eye on analytics. Ensure the update enhances user experience.
Credit: stewartgauld.com
Frequently Asked Questions
How Do I Add A Section In WordPress?
To add a section, use the WordPress Customizer or a theme builder. Navigate to Appearance > Customize. Look for the option to add sections or widgets. You can also use plugins like Elementor to drag and drop sections easily, enhancing your theme’s layout and functionality.
Can I Customize Theme Sections Easily?
Yes, WordPress offers intuitive tools for customization. Use the Customizer to adjust sections visually. Theme builders like Elementor offer drag-and-drop features, making customization straightforward. Many themes come with built-in options for section adjustments, ensuring your site matches your vision without extensive coding.
What Plugins Help In Adding Sections?
Plugins like Elementor, Beaver Builder, and WPBakery are great for adding sections. They offer drag-and-drop functionality, making it easy to design visually appealing layouts. These tools provide flexibility and creativity, allowing you to customize themes without extensive coding knowledge, perfect for enhancing your WordPress site.
Is Coding Necessary For Adding Sections?
No, coding isn’t necessary for adding sections in WordPress. Utilize tools like the Customizer and page builders like Elementor. They provide visual interfaces for easy customization. These tools allow you to enhance your theme effortlessly, making WordPress accessible even for non-developers.
Conclusion
Customizing your WordPress theme is straightforward and rewarding. Adding sections enhances both functionality and appearance. Start with a clear plan for your layout. Use WordPress tools and plugins effectively. Ensure your changes match your site’s goals. Regular updates are essential for smooth performance.
Experiment, but keep user experience in mind. Simplicity often leads to better engagement. By following these steps, your site remains unique and user-friendly. Now, your WordPress site can reflect your style and purpose perfectly. Happy designing, and enjoy the creative journey!


