
Are you eager to give your WordPress site a fresh, professional look? Adding a purchased theme might be just what you need.
But, if you’re feeling a bit intimidated by the process, you’re not alone. Many people worry about technical hiccups or making mistakes that could disrupt their site. The good news? Installing and customizing a purchased WordPress theme is simpler than you think, and we’re here to guide you through it.
Imagine the satisfaction of seeing your website transform into the sleek, polished vision you’ve always wanted. We’ll walk you through each step, ensuring you not only understand the process but feel confident doing it on your own. Ready to unlock your website’s potential? Let’s dive in!

Credit: www.youtube.com
Choosing The Right Theme
Picking a theme needs some thought. It should match your site’s purpose. Think about the design. Is it pretty and easy to use? Make sure it works on phones and tablets. Check if the theme is fast. Slow themes can make visitors leave. Look for reviews. What do other users say? See if the theme comes with support. Help is good if you face problems.
Many places sell themes. ThemeForest is a big shop. It has many choices. Elegant Themes offers bundles. You get many themes together. StudioPress is known for clean designs. Mojo Marketplace also has themes. Buy only from trusted places. It keeps your site safe. Always check for updates. Updated themes are secure.
Downloading The Theme Files
Find your purchased theme file in the download section of the provider’s website. Save it to your computer. Ensure you have a. zip file format, needed for WordPress installation.
Locating Your Purchase
Find the email with your theme purchase details. It often has a link to the theme files. Click the link to go to the download page. Look for the download button. Save the files to your computer.
Extracting The Files
Open the folder with the downloaded theme files. The files might be in a ZIP format. Right-click the ZIP file and choose “Extract All.” Select where to save the extracted files. You will see a new folder with the theme files. These files are ready for upload to WordPress.
Uploading The Theme To WordPress
Log in to your WordPress dashboard. Use your username and password. Once logged in, find the sidebar. Look for the Appearance tab. Click on it to open more options. You are now ready to upload your theme.
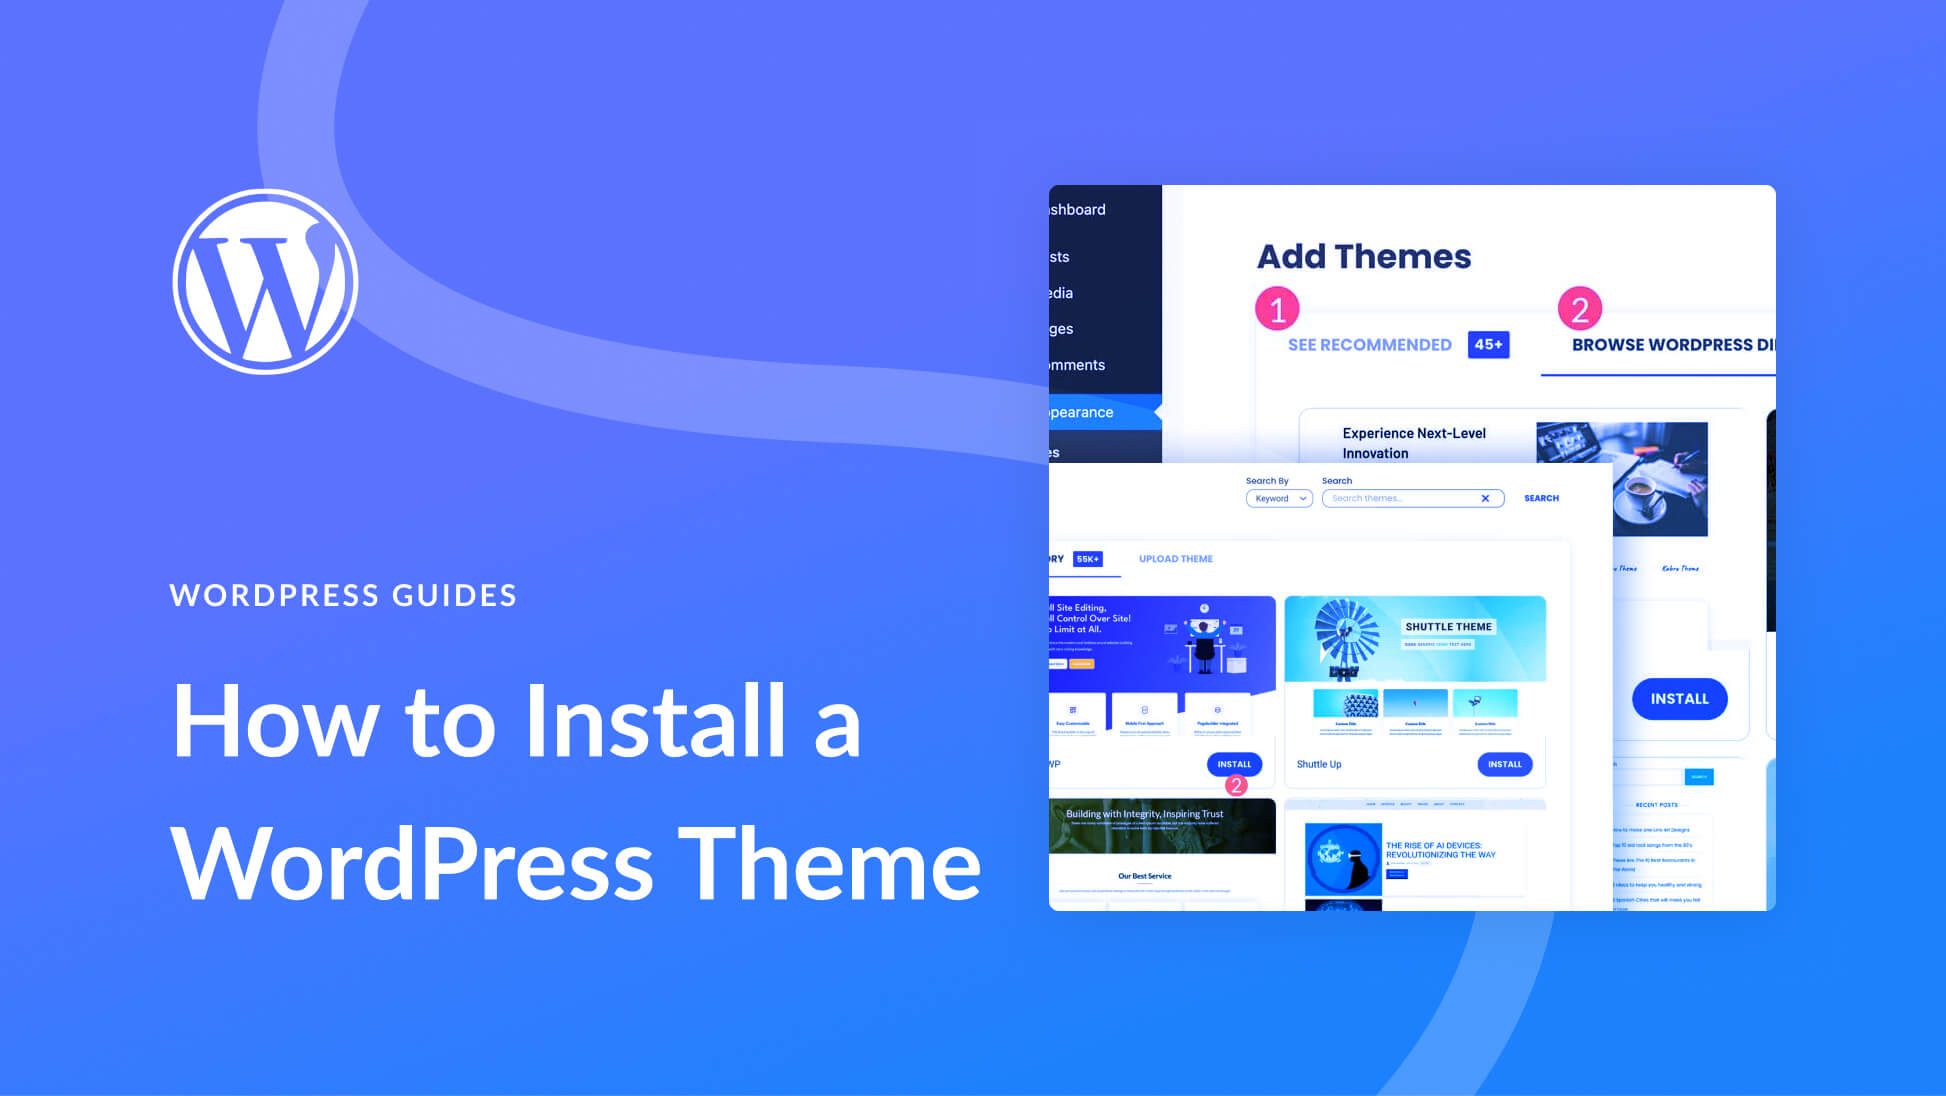
In the Appearance section, select Themes. You will see an Add New button at the top. Click it. Then, choose the Upload Theme option. A new window will open. Click on Choose File. Find the theme file on your computer. Select it and click Install Now. Your theme will start uploading.
Credit: www.elegantthemes.com
Activating The New Theme
Adding a purchased theme to WordPress is straightforward. Start by navigating to the WordPress dashboard, select “Appearance,” then “Themes. ” Upload your theme file, activate it, and enjoy your new site design.
Navigating To Themes Section
Go to your WordPress dashboard. Find the Appearance option on the left side. Click on it. A Themes section will appear. This is where you manage themes. You can see all installed themes here.
Setting The New Theme As Active
Find the theme you want to use. Click on the Activate button. This makes your new theme live. It changes how your website looks. You can preview changes before activation. This helps decide if the theme fits. Always check your site after activating. Ensure everything looks good.
Customizing The Theme
The Theme Customizer is a handy tool. It helps you change the look of your site. You can adjust colors, fonts, and layout. It’s easy to use. Click on “Customize” under “Appearance”. The options will show on the left side. Preview changes on the right side.
Each theme has its own settings. Open the customizer. Look for the panel with theme options. You can set a site title and tagline. Choose the background image or color. Change the menu layout. Save changes when happy. Your site will now look fresh and new.

Credit: forums.envato.com
Installing Required Plugins
Recommended plugins make your theme work well. They add features. These plugins are often suggested by the theme creators. It’s important to identify them. Check the theme documentation. It usually lists all necessary plugins.
Identifying Recommended Plugins
Visit your WordPress dashboard. Navigate to “Appearance” and then “Install Plugins”. Here, you’ll see a list of suggested plugins. Make sure to read the plugin details. This helps you understand what each plugin does.
Adding Plugins To Your Site
To add a plugin, click “Install” next to the plugin name. After installing, hit “Activate” to turn on the plugin. Repeat these steps for all recommended plugins. Always update plugins regularly. This keeps your site safe and running smoothly.
Troubleshooting Common Issues
Easily add a purchased theme to WordPress by uploading the theme file through the dashboard. Activate it with just a click. If issues arise, check for compatibility or ensure the theme is properly installed.
Resolving Installation Errors
Installation errors can be frustrating. Ensure your theme is compatible with your WordPress version. Check if you have enough memory on your server. Sometimes, a corrupt file can cause issues. Re-download the theme and try again. Avoid using special characters in file names. This can lead to errors. Always keep a backup of your site before making changes.
Fixing Layout Problems
Layout problems can make your site look messy. Check your theme settings first. Sometimes a simple update can fix the issue. Make sure all plugins are up to date. Conflicts can cause layout issues. You might need to clear your browser cache. This helps in seeing changes. If problems persist, contact the theme developer for support. They can provide specific solutions.
Backing Up Your Site
Backing up your site is very important. It keeps your data safe. If something goes wrong, you can restore it. Mistakes happen. Regular backups help you fix them. Regular backups are your safety net.
Many tools make backups easy. Plugins are the easiest way. They do the job quickly. Some plugins are free. Others cost money. UpdraftPlus and BackupBuddy are popular choices. They save time. They save effort. Choose a tool that fits your needs. Try them and find the best one for you.
Frequently Asked Questions
How Do I Upload A Theme To WordPress?
To upload a theme, go to your WordPress dashboard. Click on “Appearance”, then “Themes”. Select “Add New” and “Upload Theme”. Choose the theme file from your computer and click “Install Now”. Once installed, activate the theme by clicking “Activate”. Your new theme is now ready.
Can I Install Themes Without Coding?
Yes, WordPress allows you to install themes without coding. Use the “Add New” option under “Appearance” in the dashboard. Upload your purchased theme file, install it, and activate. This process requires no coding skills, making it user-friendly for beginners.
Where Do I Find Installed Themes?
Installed themes are located in the WordPress dashboard. Click on “Appearance” then “Themes”. Here, you can view all installed themes. Activate or customize any theme by selecting it. This section helps manage your website’s appearance effortlessly.
Are Premium Themes Better Than Free Ones?
Premium themes often offer more features, customization options, and support. They provide enhanced design and functionality. Free themes can be limited in these aspects. Choosing between them depends on your needs and budget. Premium themes are usually more robust and reliable.
Conclusion
Adding a purchased theme to WordPress is quite simple. Start with downloading your theme. Upload it through WordPress admin. Activate it once uploaded. Customize the theme to fit your style. Explore theme settings for better results. Update your theme regularly for new features.
Check compatibility with plugins for smooth performance. You can create a stunning website effortlessly. Take time to understand theme options. Ensure your site looks appealing to visitors. Follow these steps for a successful theme integration. Building a beautiful website doesn’t have to be complex.
Enjoy your new WordPress theme!


