
Have you ever wondered how to customize your WordPress site by adding files directly to your theme directory? You’re not alone.
Many WordPress users like you are eager to enhance their websites, but often feel overwhelmed by the technical aspects. The good news is, it’s easier than you think. Imagine having the power to tweak your site’s design and functionality just the way you want.
By learning how to add files to your WordPress theme directory, you unlock endless possibilities for customization. Intrigued? Stick around, because we’re about to demystify the process for you, step by step, ensuring you can make these changes with confidence and ease. Let’s dive in and transform your WordPress site together!
Credit: www.pair.com
Accessing The Theme Directory
FTP clients help you access your theme files. FileZilla is a popular choice. Connect it with your website’s server. Use your login details carefully. Look for the wp-content folder. Open it and find themes. Pick your theme from the list. Now, you can add files here. Remember to upload the right file types. Always check your uploads for errors. This way, your theme stays safe.
CPanel is a tool from your web host. Open CPanel and find File Manager. It shows all your website files. Go to public_html folder. Then, find wp-content and open themes. Choose your theme folder. Click Upload to add your files. Double-check file names before uploading. Make sure they are correct. This helps keep your website running smoothly.
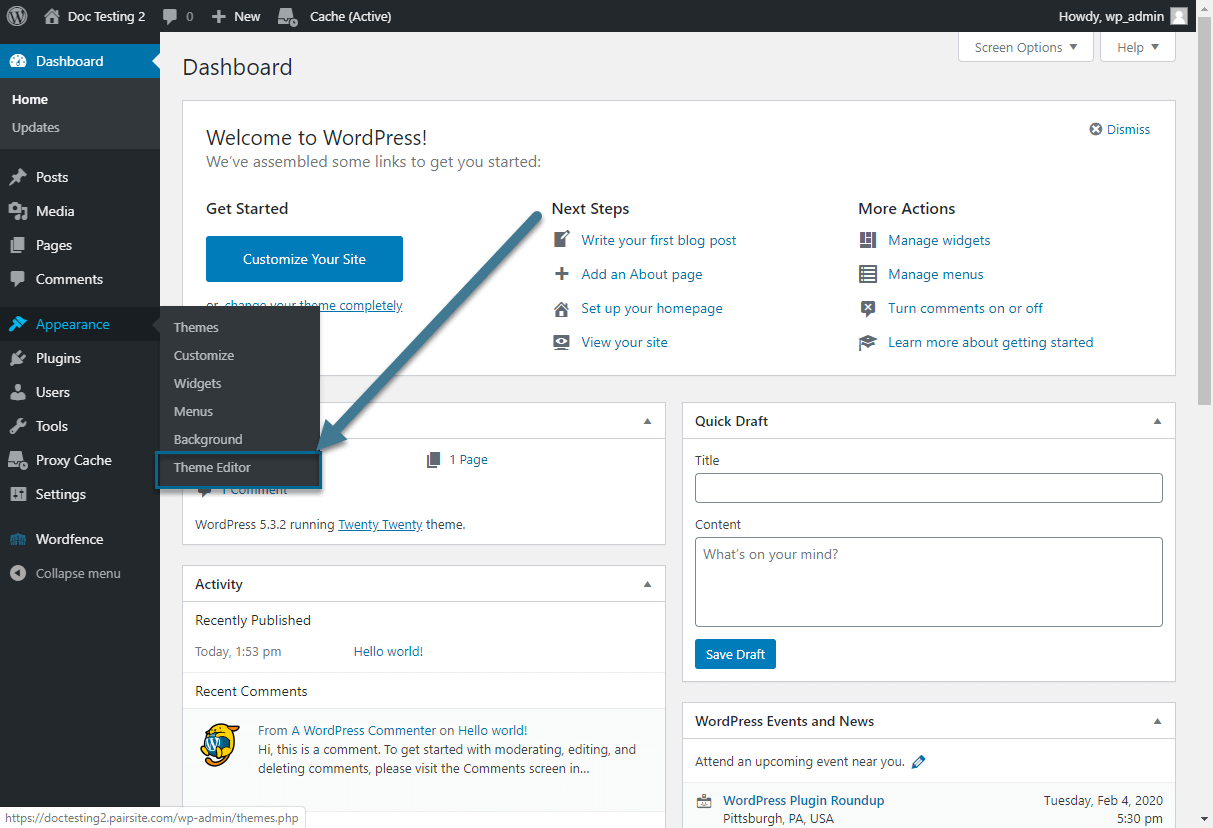
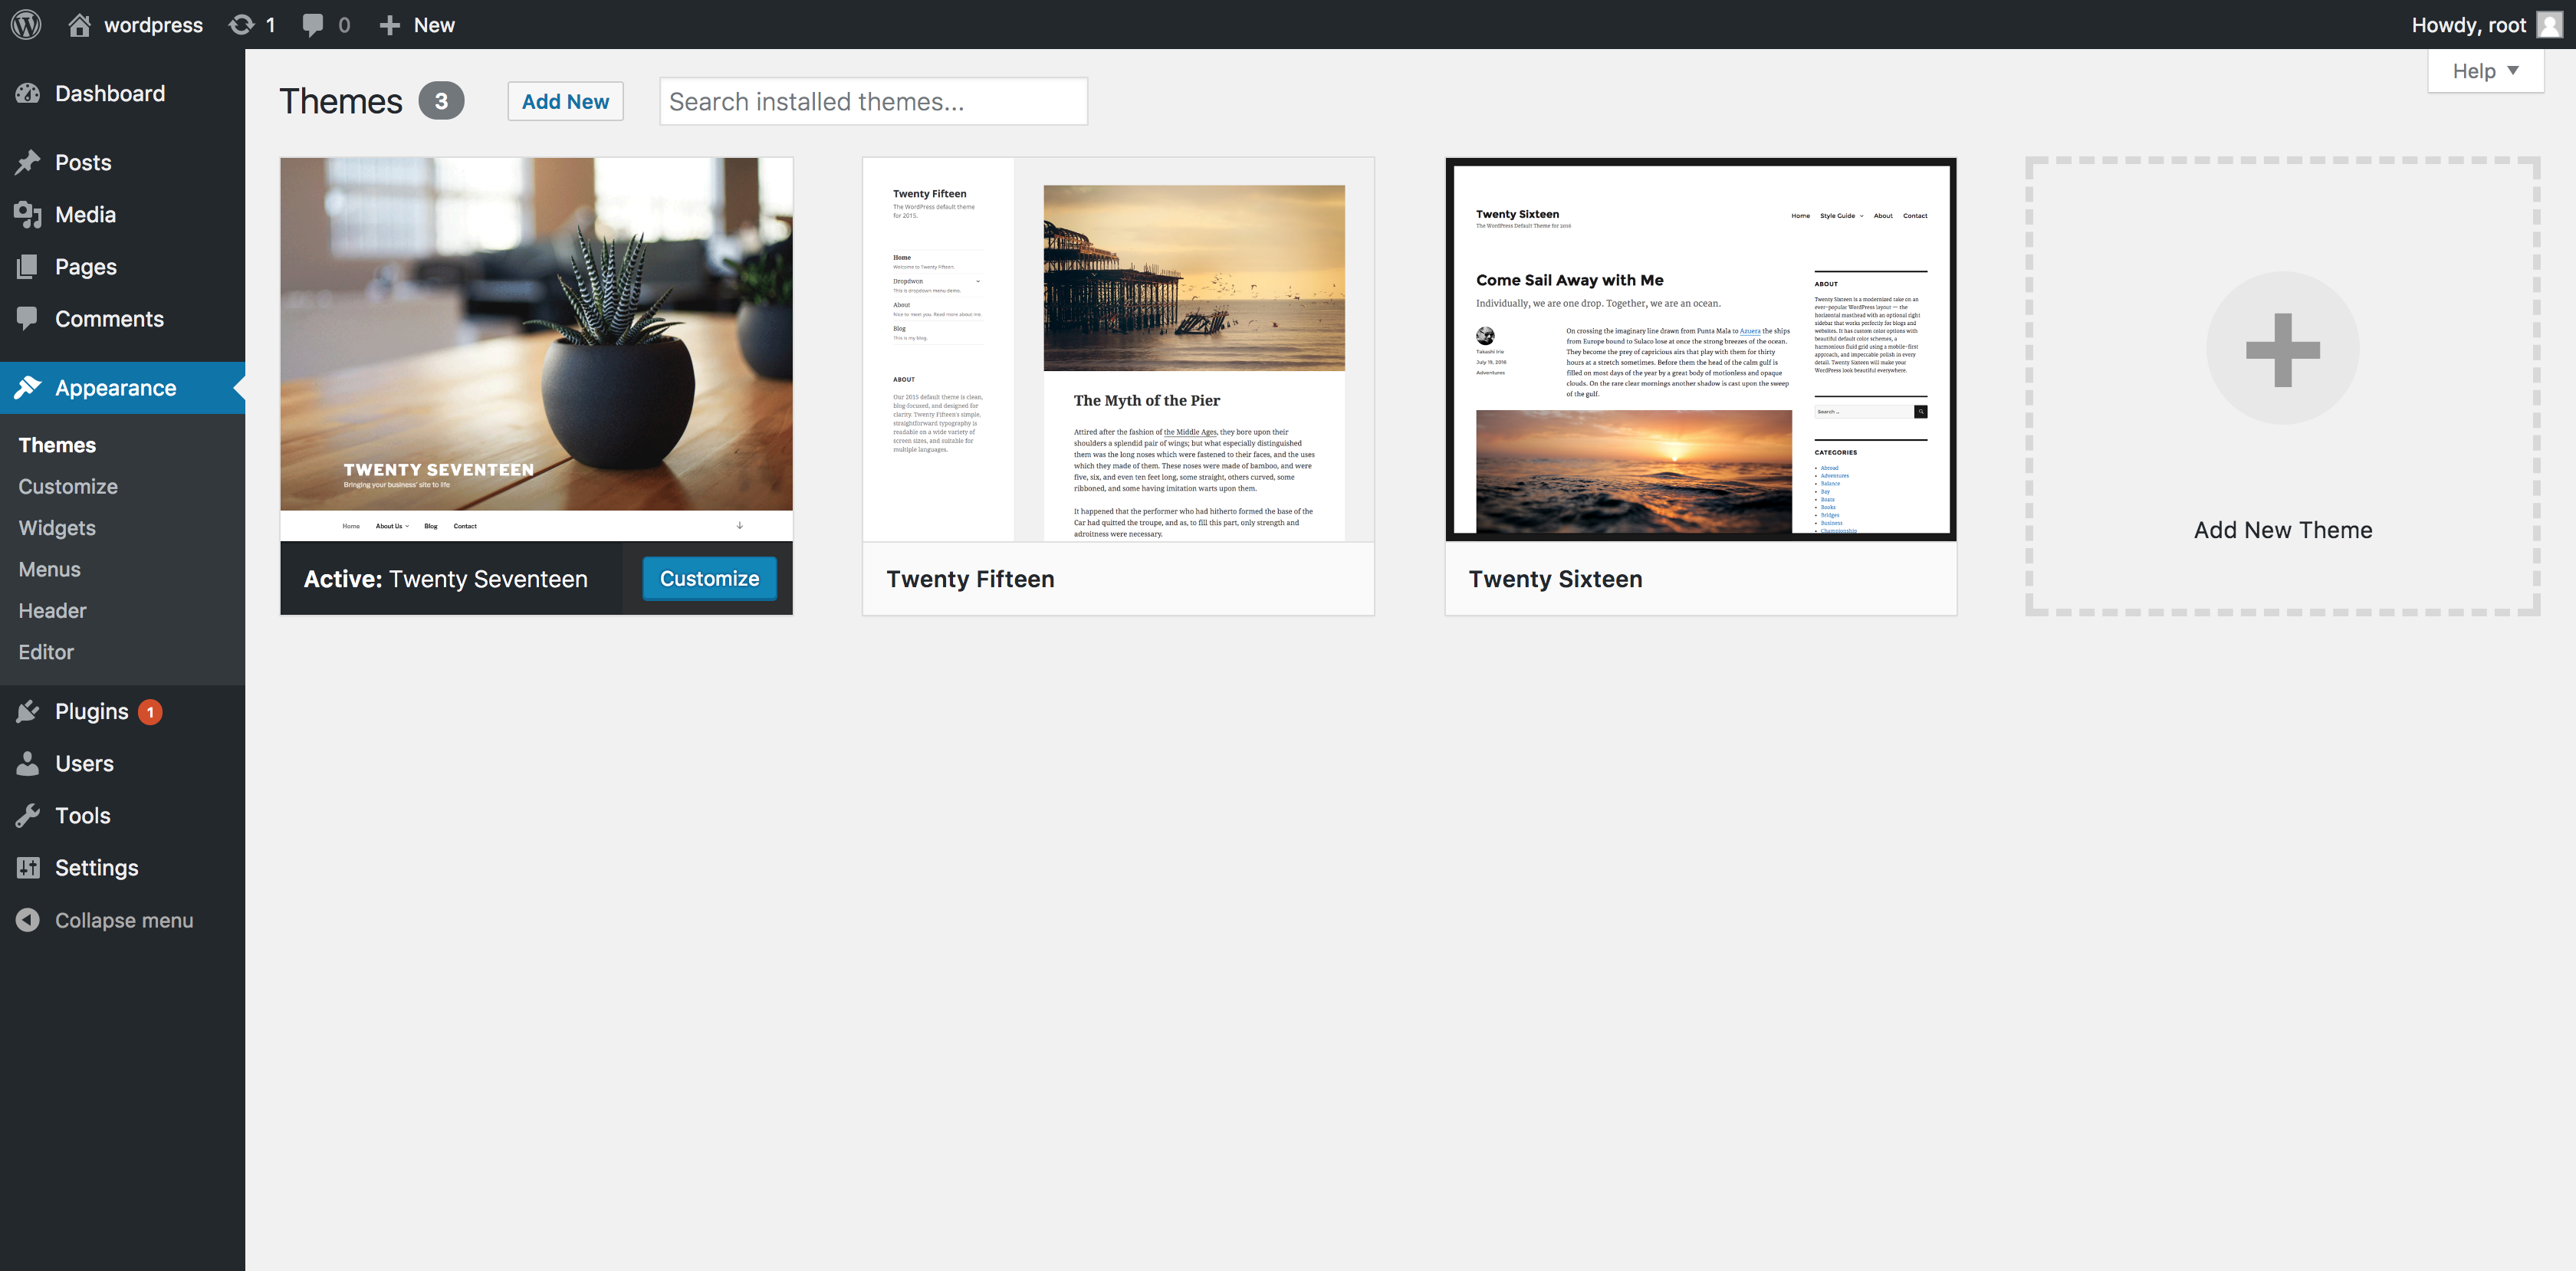
The Dashboard is easy for beginners. Log in to your WordPress site. Go to Appearance and then Editor. You can see your theme files here. Be careful when editing files. Wrong changes can break your site. Use this method for small changes. Always make a backup first. This keeps your site safe from errors.
Credit: www.namecheap.com
Choosing The Right File
WordPress supports many file types. Images like JPEG and PNG work well. Scripts such as JS and CSS are common. Documents like PDF are fine too. Always check file compatibility. WordPress prefers certain file formats. Avoid uncommon file types. They may cause issues. Compatibility is key for smooth operation.
Put files in logical folders. Images in one folder. Scripts in another. Use clear names. This helps you find them fast. Keep your folders neat. Organization saves time. Label folders clearly. This helps others understand your work. Neat folders make your site run well. Easy access means less stress.
Uploading Files Via Ftp
Connecting to Your Server can be simple. First, open your FTP client. Enter your server details like username and password. Click connect. You will see your server files.
To find the theme folder, navigate through your server files. Look for the wp-content folder. Inside, find themes. Click on your active theme folder. You are now ready to add files.
For transferring files securely, choose your files on the left panel. Drag them to the theme folder on the right. This will transfer your files. Ensure files are in the right place. Check your website to see the changes.
Using Cpanel For File Upload
Log into the CPanel. Look for the File Manager icon. Click on it. This tool helps manage files on the server. It’s like a computer folder.
Once in File Manager, find public_html. Open it. Locate the wp-content folder. Inside, you’ll see the themes folder. This is where theme files live.
Open the themes folder. Choose the theme folder you need. Click the Upload button at the top. Select your file to upload. Wait until it finishes. Your file is now in the theme directory.
Adding Files Through WordPress Dashboard
Many people use file manager plugins to add files to WordPress. These plugins are easy to install and use. First, go to the Plugins section in the WordPress dashboard. Click on Add New. Search for File Manager in the search bar. Find a plugin you like. Click on Install Now. After installing, click on Activate. The plugin will now show up in your dashboard. You can use it to upload files easily.
Uploading files from the dashboard is simple. Navigate to the File Manager section. You will see your theme’s folder structure. Click on the folder where you want the file. Then, click on Upload. Choose the file from your computer. Wait for it to upload. Ensure the file is in the right place. Check if it appears correctly on your site. If it does, your upload was successful.

Credit: themeforest.net
Testing File Integration
Easily add files to your WordPress theme directory by accessing your website’s file manager. Navigate to wp-content/themes, then upload the desired file into the specific theme folder. This simple step enhances your theme’s functionality.
Verifying File Presence
Ensure the file is in the right place. Check the WordPress theme directory. Find your file in the folder. Open your site’s file manager or use an FTP client. Navigate to the theme’s directory. You should see your file there. If not, try uploading again. Make sure you use the correct path.
Checking For Theme Functionality
Test your theme. Make sure nothing is broken. Visit your site and browse a few pages. Look for errors. If something seems off, revisit the file. Check for mistakes. Sometimes, a small error can cause big problems. Fix any issues. Then, check your site again. Everything should work smoothly now.
Troubleshooting Common Issues
Adding files to a WordPress theme directory often involves accessing your site’s file manager or using FTP. Navigate to the theme folder, then upload the desired file directly into the directory. Ensure correct file permissions to avoid errors and maintain site functionality.
File Upload Errors
File upload errors can be frustrating. Check your file size first. Large files may not upload. Reduce the file size if needed. Verify your file type. WordPress accepts specific file types. Ensure your file is allowed. Check your internet connection. A weak connection can cause errors. Update your WordPress version. Outdated versions might have bugs. Contact your hosting provider for support. They can offer solutions.
Theme Compatibility Problems
Theme compatibility problems can cause display issues. Ensure your theme is updated. Old themes may not support new files. Check for theme-specific requirements. Some themes need specific files. Switch to a default theme to test. This helps identify the problem. Verify file permissions. Incorrect permissions can block files. Use a child theme to avoid issues. It keeps the main theme intact. Contact the theme developer if needed. They can provide assistance.
Best Practices For File Management
Always have backup copies of your files. This prevents losing important data. Use plugins to automate backups. Backup regularly to avoid issues. Store backups in different locations. This keeps them safe from problems.
Keep files in organized folders. Name files clearly. This helps find them easily. Use descriptive names for folders. Avoid clutter. Keep only needed files. Organize them by type or date. This makes work easier.
Ensure theme files remain intact. Avoid editing core files. Use child themes for changes. This keeps the main theme safe. Always check files after updates. Keep theme and plugins updated. This ensures everything works well.
Frequently Asked Questions
How Do I Access My WordPress Theme Directory?
Access your WordPress theme directory via FTP or File Manager. Use an FTP client like FileZilla. Connect to your server, navigate to `wp-content/themes`, and choose your theme folder. Alternatively, use your hosting provider’s File Manager to locate the theme directory directly from the control panel.
What Is The Best Way To Upload Files?
The best way to upload files to your WordPress theme directory is using FTP. Connect via an FTP client, navigate to your theme’s folder, and upload your files. This method ensures files are correctly placed and avoids potential errors from using WordPress’s built-in uploader.
Can I Add Files Without Coding Skills?
Yes, you can add files without coding skills using an FTP client. Connect to your server, locate your theme’s directory, and drag-and-drop files. Alternatively, use your hosting provider’s File Manager for a more user-friendly interface without technical knowledge.
Why Add Files To The Theme Directory?
Adding files to the theme directory allows customization and functionality enhancements. You can add custom styles, scripts, or templates. This process is essential for advanced customization, improving user experience, and integrating unique features that aren’t available in default settings.
Conclusion
Adding files to your WordPress theme directory is straightforward. Follow the steps carefully. Ensure your file is compatible with your theme. Use FTP or the WordPress dashboard. Always back up your site before changes. This prevents data loss. Check your file’s impact on site performance.
Test it thoroughly. Regular updates keep your theme secure. Stay informed about WordPress best practices. This helps maintain a smooth, efficient site. Happy customizing! Your theme now reflects your unique style. Enjoy the creative control and flexibility WordPress offers.


