
Are you struggling to change the column layout in your WordPress Genesis theme? You’re not alone.
Many WordPress users, just like you, find this task daunting at first. But what if I told you it’s not as complicated as it seems? Imagine transforming your website’s layout with just a few clicks, making it more appealing and user-friendly.
This can lead to more engagement from your visitors and keep them coming back for more. In this guide, you’ll discover simple, step-by-step instructions to customize your Genesis theme effortlessly. Stick with us, and by the end, you’ll have the confidence to make your site look exactly the way you want. Ready to take control of your website’s design? Let’s dive in!
Credit: 10web.io
Setting Up The Genesis Theme
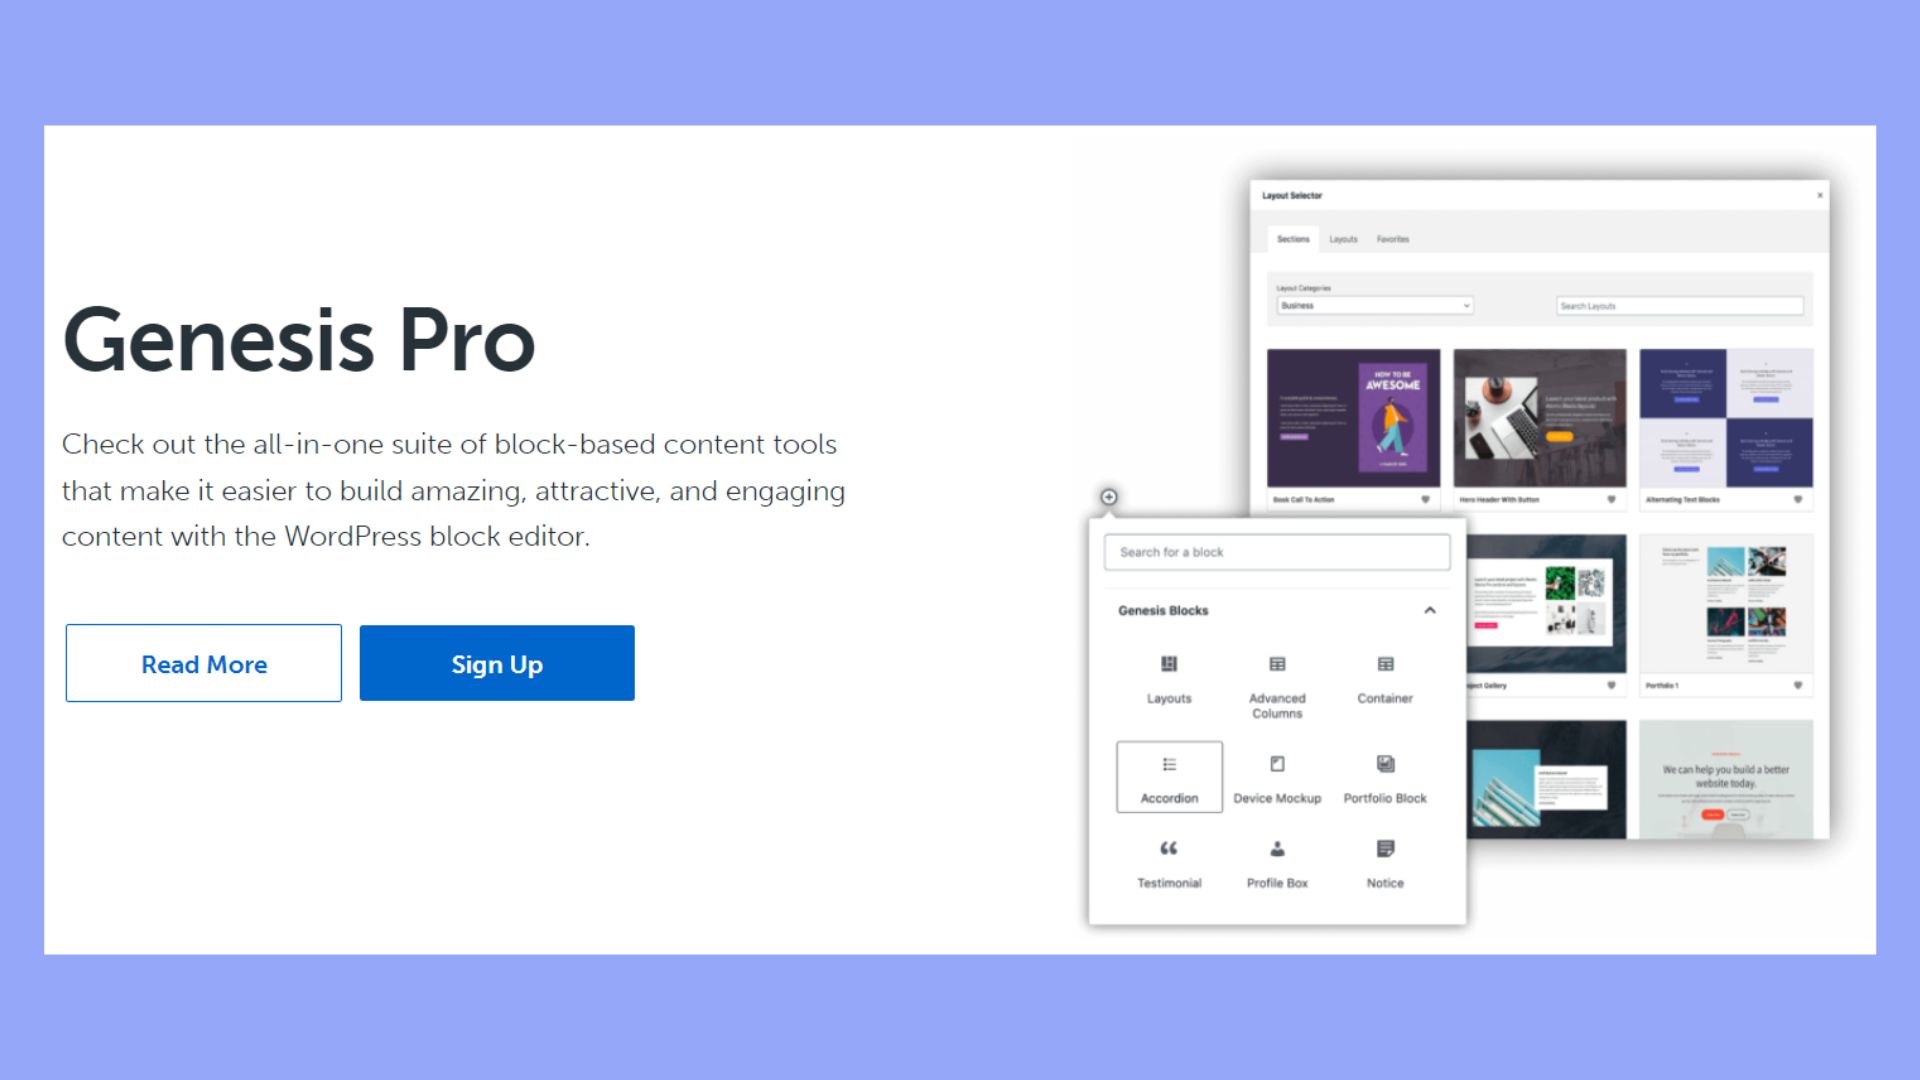
Download the Genesis Framework from the official site. Save the file on your computer. Go to your WordPress dashboard. Select “Themes” under the “Appearance” menu. Click “Add New” and then “Upload Theme”. Choose the Genesis file you saved. Click “Install Now”. Wait for the installation to finish.
A child theme changes how your site looks. It is safe to use. First, download your preferred child theme. Go back to the WordPress dashboard. Select “Themes” again. Click “Add New” and then “Upload Theme”. Choose your child theme file. Click “Install Now”. Once installed, click “Activate”. Your child theme is now active.
Credit: studiopress.github.io
Understanding Column Layouts
Column layouts help organize content. They create visual appeal. Some common types include single column, two columns, and three columns. Single column is simple and clean. Two columns split content evenly. Three columns offer more space for details. Choose the layout that fits your needs best.
Changing column layouts makes your site stand out. It helps your content flow better. Readers find information quickly. Customized layouts improve user experience. They also enhance site functionality. It’s easy to adjust layouts in WordPress Genesis Theme. Customize your site to match your vision.
Modifying Layout Via Theme Settings
Accessing Theme Settings is simple. First, log into your WordPress dashboard. Look for the “Appearance” menu on the left. Click on it. You will see a submenu. Choose “Customize.” This opens the theme settings. Here, you can make changes to your layout.
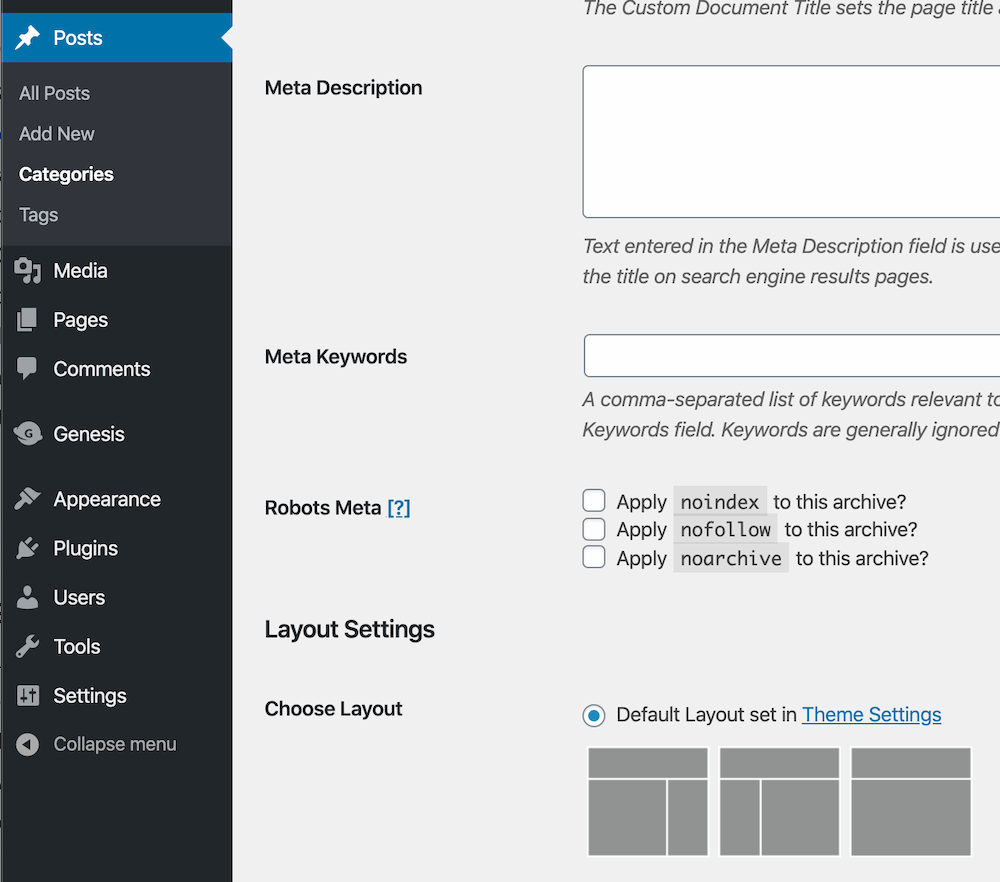
Next is Selecting Default Layout. In the customization panel, find “Layout Settings.” You can pick your preferred layout. Options may include one column, two columns, or three columns. Choose the best layout for your site. Review your changes before saving. When satisfied, click “Publish.” Your new layout is now live.

Credit: clickwp.com
Customizing Layout With Widgets
Transforming your WordPress Genesis theme layout is simple with widgets. Drag and drop them to change column structure. Tailor your site’s appearance effortlessly, enhancing user experience and engagement.
Adding Widgets To Sidebar
Widgets make your site look cool and useful. Add widgets to the sidebar to change its look. Go to the WordPress dashboard. Click on ‘Appearance’ and then ‘Widgets’. You see a list of available widgets. Choose the one you like. Drag and drop it to the sidebar area. It’s that simple!
Managing Widget Areas
Manage widgets to keep your site neat. Click on the widget area you want to edit. You can remove a widget by dragging it out. Adjust the order by dragging them up or down. Use different widgets for different pages. This makes each page unique. Save changes when done. Check your site to see the new layout.
Using Custom Css For Layout Changes
Changing column layout in Genesis theme is simple. First, find the Custom CSS Editor. It’s usually in the WordPress dashboard. Click on Appearance and then Customize. You should see an option for Additional CSS.
Now, you can adjust columns using CSS code. For example, to change column width, use: .column { width: 50%; }. This makes each column half the width of the container. Adjust the percentage for different sizes.
Use padding to add space inside columns. Try .column { padding: 10px; }. This adds 10 pixels of space around content. You can also change background color with .column { background-color: #f0f0f0; }. Pick any color code you like.
Remember to save changes. Click Publish when done editing. Your site will show new column layout.
Employing Genesis Hooks For Layout
Genesis Hooks are special codes in the Genesis theme. They let you change parts of your site. They help in customizing layouts.
Understanding Genesis Hooks
Hooks are placed in specific spots in the code. They act like anchors. You can attach functions to these hooks. This changes the design or content.
Using Hooks For Custom Layout
To change the layout, choose the right hook. Use add_action or remove_action. Add or remove elements. For columns, adjust the functions.php file. This controls the layout settings. Experiment with different hooks. Find what fits your design.
Utilizing Plugins For Layout Flexibility
Explore the flexibility of WordPress Genesis themes by utilizing plugins to change column layouts easily. Adjust columns with intuitive plugins that enhance design without complex coding. Simplify layout modifications to achieve a personalized look and improve user experience efficiently.
Recommended Plugins
Plugins help change layout easily. Genesis themes work well with plugins. Genesis Layout Extras is a good plugin. It offers many column options. Beaver Builder is another choice. It is user-friendly. Elementor allows custom layouts. These plugins are popular. They enhance layout flexibility.
Installing And Configuring Plugins
Install plugins via WordPress dashboard. Go to Plugins and click Add New. Search for the plugin name. Click Install Now. Activate the plugin after installation. Configure settings as per need. Use plugin settings to change columns. Save settings before exiting. Configuration is simple. Anyone can do it.
Testing And Troubleshooting
Previewing Changes is crucial before finalizing any layout. First, click on the preview button. This shows how your layout will look. Check each column for alignment. See if any text appears cut off. Ensure images fit well within the columns. Adjust settings if the preview shows any issues. Refresh your page to see changes. This helps confirm everything appears as intended.
Common Issues and Solutions often involve layout problems. Columns may overlap or not appear. If columns overlap, check your CSS settings. Correct any incorrect codes. If columns do not appear, check widget settings. Ensure widgets are active. Look for any missing plugins. Missing plugins can cause layout errors. Install required plugins to fix these issues. Regularly update your theme. Updates often fix bugs and improve layouts.
Frequently Asked Questions
How To Change Genesis Column Layout?
To change the Genesis column layout, access the WordPress dashboard. Navigate to “Appearance” and select “Customize. ” Find the “Layout” section and adjust column settings. Save changes to see the updated layout. Ensure your theme supports column customization for seamless changes.
Can I Modify Columns Without Coding?
Yes, you can modify columns without coding using the WordPress Customizer. Navigate to “Appearance” then “Customize. ” Find the layout settings and adjust columns. Most Genesis themes offer easy customization options, allowing you to change layouts without technical skills.
Which Genesis Themes Support Column Changes?
Most Genesis themes support column changes through the WordPress Customizer. Popular themes like Genesis Sample, Essence Pro, and Authority Pro offer flexible layout options. Check the theme documentation or support forums for detailed customization guides.
Are Plugins Needed For Column Changes?
Plugins are not usually needed for column changes in Genesis themes. Use the built-in WordPress Customizer to adjust columns. However, for advanced customization, consider plugins like Genesis Layout Extras for more control over layout settings.
Conclusion
Changing column layouts in WordPress Genesis is straightforward. Follow the steps outlined above. Customize your site’s look easily. Enhance your website’s functionality and user experience. Adjust settings to fit your design needs. Experiment with different layouts. Find what suits your content best.
Keep your site visually appealing. Optimize for your audience’s engagement. Regularly update your theme for best results. Stay ahead with simple tweaks. Enjoy a better, more organized WordPress site. Your changes can improve both aesthetics and usability. Happy editing!


