
Are you struggling to figure out how to add a row in your WordPress Genesis theme? You’re not alone.
Many WordPress users find themselves scratching their heads when trying to make simple design changes. But don’t worry, there’s a straightforward way to do it, and I’m here to guide you through every step. Imagine having the power to customize your website exactly how you envision it, all without breaking a sweat.
By the end of this guide, you’ll not only know how to add a row but also feel confident in tweaking your site to suit your needs. Let’s dive into the details and unlock the potential of your Genesis theme together!
Understanding The Genesis Theme
The Genesis Theme is popular among WordPress users. It offers a clean and professional look. Many use it for blogs and websites. This theme is easy to customize. You can add rows or sections effortlessly. This makes your site look unique.
Genesis is a framework for WordPress. It provides a solid base for your site. You can use child themes with it. This helps in keeping your main theme safe. Customizations happen in the child theme. This ensures the main theme stays intact.
Preparing Your WordPress Environment
Always backup your site first. It keeps your data safe. Use plugins like UpdraftPlus. They help with backups easily. Click the Backup Now button. Follow the steps. Save your files on your computer.
Log into your WordPress Dashboard. Find the Genesis Theme settings. Look for the customize option. Click it. Navigate to layout settings. Choose your layout. Add rows where needed.
Identifying The Right Location For A New Row
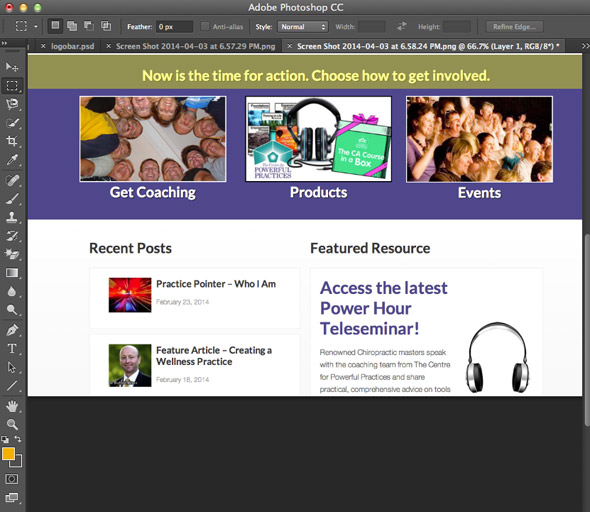
First, look at your page. See where you want the new row. Check if it fits the current layout. If it doesn’t, consider moving other parts. This keeps the page neat.
Open your browser’s developer tools. Use the inspect tool to see the HTML. Find the area for your new row. Check the CSS styles here. Ensure the new row will look good. Make sure it matches the design.
Credit: coolestguidesontheplanet.com
Adding Custom Code To Genesis
The functions.php file is very important. It lets you add custom code. You can create new features for your website. Open your WordPress admin panel. Go to Appearance and click on Theme Editor. Find the functions.php file on the right side. Click it to open. Add your custom code at the end of the file. Be careful when editing. Wrong code can break your site. Always make a backup first.
Hooks and filters are powerful tools. They let you change parts of the theme. A hook allows you to add or remove actions. A filter lets you change data before it shows up. Use these to add new rows or features in Genesis. Look for Genesis hooks on the internet. Find one that fits your need. Add your code using these hooks. This keeps your changes organized and safe.
Utilizing Genesis Layout Settings
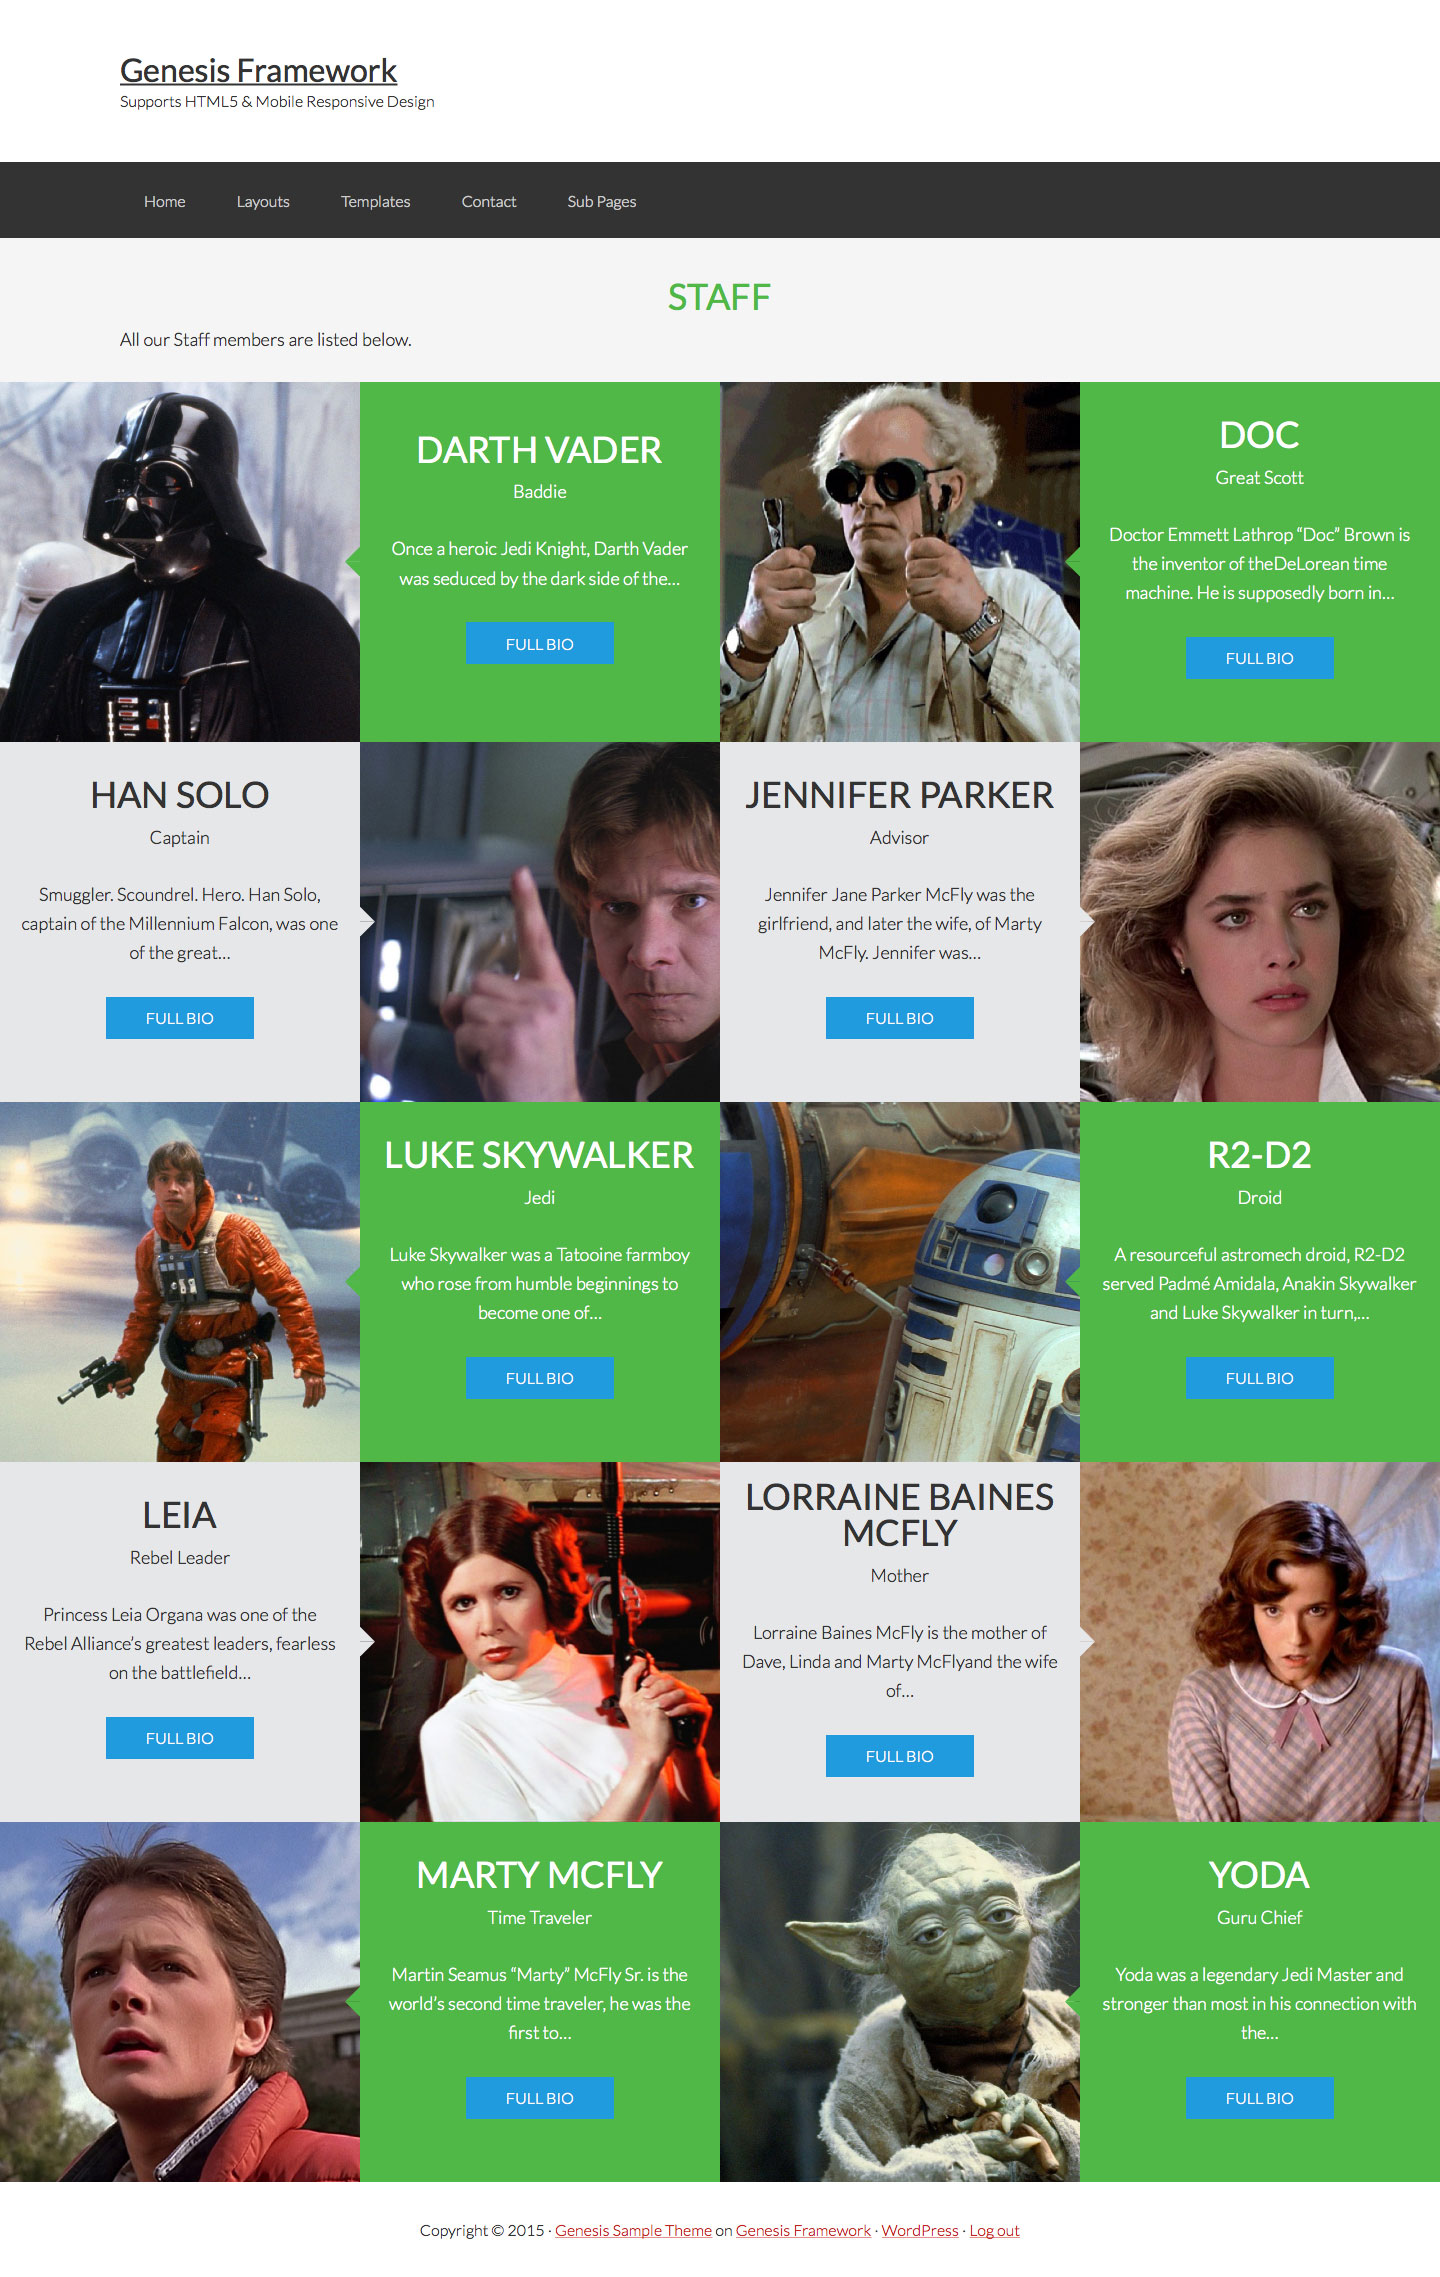
Genesis offers many page templates. Each template is unique. Change templates easily. Go to the page editor. Find the template option. Choose the template you want. Some templates have extra features. Others are simple. Try different templates. See which fits your needs. Templates help organize content. Make your site look neat. Page templates are important. They affect how your site looks. Use them wisely.
Widgets add special features to your site. Genesis supports custom widgets. They are easy to use. Find widgets in the dashboard. Go to the widget area. Add a new widget. Drag it to a widget space. Widgets can show texts. Some show images. Others show links. Customize widgets to fit your style. Use widgets to enhance user experience. They make sites interactive. Widgets are fun to use.
Credit: sridharkatakam.com
Incorporating Custom Css
Adding a row needs some special touches. Use custom CSS to make it look nice. Start with a unique class name for your row. This class helps you style it easily. Make sure the colors and fonts match your website. Use the CSS editor in WordPress. Add your styles there. Check if your row looks good on all screens.
Your row must look good on phones and tablets. Use media queries in your CSS. These queries help your row fit all screen sizes. Test your website on different devices. Make sure every user sees it well. Adjust margins and padding for small screens. This way, your row remains clear and readable. Always keep the user in mind.
Testing Changes On Your Site
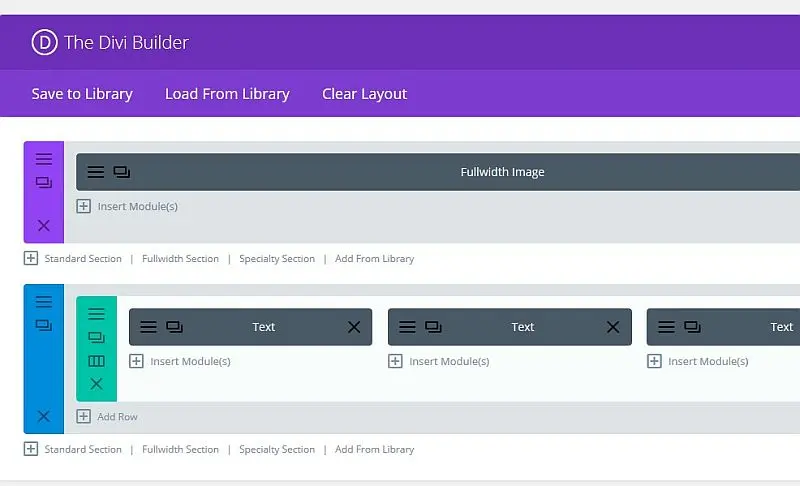
Easily add a row in the WordPress Genesis theme by accessing the editor and selecting the desired layout block. Use the block settings to customize and insert content seamlessly. This straightforward process enhances your site design without complex coding.
Verify Cross-browser Compatibility
Browsers can display websites differently. It’s important to check your site on various browsers. Test on Chrome, Firefox, and Safari. Make sure everything looks the same. Pages should load properly. Pictures and texts must be clear. Check links and buttons. They should work as expected. If something looks wrong, adjust your code. This ensures that all users have a good experience.
Check Mobile Responsiveness
Many people use phones to browse. Ensure your site looks good on small screens. Use responsive design tools. Check if text is readable. Images should fit the screen. Buttons need to be easy to tap. Navigate through pages to test links. If something doesn’t work, fix it fast. A mobile-friendly site keeps users happy. It also improves search engine rankings.
Credit: discussingwp.com
Troubleshooting Common Issues
Adding a row in the WordPress Genesis theme can seem tricky. Start by accessing the theme’s customization panel. Use widgets or shortcodes to insert new rows easily, enhancing layout flexibility.
Resolve Styling Conflicts
Adding a row may change the site’s look. Check if CSS styles are affected. Use browser tools to find which styles apply. Look for conflicts in stylesheets. Remove or change rules causing issues. Make sure your theme’s custom CSS is not overwritten. Test changes by refreshing the page. Always save a copy of your original CSS.
Fix Php Errors
PHP errors can break your site. Check your functions.php file for mistakes. A missing semicolon can cause errors. Use a text editor to spot syntax errors. Enable WordPress debugging mode to find problems. Check error logs for details. Fixing errors can restore your site. Contact support if issues persist.
Frequently Asked Questions
How Do I Add A Row In Genesis?
To add a row in Genesis, use a custom hook function. Access your child theme’s functions. php file and insert the code snippet. Then, specify your row’s content and styling using HTML and CSS. Update your website to see the changes reflected instantly.
Can I Customize Genesis Row Styling?
Yes, customize Genesis row styling with CSS. Access your child theme’s stylesheet and add your desired CSS properties. Use class selectors for targeted styling. This allows you to enhance design elements such as background color, padding, and fonts, offering a personalized look.
Is Coding Necessary To Add A Row?
While coding is beneficial, it isn’t mandatory. Use Genesis plugins like Genesis Blocks for easier row addition. These plugins offer drag-and-drop functionality, allowing users to create rows without coding knowledge. This simplifies the process and provides flexibility in design.
Which Plugins Help Add Rows In Genesis?
Genesis Blocks is an effective plugin for adding rows. It simplifies the process with drag-and-drop features. Install and activate the plugin, then use its blocks to insert rows. This tool enhances design customization without needing complex coding skills.
Conclusion
Adding a row in the Genesis theme is straightforward. Follow steps carefully. Practice makes perfect. Customize your website with ease. Make your content stand out. Engage visitors with attractive designs. Genesis theme offers flexibility. Enhance your site’s layout effortlessly. Keep experimenting and learning.
Every new skill boosts your confidence. Tailor your site to meet your needs. Enjoy creating a unique web experience. A user-friendly site attracts more visitors. Stay creative and keep improving. Your website reflects your brand. With Genesis, design possibilities are endless.
Embrace the process and watch your site thrive.


