
Are you considering a switch to a new web host but feeling overwhelmed by the process? You’re not alone.
Many website owners face the daunting task of changing web hosts, often fearing downtime, data loss, or technical hiccups. But what if I told you that switching web hosts can be seamless and stress-free with the right guidance? Imagine a faster, more reliable website that enhances your visitors’ experience and boosts your site’s performance.
In this guide, you’ll discover simple, actionable steps to transition smoothly to a new web host without any headaches. Stick around, and you’ll learn how to make the switch effortlessly, ensuring your website remains up and running at its best. Ready to dive in? Let’s transform your hosting experience together!
Reasons To Change Web Hosts
Slow website speed frustrates visitors. It can affect your business. A reliable host ensures your site loads fast. Downtime is another reason to switch. Your site should be online all the time. Frequent outages hurt your site’s reputation.
Poor customer support is a problem. You need help quickly if issues arise. A good web host offers 24/7 support. Limited features can restrict your site’s growth. Choose a host with plenty of options. Security concerns also matter. Protecting your data is crucial.
Some hosts offer better pricing plans. Saving money is always important. Look for a host that fits your budget. Scalability allows your site to grow. Your host should accommodate more traffic easily.

Credit: firstsiteguide.com
Choosing A New Web Host
Think about your website’s traffic and storage needs. A small blog might need less. A large store might need more. Security is also key. Ensure your host offers SSL certificates. Check if they provide backups and customer support. These can save you headaches.
Look at different hosting plans. Some offer shared hosting. Others provide dedicated servers. Shared hosting is cheaper. Dedicated servers are faster. Consider the price and features. Make sure it fits your budget. Also, check if there are any hidden fees.
Read what other users say. Reviews show the truth. They tell you about downtime and customer service. Look for honest feedback. Avoid hosts with many bad reviews. A few bad ones are normal. But many can be a bad sign. Trust your instincts.
Preparing For The Move
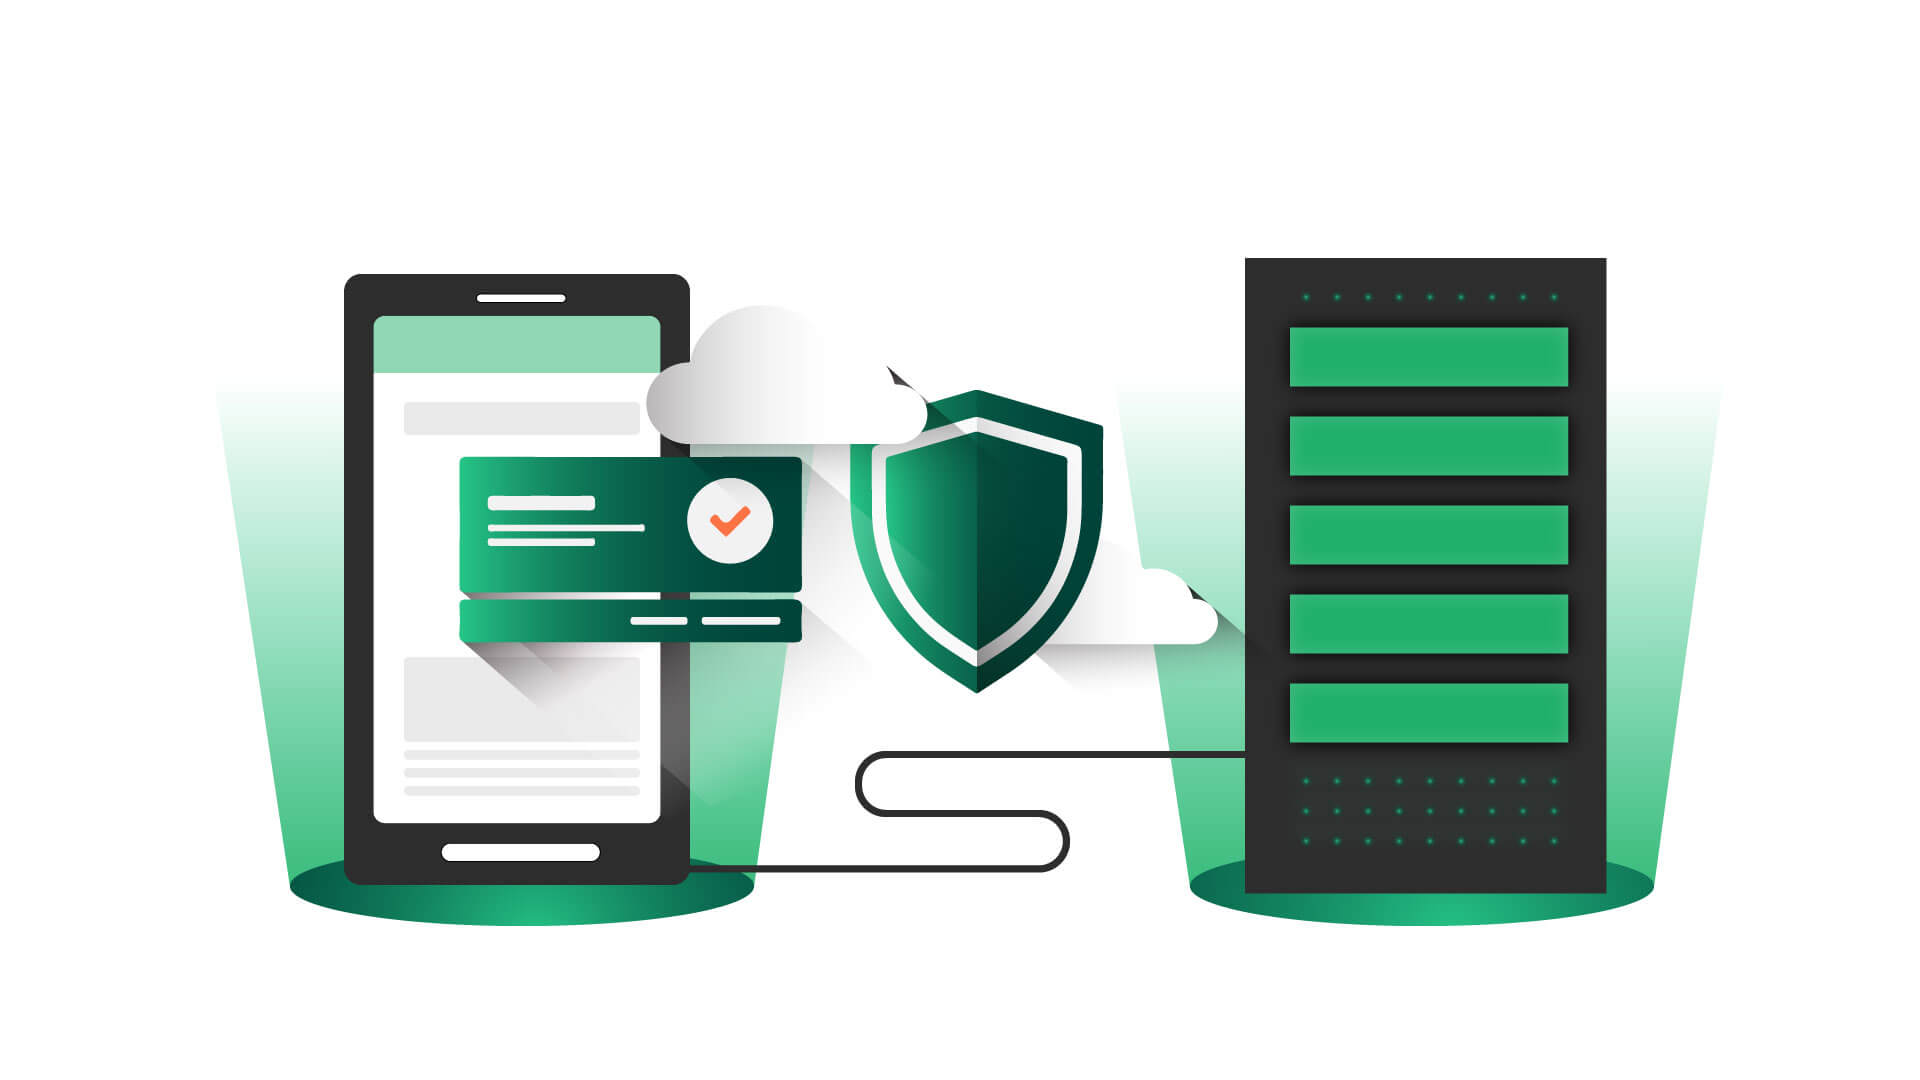
Back up all your important data first. You should copy website files and database. This ensures no data loss. Use reliable tools for this task. Many web hosts offer backup services. Check if your current host provides this. If not, consider manual backups. Save your files on a safe place. This could be an external drive or cloud storage. Remember to keep your backups updated. This practice is crucial before moving hosts.
Plan your migration process carefully. First, list all necessary tasks. Include each step in detail. Assign deadlines for each task. This helps in tracking progress. Make sure to inform your team. Everyone should know their roles. This keeps the process smooth. Also, choose a low-traffic time for migration. This reduces downtime. A good plan makes the move easy and stress-free.
Credit: www.hostpapa.com
Transferring Your Website
Start by unlocking your domain. This step is very important. Then, get the authorization code from your current registrar. Provide this code to your new registrar. Wait for the transfer to complete. This process can take a few days. Keep your contact details updated. This will help in case of any issues.
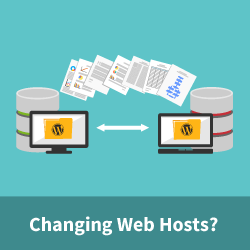
Download all your files from the old host first. Use an FTP client for this task. Next, upload these files to your new host. Ensure all files are transferred correctly. Check if any files are missing. If yes, try uploading them again. This will ensure your website works properly.
Export your database from the old host. Use tools like phpMyAdmin for this. Import the database to the new host. Ensure the database settings are correct. Check for any errors during import. Fix them if needed. Finally, update your website’s configuration files. This helps connect to the new database.
Testing The New Setup
Ensure that all pages load quickly. Click on every link. See if it works. Check images. They should appear correctly. Verify forms. Make sure they send data. Fix any broken links. Your website should function smoothly.
Protect your site. Check security settings. Use strong passwords. Ensure SSL certificates are active. They keep data safe. Look for security plugins. They help protect your site. Keep your software up to date. This keeps your site secure.
Send test emails. Check if they arrive. Look for errors in emails. Ensure that spam filters work. Verify email settings. They should be correct. Ensure email accounts are active. Your communication should work fine.
Updating Dns Settings
DNS propagation is a process that can take time. It means updating DNS records across the internet. Every device on the internet needs this update. It usually takes 24 to 48 hours. Patience is key during this time. Your website might not be visible immediately. This wait is normal and expected.
Changing DNS records is important for your website. You need to go to your domain registrar’s website. Find the DNS settings section. Here, you can add or change DNS records. It’s important to enter the correct values. Mistakes can cause your website to break. Double-check everything before saving. These changes affect how your website is found online.
Monitoring Post-migration
Website performance needs careful tracking after migration. Check the loading speed. It should be fast. Slow websites lose visitors. Use tools to measure the speed. Google Analytics helps track traffic patterns. Look for changes. More visitors mean good performance. Fewer visitors mean issues.
Common problems can appear. Broken links are a big issue. Fix them quickly. They frustrate visitors. Check the server uptime. It should be high. Low uptime means the site is down often. Contact the host if uptime is low. Missing images and files might occur. Restore them from backup. Keep an eye on security warnings. Protect the site from threats.
Canceling Old Hosting Service
Canceling your old hosting service is simple. Start by logging into the hosting account. Find the account settings section. Look for the cancel service option. Click on it. Follow the steps on the screen. You might need to confirm your decision. Some hosts ask for a reason to cancel. Provide feedback if asked. Remember to back up your data first. You don’t want to lose important files. Save them on your computer or cloud. Check if you have any outstanding payments. Clear them before canceling. This prevents issues later. Your service might end instantly or at month’s end. Read the terms to know what happens. Keep a record of your cancellation. This helps in case of disputes. Contact support if needed. They can assist you.
Credit: www.wpbeginner.com
Frequently Asked Questions
How Do I Switch From One Website Host To Another?
To switch hosts, back up your website files and database. Choose a new host, then upload your backup. Update your domain’s DNS settings to point to the new host. Test your site to ensure everything works. Contact support if you need help during the transition.
How Do I Change The Host Of A Website?
To change your website host, back up your files and database. Choose a new host, transfer the files, update DNS settings, and verify functionality.
How Hard Is It To Change Website Hosts?
Changing website hosts is moderately challenging. It involves transferring files, databases, and ensuring minimal downtime. Using guides or expert help simplifies the process. Proper planning and backups are crucial for a smooth transition. Research and choose a reliable hosting provider for optimal results.
How Do I Shift A Website From One Server To Another?
To shift a website, backup all files and databases. Transfer them to the new server using FTP. Update DNS settings to point to the new server. Test the website to ensure everything works correctly. Finally, monitor the site for any issues after migration.
Conclusion
Switching web hosts can seem tough, but it’s manageable with planning. Ensure data backups for safety. Choose a reliable host with good reviews. Test your site after the move. This confirms everything works fine. Keep customers informed about changes. Clear communication builds trust.
Monitor your website’s performance regularly. This helps catch issues early. Always stay updated with the latest hosting features. It improves your site’s efficiency. Remember, patience and preparation lead to successful transitions. So, embrace the change confidently. Your website deserves the best hosting for optimal performance.
Make this transition smooth and stress-free.


