Are you looking to create and host a domain using Webmin but don’t know where to start? You’re in the right place.
Setting up your own domain can feel tricky, but with Webmin, the process becomes simple and manageable—even if you’re not a tech expert. This guide will walk you through every step, so you can get your domain up and running quickly.
Keep reading, and by the end, you’ll have the confidence to manage your hosting like a pro.
Preparing Webmin For Domain Setup
Setting up a domain on Webmin begins with proper preparation. This ensures the process is smooth and efficient. Preparing Webmin for domain setup involves installing the software, accessing its dashboard, and configuring DNS settings. Each step plays a crucial role in managing your domain successfully.
Installing Webmin On Your Server
Start by downloading the latest Webmin package. Choose the version that matches your server’s operating system. Use the terminal to install Webmin easily. Make sure your server has the required dependencies. Once installed, Webmin will run as a web service on your server.
Accessing The Webmin Dashboard
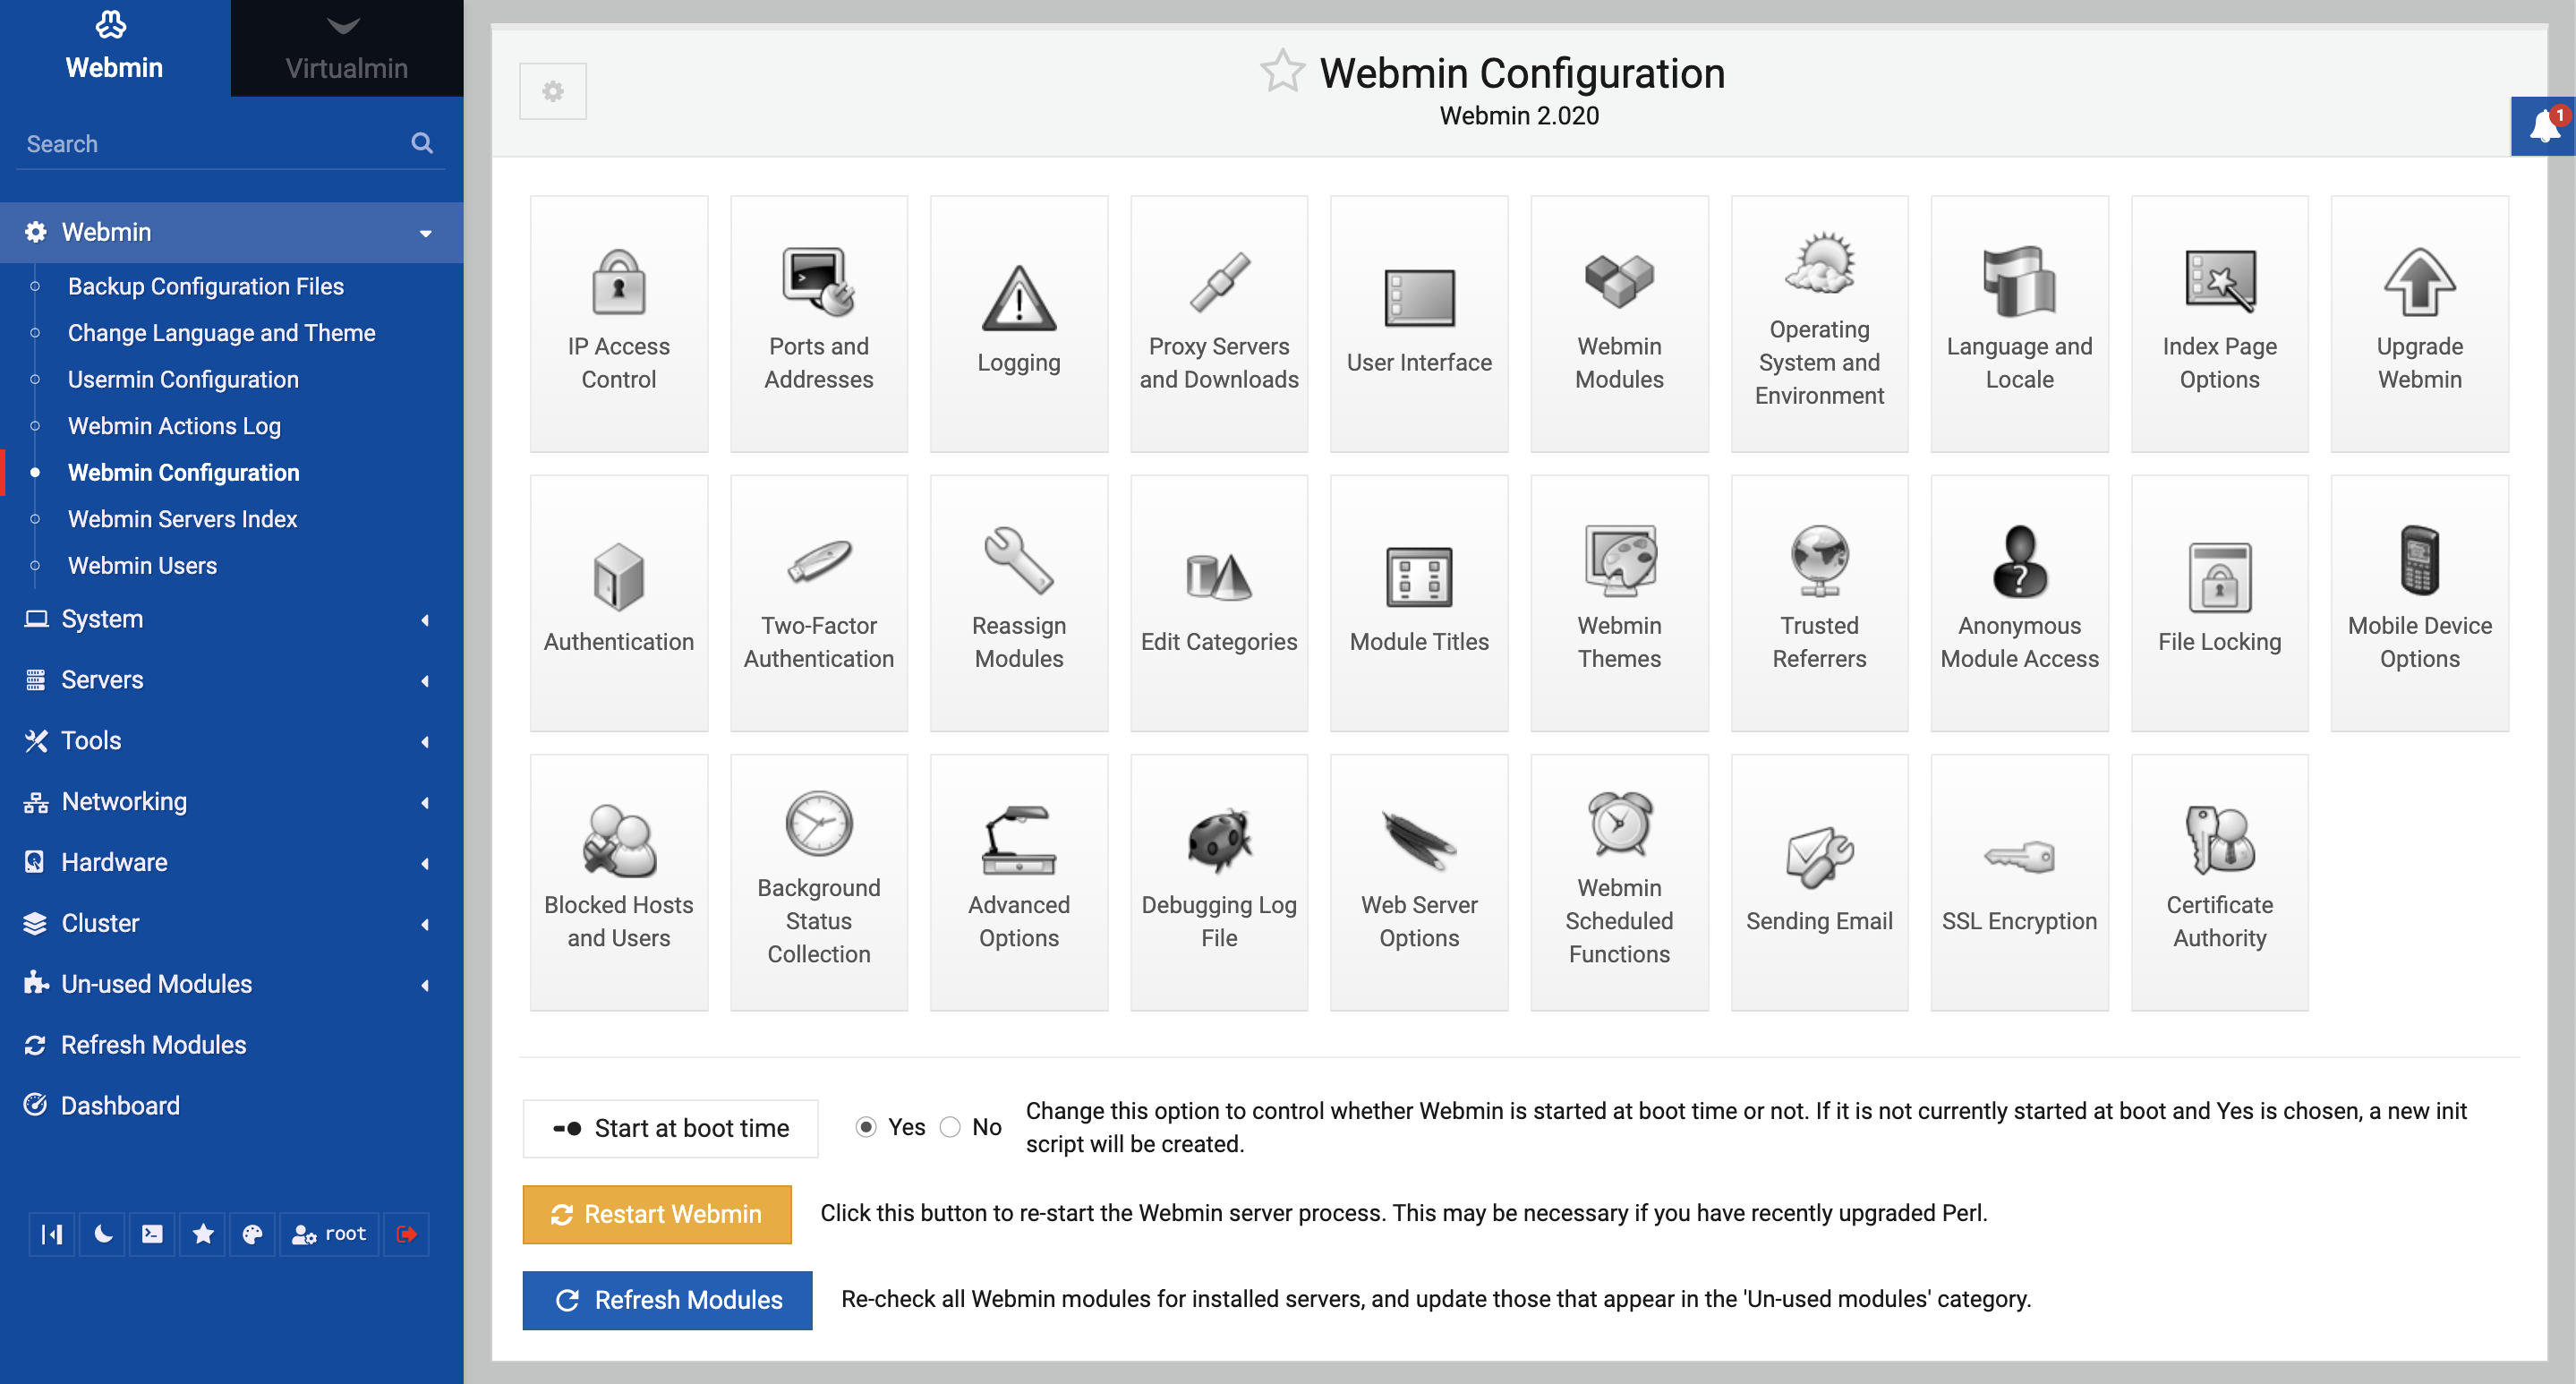
Open a web browser and enter your server’s IP address with port 10000. For example, http://your-server-ip:10000. Log in using your server’s root username and password. The dashboard provides access to all Webmin features. It is the control center for your domain and server settings.
Configuring Dns Settings
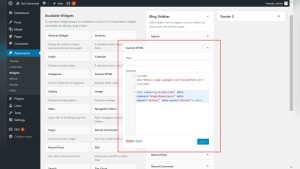
Navigate to the DNS settings module in Webmin. Add the domain name you want to host. Create the necessary DNS records like A, MX, and CNAME. Ensure the IP addresses are correct for each record. Proper DNS setup is essential for your domain to work online.
Credit: forum.virtualmin.com
Creating A New Host Domain
Creating a new host domain on Webmin is a simple process. It helps you manage your website’s DNS settings easily. This guide shows clear steps to set up a new domain quickly. Follow along to get your domain ready without hassle.
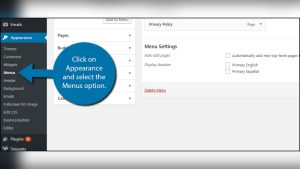
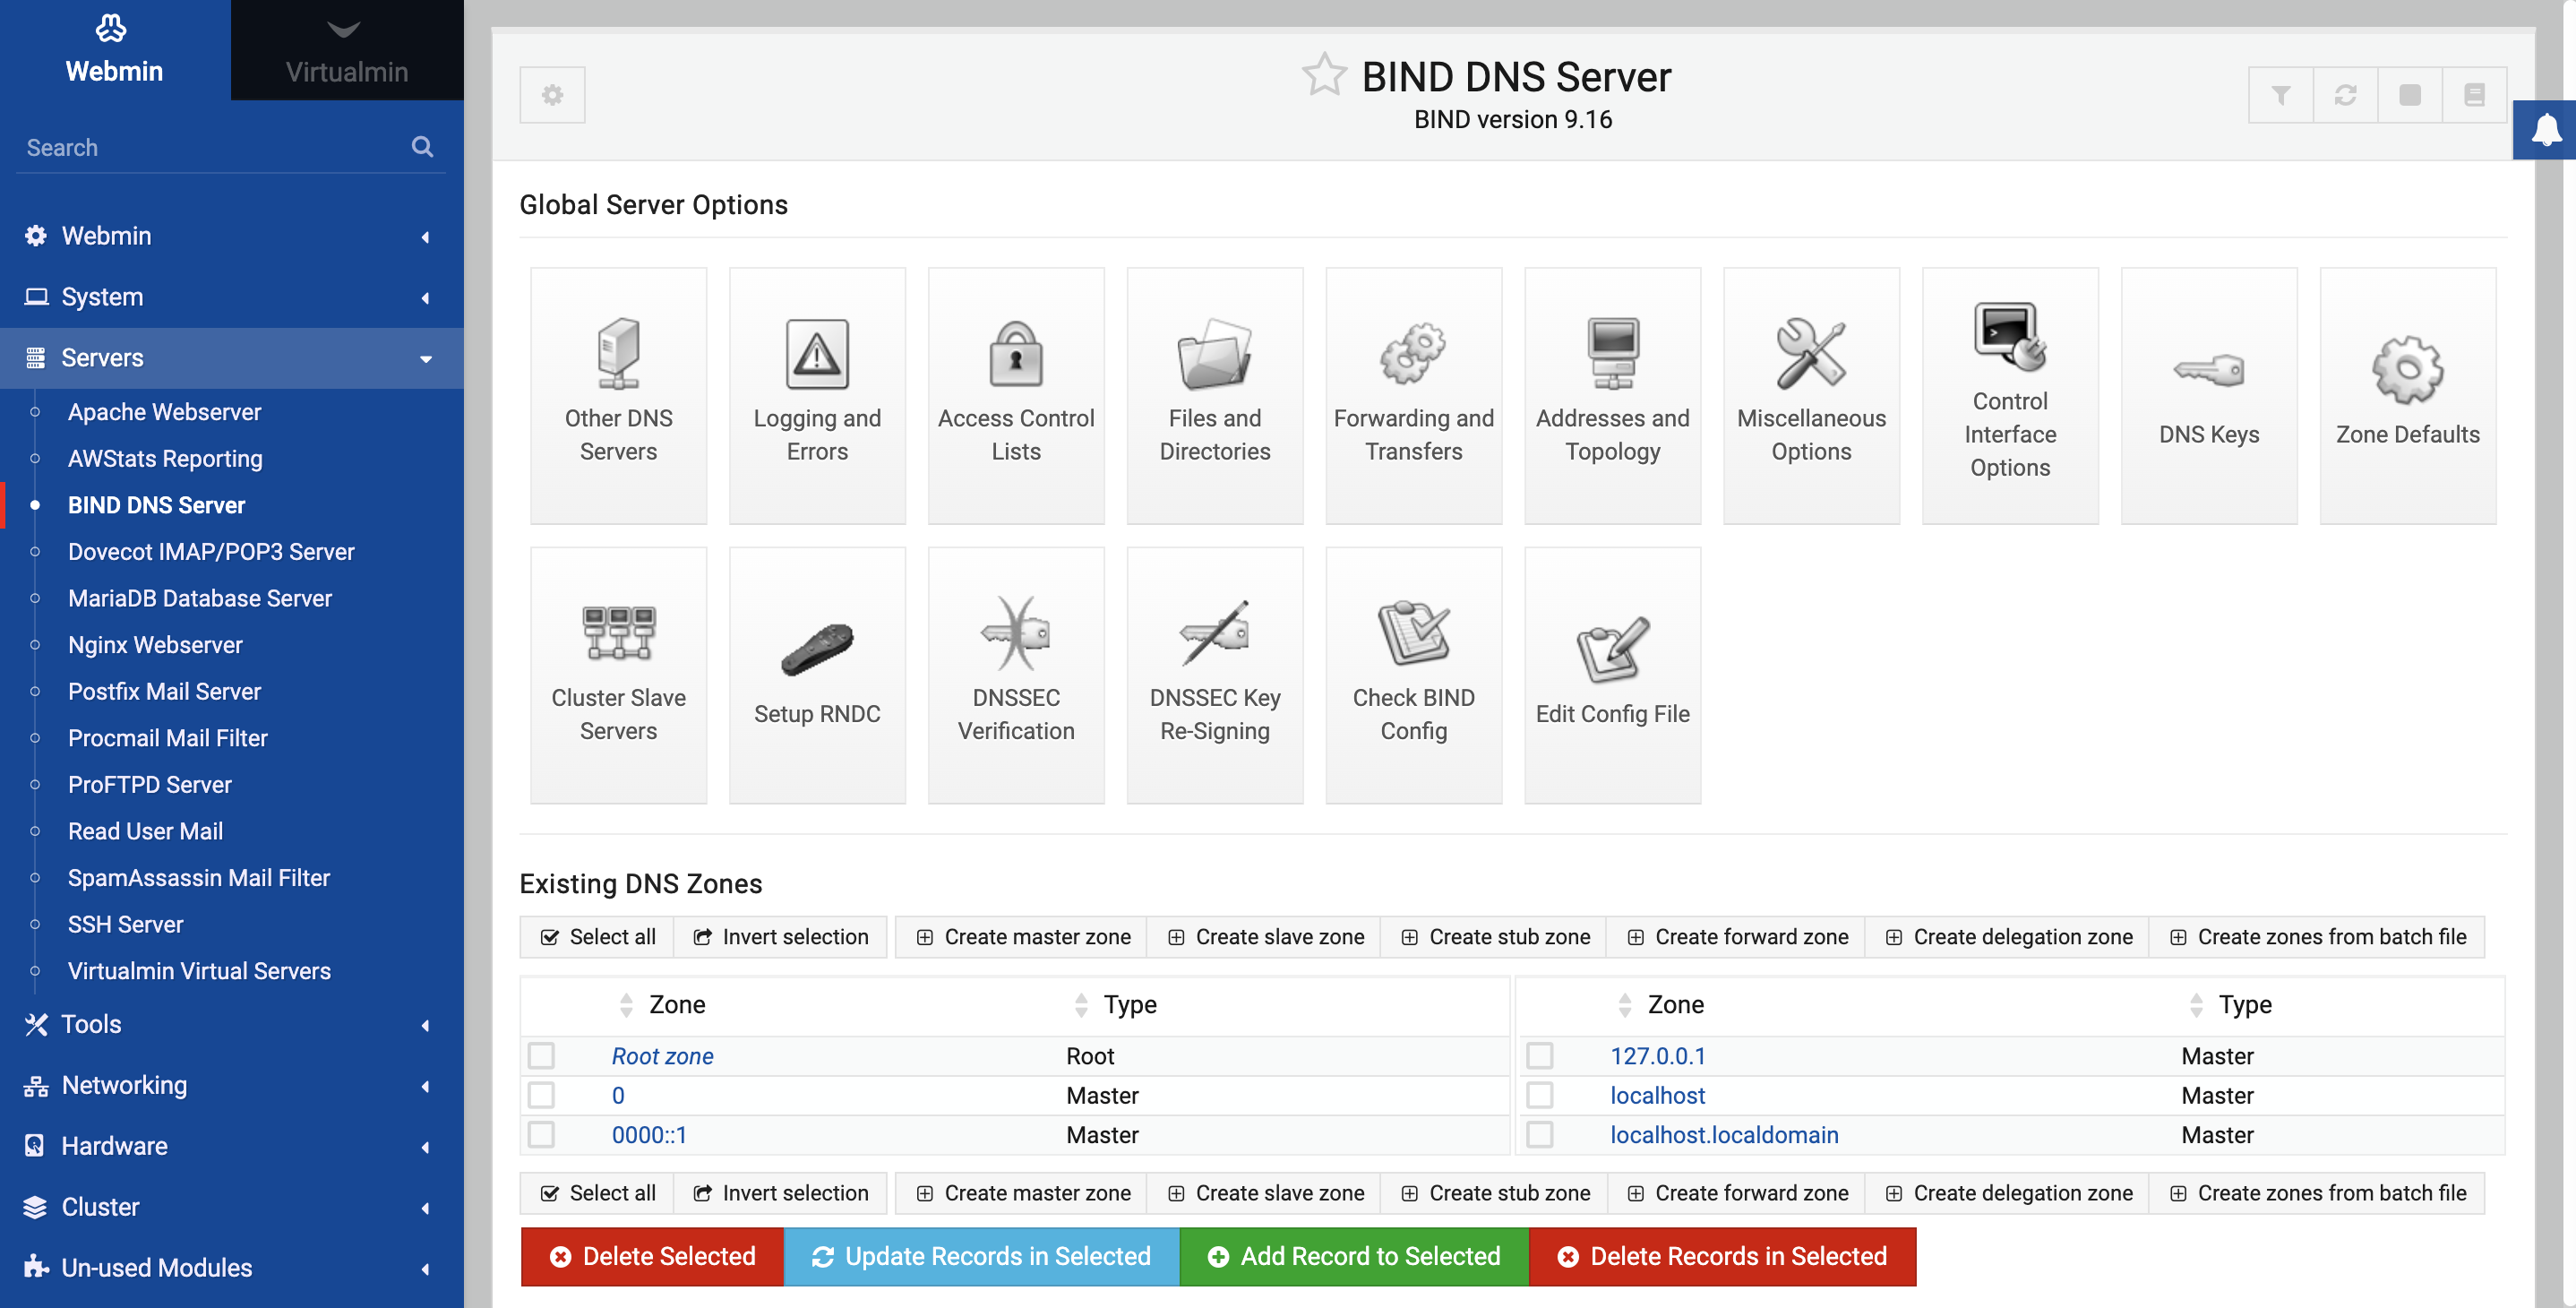
Navigating To The Bind Dns Server Module
First, log in to your Webmin control panel. Look for the “Servers” section on the dashboard. Click on “BIND DNS Server” to open the DNS management area. This module controls your domain name settings. It is the place to add new domains and zones.
Adding A New Master Zone
Inside the BIND DNS Server, find the option to create a new zone. Choose “Create Master Zone” to start setting up your domain. Enter the domain name you want to host. Select the network interface where this zone will work. This step sets the foundation for your domain.
Setting Up Zone Parameters
Next, configure the zone parameters carefully. Add the primary DNS server’s name and email address. Set the refresh, retry, and expiry times for DNS records. These values control how DNS updates happen. Save your settings to activate the new host domain. Your domain is now ready to use.
Configuring Dns Records
Configuring DNS records is a key step in managing your domain through Webmin. These records tell the internet where to find your website and how to handle your email. Setting them up correctly ensures your site works smoothly and your messages reach the right place.
Each type of DNS record has a specific role. Some connect your domain to web servers, others direct email traffic, and some provide verification or aliases. Webmin offers an easy interface to create and edit these records.
Adding A And Aaaa Records
A records link your domain to an IPv4 address. This address points to your web server. AAAA records do the same but for IPv6 addresses. To add these records in Webmin, open the DNS zone for your domain. Click on “Add a new record” and select A or AAAA. Enter the hostname and the IP address. Save the changes to update your DNS.
Setting Up Mx Records
MX records control where your email is delivered. They point your domain’s mail to a mail server. In Webmin, go to your domain’s DNS zone. Choose to add a new MX record. Provide the mail server’s hostname and set its priority. Lower numbers mean higher priority. Save the record to enable email delivery.
Creating Cname And Txt Records
CNAME records create aliases for your domain. They let one domain name point to another. This helps manage multiple subdomains easily. TXT records store text data for verification and security. These include SPF, DKIM, or domain ownership checks. Add these records in Webmin by selecting the correct type. Enter the required name and value, then save your changes.
Testing And Troubleshooting
Testing and troubleshooting are key steps after creating a host domain using Webmin. These steps ensure your domain works well and visitors can reach your site without issues. Simple checks help catch problems early. Fixing errors fast keeps your domain reliable.
Verifying Dns Configuration
Check your DNS settings in Webmin to confirm accuracy. Verify the domain name points to the correct IP address. Ensure all required DNS records exist, such as A, CNAME, and MX. Use Webmin’s DNS module to view and edit records. A small mistake here can stop your domain from working.
Common Errors And Fixes
DNS errors often include missing records or wrong IP addresses. Look for typos in domain names or IPs. If the website does not load, check if the A record is correct. Email issues may come from missing MX records. Clear the DNS cache after changes to avoid old data causing problems.
Using Command Line Tools For Testing
Use tools like ping to test if the domain responds. The nslookup command shows DNS information for your domain. Try dig to get detailed DNS query results. These tools help find where errors happen. Running commands in the terminal is fast and gives clear results.
Managing And Updating Domains
Managing and updating domains is a crucial task for website administrators. It ensures websites remain accessible and run smoothly. Webmin offers easy tools to handle domain settings without complex commands. Regular updates keep domain records accurate and prevent downtime. Proper management also improves website security and performance.
Editing Existing Host Domains
Webmin makes editing host domains simple and fast. You can change IP addresses, update domain names, or modify DNS records quickly. Just log in to Webmin and navigate to the DNS settings. Select the domain you want to edit and make your changes. Save the updates to apply them immediately. This helps keep your domain information current and correct.
Backing Up Dns Configurations
Backing up DNS configurations is key to preventing data loss. Webmin allows easy export of DNS settings to backup files. Store these files safely to restore settings if needed. Regular backups protect against accidental changes or server issues. Schedule backups often to keep your domain data secure and recoverable.
Automating Domain Management Tasks
Automation saves time and reduces errors in domain management. Webmin supports scripts and scheduled jobs to automate tasks. You can automate updates, backups, and monitoring of domain settings. Set up cron jobs within Webmin for regular maintenance. Automation keeps domains healthy without constant manual work.
Credit: webmin.com
Credit: webmin.com
Frequently Asked Questions
What Is Webmin For Creating Host Domains?
Webmin is a web-based interface that simplifies server management. It helps users create and configure host domains easily without complex commands.
How To Create A Host Domain Using Webmin?
Log into Webmin, navigate to the “Servers” section, select “BIND DNS Server,” and add a new domain. Enter domain details and save.
Can I Manage Multiple Domains With Webmin?
Yes, Webmin supports managing multiple host domains. You can add, configure, and update each domain separately through its user-friendly interface.
Is Webmin Suitable For Beginners In Domain Hosting?
Absolutely. Webmin offers an intuitive interface, making domain hosting accessible for beginners without deep technical knowledge.
Conclusion
Creating a host domain using Webmin is simple and quick. Follow the steps carefully to avoid errors. Webmin’s interface helps you manage domains without technical stress. Practice these steps to build confidence and control. Managing your server becomes easier with this tool.
Keep your domain settings organized and updated regularly. This way, your website stays online and runs smoothly. Start today and see how Webmin makes hosting easier for you.