

Are you looking to make your WordPress site easier to navigate and more professional? Creating a dropdown menu is a simple way to organize your content and help your visitors find what they need quickly.
In this guide, you’ll learn step-by-step how to create a dropdown menu in WordPress, even if you have no coding experience. By the end, your website will look cleaner, work smoother, and keep your visitors engaged longer. Let’s dive in and make your menu work smarter for you!
Choose The Right Theme
Choosing the right theme is important for creating dropdown menus in WordPress. A good theme makes menu setup easy and smooth. It also ensures your dropdown looks nice on all devices. Some themes have built-in dropdown support. Others let you customize menus to fit your needs.
Picking a theme that works well with dropdown menus saves time and effort. It helps keep your website clear and user-friendly. This section explores themes with built-in dropdown support and how to customize theme menus.
Themes With Built-in Dropdown Support
Many WordPress themes come with dropdown menu features. These themes have ready-made styles for menus and submenus. You do not need extra plugins or coding. Popular themes like Astra, OceanWP, and GeneratePress offer this support. They provide smooth dropdown animations and mobile-friendly designs.
Using these themes helps maintain a consistent look across your site. They often include easy menu setup options in the WordPress customizer. This way, you can add or remove dropdown items quickly. Choosing a theme with built-in dropdown support reduces technical difficulties.
Customizing Theme Menus
Most themes let you change menus to fit your style. WordPress has a menu editor inside the dashboard. It allows you to add pages, links, and categories to menus. You can also create multi-level dropdown menus here.
Some themes offer extra customization like colors, fonts, and menu layouts. Use the WordPress customizer or theme options panel for these changes. Test your dropdown menus on desktop and mobile. Make sure they are easy to use and look good.
Customizing menus helps your website stand out. It improves navigation and user experience. Spend time adjusting menus until they meet your needs.
Access The WordPress Menu Editor
Accessing the WordPress Menu Editor is the first step in creating a dropdown menu. This editor lets you control the structure of your website’s navigation. It allows you to add, remove, and arrange menu items easily. The process is simple and does not require coding skills. Follow these steps to open the menu editor and start building your menu.
Navigating To Menus Section
Log in to your WordPress dashboard. On the left side, find the “Appearance” option. Click on it to open a dropdown list. Select “Menus” from this list. This action takes you to the WordPress Menu Editor. Here, you can see existing menus or create new ones. This section is where you manage all menu-related tasks.
Creating A New Menu
In the Menu Editor, click the “Create a new menu” link. Enter a name for your menu. This name helps you identify the menu later. Click the “Create Menu” button to proceed. Now, the menu is ready for you to add items. You can add pages, posts, categories, or custom links. Organize them to build your dropdown menu structure.
Add Menu Items
Adding menu items is the key step to build a dropdown menu in WordPress. You choose what links will appear in your menu. This controls how visitors navigate your site. WordPress offers several options to add menu items. You can include pages, posts, custom links, or categories. Each option serves a different purpose. This section shows how to add each type easily.
Including Pages And Posts
Pages and posts are common menu items. Pages usually hold static content like About or Contact. Posts are blog entries or news updates. To add pages or posts, open the menu editor in WordPress. On the left side, find the Pages or Posts box. Check the items you want to add. Then click “Add to Menu.” Your selected pages or posts appear in the menu structure. You can drag them to arrange or nest under others for dropdown effect.
Adding Custom Links
Custom links let you add any URL to your menu. This is useful for external sites or special pages. In the menu editor, find the Custom Links box. Enter the web address in the URL field. Type the label visitors will see in the Link Text field. Click “Add to Menu.” The custom link appears in your menu list. You can move it to the right spot and make it a dropdown item.
Using Categories As Menu Items
Categories group posts by topic. Adding categories to your menu helps visitors browse related content. In the menu editor, locate the Categories box. Select the categories you want to show. Click “Add to Menu.” Categories appear with their links in the menu. Visitors can click a category to see all posts inside. Organize these categories under other menu items for a clear dropdown structure.

Credit: www.hostinger.com
Create Dropdown Structure
Creating a dropdown menu in WordPress starts with setting up the right structure. This structure defines how your menu items will appear on your website. Proper organization helps visitors find pages easily. It also keeps your menu clean and neat.
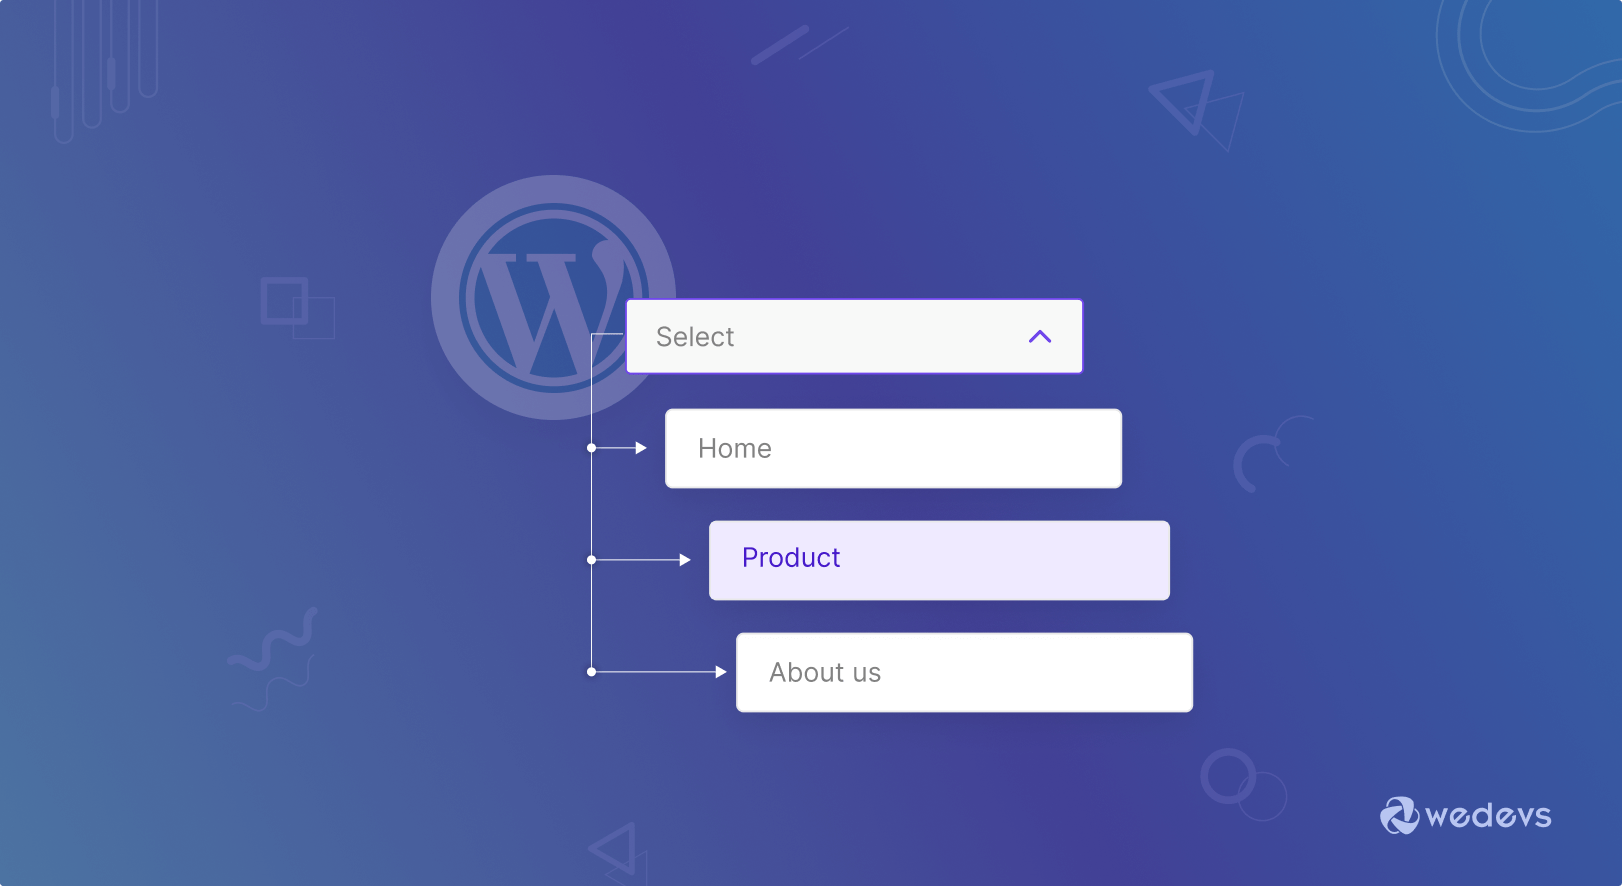
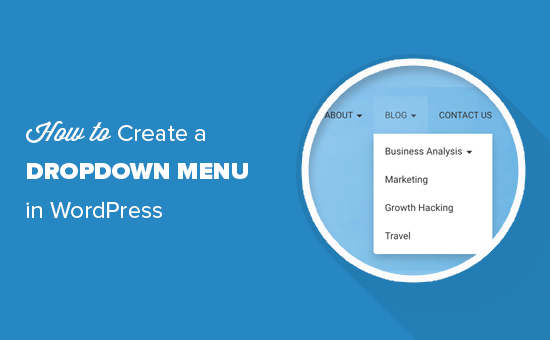
Dropdown menus use parent and child items. Parent items are the main menu titles. Child items appear below the parents in a dropdown list. This setup allows you to group related pages together. It improves navigation and user experience.
Organizing Parent And Child Items
Start by adding all menu items in WordPress. Each item can be a page, post, or custom link. Choose the main topics as parent items. Subtopics or related pages become child items. Think of parents as folders and children as files inside.
Group child items under the correct parent to show hierarchy. This grouping makes dropdown menus work. Visitors see the parent title first, then the child items when they hover or click. Keep the number of child items manageable. Too many can confuse users.
Dragging And Indenting Menu Items
WordPress lets you drag menu items to reorder them easily. Click and hold an item, then drag it to the desired spot. To create a child item, drag it slightly to the right under a parent item. This indentation signals the child-parent relationship.
Indentation is key for dropdown menus. It tells WordPress which items belong under which parents. Make sure child items line up neatly below their parents. Test your menu by previewing it on your site. Adjust as needed for clarity and flow.
Configure Menu Settings
Configuring menu settings is the next key step after creating your dropdown menu. This step tells WordPress where to show your menu on the website. It also saves your changes so the menu works properly. Proper configuration makes your navigation smooth and easy for visitors.
Assigning Menu Location
Assigning a menu location means picking where your menu appears. WordPress themes have different spots for menus, like header, footer, or sidebar. Choose the location that fits your design and user needs. Usually, the main menu location is at the top of your site.
In the menu settings, find the “Display location” option. Check the box for the spot you want. This action places your dropdown menu exactly where visitors expect to find it. It ensures your site navigation is clear and easy to use.
Saving Your Menu
Saving your menu locks in all your choices and changes. Without saving, your dropdown menu won’t show on the site. After assigning the menu location, scroll down to find the “Save Menu” button. Click it once to save your work.
WordPress confirms the save with a message. Refresh your website to see the menu live. Saving often prevents lost work and keeps your site updated.
Credit: wedevs.com
Enhance Dropdown With Plugins
Plugins can improve your WordPress dropdown menus. They make menus easier to use and more attractive. Plugins add new styles and effects without coding. They help create menus that fit your site’s design.
Using plugins saves time. You get options for animations, icons, and multi-level menus. Plugins also improve menu responsiveness on phones and tablets. This keeps visitors engaged and helps your site look professional.
Popular Dropdown Menu Plugins
Many plugins offer dropdown menu features. Max Mega Menu is simple and powerful. It turns standard menus into mega menus with many links. WP Mega Menu lets you add images and icons to menus. Responsive Menu works well on mobile devices. These plugins support drag-and-drop editing for easy setup.
Adding Advanced Features
Plugins let you add advanced features to menus. You can use animations to show and hide dropdowns smoothly. Icons help users find menu items faster. Multi-level menus organize many pages clearly. Some plugins support custom colors and fonts. This matches the menu with your website’s style. These features improve user experience and keep visitors on your site longer.
Customize Dropdown Appearance
Customizing the dropdown menu’s appearance helps your website look unique. You can change colors, fonts, sizes, and more. These changes improve user experience and keep visitors on your site longer.
WordPress offers ways to customize dropdown menus easily. Two common methods are using custom CSS and editing theme styles. Both methods let you tailor menus to fit your brand and style.
Using Custom Css
Custom CSS lets you change dropdown menus with code. You can adjust background colors, font styles, and spacing. CSS changes apply directly to the menu elements.
Open your WordPress dashboard and go to Appearance > Customize > Additional CSS. Paste your CSS code here. For example, change the dropdown background:
.menu-item-has-children ul { background-color: f0f0f0; } You can also style the text, borders, and hover effects with CSS. This method gives full control over the menu’s look.
Editing Theme Styles
Many WordPress themes have built-in options to change dropdown menus. These settings are often found in the Customizer or theme options panel.
You can pick colors, fonts, and sizes without coding. This method is faster and easier for beginners. Check your theme’s documentation for exact steps.
Some themes also allow you to upload custom style sheets. Use this to add specific styles while keeping your changes safe during updates.
Credit: www.wpbeginner.com
Test Your Dropdown Menu
Testing your dropdown menu ensures it works well for all users. You want to check its look and function on different devices. This step helps spot any problems before visitors see your site. Proper testing keeps your site user-friendly and professional.
Checking Responsiveness
Open your website on a phone, tablet, and desktop. See how the dropdown menu behaves on each screen size. The menu should open smoothly and be easy to use on small screens. Make sure text is readable and links are easy to tap. Resize your browser window to test responsiveness on desktop too.
Troubleshooting Common Issues
If the menu does not open, check your theme settings and plugins. Sometimes plugins conflict and stop the menu from working. Clear your browser cache and reload the page to see changes. Look at your menu in different browsers like Chrome and Firefox. Fix any broken links or missing menu items. Small errors can cause big problems with dropdown menus.
Frequently Asked Questions
How Do I Add A Dropdown Menu In WordPress?
To add a dropdown menu, go to Appearance > Menus in your WordPress dashboard. Create a menu and drag items below and slightly to the right of a parent item. Save the menu and assign it to a theme location.
Can I Customize Dropdown Menu Styles In WordPress?
Yes, you can customize dropdown styles using CSS or a page builder plugin. Many themes also offer built-in menu styling options for colors, fonts, and hover effects.
Are Dropdown Menus Mobile-friendly In WordPress?
Most modern WordPress themes ensure dropdown menus are responsive and mobile-friendly. They transform into touch-friendly menus or hamburger icons on smaller screens for easy navigation.
What Plugins Help Create Advanced Dropdown Menus?
Plugins like Max Mega Menu and WP Mega Menu allow you to create advanced dropdowns with icons, images, and multi-column layouts without coding.
Conclusion
Creating a dropdown menu in WordPress is simple and useful. It helps organize your website’s pages clearly. You can guide visitors to find information faster. Take your time to set up menus step by step. Test the menu to ensure it works on all devices.
Keep your website neat and easy to use. A good menu improves user experience and keeps visitors engaged. Try adding dropdown menus to make navigation smooth and clear. Your site will look professional and user-friendly.



