You’ve bought a domain and chosen GoDaddy for your WordPress hosting. Now, what’s next?
Connecting your domain to your WordPress site might sound tricky, but it doesn’t have to be. Imagine your website going live, ready for visitors, and working exactly how you want it. This guide will walk you through each step clearly and simply, so you can get your site up and running without stress.
Keep reading, and you’ll have your domain linked to your WordPress hosting on GoDaddy in no time.
Credit: www.godaddy.com
Preparing Your Domain
Preparing your domain is the first step to connect it to WordPress hosting on GoDaddy. This process makes sure your domain is ready and under your control. Proper preparation avoids delays and errors in website setup.
Follow these steps carefully to get your domain ready for connection.
Check Domain Ownership
Verify that you own the domain you want to connect. Ownership means you have control over the domain settings. Without ownership, you cannot link the domain to your WordPress hosting. You can check this by confirming your registration details on GoDaddy or another registrar.
Access Godaddy Account
Log into your GoDaddy account to manage your domain. Use your username and password to sign in. Access to your account is necessary to change domain settings. Keep your login details safe to prevent unauthorized access.
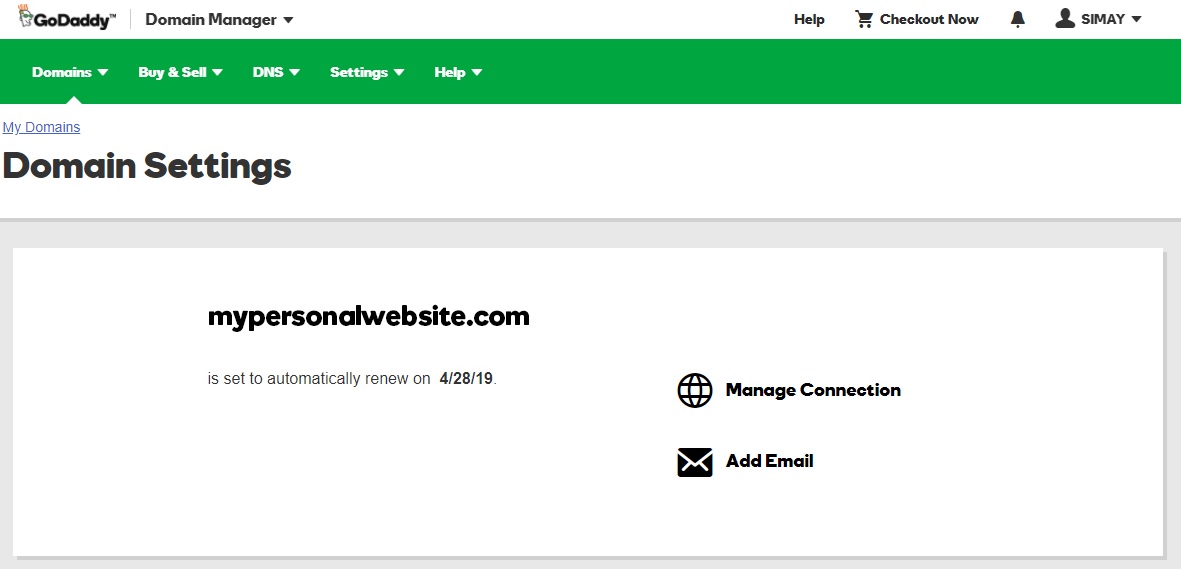
Locate Domain Settings
Once logged in, find the domain you want to connect. Go to the domain manager or domains list. Select your domain and open its settings page. Here, you can update DNS records and other important details for connection.
Setting Up WordPress Hosting
Setting up WordPress hosting is the first step to building your website. Godaddy offers simple tools to make this process easy. Follow clear steps to get your hosting ready and start your site quickly.
Choose a plan that fits your needs and budget. Then, complete your purchase smoothly. Finally, access your hosting dashboard to manage your site and settings.
Choose A WordPress Hosting Plan
Visit the Godaddy WordPress hosting page. Review the available plans carefully. Pick one based on your website size and traffic. Plans vary by storage, speed, and support options. Select the plan that matches your needs best.
Complete Hosting Purchase
Add your chosen plan to the cart. Fill in your account and payment information. Review your order details to avoid mistakes. Confirm and complete the payment process. You will receive a confirmation email with your hosting details.
Access Hosting Dashboard
Log in to your Godaddy account. Find the hosting section on the dashboard. Click on your new WordPress hosting product. Use the dashboard to install WordPress and manage your site settings. This dashboard is your control center for the website.
Connecting Domain To Hosting
Connecting your domain to WordPress hosting at GoDaddy is a key step to launch your website. This process links your website address with your hosting service. It lets visitors find your site online easily. Follow these simple steps to connect your domain smoothly.
Update Nameservers
Start by logging into your GoDaddy account. Find the domain manager section. Locate your domain name and select it. Click on the option to change nameservers. Replace the current nameservers with those from your WordPress hosting provider. Save the changes to update.
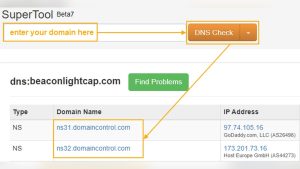
Verify Dns Propagation
DNS propagation takes time to spread changes across the internet. It may take up to 48 hours. Use free online tools to check if your nameservers have updated globally. Wait until the DNS shows your new hosting provider. This step ensures your domain points correctly.
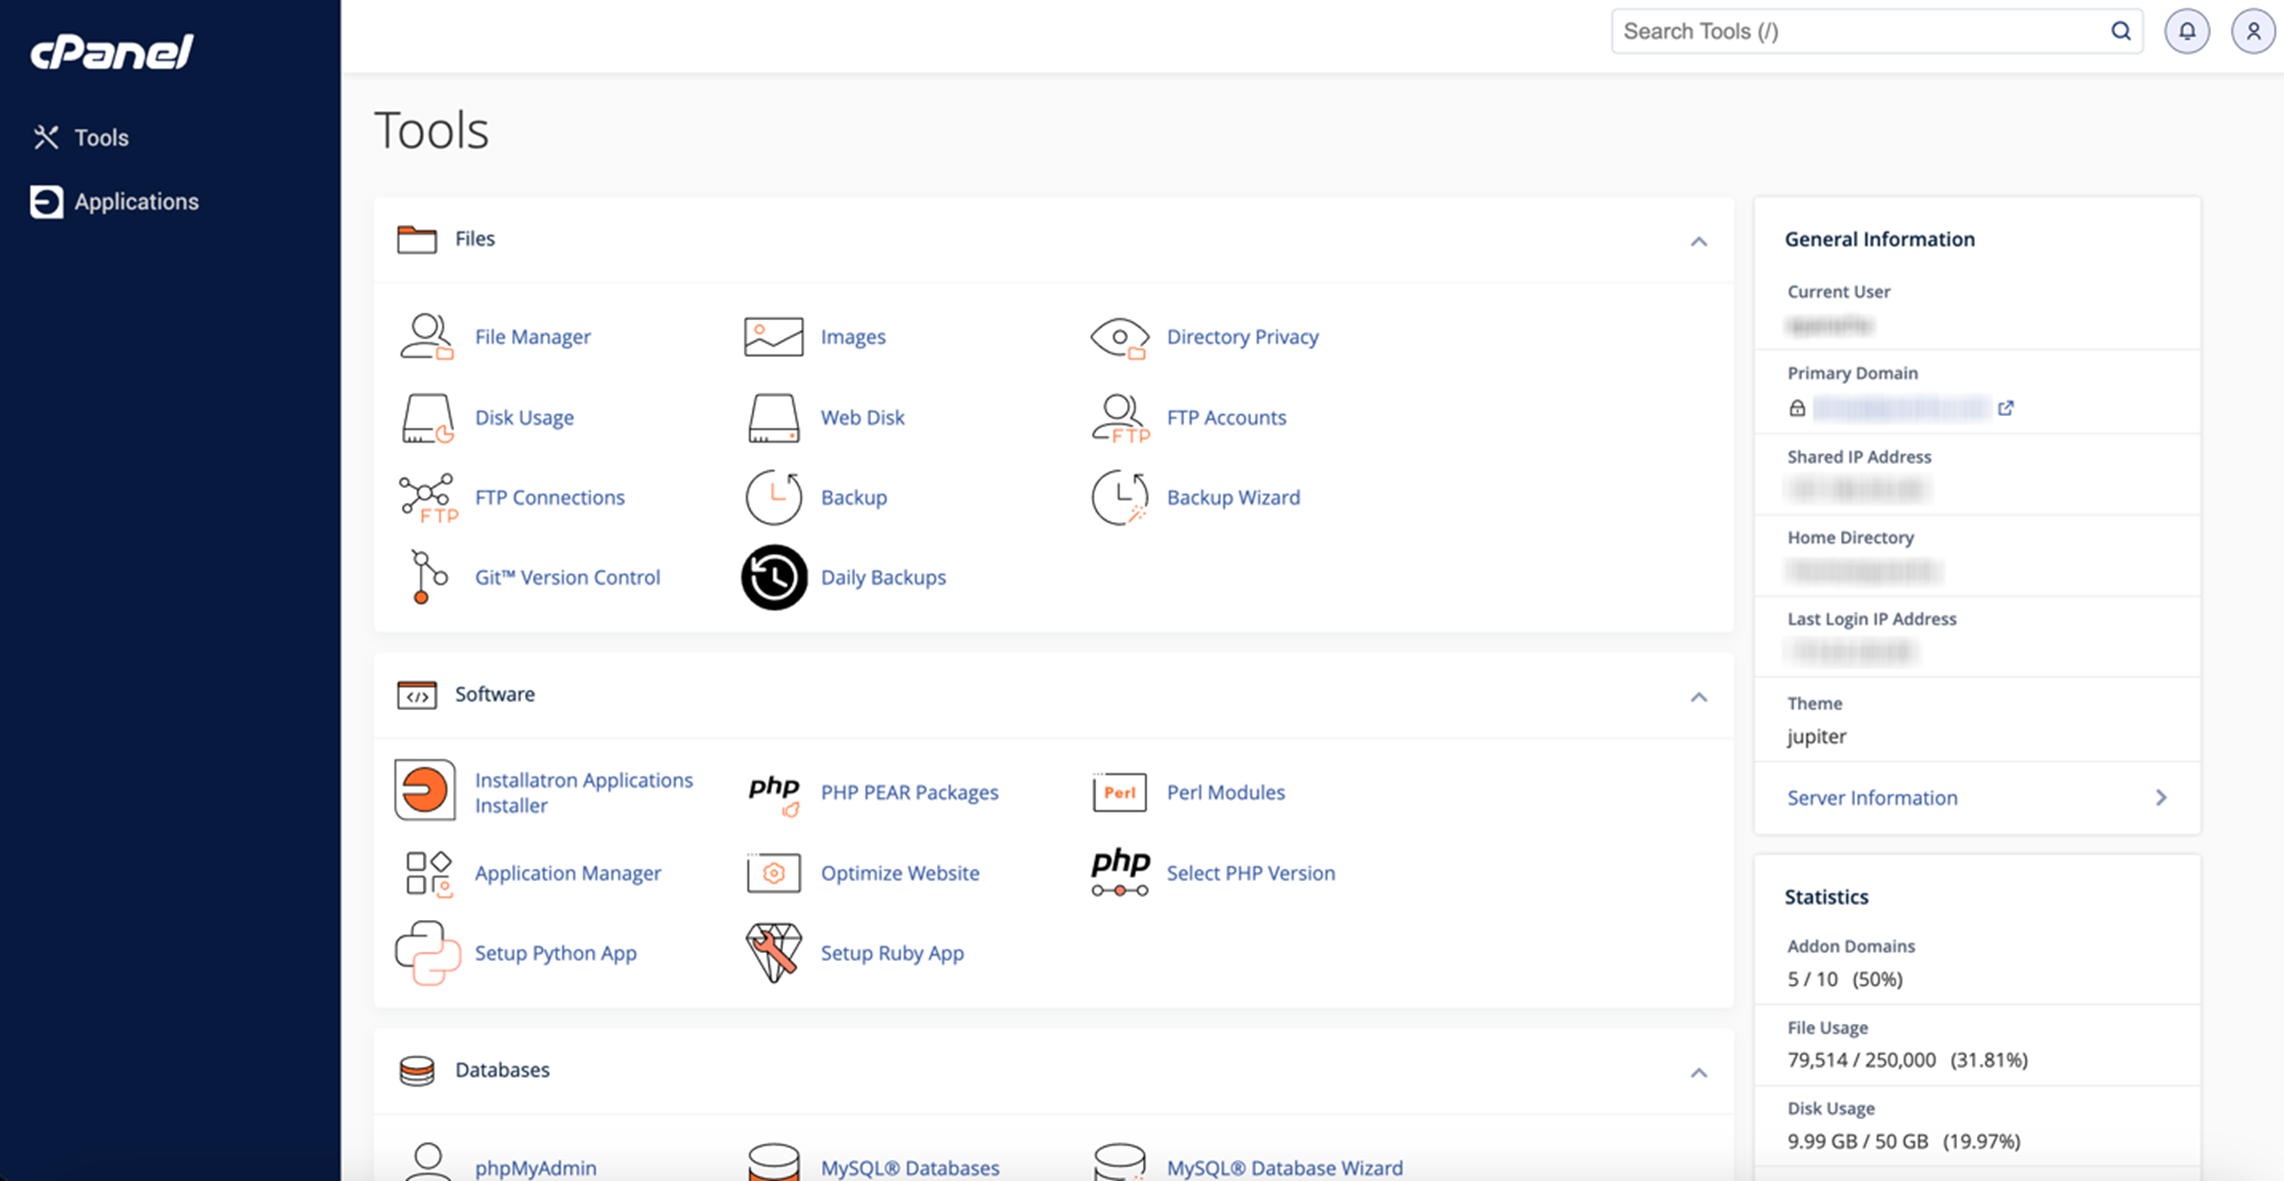
Set Primary Domain In Hosting
Access your WordPress hosting control panel. Find the domain management or settings area. Add your domain as the primary domain for your hosting account. This setting tells the server to use your domain for your website. Save the settings to finish setup.
Credit: www.godaddy.com
Configuring WordPress Site
Configuring your WordPress site after connecting your domain is the next important step. This setup ensures your website is ready to go live and visitors can find your content. You need to install WordPress, assign the domain properly, and check that your site works well.
Install WordPress
Log in to your GoDaddy hosting account. Find the WordPress installation option. Click to start the installation process. Choose your domain from the list provided. Fill in your site details like name and admin info. Click “Install” and wait for the process to finish. You will get a confirmation message when done.
Assign Domain In WordPress Settings
Log in to your WordPress dashboard. Go to “Settings” then “General.” Locate the “WordPress Address (URL)” and “Site Address (URL)” fields. Enter your domain name in both fields. Make sure to use “https://” before your domain. Save the changes by clicking the “Save Changes” button. This step links your site to your domain correctly.
Check Site Accessibility
Open a new browser tab. Type your domain name and press enter. See if your WordPress site loads without errors. Check multiple pages to ensure full access. Clear your browser cache if you see old data. Use different devices to test loading speed and design. Fix any issues by revisiting your settings or contacting support.
Troubleshooting Common Issues
Troubleshooting common issues helps you fix problems fast. Connecting your domain to WordPress hosting on GoDaddy can have some bumps. Knowing common issues saves time and avoids frustration. Below are the main problems users face and easy ways to solve them.
Dns Propagation Delays
DNS changes take time to spread worldwide. This delay can last from a few minutes to 48 hours. During this time, your website may not load properly. Be patient and avoid making repeated changes. Use online DNS checkers to see if the update has reached your area. Wait for the process to complete for your site to work correctly.
Incorrect Nameserver Entries
Nameservers tell the internet where to find your website. Wrong nameserver settings cause your domain to not connect to WordPress. Double-check the nameservers in your GoDaddy account. They should match the ones provided by your WordPress host. Update any incorrect entries and save the changes. This step is crucial to make your website live.
Ssl Certificate Setup
SSL certificates protect your website and build trust. After connecting your domain, the SSL might not activate immediately. Make sure your hosting plan supports SSL certificates. In GoDaddy, enable the SSL for your domain inside the hosting dashboard. If problems persist, contact support for help. Secure sites show a padlock and use HTTPS in the URL.
Tips For Smooth Connection
Connecting your domain to WordPress hosting on GoDaddy can be simple. Follow some basic tips to avoid common problems. These steps help your site run smoothly and stay live without interruptions.
Backup Before Changes
Always back up your website before making changes. This protects your data if something goes wrong. Save your files and database to a secure place. Backups make it easy to restore your site quickly.
Use Godaddy Support
GoDaddy offers helpful support for domain and hosting issues. Contact their team if you face trouble connecting your domain. They provide clear guidance and can solve problems fast. Support is a valuable resource for beginners.
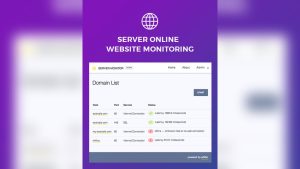
Regularly Monitor Site Status
Check your website regularly after connecting your domain. Watch for downtime or errors that may appear. Use online tools to monitor your site’s status. Early detection helps fix issues before visitors notice.

Credit: wordpress.com
Frequently Asked Questions
How Do I Connect My Domain To Godaddy WordPress Hosting?
Log in to your GoDaddy account. Access your WordPress hosting dashboard. Select “Manage” next to your site. Click “Connect Domain” and choose your domain. Follow the prompts to update DNS settings for a successful connection.
Can I Use A Domain From Another Provider With Godaddy WordPress?
Yes, you can connect external domains by updating DNS records. Point your domain’s nameservers to GoDaddy or modify A records. This links your domain to your WordPress hosting on GoDaddy smoothly.
How Long Does Domain Connection Take On Godaddy WordPress?
Domain connection usually completes within a few minutes. DNS propagation can take up to 48 hours worldwide. Most users see changes within 1-2 hours after updating settings.
What Dns Records Are Needed For Godaddy WordPress Hosting?
You need to update the A record to point to your hosting IP. Also, set the CNAME record for “www” to your domain. These settings ensure your domain directs properly to your WordPress site.
Conclusion
Connecting your domain to WordPress hosting on GoDaddy is simple. Follow each step carefully to avoid mistakes. Double-check your settings to ensure everything works well. Your website becomes live once the connection completes. This process helps your site reach visitors easily.
Keep your login details safe for future use. Regularly update your WordPress and hosting for security. Enjoy sharing your content with the world now.