
Are your WordPress images looking a little messy or out of place? You’re not alone.
Aligning pictures correctly can make your website look polished and professional, keeping visitors engaged and eager to explore more. But don’t worry—getting your images perfectly aligned doesn’t have to be complicated. You’ll discover simple, step-by-step ways to position your pictures exactly where you want them.
By the end, you’ll have the skills to make your content visually appealing and easy to read. Ready to transform your WordPress pages? Let’s dive in!
Credit: www.wpbeginner.com
Choosing Image Alignment Options
Choosing the right image alignment helps your content look neat and clear. It controls how pictures sit beside your text. This makes your blog easy to read and visually pleasing. WordPress offers four main alignment options. Each serves a different purpose. Understanding them helps you pick the best one for your page.
Left Alignment
Left alignment places the image on the left side of the text. Text flows on the right side of the image. This style works well for short images or icons. It keeps the text easy to follow. Left alignment is great for articles where images support the content.
Center Alignment
Center alignment puts the image in the middle of the page. Text appears above and below the image, not beside it. This option makes images stand out more. Use center alignment for large pictures or important visuals. It creates a clean and balanced look.
Right Alignment
Right alignment places the image on the right side of the text. Text wraps on the left side of the image. This can create a dynamic page layout. It works well for small images or side notes. Right alignment helps balance the design on your blog.
No Alignment
No alignment means the image stays in its own block. Text does not wrap around it. The image appears full width or as inserted. This option is good for pictures that need full attention. No alignment keeps the layout simple and clear.

Credit: www.youtube.com
Using The WordPress Block Editor
The WordPress Block Editor makes aligning pictures simple and fast. It offers clear tools to place your images exactly where you want on the page. This editor uses blocks, each holding a piece of content. Images get their own block, allowing easy control.
Editing pictures is direct. Just click the image block to see alignment options. Changing size or position takes seconds. The editor shows results instantly. This section explains how to select the image block, apply alignment controls, and adjust image size easily.
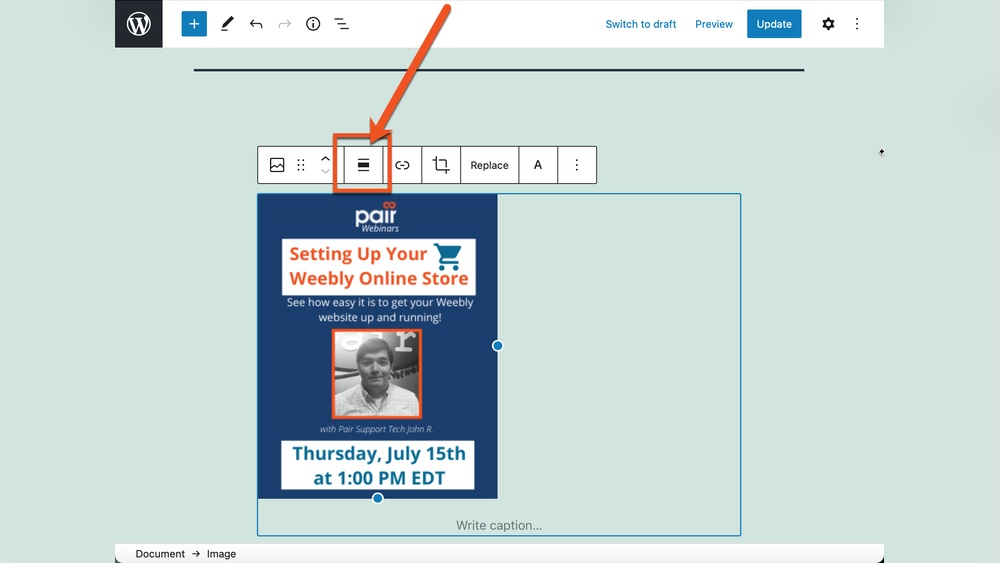
Selecting The Image Block
Start by clicking the image on your page. The block will highlight, showing it is selected. On the right side, the block settings appear. You can also use the block toolbar above the image. This toolbar has quick access to alignment and other options.
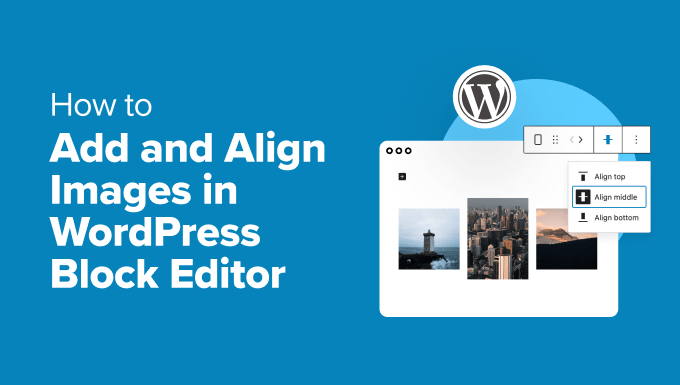
Applying Alignment Controls
Once the image block is active, find the alignment buttons. These usually include left, center, and right. Click one to move your image in that direction. The image shifts immediately. This helps fit images with your text and design.
Adjusting Image Size
Resize images by dragging the corners or edges. The block editor shows handles for easy adjustment. You can also set exact width and height in the block settings panel. Keeping images the right size improves page look and speed.
Aligning Images With Classic Editor
The Classic Editor in WordPress offers a simple way to align images in your posts or pages. It allows you to insert pictures and control their placement easily. You can choose to align images left, center, or right to match your content style. This section explains how to work with images inside the Classic Editor.
Inserting Images
Start by placing the cursor where you want the image. Click the “Add Media” button above the editor. Choose an image from your library or upload a new one. After selecting the image, click the “Insert into post” button. The image appears inside your content area, ready for alignment.
Setting Alignment With Toolbar
Click on the image inside the editor to select it. A small toolbar appears above the image. This toolbar has alignment options: align left, center, and right. Click the desired alignment button to change the image’s position. The content will wrap around the image depending on your choice.
Editing Image Properties
For more control, click the pencil icon on the toolbar to open image details. Here you can adjust alignment, size, and add alt text. Choose alignment options like left, center, or right from the dropdown menu. Save changes to update the image display in your post.
Custom Css For Advanced Alignment
Custom CSS lets you control image alignment beyond default WordPress options. You can place images exactly where you want on your page. This method helps create unique layouts and designs. It requires basic CSS knowledge but is easy to learn.
Using custom CSS improves your site’s look and user experience. It also helps images fit better with your content. In this section, you will learn how to add CSS classes, write alignment styles, and use browser tools to test your code.
Adding Css Classes
Start by giving your image a CSS class in the WordPress editor. Select the image block and open the block settings panel. Find the “Advanced” section, then enter a class name in the “Additional CSS Class” field. Use simple names like custom-align to keep it clear.
This class links your image to the CSS rules you will create. You can add different classes for different alignments. This approach keeps your code organized and easy to manage.
Writing Alignment Styles
Write CSS rules targeting the classes you added to your images. Use properties like float, margin, or text-align to change position. For example, .custom-align { float: right; margin-left: 20px; } moves the image to the right with space.
Use clear, simple CSS to avoid layout problems. Test different values until the image looks right. Save your CSS in the theme’s customizer or a child theme style file.
Using Browser Developer Tools
Browser developer tools help check and adjust your CSS live. Right-click the image on your site and select “Inspect” to open the tool. You can see which styles apply and try changes in real-time.
This tool lets you experiment without changing code files. Once you find the perfect style, copy it to your CSS file. It speeds up the alignment process and helps fix issues quickly.
Tips For Responsive Image Layouts
Creating responsive image layouts is essential for a good website design. Images should look great on screens of all sizes. This helps keep visitors interested and improves the site’s usability. Below are some useful tips to make your images adapt smoothly to different devices.
Using Percentage Widths
Set image widths in percentages instead of fixed pixels. This makes images resize with the screen. For example, use width: 50% to make an image take half the container’s width. It adjusts automatically on different devices. This method keeps images flexible and balanced within the layout.
Ensuring Mobile Compatibility
Mobile screens are smaller and need special attention. Use CSS media queries to change image styles on small screens. Make images smaller or stack them vertically for easier viewing. Avoid large fixed sizes that break the layout. Mobile-friendly images improve the user experience for phone users.
Testing Across Devices
Check how your images appear on multiple devices. Use tools or real phones and tablets. Look for any cut-offs, stretching, or alignment issues. Testing helps catch problems early. It ensures your images look good everywhere, from desktops to mobiles.
Common Alignment Issues And Fixes
Images in WordPress sometimes do not align as expected. These common alignment issues can disrupt your page layout and make your site look unprofessional. Understanding the causes helps fix these problems quickly. This section covers the main alignment problems and simple solutions for each.
Image Overflow Problems
Image overflow happens when pictures extend outside their container. This breaks the page layout and may hide parts of the image. Usually, this occurs because the image size is too large for the column or block.
To fix overflow, resize images to fit your content area. Use WordPress’s built-in image editor or set max-width to 100% in CSS. This keeps images inside their containers and maintains page flow.
Text Wrapping Errors
Text wrapping errors occur when text does not flow properly around images. Sometimes text overlaps or leaves large empty spaces. This problem often arises from incorrect alignment settings or missing CSS styles.
Choose the right alignment option in the WordPress editor for images. Left or right alignments make text wrap neatly. Clear any float styles if text behaves oddly. Adding margin around images also improves spacing.
Plugin Conflicts
Plugins can cause image alignment issues by adding conflicting styles or scripts. Some plugins may override WordPress defaults, causing unexpected layout shifts. This problem appears after installing new plugins or updates.
Deactivate plugins one by one to find the conflicting one. Check if image alignment returns to normal after disabling a plugin. Update or replace the problematic plugin to fix the conflict. Use plugins that follow WordPress coding standards to avoid issues.
Credit: ultimateblocks.com
Frequently Asked Questions
How Do I Align Pictures In WordPress Posts?
To align pictures in WordPress, select the image in the editor. Use alignment options like left, center, or right. These controls adjust the image placement within your content easily.
Can I Align Images Differently On Mobile Devices?
Yes, responsive themes adjust image alignment automatically on mobile. For custom control, use CSS media queries to set specific alignments on various screen sizes.
What Are The Best Alignment Practices For WordPress Images?
Best practices include aligning images to complement text flow. Use center alignment for standalone images and left or right for images with text wrapping. Ensure alignment enhances readability and visual appeal.
How Do I Fix Image Alignment Issues In WordPress?
Check theme settings and editor alignment options first. If problems persist, use custom CSS to override default styles. Clearing cache might also resolve alignment glitches.
Conclusion
Aligning pictures in WordPress is simple and quick. You can place images to the left, right, center, or no alignment. This helps your blog look neat and professional. Try different alignments to see what fits your content best. Keep practicing, and your posts will look great every time.
Remember, clear images make your message stronger.


