
Are you ready to build your website but don’t know where to start? Adding WordPress to HostGator is one of the easiest ways to get your site up and running quickly.
Imagine having a powerful, flexible website that you control, without the headache of complicated setups. In this guide, you’ll discover simple, step-by-step instructions to connect WordPress with HostGator—no tech skills needed. By the end, you’ll be confident and ready to create a site that stands out.
Keep reading to unlock the secrets of hassle-free website setup!
Choosing The Right Hostgator Plan
Choosing the right Hostgator plan is key to a smooth WordPress experience. The plan affects your site’s speed, security, and growth options. Understanding each plan helps you pick one that fits your needs and budget.
Shared Vs Dedicated Hosting
Shared hosting means your website shares a server with others. It costs less and suits small sites or beginners. Resources like CPU and RAM are split among users. This can slow your site during traffic spikes.
Dedicated hosting gives you a whole server. It costs more but offers better speed and control. Your website won’t compete for resources. This plan fits large sites or those needing strong security.
Benefits Of WordPress Hosting
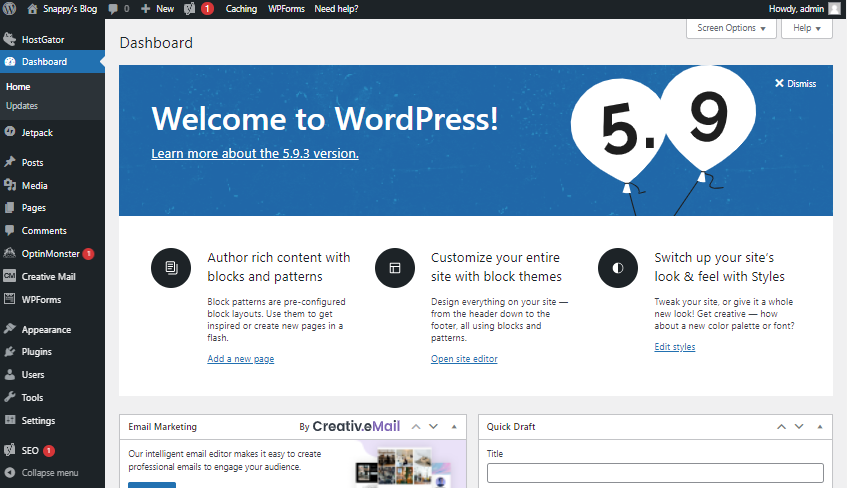
WordPress hosting is optimized for WordPress sites. It includes easy WordPress installation and updates. Your site runs faster because the server is set for WordPress needs.
Security features protect your site from threats. Support teams know WordPress well and help quickly. This hosting type saves time and reduces technical problems.
Credit: www.hostgator.com
Setting Up Your Hostgator Account
Setting up your Hostgator account is the first step to hosting your WordPress website. This process is simple and fast. It prepares your space on the internet where your site will live. Follow the steps carefully to avoid any trouble later.
Creating An Account
Start by visiting the Hostgator website. Click the sign-up or get started button. Choose a hosting plan that fits your needs. Enter your personal details like name, email, and payment information. Make sure your email is correct for future communications.
After submitting your information, check your email for a confirmation message. This email contains your login details. Keep these safe; you will need them to access your account.
Accessing The Control Panel
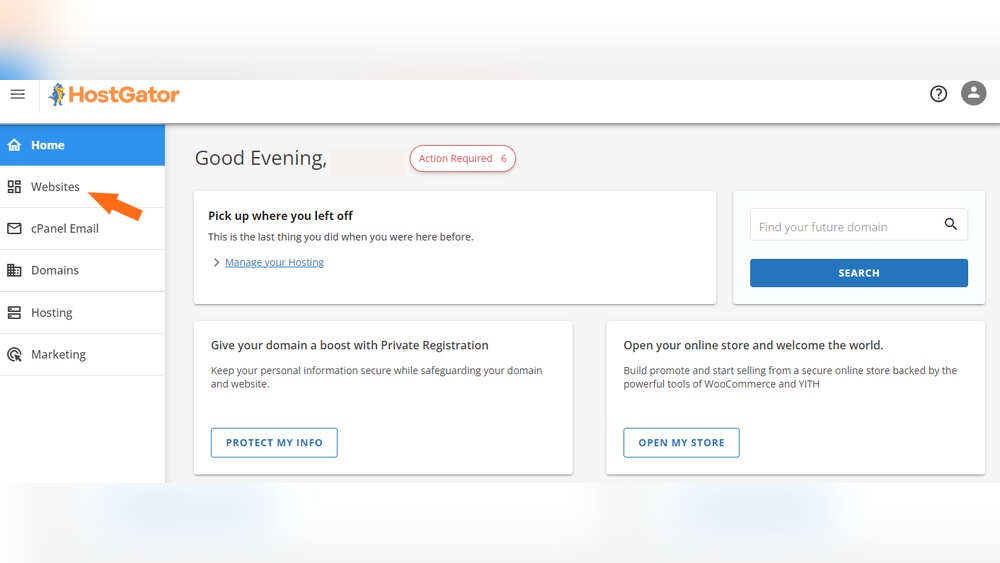
Log in to your Hostgator account using the credentials sent to your email. The control panel, also known as cPanel, is your dashboard. It lets you manage your website and hosting settings. Look for the cPanel button or link and click it.
Inside cPanel, you will find tools to install WordPress, manage files, and set up email accounts. Familiarize yourself with the layout to make managing your site easier. This panel is where you control everything for your website.
Installing WordPress Manually
Installing WordPress manually on HostGator gives full control over the setup process. This method works well for users who want a custom installation or face issues with automatic installers. Manual installation involves a few clear steps. Each step is important to ensure WordPress runs smoothly.
Downloading WordPress
Start by downloading the latest WordPress package from the official website. Visit wordpress.org and click the download button. Save the ZIP file on your computer. This file contains all the necessary WordPress files.
Uploading Files Via Cpanel
Log in to your HostGator cPanel account. Find the File Manager tool and open it. Go to the public_html folder or the folder for your website. Upload the WordPress ZIP file here. After uploading, extract the files inside the folder. This action prepares WordPress files for installation.
Creating A Database
Return to the cPanel home and open MySQL Databases. Create a new database by typing a name and clicking create. Next, add a new database user with a strong password. Assign this user to the database and grant all privileges. The database stores all website content and settings.
Configuring Wp-config.php
Go back to File Manager and find wp-config-sample.php in your WordPress files. Rename it to wp-config.php. Open this file for editing. Add your database name, username, and password in the correct fields. Save the changes. This file connects WordPress to your database during installation.
Credit: www.youtube.com
Using Hostgator’s One-click WordPress Installer
Using HostGator’s One-Click WordPress Installer makes setting up your website fast and easy. This tool helps you install WordPress without technical steps. You can have your site ready in minutes. The process is simple and does not require coding skills.
Locating The Installer
First, log in to your HostGator cPanel account. Look for the “Software” section. Find the WordPress icon or “WordPress Installer” link. Click it to open the installer interface. This tool handles the whole WordPress setup automatically.
Filling In Site Details
Next, enter your website information. Choose the domain where you want WordPress installed. Add your site name and description. Create a username and strong password for the admin account. These details help secure your WordPress dashboard.
Completing The Installation
After filling in the details, click the “Install” button. The installer will copy files and set up the database. This process usually takes a few minutes. Once done, you receive a confirmation with your login link. Use this link to access your new WordPress site.
Configuring WordPress Settings
Configuring WordPress settings is an important step after installing your site on HostGator. It prepares your website to look good and work well for visitors. This process helps you control how your site appears and functions.
Adjusting these settings early saves time and avoids problems later. You decide the design, add useful tools, and set how links appear. Each part improves the user experience and makes managing your site easier.
Choosing A Theme
Pick a theme that fits your site’s purpose and style. WordPress offers many free and paid themes to choose from. Look for a theme that is simple, fast, and mobile-friendly.
Preview themes before activating to see how your site will look. Changing a theme is easy, so try different ones until you find the best fit.
Installing Essential Plugins
Plugins add extra features to your WordPress site. Start with must-have plugins like security, SEO, and backup tools. These help protect your site and improve its visibility on search engines.
Only install plugins from trusted sources. Too many plugins can slow your site, so keep only what you really need.
Setting Permalinks
Permalinks control the URLs of your posts and pages. Choose a clean, readable format that includes keywords. This helps visitors and search engines understand your content.
Go to WordPress settings and select “Post name” for the best permalink structure. Save changes to update your links site-wide.
Troubleshooting Common Issues
Troubleshooting common issues helps keep your WordPress site on HostGator running smoothly. Some problems can block installation or cause errors. Quick fixes often solve these issues. Understanding basic troubleshooting saves time and stress.
Fixing Installation Errors
Installation errors can stop WordPress setup. Check file permissions first. Files must be writable by the server. Use 755 for folders and 644 for files. Make sure your HostGator account has enough space. Clear your browser cache before retrying the install. Use HostGator’s one-click installer for an easier process. If errors persist, try reinstalling WordPress manually.
Resolving Database Connection Problems
Database connection errors block site access. Verify your database name, username, and password. These details must match what HostGator provides. Check your database server address; it is often “localhost.” Reset your password in HostGator’s control panel if unsure. Ensure your database user has proper permissions. Repair the database using WordPress tools if needed. These steps fix most connection issues quickly.
Optimizing Your WordPress Site On Hostgator
Optimizing your WordPress site on HostGator improves user experience and site performance. It helps your site load faster, stay secure, and keep your data safe. These steps ensure your website runs smoothly and keeps visitors happy.
Speed Enhancements
Fast websites keep visitors engaged. Use caching plugins to store site data temporarily. This reduces server load and speeds up page delivery. Compress images before uploading to save bandwidth. Choose a lightweight theme that loads quickly. Use a content delivery network (CDN) to serve files from servers closer to visitors. Regularly update WordPress and plugins to improve speed and fix bugs.
Security Measures
Protect your site from hackers and malware. Use strong passwords for your WordPress admin and HostGator account. Enable two-factor authentication for extra protection. Install a security plugin to monitor threats and block attacks. Keep WordPress, themes, and plugins updated to close security gaps. Use SSL certificates to encrypt data and build visitor trust.
Backup Solutions
Regular backups save your data in case of errors or attacks. Use HostGator’s built-in backup tools or plugins like UpdraftPlus. Schedule automatic backups to run daily or weekly. Store backups in a remote location such as cloud storage. Test your backups by restoring them to ensure they work. Backups keep your site safe and give peace of mind.

Credit: www.shoutmeloud.com
Frequently Asked Questions
How Do I Install WordPress On Hostgator?
To install WordPress on HostGator, log in to your cPanel. Use the QuickInstall or Softaculous app. Follow the prompts to select your domain and set admin details. The process is fast and user-friendly.
Can I Use Hostgator’s Cpanel To Manage WordPress?
Yes, HostGator’s cPanel lets you manage your WordPress site easily. You can access databases, backups, and file managers. It also supports plugin and theme installations via WordPress dashboard.
What Are The System Requirements For WordPress On Hostgator?
HostGator supports PHP 7. 4 or higher and MySQL 5. 6 or higher. It also requires Apache or Nginx web servers. These ensure WordPress runs smoothly and securely on your hosting.
Is Hostgator Good For WordPress Beginners?
HostGator is ideal for WordPress beginners. It offers easy installation tools, 24/7 support, and user-friendly cPanel. This makes managing a WordPress site simple for new users.
Conclusion
Adding WordPress to HostGator is simple and fast. Just follow each step carefully. You can create a website without needing special skills. This process helps you start your online journey smoothly. Keep your login details safe and update WordPress often.
Enjoy building your site and sharing your ideas with the world. Now, your website is ready to grow and attract visitors.



