
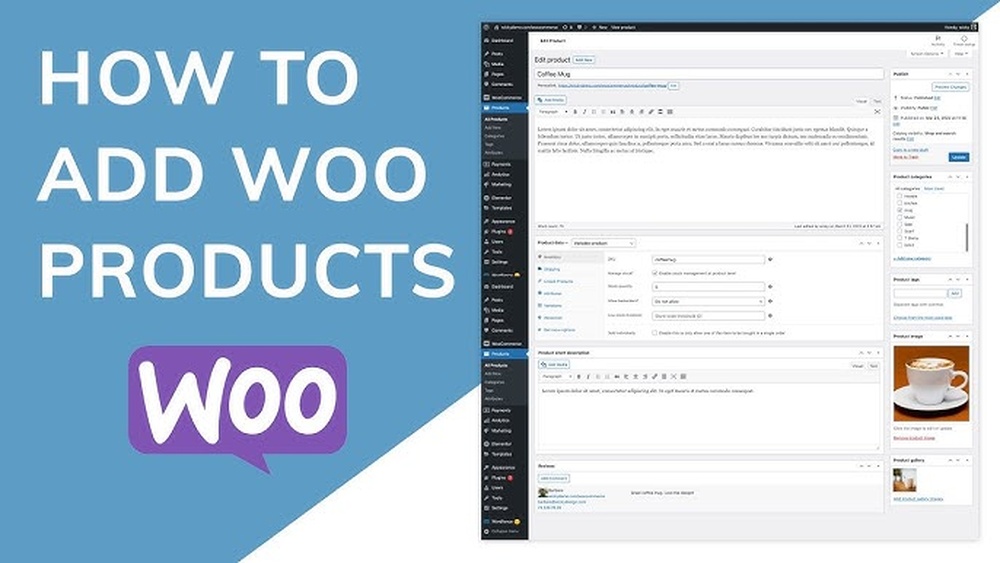
Are you ready to showcase your products and boost your sales? Adding products to your WordPress website doesn’t have to be confusing or time-consuming.
Whether you’re starting a new online store or expanding an existing one, this simple guide will walk you through every step. By the end, you’ll know exactly how to add your products so they look great and attract buyers. Keep reading—you’re just a few clicks away from turning your website into a powerful selling tool.
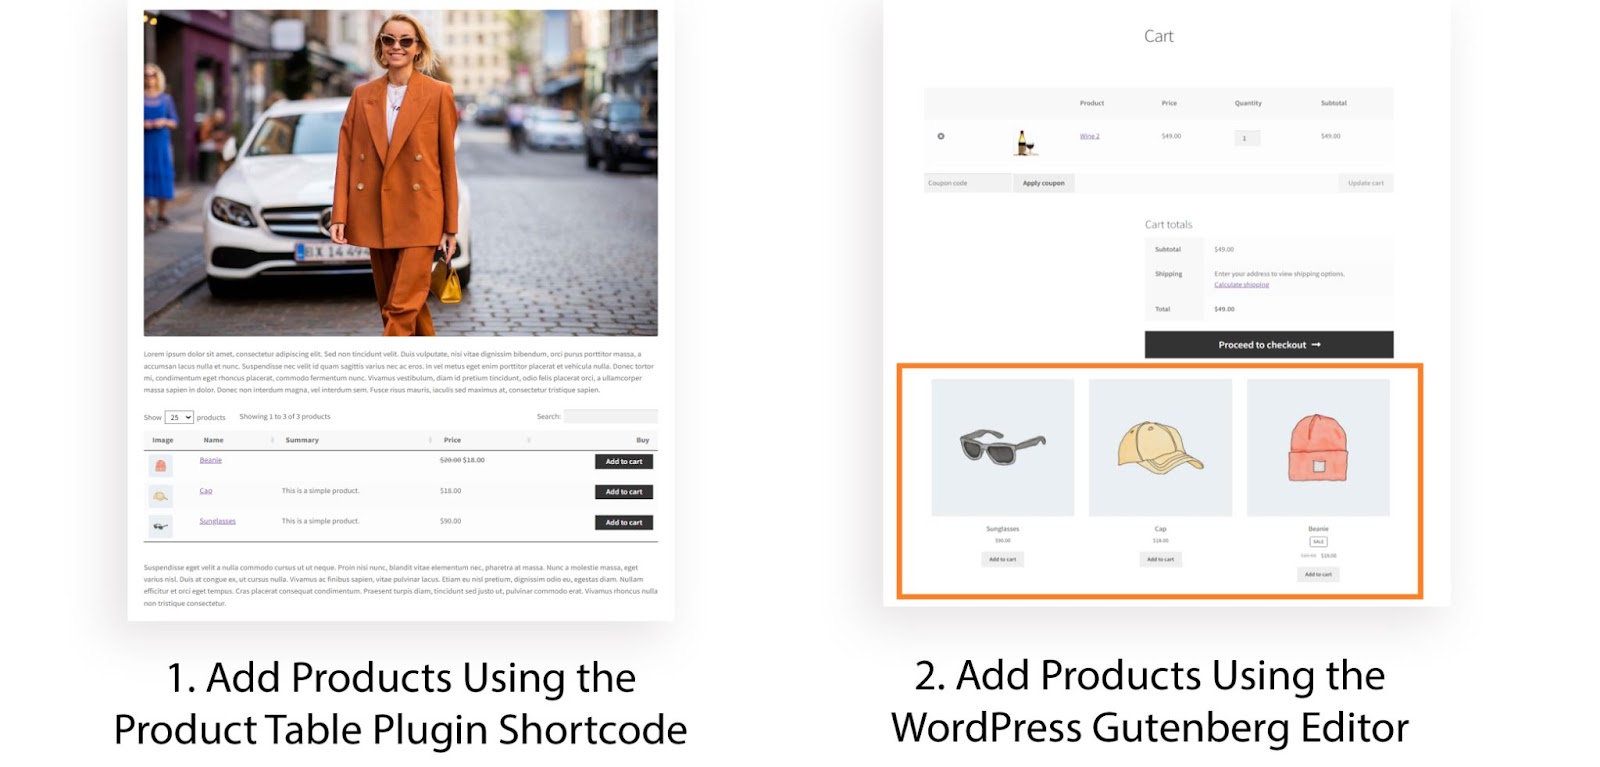
Credit: aovup.com
Set Up Woocommerce Plugin
Setting up the WooCommerce plugin is the first step to selling products on your WordPress site. WooCommerce turns a simple website into a full online store. This process is easy and fast. Follow these steps to get started.
Install And Activate Woocommerce
Go to your WordPress dashboard. Click on “Plugins” and select “Add New.”
Type “WooCommerce” in the search box. Find the WooCommerce plugin by Automattic.
WooCommerce will add new menus and options to your dashboard.
Configure Basic Settings
After activation, a setup wizard appears. This helps you set basic store details.
Enter your store address and choose the currency. Select payment methods like PayPal or Stripe.
Set shipping options based on your needs. Choose tax settings if required.
Finish the wizard to save your settings. Your store is ready for product addition.
Create A New Product
Creating a new product on your WordPress website is simple and quick. It helps showcase your items clearly. Follow these steps to add your product with ease.
Navigate To Products Section
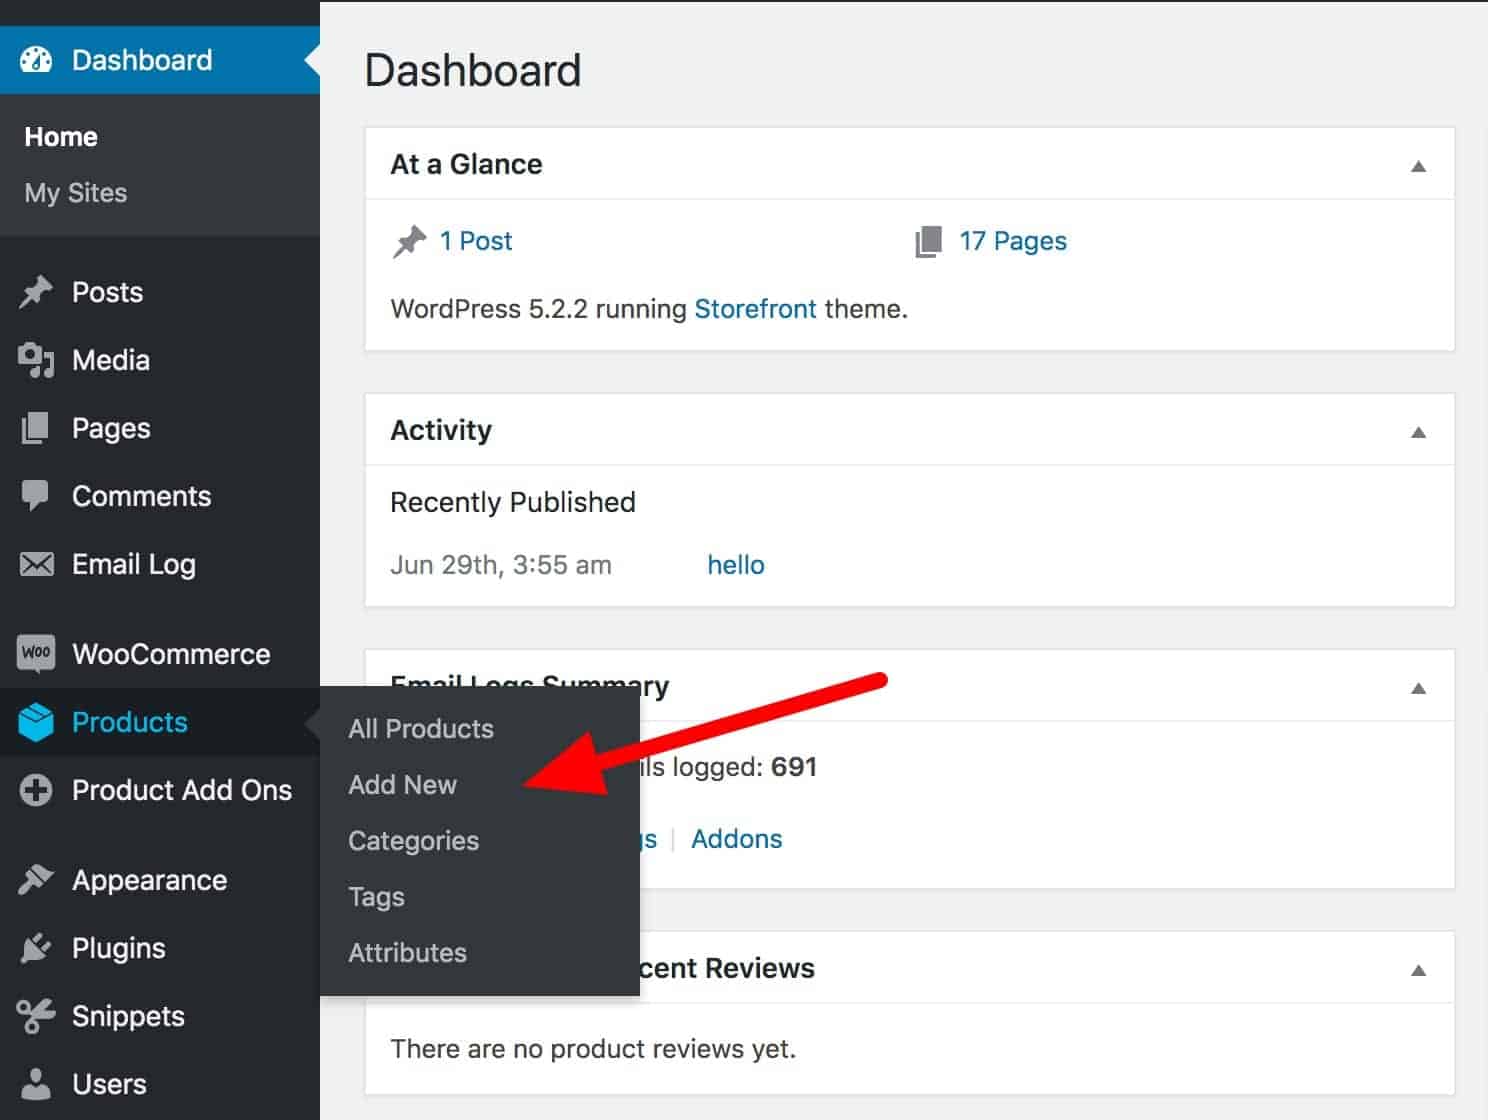
Log in to your WordPress dashboard. Look for the “Products” menu on the left side. Click on it to open the products area. This section holds all your existing products and options to add new ones.
Add Product Title And Description
Click on the “Add New” button at the top. Enter the product name in the title box. Write a clear and short description below. Describe what the product is and its main features. Keep the text simple and helpful for visitors. This information appears on the product page.
Choose Product Type
Choosing the right product type is important when adding a product in WordPress. It helps organize your items and shows customers the details they need. WordPress offers several product types to fit different needs. Understanding these types makes your store easier to manage.
Simple Products
Simple products are basic items without options. They have one price and one stock level. This type suits products like books, mugs, or shirts in one size. You only need to enter the product name, price, and description.
Variable Products
Variable products have multiple options for customers. These options can be size, color, or style. Each variation can have its own price and stock. This type works for products like clothing or shoes with different sizes.
Grouped Products
Grouped products are collections of related items. They let customers buy items individually from a group. This works well for sets or bundles of products. For example, a set of kitchen tools sold separately but shown together.

Credit: www.youtube.com
Add Product Details
Adding product details is a key step in creating your online store. This information helps customers understand what you sell. Clear and accurate details build trust and encourage sales. Focus on price, stock, and shipping to start.
Set Price And Sale Price
Enter the regular price of your product first. This price shows what customers usually pay. If you want to offer a discount, add a sale price. The sale price appears as a lower amount for a limited time. This can attract buyers and boost sales. Make sure the prices are correct and easy to see.
Manage Inventory
Inventory management keeps track of your stock. Enable stock management to avoid selling items you don’t have. Enter the quantity available for each product. You can also set notifications for low stock. This helps you reorder products on time. Keeping inventory updated prevents unhappy customers.
Add Shipping Information
Shipping details tell customers how you deliver products. Enter the product weight and dimensions. This information helps calculate shipping costs. Choose the shipping class if you have different shipping rates. Clear shipping info sets correct expectations. This reduces delivery problems and returns.
Upload Product Images
Uploading product images is a key step in showcasing your items clearly. Good images help customers see what you offer. They make your website look professional and appealing.
WordPress makes it easy to upload and organize product pictures. You can set one main image and add more photos to a gallery. This way, visitors get a complete view of your product.
Set Featured Image
The featured image is the main picture of your product. It appears on the product page and in product listings. To set it, click on “Set featured image” in the product editor.
Choose a clear, high-quality photo that best shows your product. Upload it from your computer or select one from the media library. Click “Set featured image” to save it.
This image is important. It creates the first impression for your customers.
Add Product Gallery
The product gallery shows extra photos of your product. It helps customers see different angles or features. In the product editor, find the “Product gallery” box.
Click “Add product gallery images” to upload more pictures. Select multiple files or images from the media library. After adding, you can drag and drop to reorder them.
Use clear and varied images for the gallery. This makes your product page more attractive and informative.
Assign Product Categories And Tags
Assigning product categories and tags helps organize your products. It makes browsing easier for visitors. Categories group similar products. Tags highlight specific features or details. Both help improve your website’s SEO and user experience.
Create New Categories
To create a new category, go to the product editing page. Look for the “Product Categories” box on the right side. Click “Add New Category.” Enter a clear, simple name for the category. Choose a parent category if needed. Click “Add New Category” to save it. Use categories that describe your products well.
Use Relevant Tags
Tags describe product details or features. They help customers find specific items quickly. Enter tags in the “Product Tags” box. Separate each tag with a comma. Use tags that match what customers might search for. Avoid using too many tags. Keep them specific and useful.
Publish And Preview Product
Publishing and previewing your product is an important step in your WordPress website setup. It helps you check how your product looks before visitors see it live. You can save your work as a draft or publish it directly. Previewing ensures that everything appears correctly.
Save Draft Or Publish
WordPress lets you save your product as a draft first. This option keeps your product hidden from visitors. You can edit and improve it anytime. When ready, click the “Publish” button. This action makes your product visible on your site. It helps you manage your products without rushing.
Preview Product Page
Previewing your product page shows how it looks to visitors. Use the “Preview” button to open a new tab. Check images, descriptions, prices, and layout. Make sure all details are clear and correct. Previewing helps avoid mistakes and improves user experience.
Optimize For Seo
Optimizing your product for SEO helps it reach more customers. Search engines use specific information to rank your product pages. Proper SEO can increase your product’s visibility and boost sales.
Add Meta Description
The meta description is a short summary of your product. It appears under the title in search results. Write a clear and simple description. Include the main benefit or feature. Keep it under 160 characters. This helps users decide to click on your product.
Use Keywords Effectively
Choose keywords that describe your product well. Use words customers type to find products like yours. Place keywords in the product title, description, and meta description. Avoid overusing keywords. Use them naturally to keep the content easy to read. This helps search engines understand your product better.
Credit: pluginrepublic.com
Frequently Asked Questions
How Do I Add A Product In WordPress?
To add a product, install WooCommerce, go to Products > Add New, enter product details, set price, and publish. This process creates a new product listing visible on your site.
Can I Add Images To WordPress Products?
Yes, you can add images by using the Product Image section while editing a product. Upload clear, high-quality pictures to attract buyers.
How To Set Product Prices In WordPress?
Set prices in the Product Data box under the General tab. Enter regular and sale prices to manage discounts easily.
Is It Possible To Add Product Categories?
Yes, create categories under Products > Categories. Assign your products to relevant categories for better organization and user navigation.
Conclusion
Adding a product to your WordPress website is simple and quick. Just follow the steps carefully, and you will see your product online. Keep your product details clear and accurate for better customer trust. Regular updates help keep your store fresh and inviting.
Start adding products today and watch your site grow steadily. Easy to do, and worth the effort.



