
Are you ready to take control of your website’s data like a pro? Adding a database to your GoDaddy web hosting account might sound technical, but it’s simpler than you think.
Imagine seamlessly managing your website’s content and user information with just a few clicks. You don’t need to be a tech wizard to achieve this. In this guide, we’ll walk you through every step of the process, ensuring you have all the tools you need to set up your database with confidence.
Whether you’re a seasoned webmaster or just starting out, by the end of this article, you’ll be equipped to enhance your site’s functionality and performance. Let’s dive in and unlock the full potential of your GoDaddy web hosting!

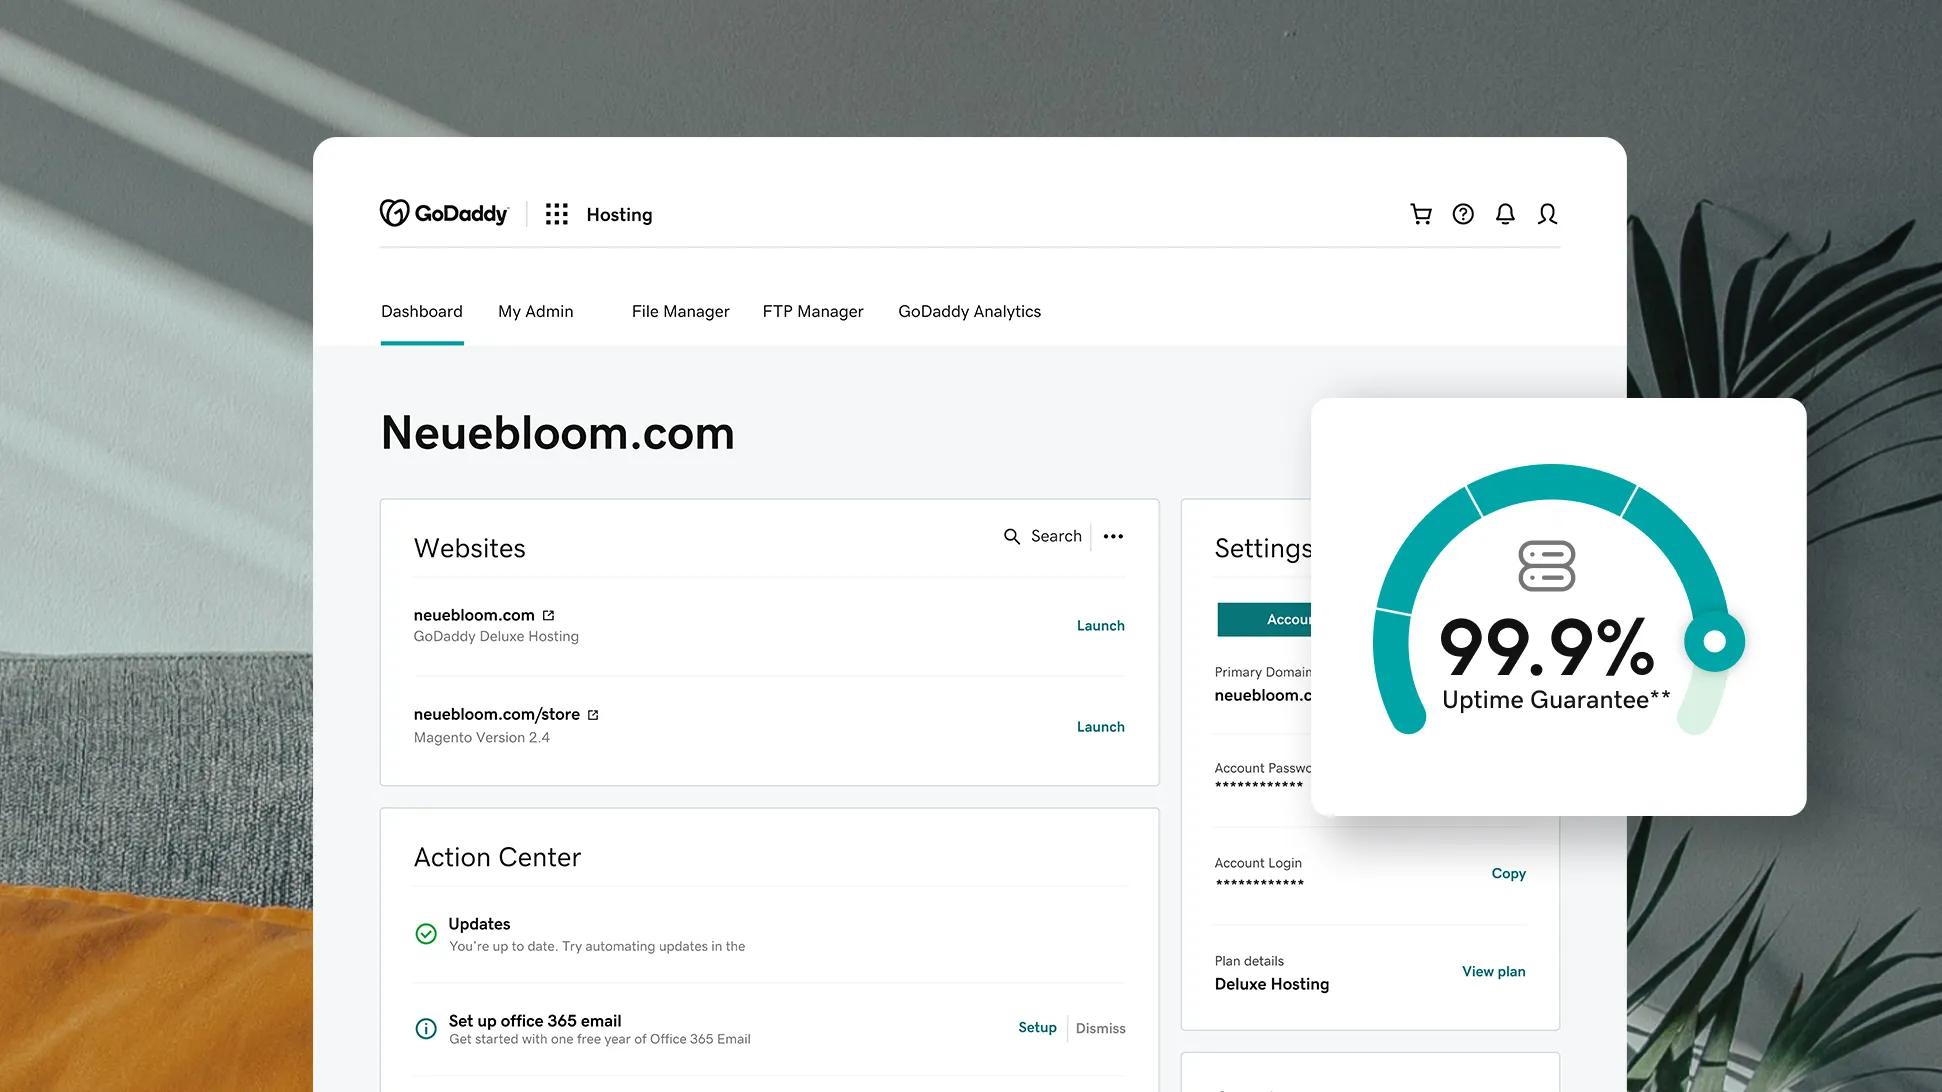
Credit: www.godaddy.com
Choosing The Right Database Type
MySQL is open-source and free. It is widely used. Great for small to medium projects. Easy to learn. SQL Server is from Microsoft. It costs money. Strong choice for larger businesses. Offers powerful features. Works well with Microsoft tools.
Factors To Consider
Think about your budget. MySQL is cheaper. Consider the size of your project. SQL Server handles big data better. Look at compatibility. SQL Server works best with Windows. MySQL is more flexible. Check your team’s skill level. Choose what they know best. Both options have good support and community.
Accessing Godaddy Hosting Dashboard
Accessing the Godaddy Hosting Dashboard lets you easily manage your website. Add a database by navigating to the hosting manager. Use the database section to create and configure your new database efficiently.
Logging Into Your Account
First, go to the Godaddy website. Find the login button. It’s usually at the top. Enter your username and password. Click to log in. You will see your account dashboard. It shows all your products. Look for the hosting section.
Navigating To Hosting Dashboard
In the dashboard, find the hosting tab. Click on it. This will take you to your hosting account. Here, you can see your domains and settings. You can manage your websites from this place. Make sure you know which domain you want to add a database to. Check your options carefully.
Creating A New Database
Start by logging into your Godaddy account. Find the hosting section. Click on My Products. Choose your hosting plan. Look for the databases option. Click on it. Select Create Database. A new page will open. Follow the prompts. It’s simple and easy.
Enter a database name. Pick a name that is easy to remember. Type the name in the box. Next, create a database user. Enter a username. Keep it simple. Write down the password. Make sure it is strong. Click create to finish. Your database is now ready.

Credit: www.youtube.com
Configuring Database Settings
Users need the right permissions for database tasks. GoDaddy’s hosting panel helps. First, locate the database section. Next, find the user management tool. Here, you can assign privileges. Choose the correct user from the list. Select the permissions they need, like read or write. Save your settings. This ensures users can only do what you allow.
Connection parameters link your site to the database. Start by finding the database settings page. Look for fields like host, username, and password. Enter your database’s host name. Use the correct username and password. These details must match your database info. Save changes to apply them. This step is key for a smooth connection.
Connecting Your Application
Find the connection string in your Godaddy account. This string tells your application how to connect. Use it to connect your database. Host, username, and password are in the string. Copy it carefully. Paste it into your application’s settings. Check for typos. They break connections.
Ensure your database is working. Open your application. Use a test feature. It checks the connection. See if data loads correctly. Errors mean something is wrong. Fix them right away. Check settings again. Make sure everything matches. Success means your database is ready.
Managing Your Database
Accessing phpMyAdmin on GoDaddy is simple. Log in to your GoDaddy account. Go to your web hosting account. Click on the phpMyAdmin option. This tool helps you manage your database. You can create new tables and run queries. It’s a helpful tool for database tasks. Follow the instructions step by step. Make sure to save your work often. If you make a mistake, undo is your friend.
Backing up your database is important. It saves your data from loss. Go to your control panel on GoDaddy. Find the backup option. Click on it to start a backup. You can download the backup to your computer. Set a reminder to back up weekly. Backups keep your data safe. It only takes a few minutes.
Troubleshooting Common Issues
Connection errors can be frustrating. Check your database name first. It must match exactly. Double-check the username and password. Any mistake can cause issues. Server details are also important. Ensure you have the correct server address. Sometimes, firewall settings block access. Disable firewalls temporarily and test again. These steps often fix connection errors.
Access problems occur if permissions are wrong. Ensure your user has access to the database. Sometimes users have no rights. Grant necessary permissions to fix this. Check the database settings. Update permissions if needed. Always save changes after updates. These actions usually solve access issues.
Credit: www.godaddy.com
Frequently Asked Questions
How To Add A Database In Godaddy Hosting?
Log into your GoDaddy account. Access cPanel. Click on “MySQL Databases” in the Databases section. Enter a name for your new database and click “Create Database. ” Add a user by filling out the username and password fields, then click “Create User.
” Assign the user to the database.
Does Godaddy Host Databases?
GoDaddy offers database hosting services, including MySQL and MS SQL databases. Users can manage databases easily via cPanel. Hosting plans often include database support, making it convenient for website owners. This is ideal for small to medium-sized businesses needing reliable database solutions.
How Do I Import A Sql Server Database Into Godaddy?
Access your GoDaddy account. Navigate to “Databases” in the hosting control panel. Use “phpMyAdmin” for MySQL databases. Click “Import” and upload your SQL file. Make sure the file size is within limits. Click “Go” to complete the import process.
How To Connect Database To Web Server?
To connect a database to a web server, install the database software and configure it. Use database credentials in server scripts. Ensure the server can access the database by opening necessary ports. Test the connection using a database management tool or script.
Secure the connection with encryption and authentication.
Conclusion
Adding a database on GoDaddy is simple with these steps. Follow them carefully. First, log into your account. Next, access your hosting panel. Then, select the database option. Choose the type that suits your needs. Set up your database with a name and user.
Finally, connect it to your website. These steps ensure your database functions well. Practice makes it easier each time. Enjoy managing your website with a reliable database. Your online presence grows stronger with good database management. Now, you can focus on other parts of your site.
Happy hosting!


