
Are you tired of using the same old fonts on your WordPress site? Adding a custom font can instantly give your website a fresh, unique look that stands out.
But maybe you’re worried it’s too complicated or time-consuming. Don’t be. In this guide, you’ll learn simple, step-by-step ways to add custom fonts to your WordPress site—no coding skills needed. By the end, you’ll have the tools to make your site truly yours and keep visitors coming back for more.
Ready to transform your website’s style? Let’s dive in.
Why Use Custom Fonts
Custom fonts help your website stand out from others. They give your site a unique look. Using custom fonts also makes your content easier to read and matches your brand style better. These small changes improve the overall user experience.
Impact On Website Design
Fonts shape how your website feels. A good font sets the tone and mood. It can make your site look modern, classic, or fun. Custom fonts let you create a design that fits your message perfectly.
Brand Consistency
Every brand has its style. Using the same fonts everywhere keeps your brand strong. It builds trust with visitors. Custom fonts help you keep the same look on your website and other materials.
Improved Readability
Clear fonts make reading easier. Visitors stay longer if your text is simple to read. Custom fonts can improve text size, spacing, and style. This helps users understand your content quickly.

Credit: pixelgrade.com
Choosing The Right Font
Choosing the right font for your WordPress site is important. The font shapes how visitors feel about your content. It affects readability and the overall look of your site.
Fonts should match your brand’s style and message. They also need to work well on different devices. Picking the right font helps keep visitors engaged and makes your site look professional.
Free Vs Premium Fonts
Free fonts are easy to find and use. Many are good for basic needs. They save money but may lack variety and uniqueness. Premium fonts cost money but offer more styles and higher quality. They often include extra features and better support. Consider your budget and needs before choosing.
Font Licensing
Font licensing tells you how you can use a font. Some fonts are free for personal use only. Others allow use on websites or in commercial projects. Always read the license carefully. Using fonts without proper license can cause legal problems. Choose fonts with clear and suitable licenses.
Popular Font Sources
Google Fonts is a top free source. It offers many fonts that load fast on websites. Adobe Fonts has premium options and good quality. Fonts.com and MyFonts sell many premium fonts. Each source has unique fonts and licensing terms. Pick one that fits your style and budget.
Preparing Fonts For WordPress
Preparing fonts for WordPress is an important step before uploading. Proper preparation helps fonts load faster and look good on all devices. It also ensures compatibility with WordPress themes and browsers.
Fonts come in different formats and sizes. Choosing the right format and optimizing the files will improve your website’s speed and appearance.
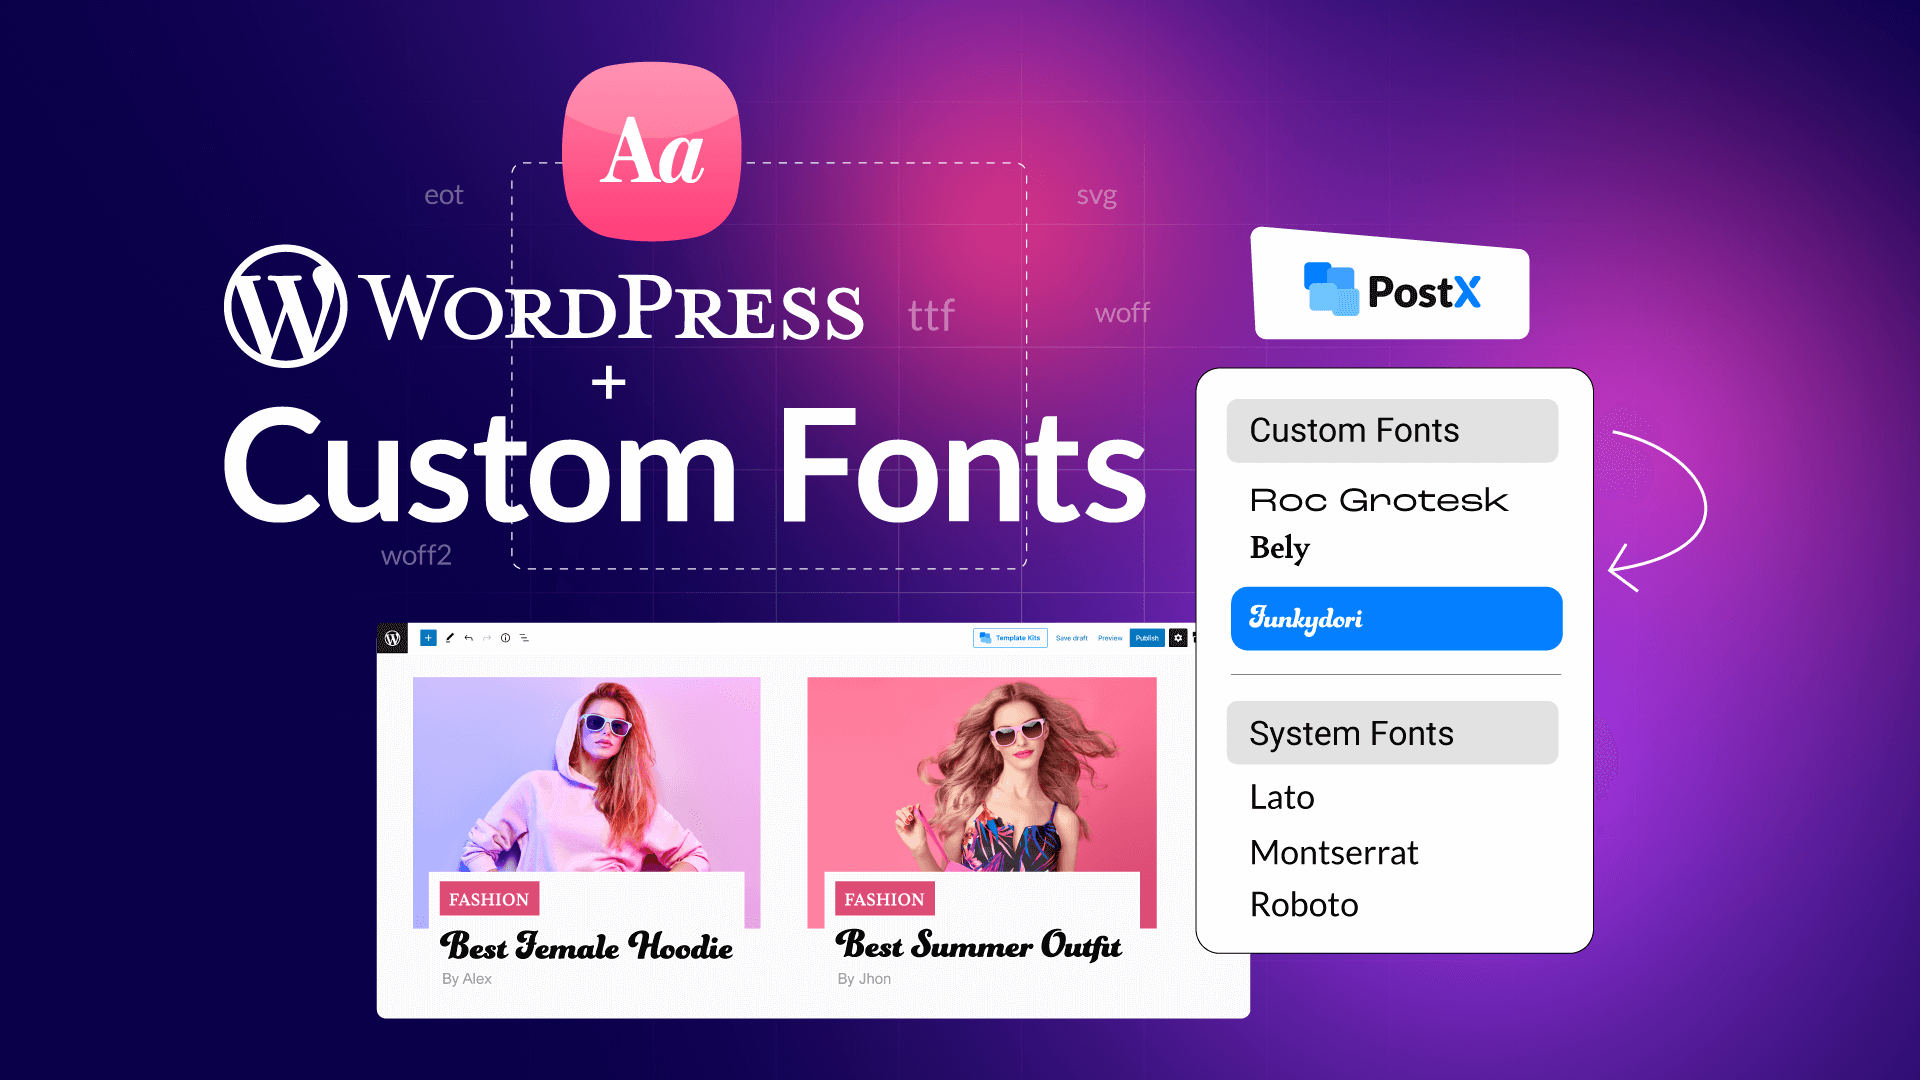
Supported Font Formats
WordPress supports several font formats. The most common are TTF, OTF, WOFF, and WOFF2. TTF and OTF are traditional font files. WOFF and WOFF2 are web-optimized formats. WOFF2 is the smallest and fastest to load. Not all browsers support every format. Using WOFF and WOFF2 covers most users.
Optimizing Font Files
Large font files slow down your site. Reduce file size by removing unused characters. Use online tools or font software for this. Convert fonts to WOFF or WOFF2 for faster loading. Test fonts on different devices after optimization. Keep backup copies of original fonts before changes.
Credit: www.wpxpo.com
Adding Fonts Via Theme Customizer
Adding fonts via the Theme Customizer is a simple way to change your site’s look. This method lets you upload and apply custom fonts without coding. It helps keep your site unique and matches your brand style. Follow these steps to add fonts directly through your WordPress dashboard.
Accessing The Customizer
Start by logging into your WordPress dashboard. Go to Appearance and click Customize. This opens the Theme Customizer panel. Here, you can change many design settings, including fonts. The exact font option may vary depending on your theme.
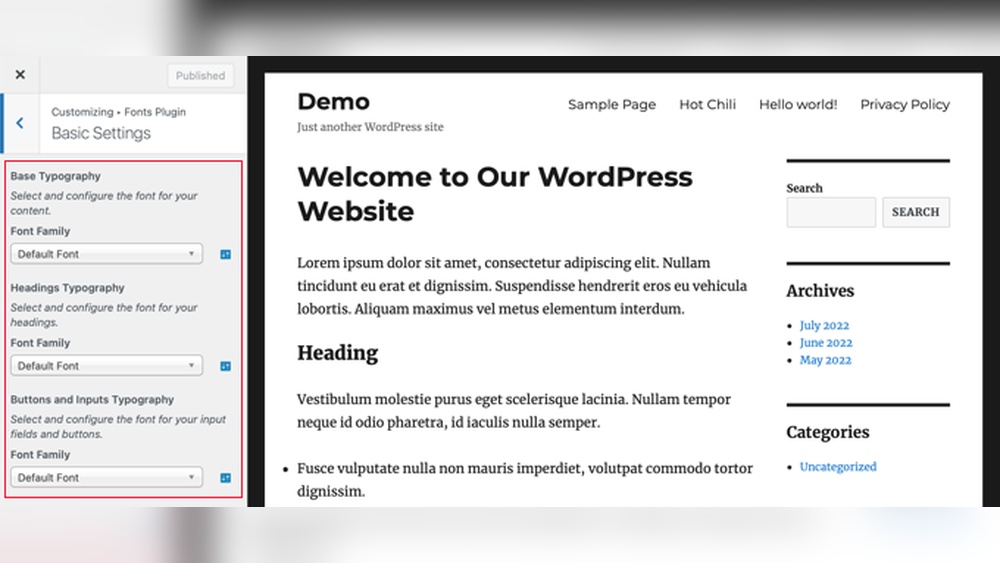
Uploading Custom Fonts
Look for the font or typography section in the Customizer. Some themes allow you to upload font files directly. Click the upload button and choose your font file. Use common formats like .woff or .ttf for best compatibility. Wait for the upload to finish before moving on.
Applying Fonts To Elements
After uploading, assign the font to site elements. You can select headings, body text, or menus. Choose where the new font fits best for your design. Preview the changes live in the Customizer before saving. This step helps ensure your site looks good on all devices.
Using Plugins For Custom Fonts
Using plugins to add custom fonts in WordPress makes the process simple and fast. Plugins handle the technical parts for you. No coding needed. They let you upload fonts or select from many font libraries. This way, your website looks unique and professional.
Top Plugins To Consider
Several plugins help add custom fonts easily. “Easy Google Fonts” lets you pick fonts from Google Fonts quickly. “Use Any Font” allows you to upload your own font files. “Custom Fonts” helps organize and apply fonts site-wide. Each plugin offers unique features for different needs.
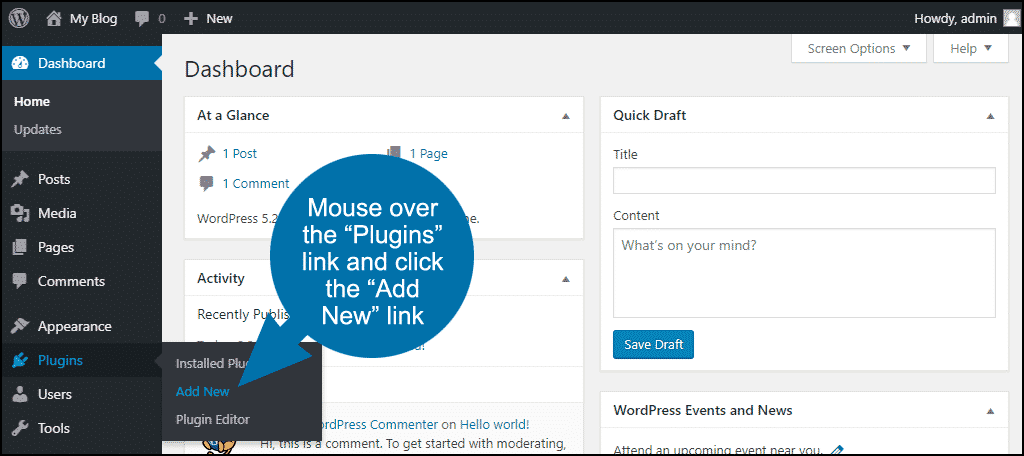
Step-by-step Plugin Setup
First, install your chosen font plugin from the WordPress dashboard. Activate the plugin after installation. Follow the plugin’s instructions to add new fonts. Upload font files or choose from the plugin’s library. Save settings to apply fonts across your site. Preview your site to check font changes.
Managing Fonts With Plugins
Plugins let you control fonts in one place. You can assign fonts to headings, paragraphs, or menus. Change font size, style, and weight without touching code. Some plugins offer live previews for easy editing. Update or remove fonts anytime through the plugin settings. This keeps your website design fresh and consistent.
Manual Font Integration
Manual font integration lets you add custom fonts without plugins. This method gives full control over font files and styles. It suits users who want to customize their website deeply.
The process involves uploading font files, editing CSS, and using the @font-face rule. Each step must be done carefully for fonts to display properly.
Uploading Fonts To Server
First, prepare your font files. Common formats include .woff, .woff2, .ttf, and .otf. Upload these files to your WordPress server using an FTP client or your hosting file manager.
Create a folder named “fonts” inside your theme or child theme directory. Place all font files in this folder. This keeps fonts organized and easy to find.
Editing Css For Custom Fonts
Next, open your theme’s style.css file. This file controls the styles on your website. Add custom CSS rules to link your new fonts.
Ensure you target the correct elements, such as body or headings, to apply the font style. Save changes and refresh your site to see updates.
Using @font-face Rule
The @font-face rule tells the browser how to load your custom fonts. Define the font family name and file paths here.
Example:
@font-face { font-family: 'MyCustomFont'; src: url('fonts/mycustomfont.woff2') format('woff2'), url('fonts/mycustomfont.woff') format('woff'); font-weight: normal; font-style: normal; }Use the font-family name in your CSS to apply the font. This method works across all modern browsers.
Troubleshooting Font Issues
Adding custom fonts to your WordPress site can improve its look and feel. Sometimes fonts do not show up correctly. This section helps you fix common font problems. Follow simple tips to make your fonts display well on all devices and browsers.
Common Display Problems
Fonts may not appear as expected. Sometimes text looks plain or different. Check if the font files are uploaded correctly. Make sure the font name matches exactly in your CSS. Clear your browser cache to see changes. Incorrect file paths cause fonts to fail loading. Use a font format supported by most browsers like WOFF or TTF.
Browser Compatibility
Not all browsers support every font type. Some older browsers miss certain font features. Test your site on popular browsers such as Chrome, Firefox, Safari, and Edge. Use multiple font formats to cover more browsers. Add fallback fonts in your CSS for safety. This prevents your text from becoming unreadable. Update your browser to the latest version for best results.
Performance Optimization
Custom fonts can slow down your website. Large font files increase loading time. Compress font files before uploading to reduce size. Limit the number of font weights and styles used. Use only the fonts needed for your design. Consider loading fonts asynchronously to avoid delays. Fast loading improves user experience and SEO ranking.
Credit: www.greengeeks.com
Best Practices For Stunning Design
Designing a website with custom fonts can greatly improve its appearance. It makes your site unique and attractive. Following best practices ensures your fonts look good and work well together. It also keeps your site fast and easy for everyone to use. Focus on simple, clear choices for the best results.
Font Pairing Tips
Choose fonts that match in style but are different enough to create contrast. Use one font for headings and another for body text. Stick to two or three fonts to keep the design clean. Avoid fonts that are too similar or clash. Test your pairings on different devices to ensure readability.
Maintaining Load Speed
Use only the fonts you need to avoid slowing down your site. Limit the number of font weights and styles. Compress font files and use modern formats like WOFF2. Host fonts locally or use reliable CDN services. Fast loading improves user experience and SEO rankings.
Accessibility Considerations
Choose fonts that are easy to read for all users. Avoid overly decorative or thin fonts. Ensure good contrast between text and background colors. Use sufficient font size for comfortable reading. Test your site with screen readers and other assistive tools.
Frequently Asked Questions
How Do I Add Custom Fonts To WordPress?
To add custom fonts, upload the font files to your theme folder. Then, use CSS @font-face rules or plugins like Easy Google Fonts for integration. This ensures your site displays unique typography without relying on default fonts.
Can I Use Google Fonts In WordPress Easily?
Yes, Google Fonts are easy to add using plugins like Google Fonts Typography or Elementor. You can also add them manually by linking the font in your theme’s header. php or style. css file.
What File Formats Are Supported For WordPress Custom Fonts?
WordPress supports common font formats like TTF, OTF, WOFF, and WOFF2. Using WOFF or WOFF2 is recommended for better browser compatibility and faster loading times on your website.
Will Adding Custom Fonts Affect My Site Speed?
Custom fonts can impact load time if not optimized. Use web-friendly formats like WOFF2 and limit font weights. Also, preload fonts to improve performance and ensure faster website loading.
Conclusion
Adding a custom font to WordPress makes your site look unique. It helps your content stand out and feel more personal. The steps are simple and do not need coding skills. Choose a font that matches your style and upload it carefully.
Check your site to see how the font looks on different devices. Keep your website easy to read and user-friendly. Custom fonts can improve your site’s design without much effort. Try it today and give your website a fresh new look.


