

Are you looking to make your WordPress site more engaging and user-friendly? Adding widgets is one of the easiest ways to do just that.
Whether you want to display recent posts, social media feeds, or a simple search bar, widgets can help you customize your site without any coding. In this guide, you’ll learn step-by-step how to add a widget to WordPress quickly and effectively.
By the end, you’ll have the tools to enhance your site’s look and functionality, keeping visitors coming back for more. Let’s dive in and transform your website together!
Widget Basics
Widgets are small blocks that add features to your WordPress site. They help you customize your website without coding. Widgets make your site look better and work smoother. You can place them in sidebars, footers, or other widget-ready areas. Understanding the basics of widgets is the first step to enhancing your site’s design and function.
What Widgets Do
Widgets display different types of content on your site. They can show recent posts, calendars, or search bars. Widgets help visitors find important information quickly. They also improve site navigation and user experience. Many widgets add interactive elements like social media feeds or contact forms. Using widgets can make your site more engaging and useful.
Common Widget Types
WordPress offers many built-in widgets to choose from. Recent Posts show the latest articles on your blog. Categories list helps organize your posts by topic. A Search widget lets visitors look for content easily. Text widgets allow you to add custom messages or HTML code. Other popular widgets include calendars, tag clouds, and image galleries.
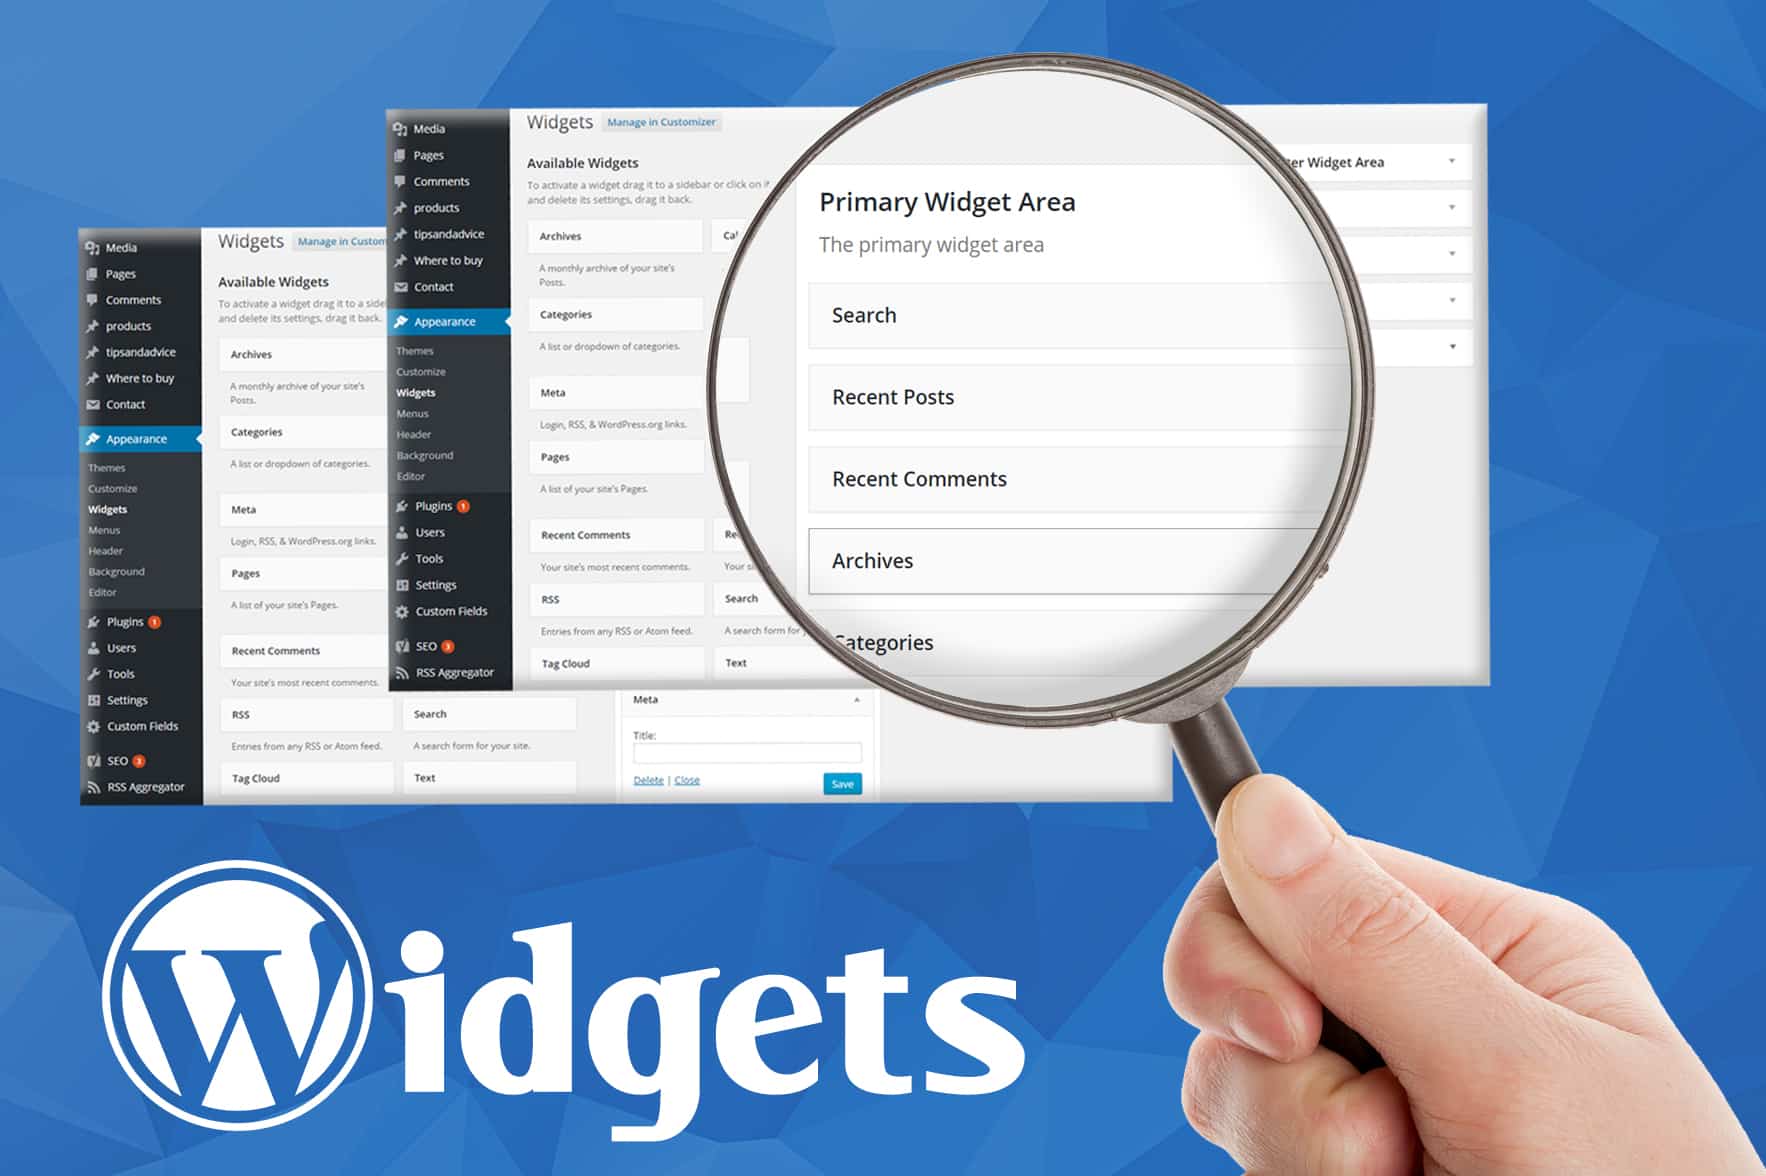
Accessing The Widget Area
Accessing the widget area in WordPress is the first step to customizing your website. Widgets allow you to add features and content to sidebars, footers, and other widget-ready areas. Knowing how to find and use the widget area helps you control the look and feel of your site easily.
This section shows you how to access the widget area using the WordPress dashboard. The process is simple and does not require coding skills.
Using The WordPress Dashboard
Start by logging into your WordPress admin panel. This is where you manage your entire website. The dashboard is your main control center. You will find all the tools needed for editing and customization here.
Once logged in, look for the menu on the left side. This menu contains options like Posts, Pages, Appearance, and more. The Appearance section is where widgets live.
Navigating To Widgets Section
Under Appearance, click on the Widgets link. This opens the widget management screen. Here you see all available widgets and the areas where you can place them.
Each widget-ready area is shown on the right side. You can drag and drop widgets into these spaces. This makes it easy to customize your site’s layout.
Adding A Widget
Adding a widget to your WordPress site makes it easy to add new features. Widgets can show recent posts, calendars, search bars, and more. You can place them in sidebars, footers, or other widget-ready areas. The process is simple and quick, even for beginners.
Let’s explore how to add a widget step-by-step. You will learn how to select, drag, and use the Add Widget button.
Selecting A Widget
First, go to the WordPress dashboard. Find the Appearance menu and click on Widgets. You will see a list of available widgets on the left. Each widget has a name and a short description. Read these to find the one you need.
Think about the purpose of your widget. Choose the one that fits your site’s goal. For example, select Recent Posts to show your latest blog entries.
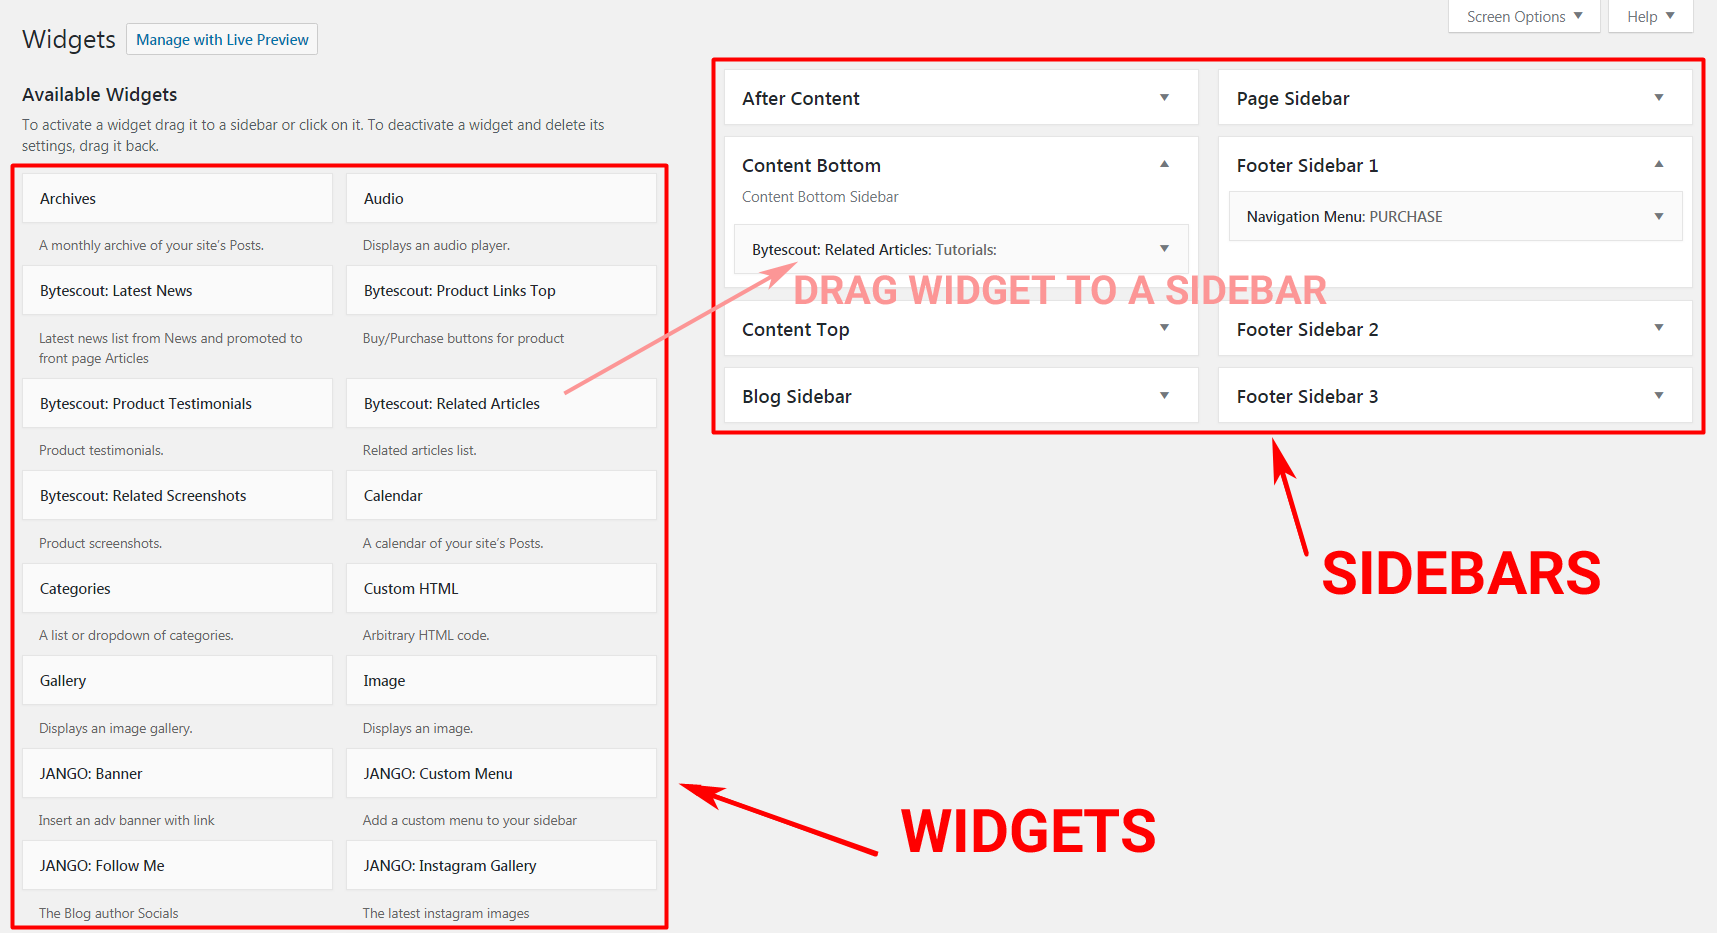
Dragging And Dropping Widgets
After choosing a widget, click and hold it. Drag the widget to the widget area on the right. Widget areas are places on your site where widgets can appear.
Drop the widget in the desired spot. You can move it up or down later. This method is fast and intuitive. It works best on desktop devices.
Using The Add Widget Button
WordPress also offers an Add Widget button. Click this button to open a list of widgets. Scroll or search to find the widget you want. Then click on it to add automatically.
This method is useful if dragging is difficult. It works well on mobile devices. After adding, you can customize the widget settings.
Customizing Widgets
Customizing widgets lets you control how your site looks and works. Widgets add useful features like menus, search bars, or recent posts. Changing widget settings helps you fit these features to your needs. Simple tweaks can make your site easier to use and more attractive.
Editing Widget Settings
Each widget has its own settings you can change. These settings control what the widget shows and how it behaves. To edit, go to the WordPress dashboard and open the Widgets section. Click the widget you want to change. Adjust the options like colors, number of items, or display style. Save your changes to see them on your site.
Adding Titles And Content
Most widgets allow you to add a title. The title helps visitors understand the widget’s purpose. Enter a clear and simple title. You can also add content inside the widget, like text or links. Write short and easy sentences. This keeps your site clean and user-friendly.
Managing Widget Placement
Managing widget placement helps you control your website’s look and feel. Widgets add useful features to your site’s sidebars, footers, and other areas. Proper placement improves visitor experience and site navigation. This section explains how to manage where widgets appear on your WordPress site.
Choosing Widget Areas
WordPress offers several widget areas, also called sidebars. These areas vary based on your theme. Common areas include the sidebar, footer, and header. Choose an area that fits your widget’s purpose. For example, use the sidebar for menus or recent posts. Use the footer for contact info or social links. Check your theme’s settings to see all available areas.
Rearranging Widgets
Rearranging widgets changes their order within a widget area. You can drag and drop widgets to move them up or down. Place the most important widgets at the top for better visibility. Use the WordPress Customizer or Widgets screen to rearrange. Preview your changes before saving to ensure the layout looks right. This simple step keeps your site organized and user-friendly.

Credit: wordpress.org
Using Widget Plugins
Using widget plugins in WordPress helps you add extra features easily. These plugins offer ready-made widgets for many purposes. You can find plugins for calendars, social media, contact forms, and more. Plugins expand the basic widget options that come with WordPress.
Adding a widget plugin does not require coding skills. It is a simple process of finding, installing, and activating the plugin. Once active, you can add the new widgets to your site through the widget area.
Finding Widget Plugins
Go to your WordPress dashboard and open the Plugins menu. Click on “Add New” to search the plugin directory. Type keywords like “widget” or the feature you want in the search box. Look for plugins with good ratings and many active installations. Read short descriptions to see what each plugin offers.
Installing And Activating Plugins
After choosing a plugin, click the “Install Now” button. Wait a few seconds while WordPress downloads the plugin. Once installed, click “Activate” to enable it on your site. Now, go to the Appearance menu and select Widgets. You will find the new widgets available to use and customize.
Troubleshooting Widgets
Widgets help customize your WordPress site easily. Sometimes, widgets might not work as expected. Troubleshooting widgets is simple and saves time. This section covers common widget issues and how to fix them.
Common Widget Issues
Widgets may not appear on your site. Sometimes, they show in the dashboard but not on pages. Widgets can also cause layout problems or overlap other elements. Occasionally, widgets stop working after updates. Some widgets may slow down your site.
Tips For Fixing Problems
First, clear your browser cache and refresh the page. Check if the widget is active in the Appearance > Widgets area. Disable all plugins to see if there is a conflict. Switch to a default theme to test theme compatibility. Update WordPress, themes, and plugins to the latest versions. Remove and re-add the widget if it still fails. Use a plugin to debug errors or check the error log.
Credit: www.greengeeks.com
Credit: bytescout.com
Frequently Asked Questions
How Do I Add A Widget In WordPress?
To add a widget, go to Appearance > Widgets in your WordPress dashboard. Drag and drop your chosen widget into a sidebar or footer area. Customize the widget settings as needed, then save your changes to display the widget on your site.
Can I Add Custom Widgets To WordPress?
Yes, you can add custom widgets by installing plugins or writing custom code. Plugins offer pre-built widgets, while custom code requires PHP knowledge. Custom widgets let you display unique content tailored to your site’s needs and design.
Where Do WordPress Widgets Appear On My Site?
Widgets typically appear in sidebars, footers, or other widget-ready areas defined by your theme. You can check your theme’s widget areas under Appearance > Widgets. Placement depends on your theme’s design and the widget areas it supports.
Are WordPress Widgets Mobile-friendly?
Most WordPress widgets are mobile-friendly, especially those from reputable themes and plugins. Responsive design ensures widgets adjust to different screen sizes. Always test your widgets on mobile devices to ensure proper display and functionality.
Conclusion
Adding a widget to WordPress is simple and quick. Just follow the steps carefully. Widgets help make your site more useful and attractive. They give visitors easy access to important features. Try adding different widgets to find what fits best.
Keep your site updated and organized for better results. Enjoy customizing your WordPress site with ease.


