
Are you looking to make your website easier to navigate? Adding a page to the header in WordPress is a simple way to help visitors find important information quickly.
When you place your key pages right at the top, your site looks professional and user-friendly. In this guide, you’ll learn exactly how to add a page to your WordPress header, step by step. By the end, you’ll have a clear, clickable menu that makes your site shine.
Ready to improve your website’s navigation and keep your visitors engaged? Let’s get started!
Credit: www.wpbeaverbuilder.com
Prepare Your WordPress Site
Preparing your WordPress site is a key step before adding a page to the header. This ensures the process goes smoothly without problems. Taking time to prepare helps avoid errors and data loss.
Check Theme Compatibility
Not all WordPress themes support header customization the same way. Some themes allow easy menu changes, while others need extra steps or plugins. Check your theme’s documentation or settings. Verify it supports adding pages to the header menu. This saves time and prevents confusion later.
Backup Your Website
Backing up your website protects your data. This step is crucial before making any changes. Use a backup plugin or your hosting service backup tool. Save a copy of your entire site and database. If anything goes wrong, you can restore your site quickly. Never skip this step to keep your site safe.
Create The New Page
Creating a new page in WordPress is the first step to add it to your site’s header. This process is simple and fast. It gives you a fresh spot to share content, services, or any information you want visitors to see.
Let’s break down the steps to create a new page. You will learn how to add the page and then customize it to fit your needs.
Add A New Page
Start by logging into your WordPress dashboard. On the left menu, find and click “Pages.”
Next, click the “Add New” button at the top. This opens a blank page editor.
Type the title of your new page in the top field. This title will appear in your header menu.
Once you enter the title, you can save the page as a draft or publish it right away.
Customize Page Content
After creating the page, it is time to add content. Use the block editor to add text, images, or videos.
Click the “+” icon to add different blocks. Choose from paragraphs, headings, lists, and more.
Write clear and simple text to explain what your page is about. Keep sentences short and direct.
Make sure to preview your page. Check how the content looks on desktop and mobile.
When ready, click “Publish” to make the page live on your site.
Access The Header Menu
Accessing the header menu in WordPress is the first step to adding a new page link to your site’s header. The header menu controls the links visible at the top of your website. You can easily customize it to include any page you want. This section explains how to find and open the header menu in your WordPress dashboard.
Navigate To Appearance Settings
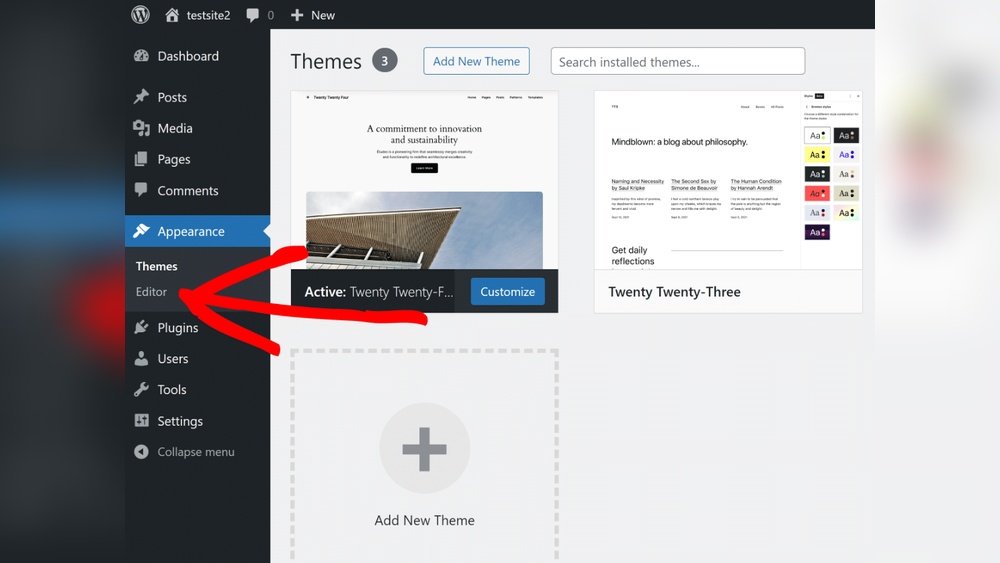
Start by logging into your WordPress admin panel. On the left side, look for the “Appearance” option. Click on it to reveal more settings. This area lets you control how your site looks. The header menu is part of these settings. It is where you change your site’s navigation links.
Open Menus Section
Under “Appearance,” find and click on “Menus.” This opens the menu editor screen. Here, you can create new menus or edit existing ones. The header menu usually appears as one of the menu locations. Select the menu assigned to the header to make changes. This is where you add pages to your site’s top navigation.
Add Page To Header Menu
Adding a page to your header menu helps visitors find important content easily. This process lets you customize your site’s navigation. It creates a clear path to your new pages.
Follow these simple steps to add a page to your header menu in WordPress. Each step ensures your menu looks neat and works well.
Select The Header Menu
First, log in to your WordPress dashboard. Go to the Appearance section and click on Menus. Find the menu that is set as your header menu. This menu controls the links at the top of your site. Select it to start editing.
Add New Page To Menu
Look for the list of your pages on the left side. Check the box next to the page you want to add. Click the “Add to Menu” button. The page will appear at the bottom of your menu structure. This adds it to your header menu.
Arrange Menu Items
Drag and drop the menu items to change their order. Place important pages near the start of the menu. You can also create sub-menus by moving items slightly to the right. After arranging, click “Save Menu” to keep your changes.
Save And Preview Changes
After adding a page to your WordPress header, saving and previewing the changes is essential. This step confirms that your new menu item appears correctly. It also ensures your site visitors can easily find the page.
Taking time to save your settings avoids losing your work. Previewing the site helps catch any errors or layout issues early. Let’s explore how to save your menu and check the header live on your site.
Save Menu Settings
Find the “Save Menu” button at the bottom or top of the menu editor. Click it once you finish arranging your pages. WordPress will then update your site with the new header menu. Always wait for the confirmation message before leaving the page.
Saving regularly prevents losing your changes due to browser issues or accidental clicks. This step locks in your updates for the header menu.
Check Header On Live Site
Open a new browser tab or window. Visit your website’s homepage to see the live header. Look for the new page in the menu bar. Test the link to make sure it opens the right page.
Refreshing the page may be necessary to see the updates. Checking the header live gives a clear view of how visitors experience your site navigation.

Credit: learn.wordpress.org
Troubleshoot Common Issues
Troubleshooting helps fix problems when adding pages to your WordPress header. It saves time and keeps your site looking right. Some common issues can stop pages from showing or updating in the menu. Knowing how to solve these helps you stay in control.
Page Not Showing In Menu
First, check if the page is published. Draft or private pages won’t appear in menus. Go to your WordPress dashboard and confirm the page status. Make sure you added the page to the menu under Appearance > Menus. Sometimes, the menu location might be wrong. Verify that your menu is set as the primary menu or the one used in the header. Clear your browser cache. Old data can hide recent changes.
Menu Not Updating
Changes not showing can mean a caching issue. Clear your site cache or use a plugin to do this. Also, refresh your browser cache to see the latest menu. Check if your theme supports menu changes. Some themes use custom headers that need different steps. Disable plugins one by one to find if any cause conflicts. Save your menu again after making changes to ensure updates.
Use Plugins For Advanced Customization
Plugins give you more control over your WordPress header menu. They let you customize the look and functionality beyond the basic options. You can create menus that fit your style and user needs easily.
Using plugins helps manage complex menus with many pages. They make it simple to organize and display pages in your header. This suits websites that need special layouts or extra features.
Recommended Menu Plugins
Several plugins work well for header menu customization. “Max Mega Menu” allows you to build dropdown menus with ease. “WP Mega Menu” offers drag-and-drop design for headers. “UberMenu” supports responsive menus that look good on all devices.
These plugins provide many settings to change colors, fonts, and menu behavior. They help you create a unique menu without coding knowledge.
Adding Pages With Plugins
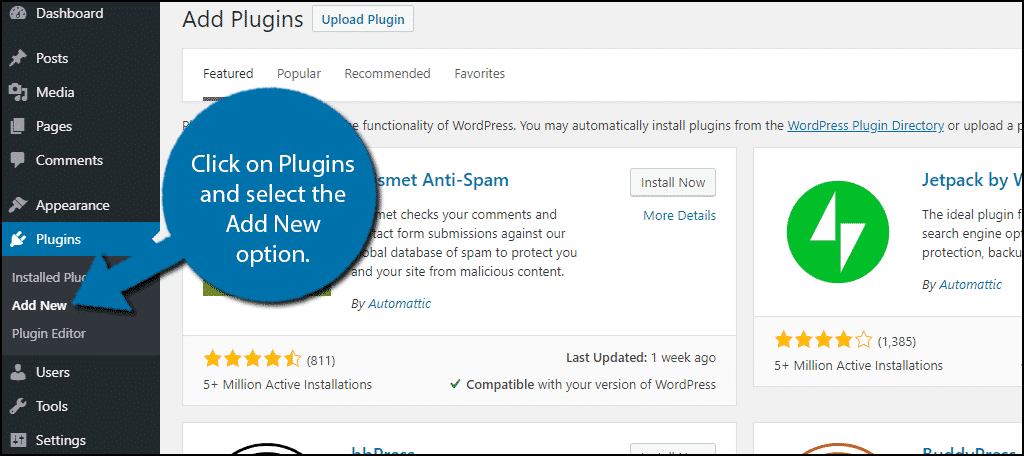
Start by installing your chosen menu plugin from the WordPress dashboard. Activate it and go to its settings panel. Use the plugin’s menu builder to add pages to the header.
Select the pages you want from the list or create custom links. Arrange the pages by dragging them into the order you want. Save your menu and check your site to see the changes.
Plugins often offer extra options like icons next to pages or multi-column layouts. Experiment with these features to enhance your header menu’s look and function.
Credit: www.greengeeks.com
Frequently Asked Questions
How Do I Add A Page To The WordPress Header?
To add a page to the header, go to Appearance > Menus in your dashboard. Select the page and add it to your menu. Save changes and the page will appear in the header navigation.
Can I Customize Header Menu Items In WordPress?
Yes, WordPress allows you to customize header menus via Appearance > Menus. You can reorder, rename, or remove menu items easily. This helps create a navigation that fits your website’s needs.
What If My WordPress Theme Doesn’t Support Header Menus?
If your theme lacks header menu support, use a plugin like “WP Menu Cart” or “Max Mega Menu. ” Alternatively, switch to a theme that supports header menus for easier customization.
Is It Possible To Add External Links To The Header Menu?
Yes, you can add external links by selecting “Custom Links” in Appearance > Menus. Enter the URL and link text, then add it to your menu and save changes.
Conclusion
Adding a page to your WordPress header is simple and quick. You control what visitors see first on your site. Just follow the steps carefully, and you will do it easily. Your website will look more organized and professional. Keep practicing to make your site better every day.
This small change helps users find important pages fast. Give it a try and watch your site improve.



