
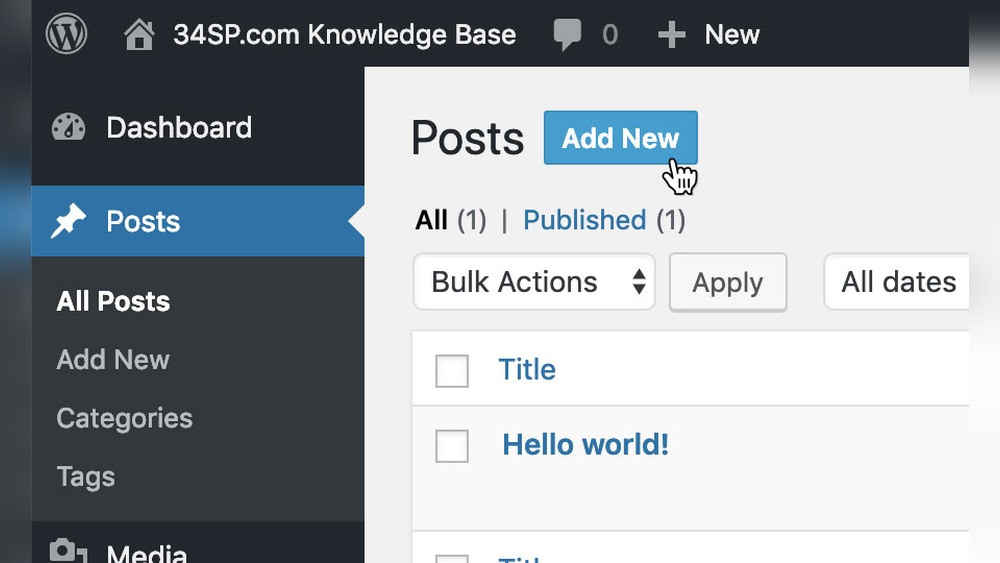
Want to make your WordPress page more engaging and guide your visitors exactly where you want them to go? Adding a button is one of the easiest and most effective ways to do that.
Whether you want people to click for more info, sign up for a newsletter, or buy a product, a well-placed button can boost your results. You’ll learn exactly how to add a button to your WordPress page—step by step, without any confusing tech talk.
Keep reading, and you’ll have your button ready in minutes.
Choose The Right Button Type
Choosing the right button type is key to making your page clear and inviting. The button should fit your page style and purpose. It should also help visitors understand what to do next. Different buttons work better for different goals. Pick a button that matches your message and design.
Text Buttons Vs Image Buttons
Text buttons are simple and clear. They show words like “Buy Now” or “Learn More.” Visitors see exactly what will happen when they click. Text buttons load fast and fit many designs. They also work well on phones and tablets.
Image buttons use pictures instead of words. They can catch the eye and look stylish. Use image buttons to match a brand or theme. But they may take longer to load. Sometimes, visitors don’t understand the action right away. Choose image buttons if the picture is clear and meaningful.
Using Icon Buttons
Icon buttons use small symbols like arrows or shopping carts. They save space and look neat. Icons can make buttons easier to spot. Use icons that are common and easy to understand. Combine icons with text for better clarity. Icon buttons work well for simple actions like “search” or “share.”
Credit: www.elegantthemes.com
Add Buttons With The Block Editor
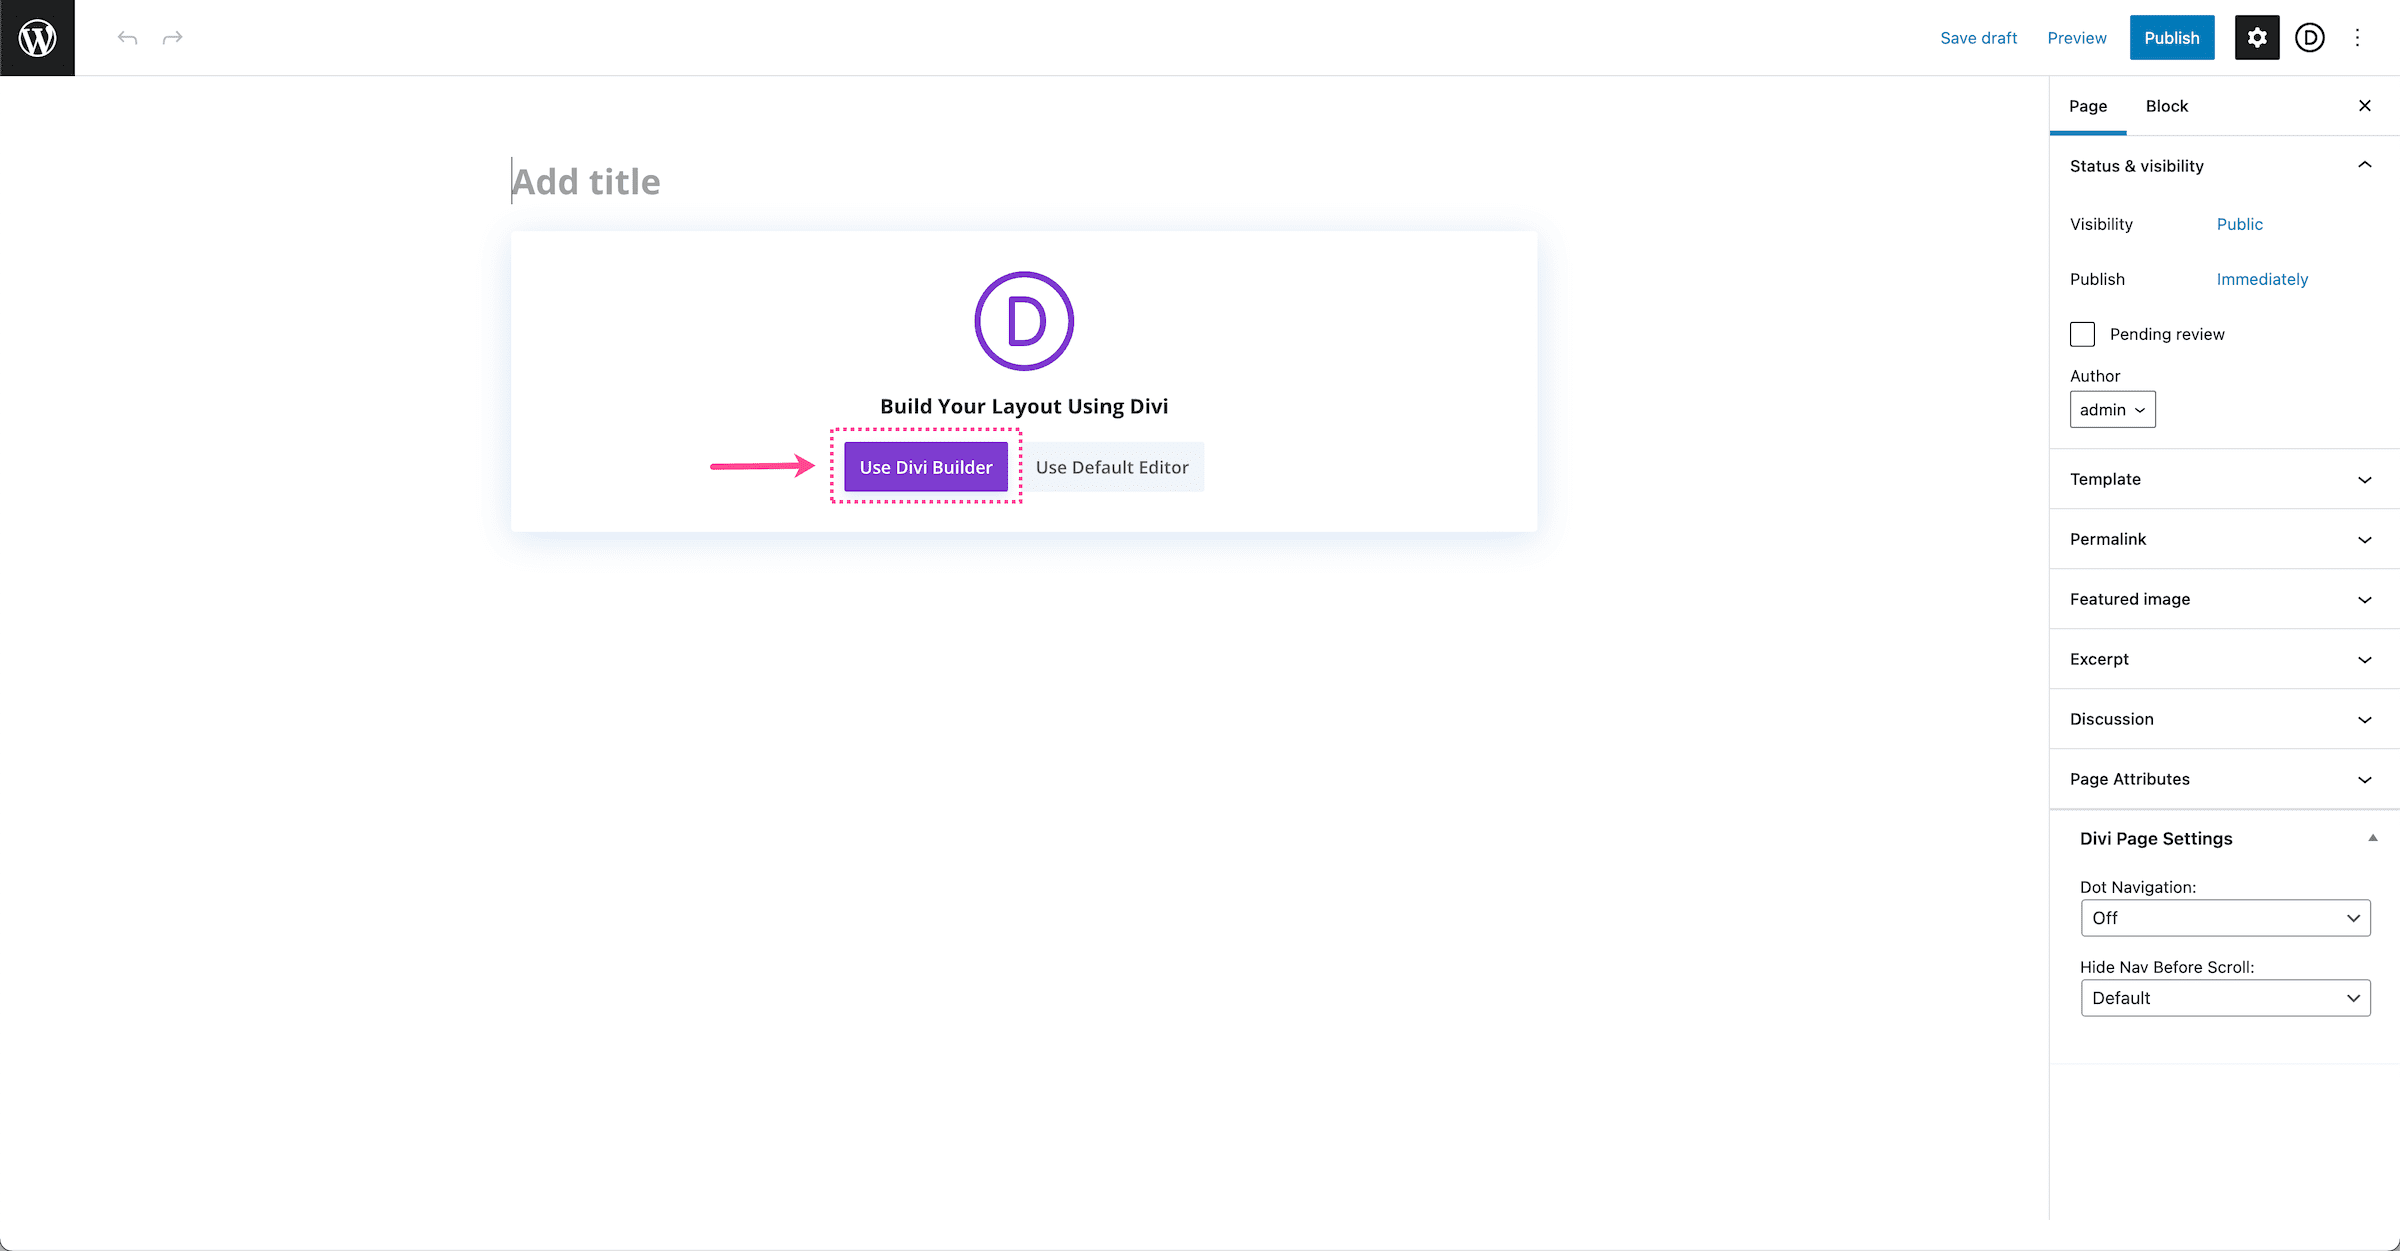
Adding buttons to your WordPress page is simple with the Block Editor. Buttons help visitors take action, like clicking to buy or learn more. The Block Editor makes it easy to place and style buttons without coding. Follow these steps to add buttons that fit your page’s look and feel.
Locate The Button Block
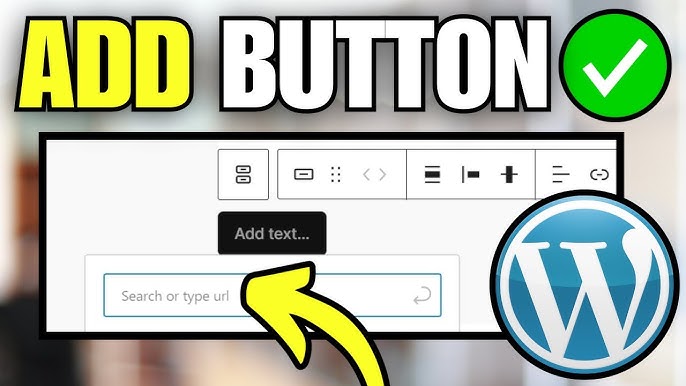
Open your page in the WordPress Block Editor. Click the plus (+) icon to add a new block. Type “Button” in the search box. Select the Button block from the list. The button block will appear on your page, ready to customize.
Customize Button Text And Style
Click inside the button to change the text. Use clear words like “Buy Now” or “Contact Us.” Next, look at the right sidebar for style options. Pick a color that matches your site. Adjust the font size and shape if needed. These options help your button stand out.
Adjust Button Alignment
Select the button block to see alignment tools above it. Choose left, center, or right alignment. This changes where the button sits on the page. Centered buttons often look best on most pages. Align buttons to match your content layout perfectly.
Add Buttons Using Classic Editor
Adding buttons on a WordPress page using the Classic Editor is simple. Buttons help visitors click and take action. This guide shows how to insert and style buttons easily. No coding skills needed to create attractive buttons.
Insert Button With Html
Open your page in the Classic Editor. Switch to the Text tab to see HTML code. Paste this code where you want the button:
Click HereChange the URL to your desired link. Replace “Click Here” with your button text. This code creates a simple clickable button.
Style Buttons With Css
To make the button look good, add CSS styles. Go to Appearance > Customize > Additional CSS. Insert this CSS code:
.my-button { background-color: 0073aa; color: white; padding: 10px 20px; text-decoration: none; border-radius: 5px; display: inline-block; }Change colors or padding to fit your website style. This CSS makes the button visible and attractive. Save changes and refresh your page to see the button style.
Use Plugins For Advanced Buttons
Adding buttons with basic WordPress tools can be limiting. Plugins offer advanced options for stylish, functional buttons. They save time and add features like animations, icons, and custom colors. Using plugins helps create buttons that match your website’s design perfectly.
Popular Button Plugins
Several plugins provide great button options. “MaxButtons” allows easy button creation with many styles. “Forget About Shortcode Buttons” is simple and fast. “WPForms” offers buttons for forms and calls to action. These plugins suit different needs and skill levels.
Configuring Plugin Settings
After installing a button plugin, explore its settings. Adjust colors, sizes, and shapes to fit your site. Set button actions like opening links or sending emails. Test buttons on your page to ensure they work well. Fine-tuning settings improves user experience and site design.
Link Buttons To Pages Or Actions
Linking buttons to pages or actions helps visitors navigate your site easily. Buttons act as clear calls to action. They guide users to specific pages or perform tasks like submitting forms. Setting up these links is simple and improves user experience. Below are key steps to link buttons effectively.
Adding Urls To Buttons
Start by selecting the button in your WordPress editor. Find the option to add a link or URL. Enter the full web address of the page you want to link. This can be a page on your site or an external website. Make sure the URL starts with “http://” or “https://”.
Double-check the URL for any typos. A broken link frustrates visitors. Save your changes and preview the button. Click it to test if it leads to the right page.
Opening Links In New Tabs
Sometimes, you want the link to open in a new browser tab. This keeps visitors on your site while they view the linked page. In the button settings, look for an option like “Open link in new tab.”
Check this box or toggle the switch. This feature is useful for external links. It helps keep your website visible and easy to return to. Always test the button after setting this option.
Optimize Button Design For Mobile
Optimizing button design for mobile is key to user experience. Mobile users tap with fingers, not a mouse. Buttons must be easy to see and touch on small screens. Good design helps users complete actions quickly and without mistakes.
Responsive Button Sizes
Buttons should resize to fit different screen widths. Use relative units like percentages or em for width and height. Avoid fixed pixel sizes that may be too small or large. A button that fits well on a phone screen feels natural and inviting to press.
Test your buttons on various devices. Check how they look on small phones and larger tablets. Adjust sizes to keep them readable and easy to tap. Responsive buttons improve navigation and reduce user frustration.
Touch-friendly Spacing
Leave enough space around buttons to prevent accidental taps. Fingers need room to tap without hitting nearby elements. Add margin or padding around each button for clear separation.
Make buttons at least 44 pixels wide and tall. This size meets touch guidelines for easy interaction. Proper spacing helps users avoid errors and improves overall site usability on mobile devices.
Test Buttons Before Publishing
Testing buttons before publishing is key to a smooth user experience. It helps catch errors early and ensures the button works as expected. A well-tested button improves navigation and keeps visitors engaged. Spend time checking all aspects of the button before going live.
Check Button Functionality
Click the button to see if it leads to the right page. Make sure any links or actions happen quickly and correctly. Test all button states, such as hover and click effects. Confirm the button text is clear and easy to read. Fix any broken links or errors found during testing.
Preview On Different Devices
View your page on a phone, tablet, and desktop. Check if the button looks good and stays clickable on every screen. Make sure the button size adjusts well to smaller or larger displays. Test the button in different browsers for consistent behavior. This step helps avoid surprises for your visitors.
Credit: www.youtube.com
Credit: www.wpbeginner.com
Frequently Asked Questions
How Do I Add A Button To A WordPress Page?
To add a button, edit your page and use the WordPress block editor. Select the “Button” block, customize text, style, and link. Then save or update the page to display your button.
Can I Customize WordPress Button Styles Easily?
Yes, WordPress allows easy button customization. You can change colors, size, shape, and fonts directly in the block editor or use custom CSS for advanced styles.
Is It Possible To Link WordPress Buttons To External Sites?
Absolutely. When adding a button, enter any URL in the link field. This lets your button direct visitors to external websites or specific pages.
Do I Need Plugins To Create Buttons In WordPress?
No plugin is required for basic buttons. The WordPress block editor includes a built-in button block for quick and simple button creation.
Conclusion
Adding a button to your WordPress page is simple and quick. You just need to follow a few clear steps. Buttons help visitors find important links or take action easily. Use the WordPress editor or a plugin to create buttons.
Customize colors and text to match your site’s style. Test the button to make sure it works well on all devices. Keep your page user-friendly and attractive. Practice these tips, and your site will feel more interactive and helpful. Buttons make your content clearer and easier to use.



