
You’ve just bought a WordPress theme, and excitement is in the air. You can already envision your website transforming into a stunning digital masterpiece.
But, there’s one little hurdle to overcome first: getting that theme installed. You might wonder, “How do I get this beautiful theme up and running on my WordPress site without pulling my hair out? ” Don’t worry, you’re not alone, and you’ve come to the right place.
You’ll discover a simple, step-by-step guide to installing your newly purchased theme on WordPress. We’ll break it down into easy-to-follow instructions so you can spend less time figuring things out and more time enjoying your website’s new look. Plus, we’ll share some insider tips to ensure the installation goes smoothly, saving you from any unnecessary headaches. Keep reading, and you’ll have your theme installed before you know it, ready to showcase your unique style and vision to the world.
Credit: help.market.envato.com
Choosing The Right Theme
Finding a theme with the features you need is crucial. Look for customizable options. Consider color schemes, layouts, and widgets. Ensure the theme supports your content type. Some themes suit blogs. Others fit portfolios or businesses. Read reviews from other users. Check ratings. Trust themes with high scores.
Ensure your theme works with your WordPress version. Check the theme’s update history. Look for themes updated regularly. Avoid themes that lack updates. Outdated themes may cause problems. Check compatibility before buying.
Responsive design is vital. Ensure your theme looks good on all devices. Test its appearance on phones and tablets. Look for themes labeled as responsive. Responsive themes adjust to screen size. Check demos to see them in action.
Credit: www.elegantthemes.com
Preparing For Installation
Always make a backup of your website first. This keeps your data safe. Use a plugin to backup your site. Store the backup in a safe place. A backup helps you restore your site if needed.
A child theme is very important. It helps you keep changes safe. First, create a new folder for the child theme. Add a style.css file in it. Don’t forget the functions.php file. Now, your child theme is ready!
Check if your plugins work with the new theme. Update all your plugins first. Some plugins might not be compatible. Disable any plugin that causes issues. This ensures your site runs smoothly.
Installing The Theme Via WordPress Dashboard
Purchased themes install easily via the WordPress dashboard. Start by accessing the dashboard and selecting “Appearance,” then “Themes. ” Click “Add New,” upload your theme file, and activate it.
Uploading The Theme Zip File
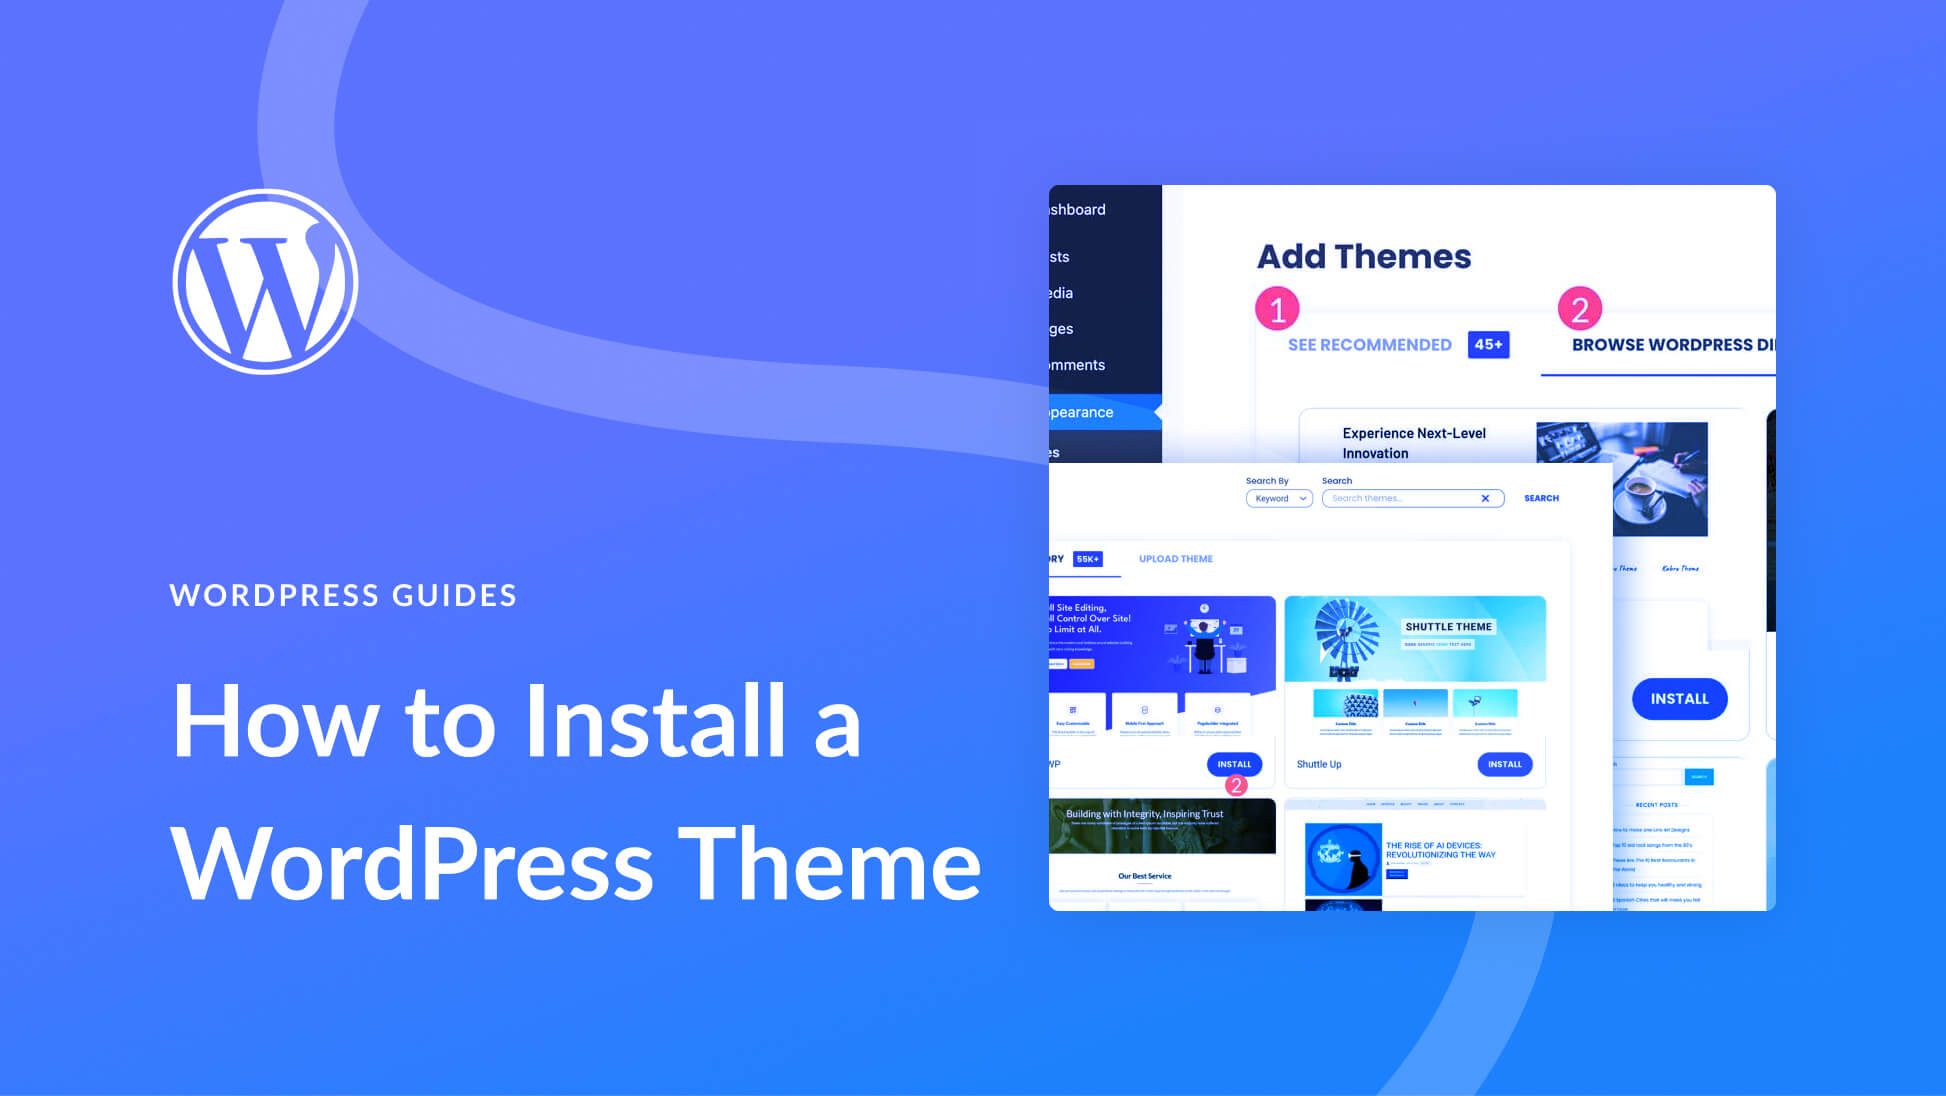
Start by visiting your WordPress dashboard. Click on “Appearance” and then go to “Themes”. Find the “Add New” button at the top. Next, choose the “Upload Theme” option. Here, you can upload the theme zip file you bought. Once the file is uploaded, press “Install Now”. Wait as WordPress installs your new theme.
Activating The New Theme
After the theme installs, you will see an “Activate” button. Click it to make your new theme live. Your website will now show the new design. This step is important to ensure the theme is active.
Customizing Theme Settings
Go back to the “Appearance” menu. Choose “Customize” to change theme settings. You can adjust colors, fonts, and layouts. Make the site look just the way you want. Save changes when you’re happy with the look.
Installing The Theme Via Ftp
Uploading a purchased theme via FTP to WordPress is straightforward. First, unzip the theme file on your computer. Next, use an FTP client to connect to your website, then navigate to the WordPress themes folder and upload the unzipped theme folder.
Finally, activate the theme through the WordPress admin panel.
Connecting To Your Server
Use an FTP client to connect to your server. Enter your FTP credentials to access the server. Once connected, find the WordPress directory where your site is installed. This is the main area to upload files.
Uploading Theme Files
Download your theme file and unzip it. Locate the theme folder with all files. Drag and drop this folder into the wp-content/themes directory on your server. Wait for the upload to finish. Check if all files are uploaded.
Activating The Theme Manually
Go to your WordPress dashboard. Find the Appearance section and click on Themes. Look for your new theme there. Click Activate to make it live on your site. Your theme is now ready for customization.
Configuring Theme Settings
First, go to Appearance in the WordPress dashboard. Click on Customize. Choose a layout for the homepage. Select a static page or latest posts. This choice shapes the look of your site. Use widgets to add more content. Drag and drop them to the sidebar. Update the changes to see them live.
Navigate to Menus under Appearance. Create a menu for easy navigation. Add pages or links to the menu. Arrange them in your preferred order. Widgets enhance functionality. Go to Widgets under Appearance. Choose ones that fit your site. Place them in the sidebar or footer. Save changes when done.
Open the Theme Options in the Customizer. Adjust colors, fonts, and backgrounds. Pick colors that match your brand. Use fonts that are easy to read. Set background images if needed. Change settings to suit your style. Preview changes before saving. This ensures a consistent look.

Credit: m.youtube.com
Troubleshooting Common Issues
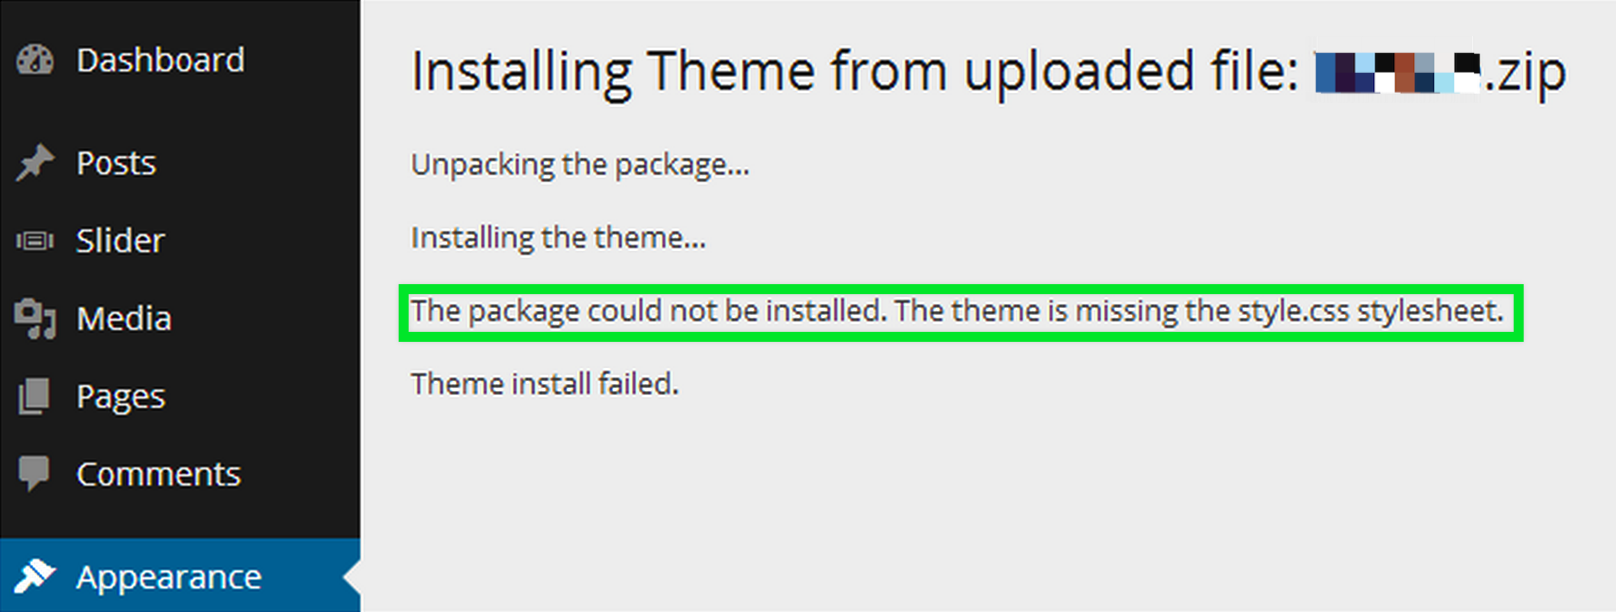
Sometimes, themes don’t install right. This can be due to file size. Check if the theme file is too big. Also, ensure your WordPress version is current. Outdated versions can cause problems. Finally, verify that you have the proper permissions for installation. These steps can help fix most install errors.
Broken layouts make sites look messy. Start by clearing your cache. Then, check theme settings. Sometimes, a setting may be off. Also, reset any customizations you made. This might return the layout to normal. If the issue persists, contact the theme developer for support.
Conflicts can occur with certain plugins. To fix, deactivate all plugins first. Then, activate them one by one. This helps find the conflicting plugin. Some plugins may not work with your theme. In such cases, look for a similar plugin that is compatible.
Enhancing Your Theme
Installing a purchased theme on WordPress is straightforward. Upload the theme file via the WordPress dashboard. Activate it to enhance your site’s appearance instantly.
Adding Custom Css
Custom CSS helps make your site unique. Use CSS to change colors. Change fonts and styles too. It makes your site look special. You can add CSS in the theme settings. It’s easy and fun to try.
Incorporating Additional Plugins
Plugins add cool features. They help your site work better. Some plugins boost speed. Others add contact forms or galleries. Choose plugins that fit your needs. Install them in the WordPress dashboard. Follow instructions to activate.
Optimizing For Seo
SEO makes your site easy to find. Use keywords in posts and pages. Keywords help search engines know your topic. Write clear titles and descriptions. Link posts to each other. This helps your site rank higher.
Frequently Asked Questions
How To Install A Purchased Theme On WordPress?
Log into WordPress, click “Appearance,” then “Themes. ” Select “Add New” and click “Upload Theme. ” Choose your theme file and click “Install Now. ” After installation, click “Activate” to apply the theme. Ensure your theme is properly configured and check for updates regularly.
How Do I Add My Own Theme To WordPress?
Log in to WordPress dashboard. Go to “Appearance” then “Themes. ” Click “Add New,” upload your theme, and activate it.
How Do I Activate A New Theme In WordPress?
To activate a new theme in WordPress, log into your dashboard. Navigate to “Appearance” > “Themes”. Click “Activate” under your desired theme. Ensure the theme is compatible with your WordPress version. Consider previewing the theme before activation to check its appearance and functionality on your site.
How To Install A Downloaded Theme?
Download the theme’s ZIP file. Go to your website’s dashboard, select “Appearance,” then “Themes. ” Click “Add New” and “Upload Theme. ” Choose the ZIP file, click “Install Now,” and activate the theme. Ensure compatibility and update plugins if necessary.
Check your site for any issues post-installation.
Conclusion
Installing a new theme on WordPress is straightforward. Follow the steps outlined in this guide. Upload the theme file, activate it, and customize it. Make sure it matches your site’s style and functionality needs. Keep your site’s goals in mind while customizing.
A well-chosen theme enhances user experience. It also improves your site’s appearance and usability. Regularly update your theme for security and performance. Enjoy a more vibrant and engaging WordPress site. Feel free to explore additional plugins for added features. Your site is now ready to impress visitors and meet your objectives.



