
Are you tired of making changes to your WordPress theme and not seeing them live until it’s too late? Editing your WordPress theme locally can be the game-changer you’ve been looking for.
Imagine the freedom to tweak, customize, and perfect your site without any risk to your live website. You’ll have complete control, and the best part? You can do it all without needing to be a tech wizard. In this guide, you’ll discover simple, step-by-step instructions to edit your WordPress theme right from your computer.
Say goodbye to the stress of live edits and hello to a more efficient, worry-free way to manage your site. Stick around to unlock the secrets of local theme editing, and transform your website into exactly what you envision.
Setting Up A Local Server
Choosing the right local server is very important. Options like XAMPP and MAMP are popular. They help in creating a server on your computer. This lets you work on WordPress themes without going online.
Start by downloading XAMPP or MAMP from their websites. These tools are free and easy to use. Follow the steps to install them on your computer. After installation, open the software to check if it runs well.
Open the server software and look for configuration settings. You need to set the root directory. This is where your WordPress files will go. Make sure the Apache and MySQL services are running. This makes your local server ready for WordPress.
Downloading And Installing WordPress
Begin by downloading the latest WordPress package from the official site. It is free and easy to find. Click on the download button. This saves a zip file on your computer. Unzip the file to get a folder. This folder contains all WordPress files.
A local database is needed for WordPress. Use a tool like XAMPP or MAMP to create it. Open the tool and start the server. Go to phpMyAdmin in your browser. Click on “Databases” and create a new database. Name it something easy to remember.
Place the WordPress folder in the local server’s directory. Open a browser and type localhost/your-folder-name. Follow the instructions on the screen. Enter your database name. Use “root” as the username. Leave the password field blank. Click “Submit”. Finish the setup and WordPress is ready.
Accessing WordPress Files
First, find your theme files in the WordPress dashboard. Go to Appearance and then Theme Editor. Here, you can see your theme’s files. Look for files with names like style.css and index.php. They are important for your theme.
Use a file manager to access files. FTP clients like FileZilla are helpful. Connect to your website server. Find the folder named wp-content/themes. Here, you can see your theme’s folder. Use a text editor to open and edit files. Simple editors like Notepad++ work well.
Make sure to backup your files first. This is important. Save a copy of your theme files on your computer. If changes go wrong, you can restore them. Keeping backups is a good habit. It helps prevent loss of work.
Editing Theme Files
Change the look of your website by editing CSS. Open the style.css file. This file controls colors and fonts. Use simple tools like Notepad. Save changes to see them on your site. Make sure you keep a backup. Mistakes can break the site.
PHP files help run the website. They show content in different ways. Edit them to change layouts. Use a code editor for this task. Keep a backup before you start. Mistakes can cause errors. Always check your site after changes.
JavaScript makes your site interactive. It adds cool features. Edit JavaScript to change how things move. Find these files in the theme folder. Use a text editor to make changes. Save and test your site. Errors in JavaScript can stop features. Always back up your work first.
Using Child Themes For Customization
Child themes are safe for changes. They keep your main theme unchanged. Updates won’t affect your changes. This means your custom work is safe. It’s easy to go back to the original. Child themes help keep your site organized. They are good for testing new things. Without worry of breaking your site.
Start by making a new folder. Give it a special name. Make a style.css file inside. Write the theme info at the top. Put the import line for parent theme styles. Add a functions.php file. Use it to set up the child theme. This helps WordPress know your changes.
Go to your WordPress dashboard. Find the appearance section. Look for themes. Pick your child theme. Activate it with one click. Now, test your site. Make sure it looks right. Check for any errors. Fix them if needed. Ensure everything works smoothly.
Credit: themeforest.net
Testing Changes Locally
Checking for Compatibility is very important. Ensure your theme works with your WordPress version. This avoids many problems later. Use tools to help with testing. Some tools are free and easy to use.
Debugging Common Issues can save you a lot of time. Look for errors in the code. Use a debugger to find these errors. Fix them early to avoid bigger problems. This makes your theme safer and more reliable.
Ensuring Responsive Design keeps your site looking good on all devices. Test your theme on phones and tablets. Make sure text and images fit well. A responsive design helps your site reach more people. It also improves the user experience.
Deploying Changes To A Live Site
Editing a WordPress theme locally allows you to test changes without affecting your live site. Use tools like Local or XAMPP to create a local environment. This way, you can safely tweak designs and functionalities before deploying updates.
Preparing For Deployment
Backup your site before making changes. This keeps your data safe. Ensure your local changes work well. Test every feature you updated. Double-check for any errors or bugs. Keep a list of files you modified. This helps in tracking changes easily.
Using Ftp For Uploads
Use an FTP client to upload files. Connect to your web server first. Upload only the files you changed. This saves time and reduces errors. Check your file paths carefully. Incorrect paths can cause problems on the live site.
Verifying Live Site Functionality
Visit your site after updating it. Check if everything works fine. Test all features you changed. Ensure your website displays correctly. Look for broken links or missing images. Fix any issues you find quickly.
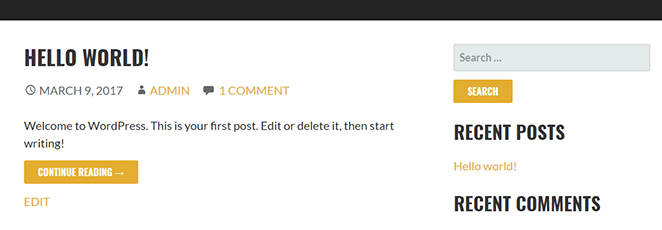
Credit: wpengine.com
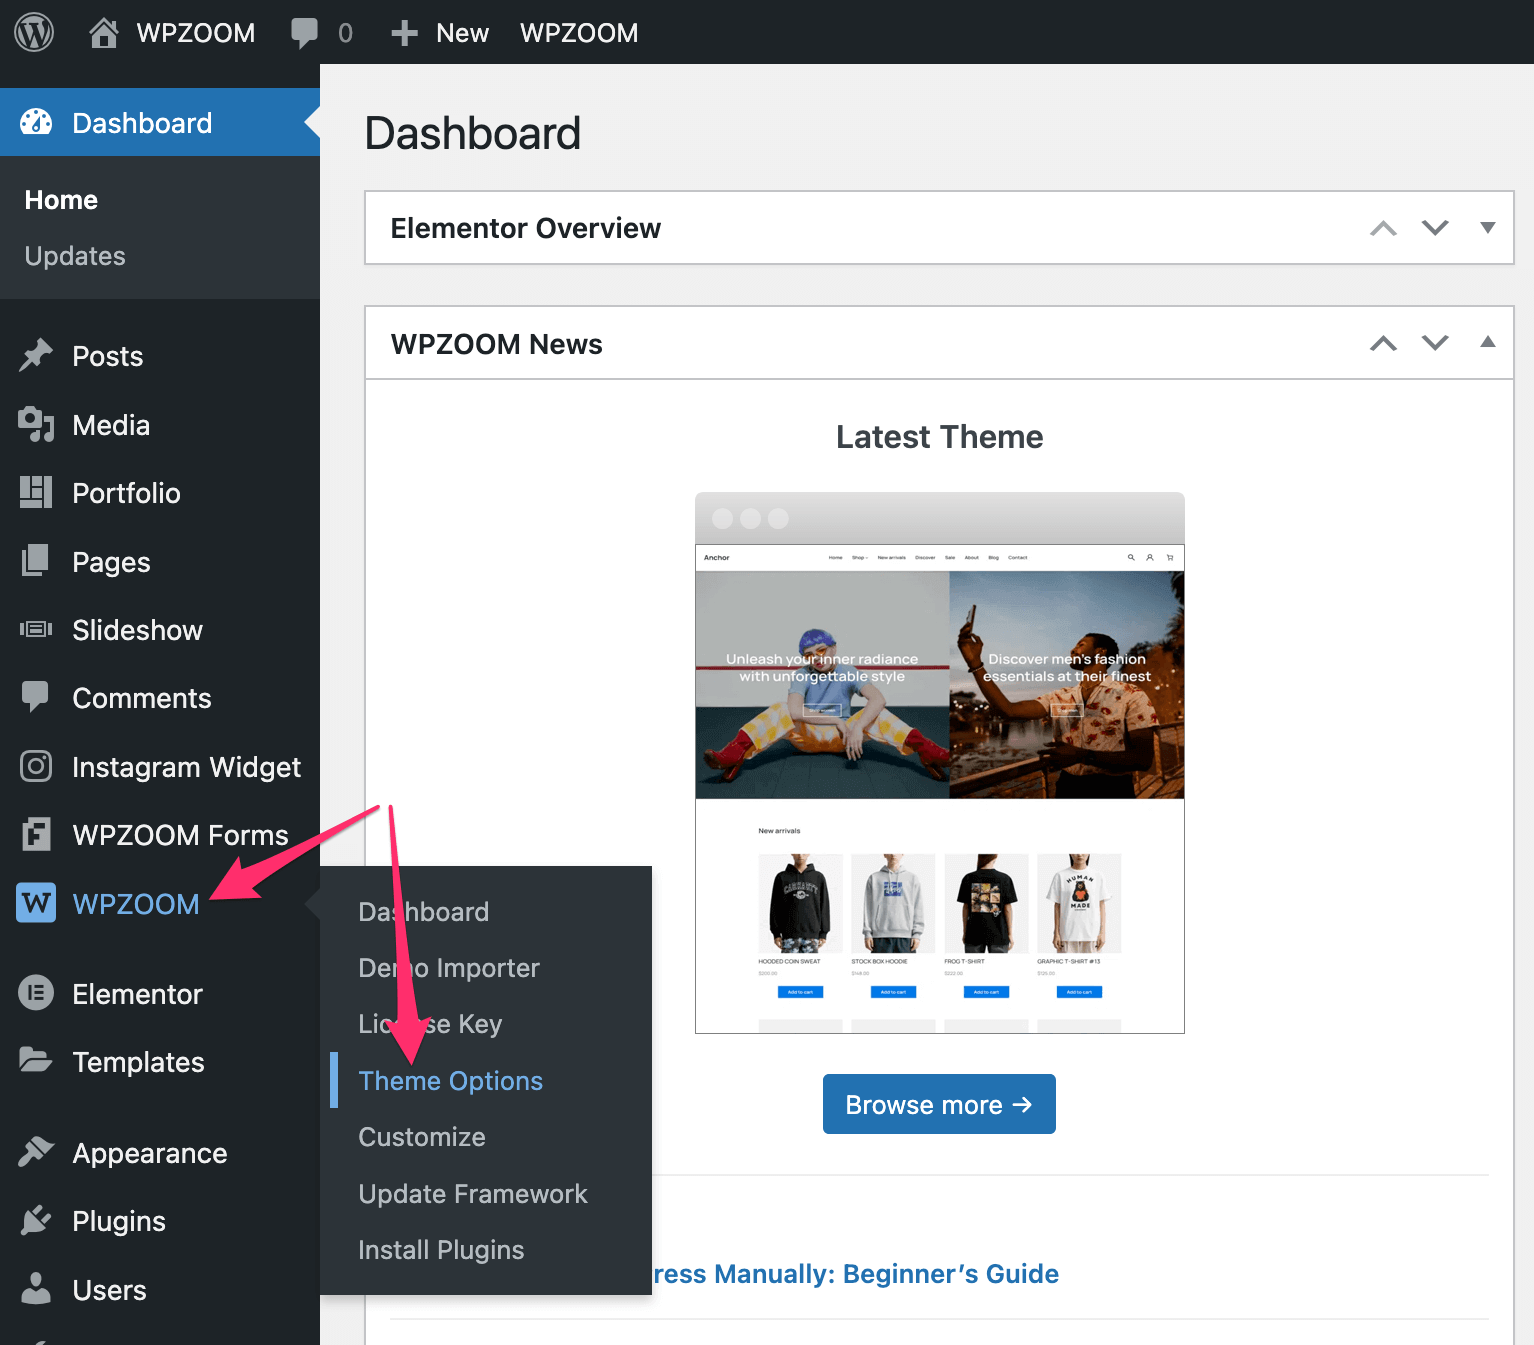
Credit: www.wpzoom.com
Frequently Asked Questions
How Do I Edit An Existing WordPress Theme?
To edit a WordPress theme, access the WordPress dashboard. Navigate to Appearance > Theme Editor. Choose the theme you want to edit. Modify the HTML, CSS, or PHP files as needed. Always back up files before editing. For major changes, consider using a child theme to preserve updates.
Why Can’t I Edit My WordPress Theme?
You might lack permissions or your theme is a premium one. Check file permissions and ensure you’re using a child theme.
How To Run A WordPress Theme Locally?
To run a WordPress theme locally, install a local server like XAMPP. Download WordPress from wordpress. org. Extract files to the “htdocs” folder. Create a database via phpMyAdmin. Configure “wp-config. php” with database details. Access “localhost/yourfoldername” in a browser to set up WordPress.
How To Change WordPress Theme Manually?
Access your WordPress dashboard. Navigate to “Appearance” > “Themes”. Click “Add New” and choose your theme. Activate it.
Conclusion
Editing a WordPress theme locally is straightforward and beneficial. It offers control over design changes. You avoid affecting the live site while experimenting. Local editing ensures safety and efficiency. You learn coding skills and improve your site. Use tools like XAMPP for local setup.
Test thoroughly before uploading changes. Always backup your theme files. This prevents data loss. Local editing saves time and reduces errors. Your WordPress site becomes more personalized. Follow these steps for a smooth experience. Happy editing! Keep learning and enhancing your skills.
Your website will thank you.


